Sunday, January 29, 2012

Pillow #2
My personal Pillow A Month challenge
Reds on Checks
for February


My inspiration for this pillow came from my own wall quilt,
All In A Row.


I like the effect created within the checked area and wondered how it would look with the check as the entire background surface. 

While it doesn't have the same effect, I am happy with the result.  More strips may have taken me closer to what I envisioned,  but I like what happened with this design too.

I always make things a bit larger than the size I want it to finish at, so the extra went on the back...which turned into a happy surprise.


I'm enjoying the back as much as I'm enjoying the front. 

So far I'm enjoying this pillow challenge.  Pillow #3 is already underway and is my fave so far.  I'm actually beginning to wonder if I'll end up with more than 12 or if it will all come to a dead end all of a sudden.  I can be rather unpredictable.  Well, time will tell.  Until then, pillow love!

Annie

Sunday, January 22, 2012

There's this
Wonky House Block Swap
going on over at

I'm sure I've mentioned in the past that I struggle with mass production, which means anything over the count of one.  As well, my to-do list is ever lengthening and this year I want to work at chipping away at all the inspiring ideas listed on it.  However, two very sweet ladies connivingly rooked me into a private block swap with them for wonky houses.  They just would not take NO! for an answer.  So I caved.  And now that I had yet another commitment hanging over my head, I decided to try tackling the first block.  For which the result is this...


I very quickly learned that I cannot WONK!  I'm a Mrs. Monk...everything has to be straight and even and balanced.  Wonky does not fit in any one of those categories.  But I think I'm doing ok in the wacky department.  Which really doesn't have much to do with a wonky house.  They are very nice ladies and they say it's ok if I do wacky rather than wonky.  I tried to wonk, I really did, but it was just killing me!

Well, there's my "one" wonky wacky house block.  But now I need another one!  Not happy now.  Don't have another idea.  Don't want to make another wonky wacky house block.  Yet I said I would...why did I let them get to me like that?!

Finally another idea came to mind.  For which the result is this...


I forced myself to wonk but I really want to straighten that bird house!  It looks like I wonked the dotted background but it is actually cut on the straight of grain.  There really isn't even much "wacky" in this block, except the house is for birds rather than people. 

At this point I thought I was done with these not-so-wonky yet wacky house blocks when I decided to try one more.  I can't believe I put myself through that...no one to blame but me!

One more resulted in this...


I think those sunflowers are so fun, I wanted to play with them again.  This tea cup just would not accept a door and window design, so I went looking for someone to live inside it.  That beauty queen moved right in.  Now I'm done.  No more wacky house blocks!


I usually work with applique by applying Wonder Under to the back of the applique pieces.  Wonder Under light weight isn't really stiff, but since these blocks might end up in someones quilt, I wanted them to be just fabric pieces.  This is the first time I've ever done applique without fusing the pieces to the background.  Except for the two birds and the beauty queen in the doorway.  It went along well enough, but it's such a breeze with a fusible.  To  keep the bird pieces as soft as possible, I only applied Wonder Under to the edges to assist me with cutting them out as well as stitching them down.


Whew!  I survived yet another commitment.  Well, almost.  The quilt blocks weren't enough for Jane.  She wants signature blocks to go with!  So you can imagine the tizzy I'm in by now!  (I hear my pillow challenge calling me!...and what was I thinking when I committed to that?!)  For the signature blocks, the result are these...


I tried to make them a little wacky too.  Not much for success there.

This commitment is all fulfilled now and I am back to my to-do list and that makes me a happy sort again. **big smiles**

I hope my two conniving cyber friends are happy with their blocks because I just would not have put myself through all that for just any ole body.


You can check out all the wonky house blocks being made in this

Have a wonky good day all,
Wacky Annie


Monday, January 16, 2012

I'm making my own fabric.

I love text fabric, especially if it's collaged, but it seems I can't really find what I'd like or it doesn't say what I would like it to or it doesn't look the way I would like it to.  I don't know why that is.  I see works of others with text and love what I see ... no matter what the words say.  But when I try to choose it for myself, I get hung up on what the words say.

So I'm trying out making my own text fabrics.  I'm using Miracle Fabric Sheets.


and scrapbook paper.


I found this 5X7 packet of paper, cut up the more interesting sections of the sheets...


...taped them together as a collage then copied them to the Miracle Fabric Sheets.


My printer copies a tad lighter than the original...next time I'll set it a notch darker for the copy. 
I know I should be able to do this with cotton fabric and freezer paper, but I just cannot get my ink to set well with that method.  It still runs/smeers in places when the fabric gets wet.  It isn't worth the trouble for me to worry about whether that will happen or not, so I'm sticking with the pro stuff.  I get much better color results with this method as well.   

Then I started chopping it up and stitching it up.  I'll show the results in a near future post...it's not quite ready yet.

Happy stitching!
Annie

Sunday, January 8, 2012

Pillow #1

My personal Pillow A Month Challenge

Snowflakes
for January


My inspiration for my first pillow came from Marci Girl Designs and her Snowflakes.  I thought these snowflakes were so cute and I wanted to give them a try.  So I drew up a paper piecing pattern and began sewing.


I wanted the snowflakes to be white on blue backgrounds.


I pull the papers off while watching TV. 

I have a wonderfully fun shiny yellow metal trash can for my sewing and the shiny reflected onto the paper from the camera flash.  Makes the photo look strange...like I had chocolate all over my fingers!  Well I probably was eating chocolate, but I would never waste any like that!


Then I stitched them all together with a tiny flake and a cardinal.  I think maybe I would like this pillow better if I had made the background all the same color so that the flakes would look more like they are floating.  But, I got to spend a little time playing with the snowflakes, which is the purpose of this challenge, so I'll keep it around a while then probably give it away.


The back has a single snowflake and a zipper closure.


It's been so long since I've made a pillow that I'd forgotten I don't need a zipper the same size as the pillow.  Since that zipper pull wants to flop around at the edge there, I think I need to find a snowflake charm to attach to it.

If you already made a pillow too, I'd love to see it.  Please include your web address for your photo so that I can have a peek and I'll also include it in this post so others can enjoy it as well.

One down, eleven to go.  On to the next pillow...
Annie

Saturday, December 31, 2011

Another New Beginning

Another chance to begin anew.

I don't have a need for resolutions this new year, so I thought about some other way to challenge myself.  There it is...that word...challenge.

I am challenge challenged.  Every time I challenge myself to a long term or ongoing project, I fail.  So I've given this some thought deciding it must be something that I know I can accomplish if I really want to.  My problem is that I hate having to sew something that I don't particularly want to sew at any given time.  So I've tried to think of a project that I want to sew and should be able to accomplish without the feeling of the dread of a time frame and deadline.

This brought to mind all the techniques and works of others that I've collected in my favorites in my flickr account.  There are so many that I want to try or just copy (for shame).  Then I thought I could use some decorative accent pillows around the place.  So this is my challenge for myself for this new year.

A Pillow a Month Challenge
 12 pillow covers by the end of 2012.  This is a way for me to play with some of those favorites ideas, without having to make a large quilt or just another wall hanging.  Now that I've made this decision, I know that it has to be reasonable for me to accomplish.  So, I'm not limiting myself to exactly one pillow per month.  Just that I will make enough pillows as there are months in the year. 

I'm very fearful that this challenge too will be unsuccessful at some point, but I'll begin with a very positive attitude that this will be done!  As with all new projects, it's an excited attitude to begin with.  Pillow #1 is now underway!  I thought 18" would be a good size.  I'm not so sure now, but this first one will be that size.  I think I'll probably work with a variety of sizes. 

I'll be back soon with a finished pillow to share my enthusiastic effort to begin anew!  If you like the idea and would be interested in joining me in this challenge, let me know and I'll figure out how to link your pillows with my pillow posts.  I'm sure if I had "partners-in-crime" for this challenge I'd have a much better chance at success

I'm off to ring in the new year with my sewing machine...because you forgot to invite me to your wild New Year's Eve party!
Happy New Year!
Annie

Wednesday, December 28, 2011

Happy New Year!

Cheers!


I wish you all a happy, healthy, prosperous 2012.
Have fun ringing in the new year, but be safe!

Cheers!
 Annie

Sunday, December 18, 2011

Merry Christmas

Please help yourself to a Kiss
F

A mug rug I made last year.  I thought I'd use it now to offer you, my fabulous followers, a little chocolate treat and to wish you all a very Merry ChristmasThank you all for sharing and making this past year a real treat for me!

I think I hear some of you saying "I want to see the rest of that mug rug" cause that's what you'd hear me saying if this was your post.  So, here it is.

From Nancy Halverson's book titled 'I Believe'

Merry Christmas!
Annie

Wednesday, December 14, 2011

Office Supplies Tote

Part of the Christmas gift request is for this:


Now, I love office supplies, so that was pretty fun to shop for.  But the funner part of the gift request was for a tote to carry them all in.  And this is what I came up with for that portion of the gift:


The request was for colorful and not too big.
It measures approx. 8"high, 9-1/2"wide, 4"deep.  (I hope that isn't too big)


I think this clear vinyl zippered pocket will be a fun surprise.


Everything fits!


This was the most unexpected gift wish I would ever have expected.
I did not use a pattern.  I just made the bag up as I went along. 


A lot of experimental guesswork was involved with it's creation.
I sure did have a fun time with it though.


There was a time I would never have considered making something like this without a pattern.  I guess I'm getting brave in my old age or maybe it's just blind wreckless crazy...yeah, probably the later.

Go crazy!  It's fun!
Annie

Linked to Handmade Christmas Linky Party with Melissa at The Polkadot Chair Blog.  There's a lot of inspiration in that linking party...go check it out!

Sunday, December 11, 2011

Another Tree Skirt

**No Math Required!**

I just knew all those years ago that math was NOT going to help me get through life.  (ok, just kidding)  But!...it really did not come in handy while I was designing this tree skirt.  Every calculation along with logic said NO, this will not work out.

Yet, here it is again! 


This one I made from the collection, Countdown to Christmas.  I think that's such a fun Christmas fabric collection.  The one in my tutorial went to my daughter, so this one is for me. 


Ho Ho Ho!
Annie

Thursday, December 8, 2011

Tutorial: Christmas Tree Skirt


Annie's Christmas Tree Skirt


Christmas Tree Skirt
how to:

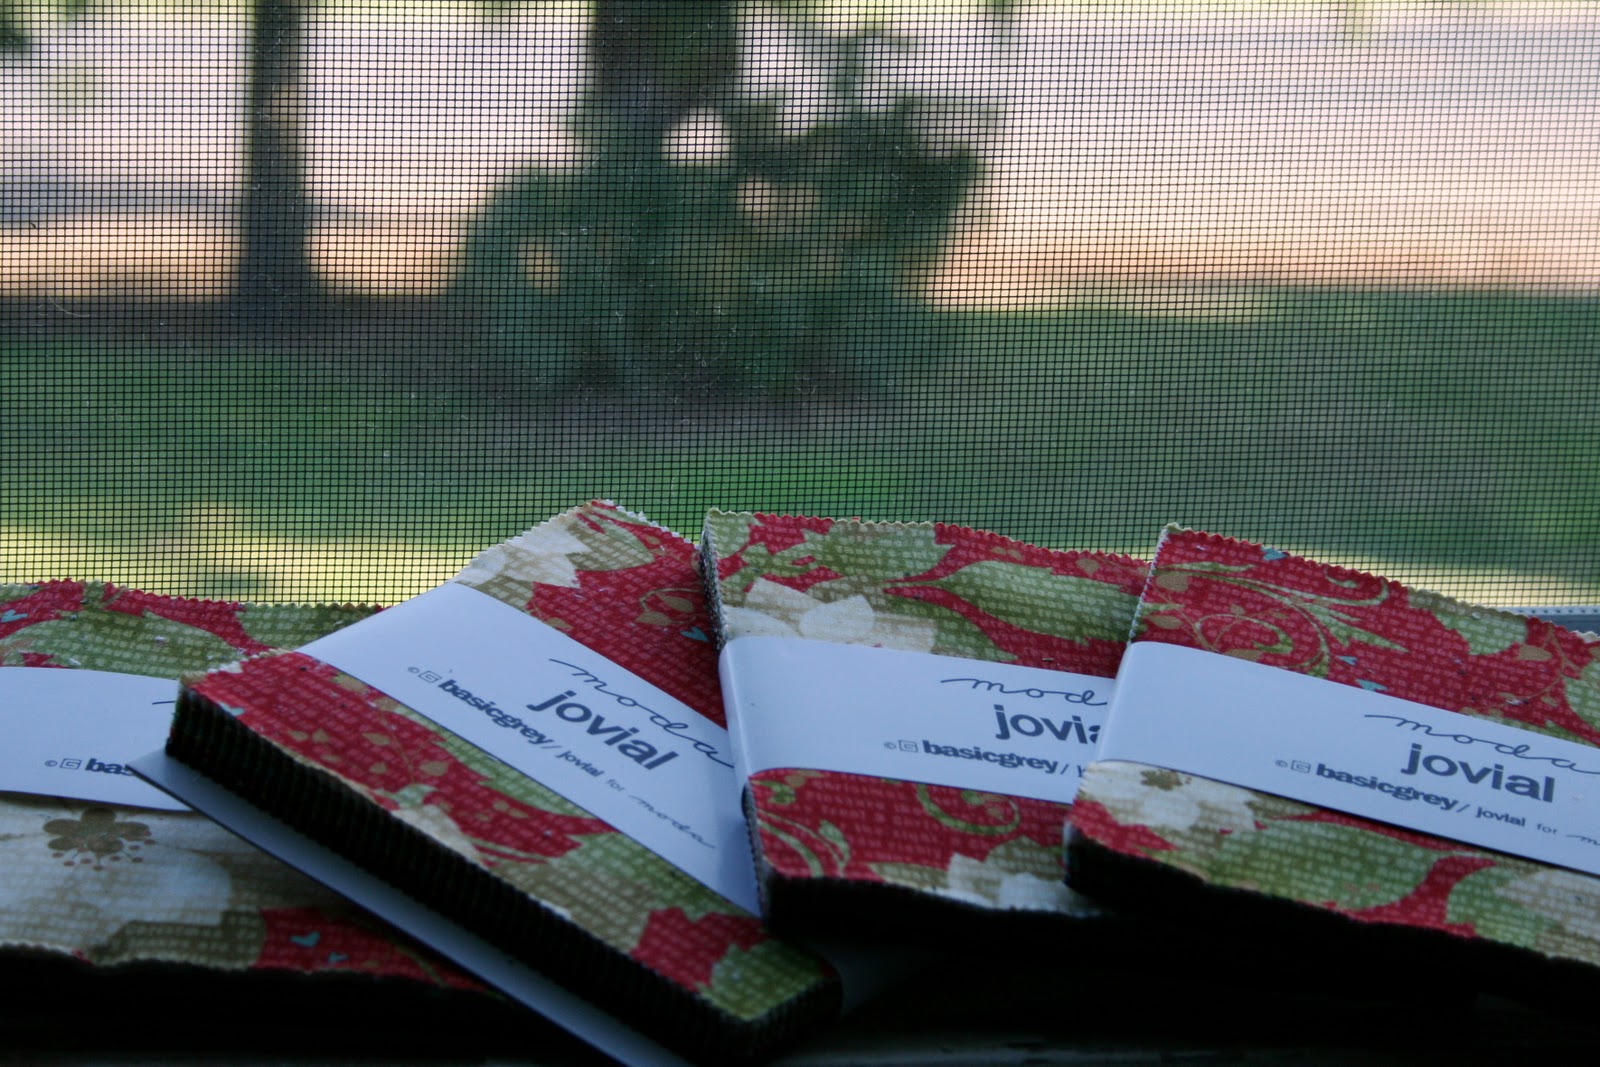
To make this very easy but 'complicated looking' tree skirt, you will need this wedge ruler and 140 charm squares.


This one is by Omnigrid and is a 9 degree Circle Wedge. I've had it forever.

I made this tree skirt from 4 charm packs of Jovial that had 42 squares each.


Charms packs come in a variety of counts, so that will determine the number of packs you will need.

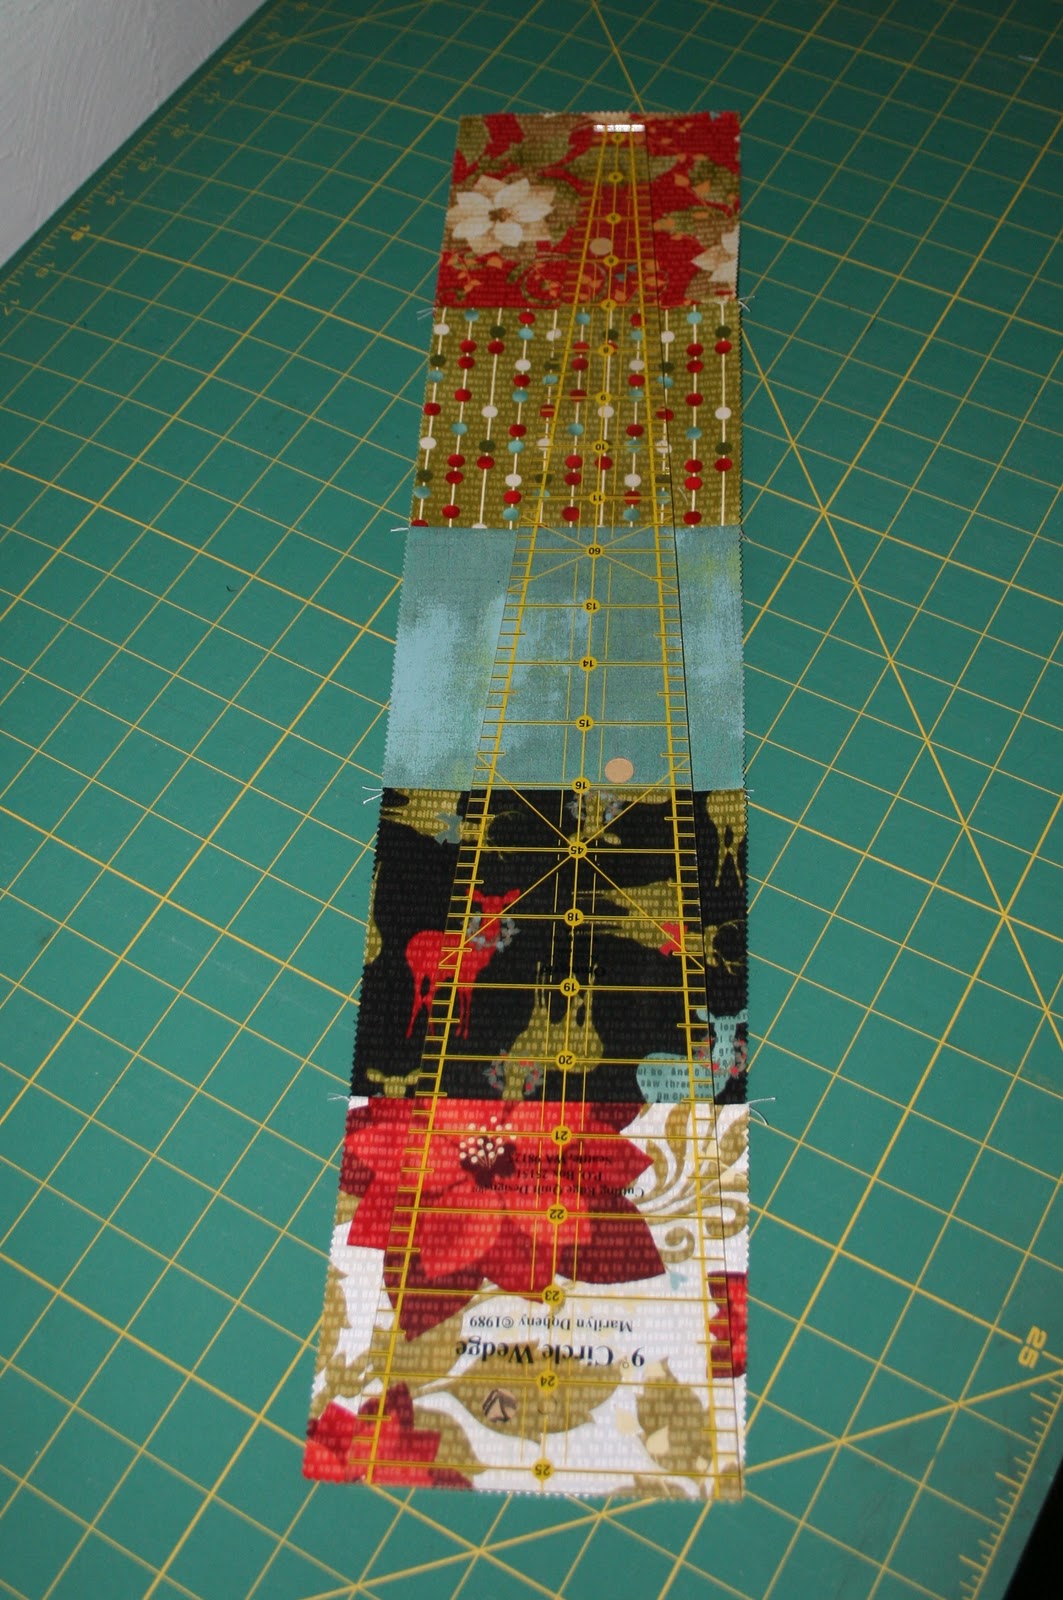
Arrange your squares in columns of 5 squares each. You need a total of 28 columns. Play with them until you have an arrangement that is pleasing to your eye.

Stitch each of the 28 columns into strips of the 5 squares top to bottom. 1/4" seam allowances throughout. Press your seams all in the same direction for all strips. All pressed toward the top or all toward the bottom...it doesn't matter which direction you choose, just press them all the same direction. Keep them in your arranged order as you sew and press them. You just won't believe how quickly this will be completed.


Now for cutting. Take your first strip and place the wedge ruler aligned with the bottom of the strip ...

and aligned at the right hand edge of your strip.
Left handers can do the opposite, it won't matter, just cut them all the same way each time.

This wedge ruler will be about 3/4" shorter than your strip. When you rotary cut along the wedge just continue the cut to the edge of the strip without moving the ruler. It will work fine...it did for me every time. Don't stop at the end of the ruler to think about it, just continue the cut until you are off the fabric strip.

If possible, cut one side and walk around to cut the other side without moving the ruler. It's not necessary to cut the wedge this way, but it's quicker if you don't have to turn the fabric and re-align the ruler for the second cut.  For the second cut you will be starting with the narrow end that doesn't reach the edge of your fabric. I aligned my cutter with the ruler about 3" from the end and cut pulling backwards to the end of the fabric. Then realign your cutter in that cut to cut the rest of the wedge as normal.

If you trim your strip at the end of the wedge ruler, nothing bad will happen.  You will simply have a larger opening when your strips are all sewn together in a circle.  In the end I trim my opening larger anyway, but it is quicker to do it in the end than it is to trim every single strip wedge as I go.

You will now have these slices from your strip.

You will discard the slice on the right (the one with the very pointy tip) to your scrap collection.

The slice on the left will be flipped so that both wide ends are adjacent as shown below. This is how they will be sewn together and you will note that every other wedge now has the seams pressed in opposite directions so they can be butted when the wedges are sewn together...cool, huh?


As you get the wedges cut, keep the wider wedges in the order you arranged them in.  You'll need to find a layout that again is pleasing to your eye that includes the narrower wedges between the wider ones.

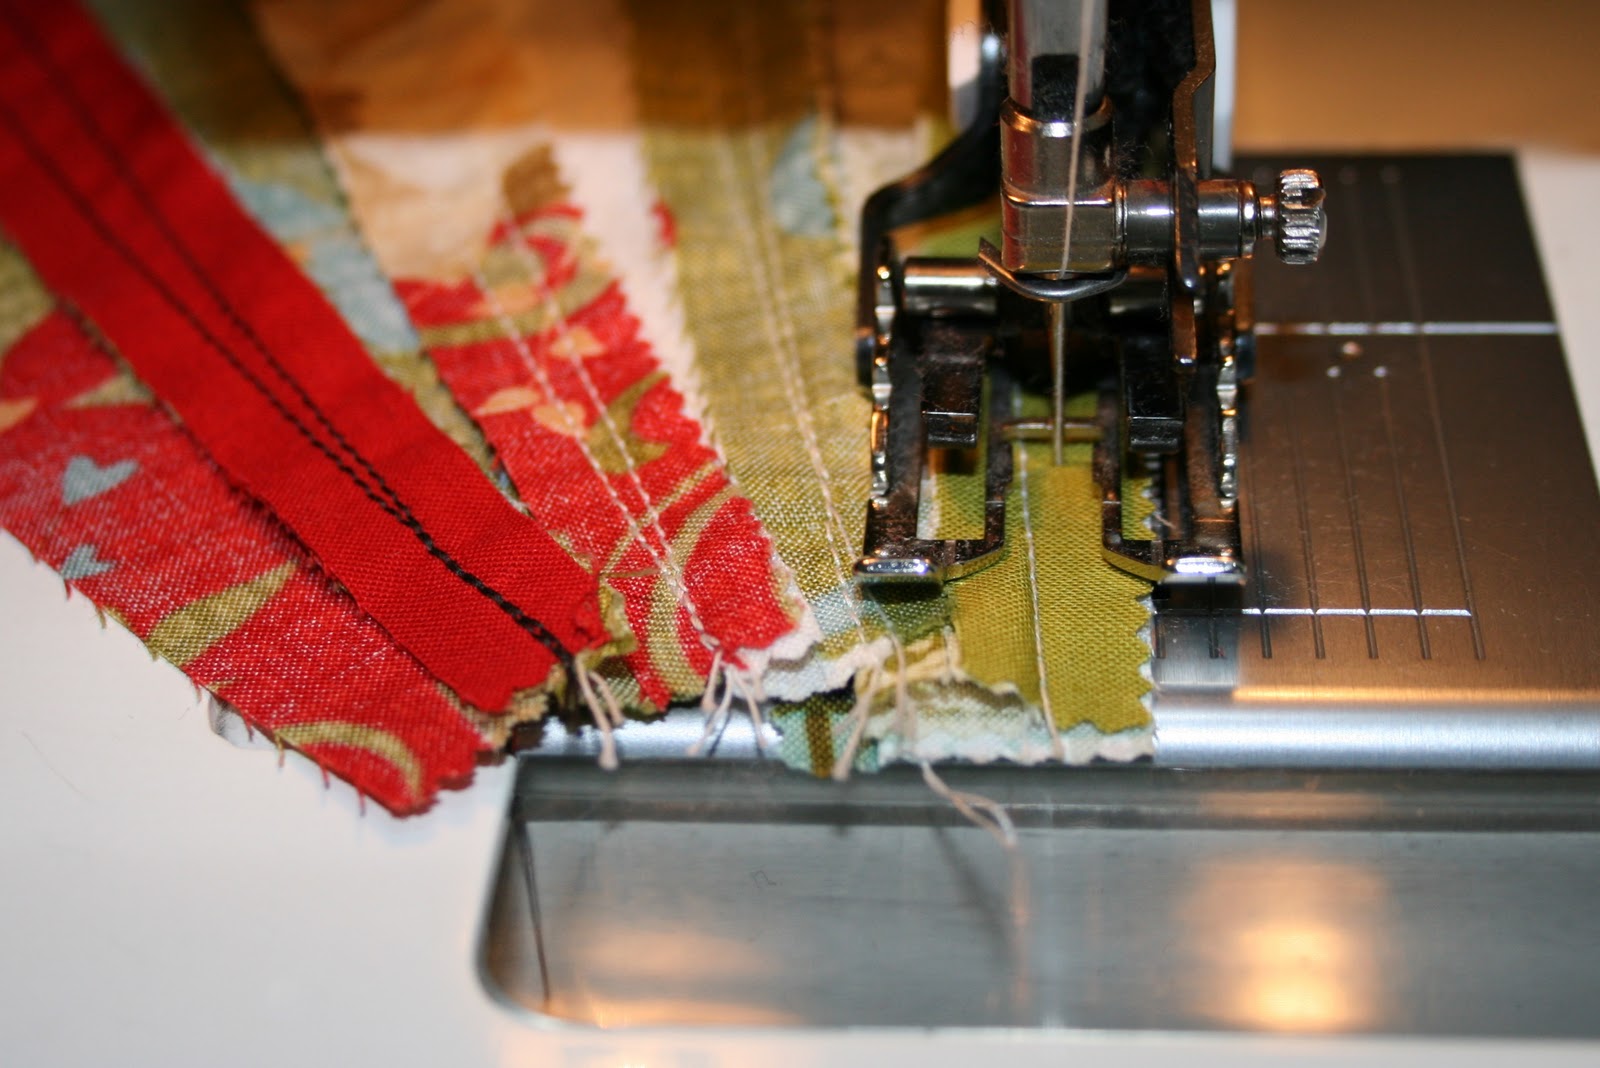
Begin sewing a wide wedge to a narrow wedge.


Press your seams toward the wide wedge. This will help avoid bulk in the center at the narrow tips, because the narrow tips will disappear to nothing.

Then sew all your wedges together.


Half way together...


Full circle...yeah! Do not sew the very last seam where the ends of your circle meet.


You will only use 27 of your 28 wide wedges, and you will use all 28 of your narrow wedges. Your tree skirt will meet at two narrow wedges which is where you will leave your opening.  You probably started sewing your wedges together beginning with a wide wedge, so you will need to add your last narrow wedge to the beginning of your circle.


This tree skirt has no batting. I didn't really want the thickness nor stiffness of a batted quilt. I wanted a very drapable skirt. I considered adding a layer of muslin inside, but finally decided on just the pieced top and a backing.

You can purchase extra wide fabric for a whole un-pieced back. I just went with one and three quarters (1-3/4) yards of a 44-45" wide coordinating fabric and pieced the section that extended past the width of the skirt.


Just like you do with layering a quilt with batting, layer the fabrics with wrong sides together and pin baste. It doesn't really show in the photo but this tree skirt is loaded with safety pins. Cut a slit in the backing fabric where you have left the circle open. Then trim the excess backing fabric away following the outside edge of your pieced top. You can trim the inside circle as well or wait if you decide you want the center opening larger.

I did want the center opening larger so I traced around a whipped topping lid. It seems like a good size.


Because the skirt could now be 'stretchable' as you continue to work with it, I suggest that you stay-stitch the raw edges at about an 1/8 inch from the edge all the way around the skirt.


I didn't want the skirt to be like a bubble with the front and back floating separately. I did faux quilting with stitch in the ditch along the length of each wedge.


In the above photo you see horizontal top stitching. I removed that stitching...it didn't look good...and went with the stitch in the ditch along the lengths of the wedges instead.

Then I added a narrow binding.
The binding is cut on the straight of grain.  It is NOT on the bias.


All done!


This tree skirt is an early gift, so I stamped and stitched a tag for it.


Yeah! another gift crossed off the list!

Alternative finishing options:
You can easily add batting for a traditional quilted skirt. You could also lay the top and backing right sides together to stitch around the outside leaving an opening and turn the skirt right side out for enclosed seams. You wouldn't need all that pin basting for that. You could also add lace or a ruffle to the outer edge if you so desire.

As well, this tree skirt can be made for your smaller holiday trees...your Easter egg tree, your creepy Halloween tree, even that wedding money tree.  Just cut your wedges from a shorter charm strip and using the narrower end of the wedge.

Design Disclosure Statement:
As far as I know this is my own design. I don't think anyone would publish a mathematically incorrect pattern design. Mathematically incorrect because the narrow wedge has one angled side while the other side is straight. I just hoped they would all go in a circle the way I wanted them to and I was so not disappointed.

As with any of my tutorials that you might give a try, if you have any questions at all, please do not hesitate to contact me. I'd be more than happy to help you.

There are so many possibilities for fabric arrangements for this skirt that I'd love to see yours when you have it together...seriously, I would.

Have fun, Annie