Friday, November 16, 2018

Recliner Quilt

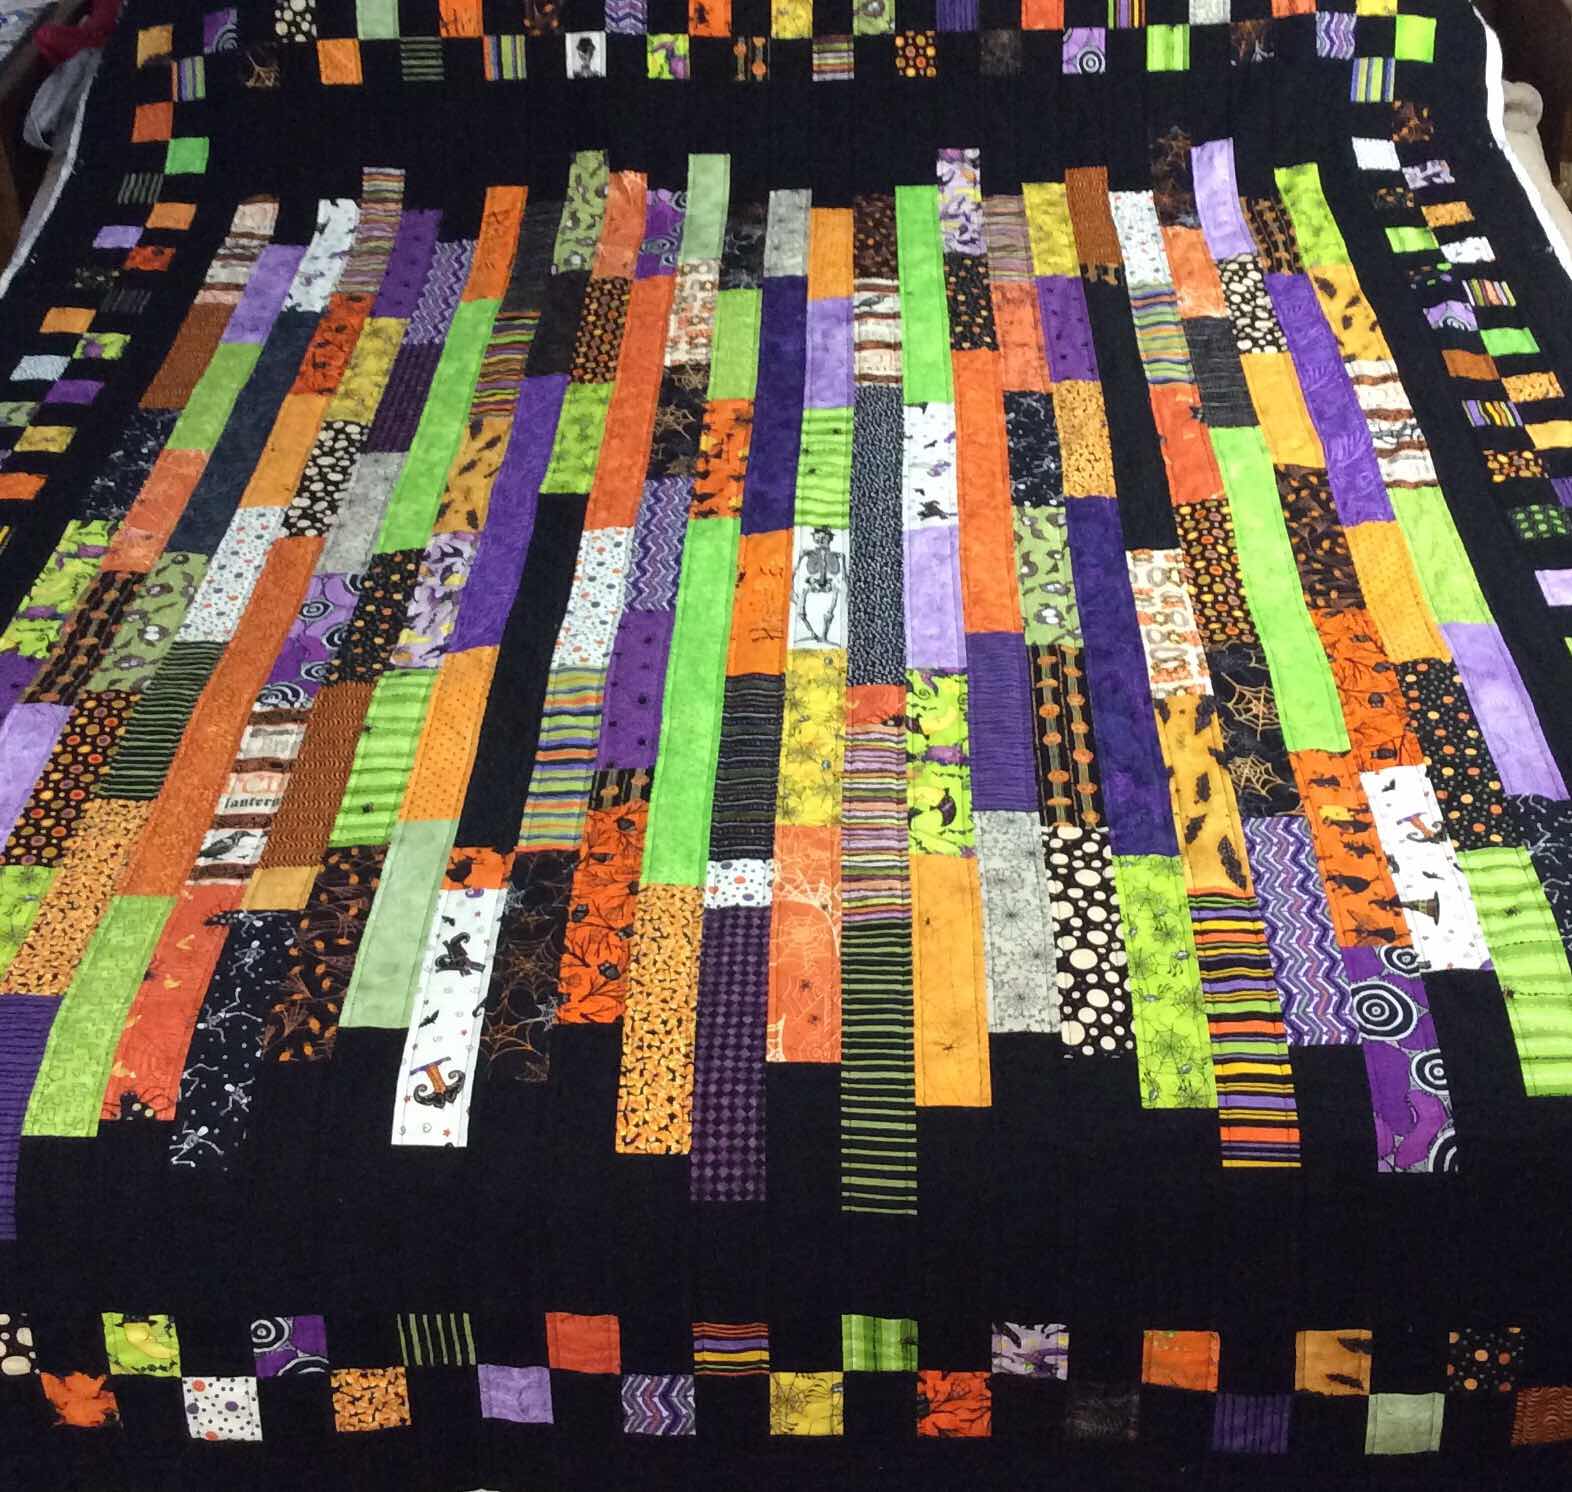
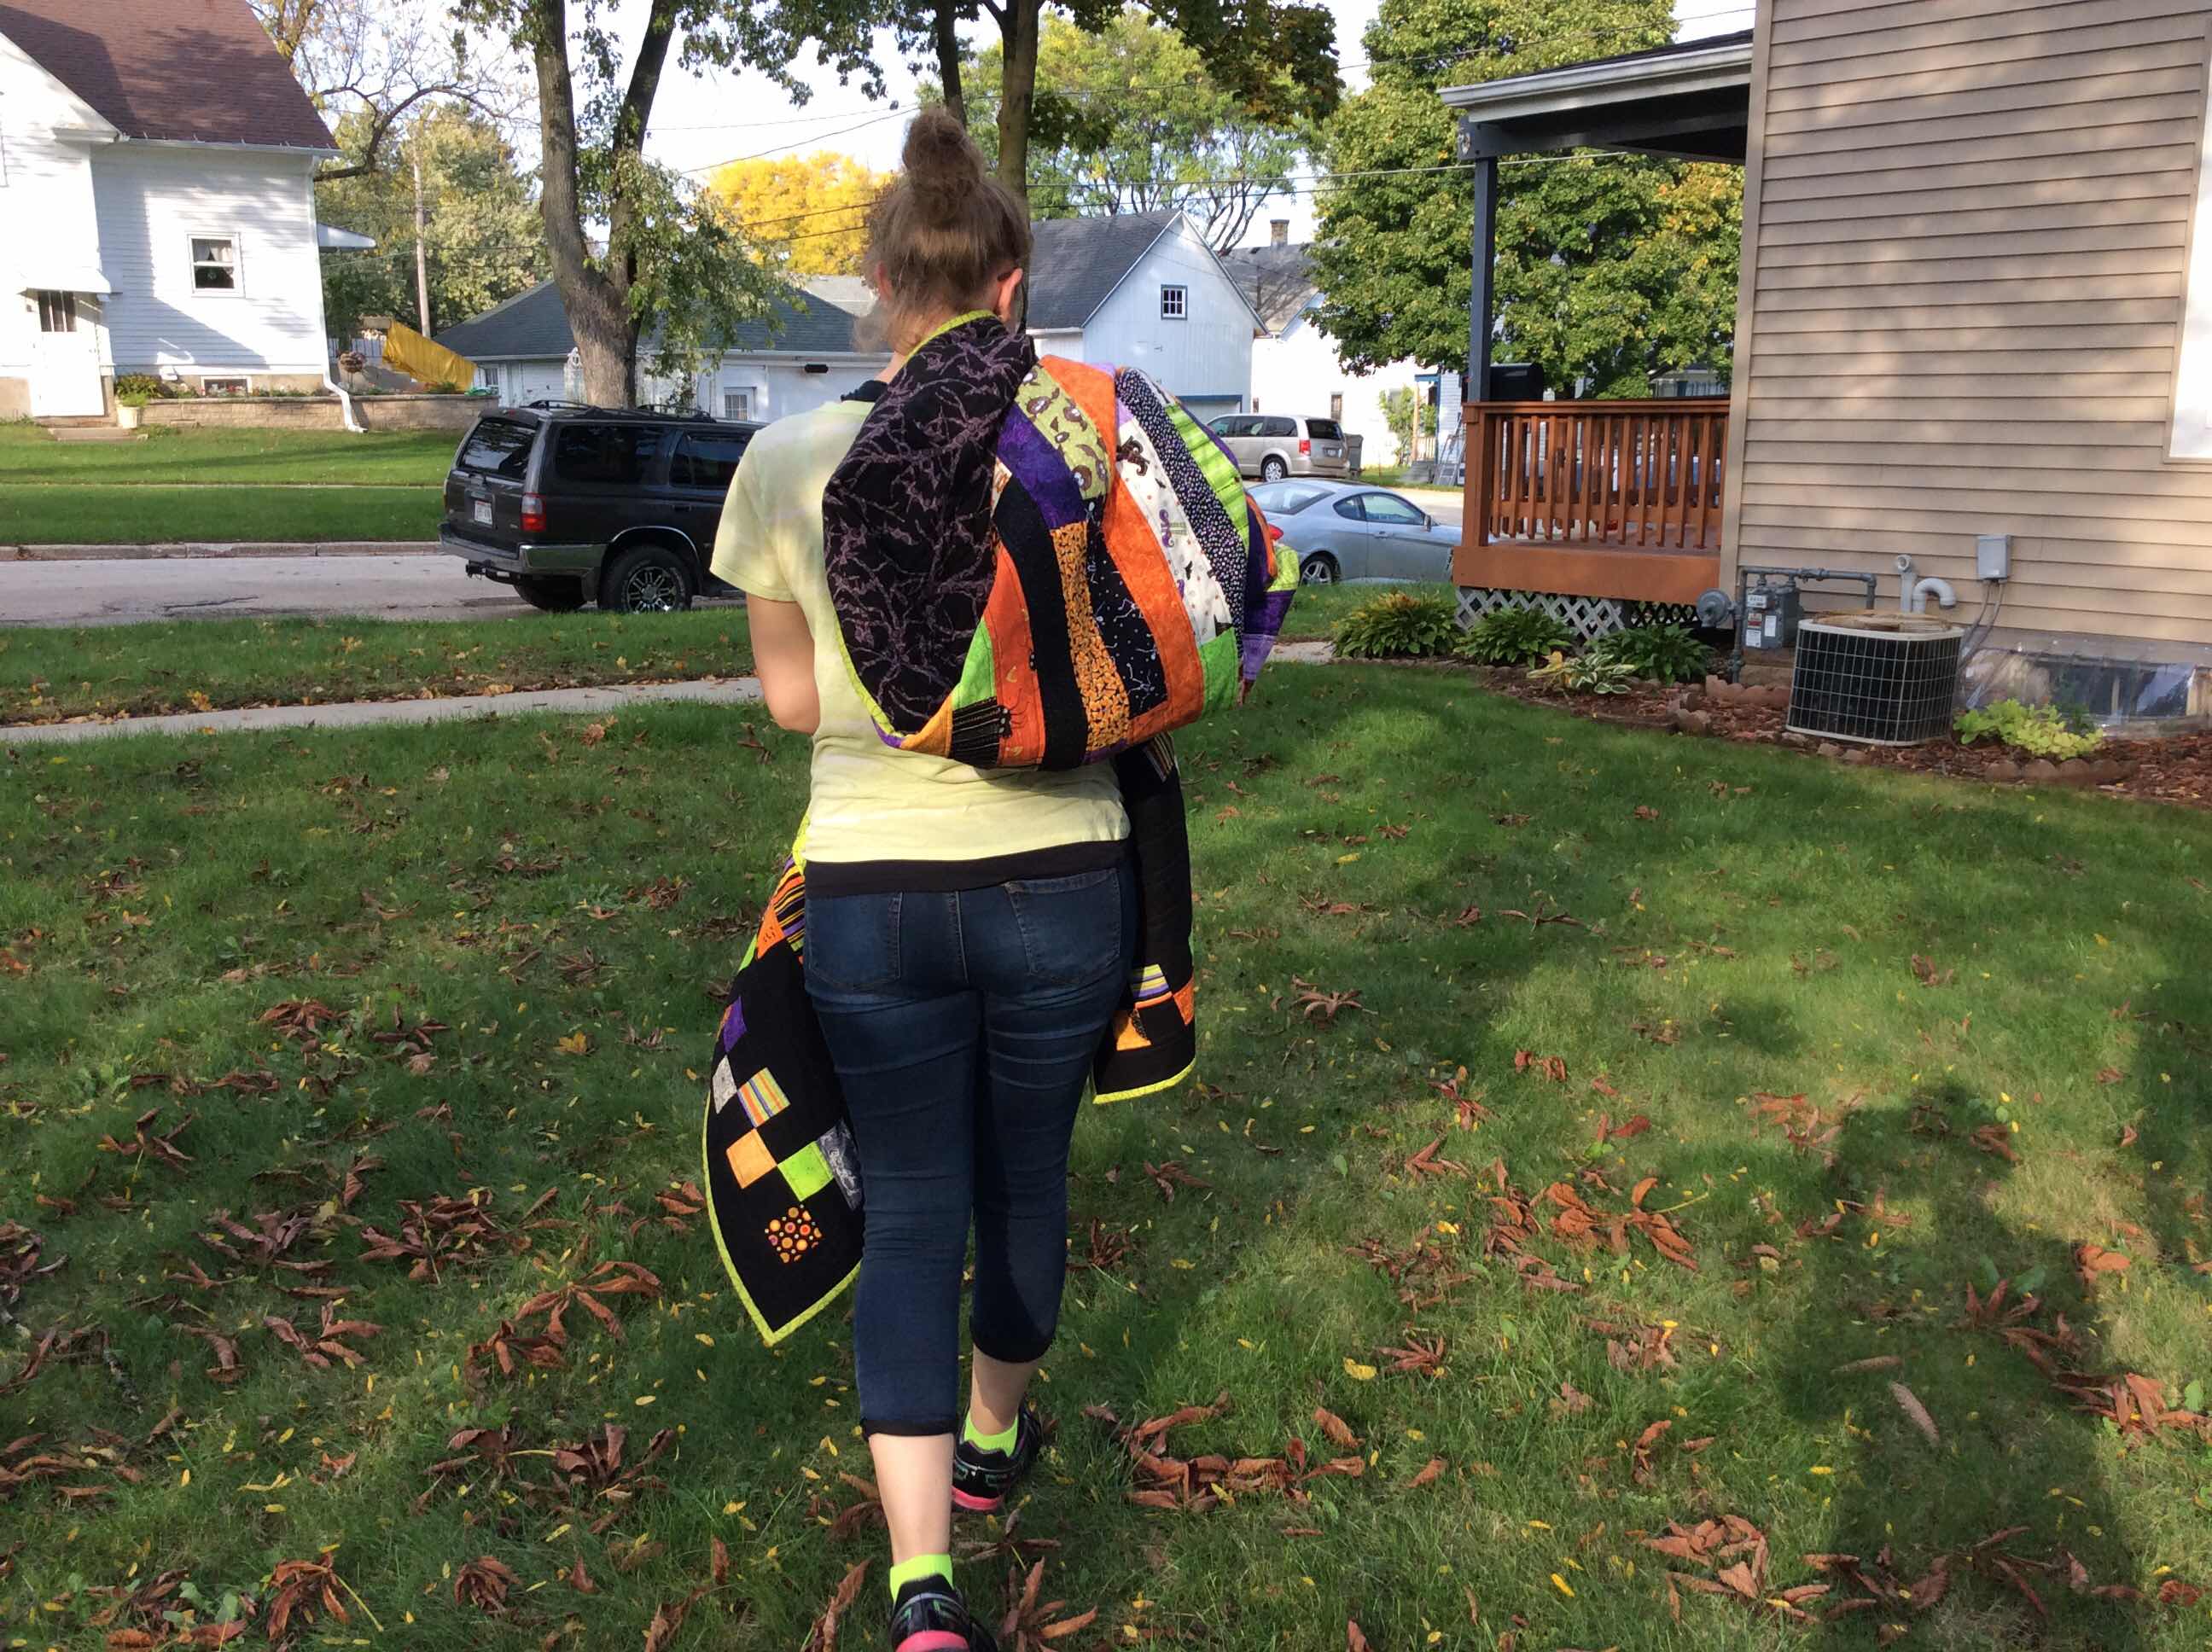
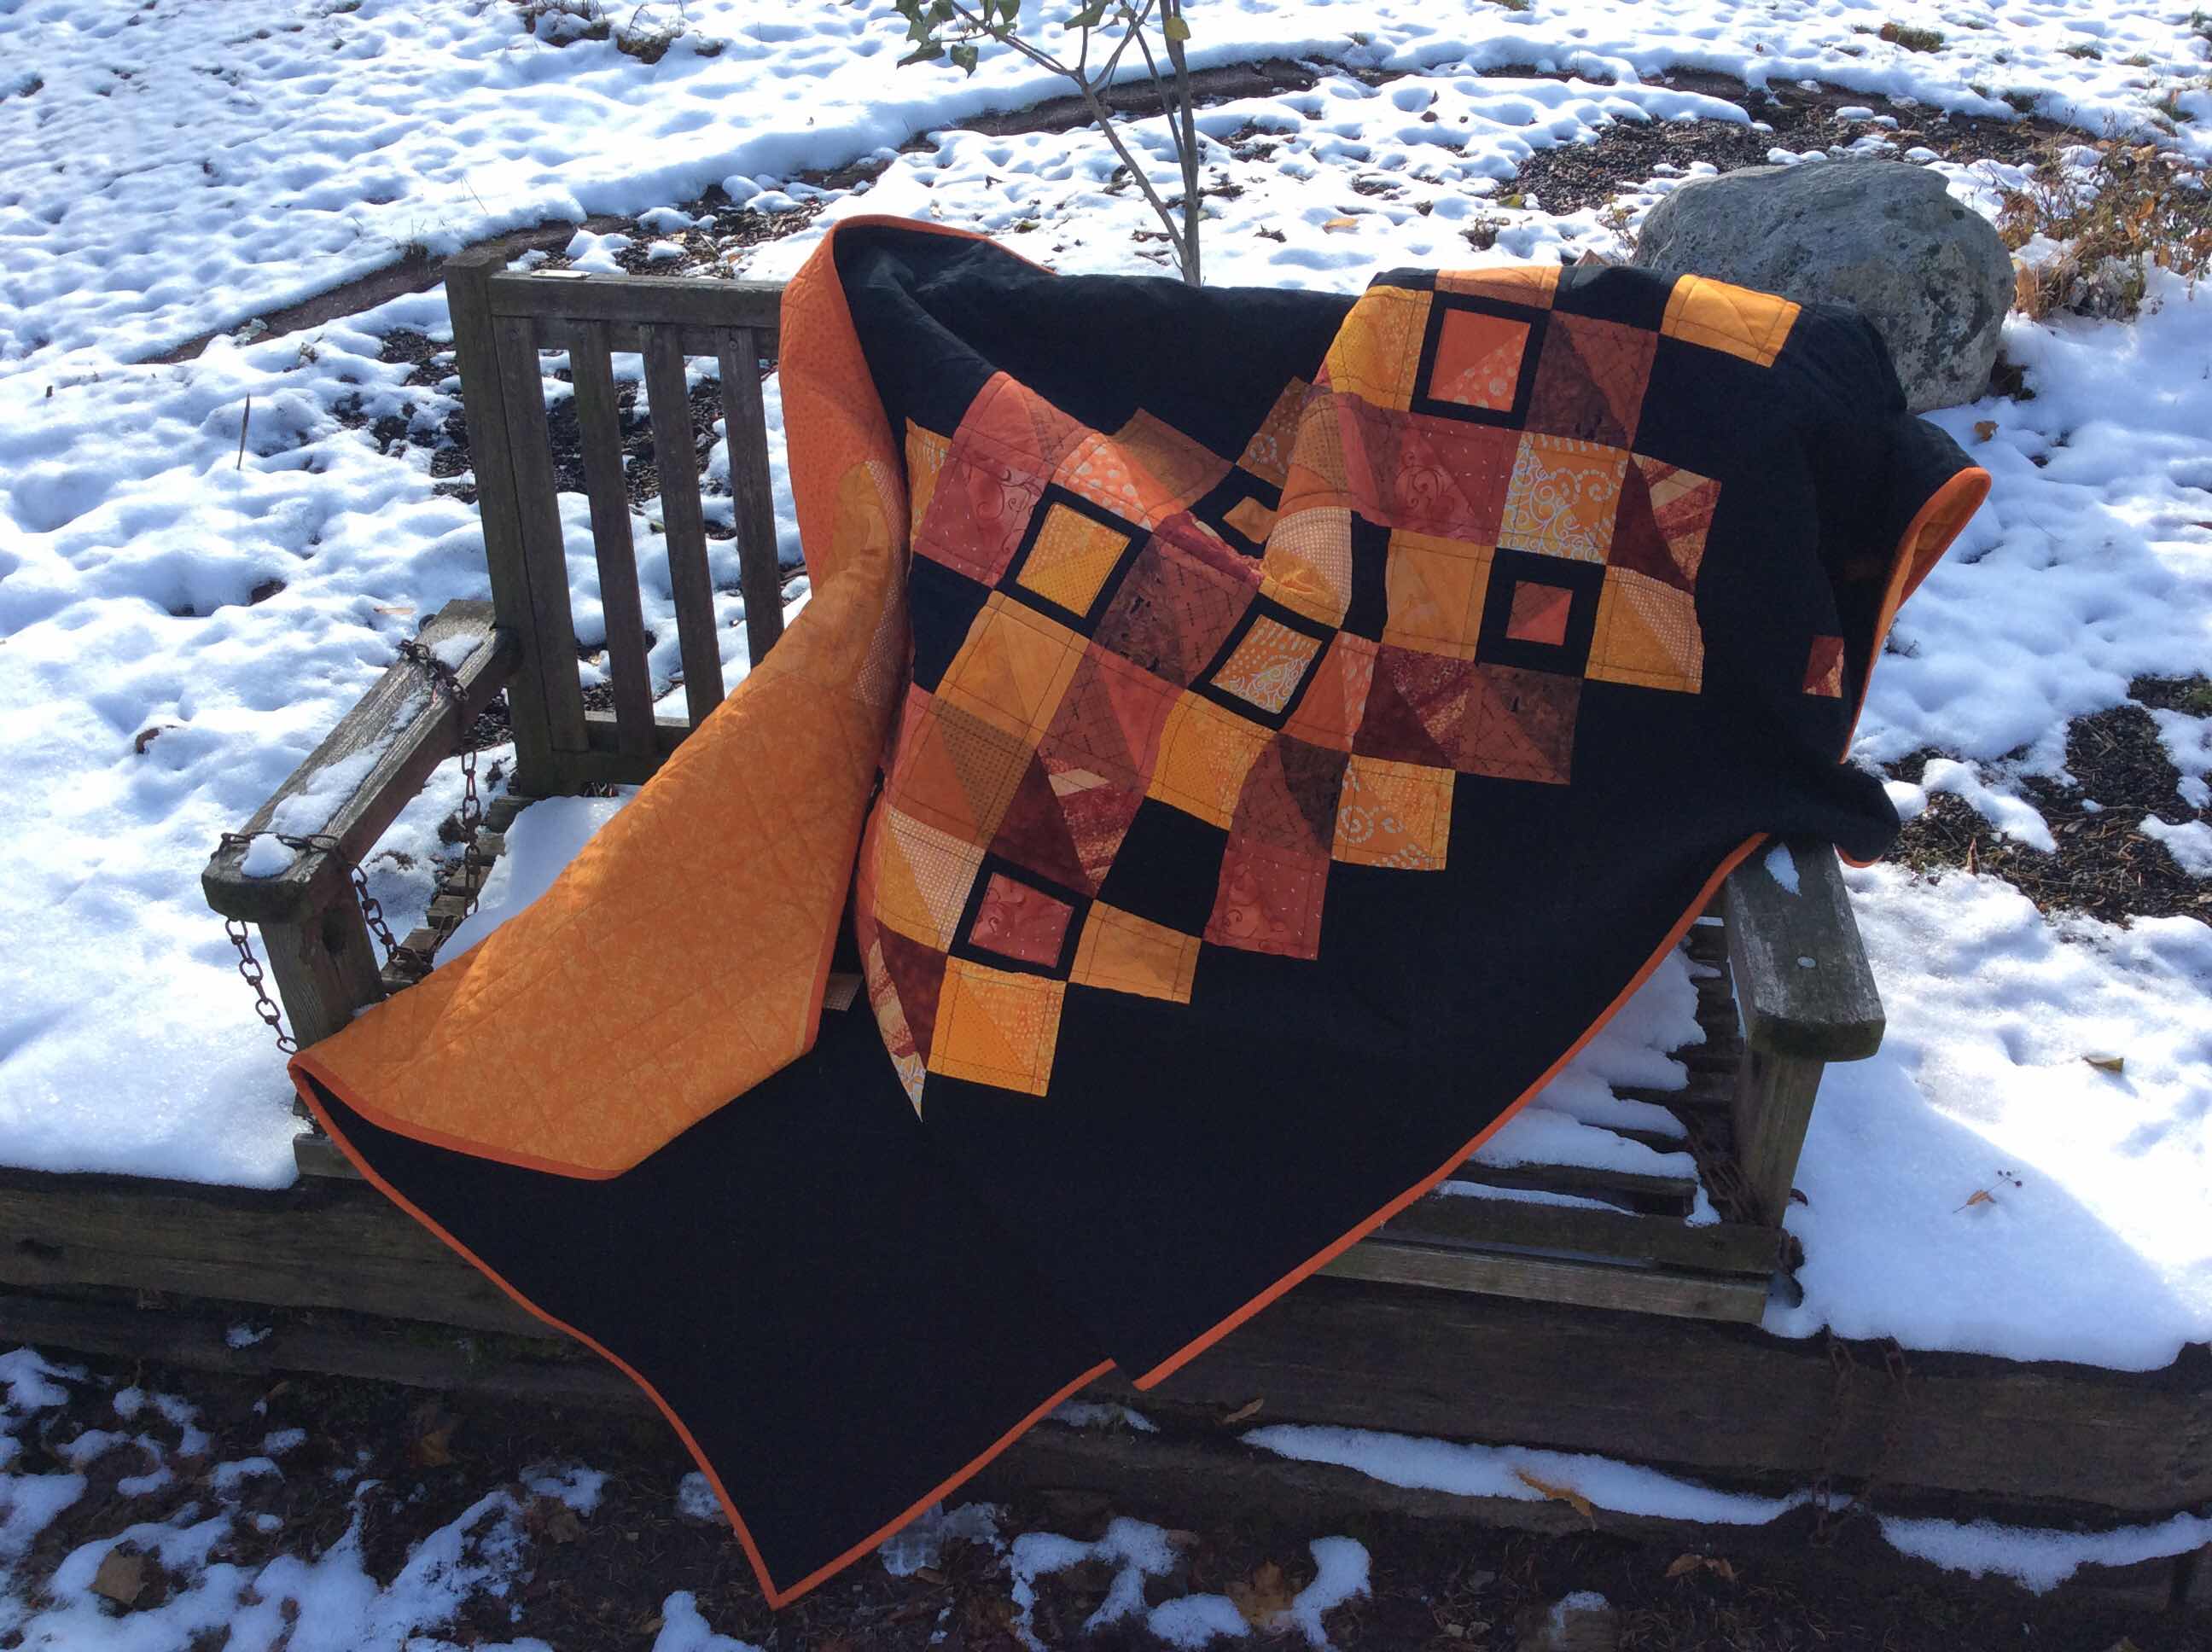
A recliner quilt.  That’s what I call it anyway.  I had a request for a quilt for using while in his recliner chair.  So narrow and long was the request and orange was the color desired.  “Just orange”?  “It could have some black but not be halloween”.  Okay, there’s a challenge if ever I heard one.


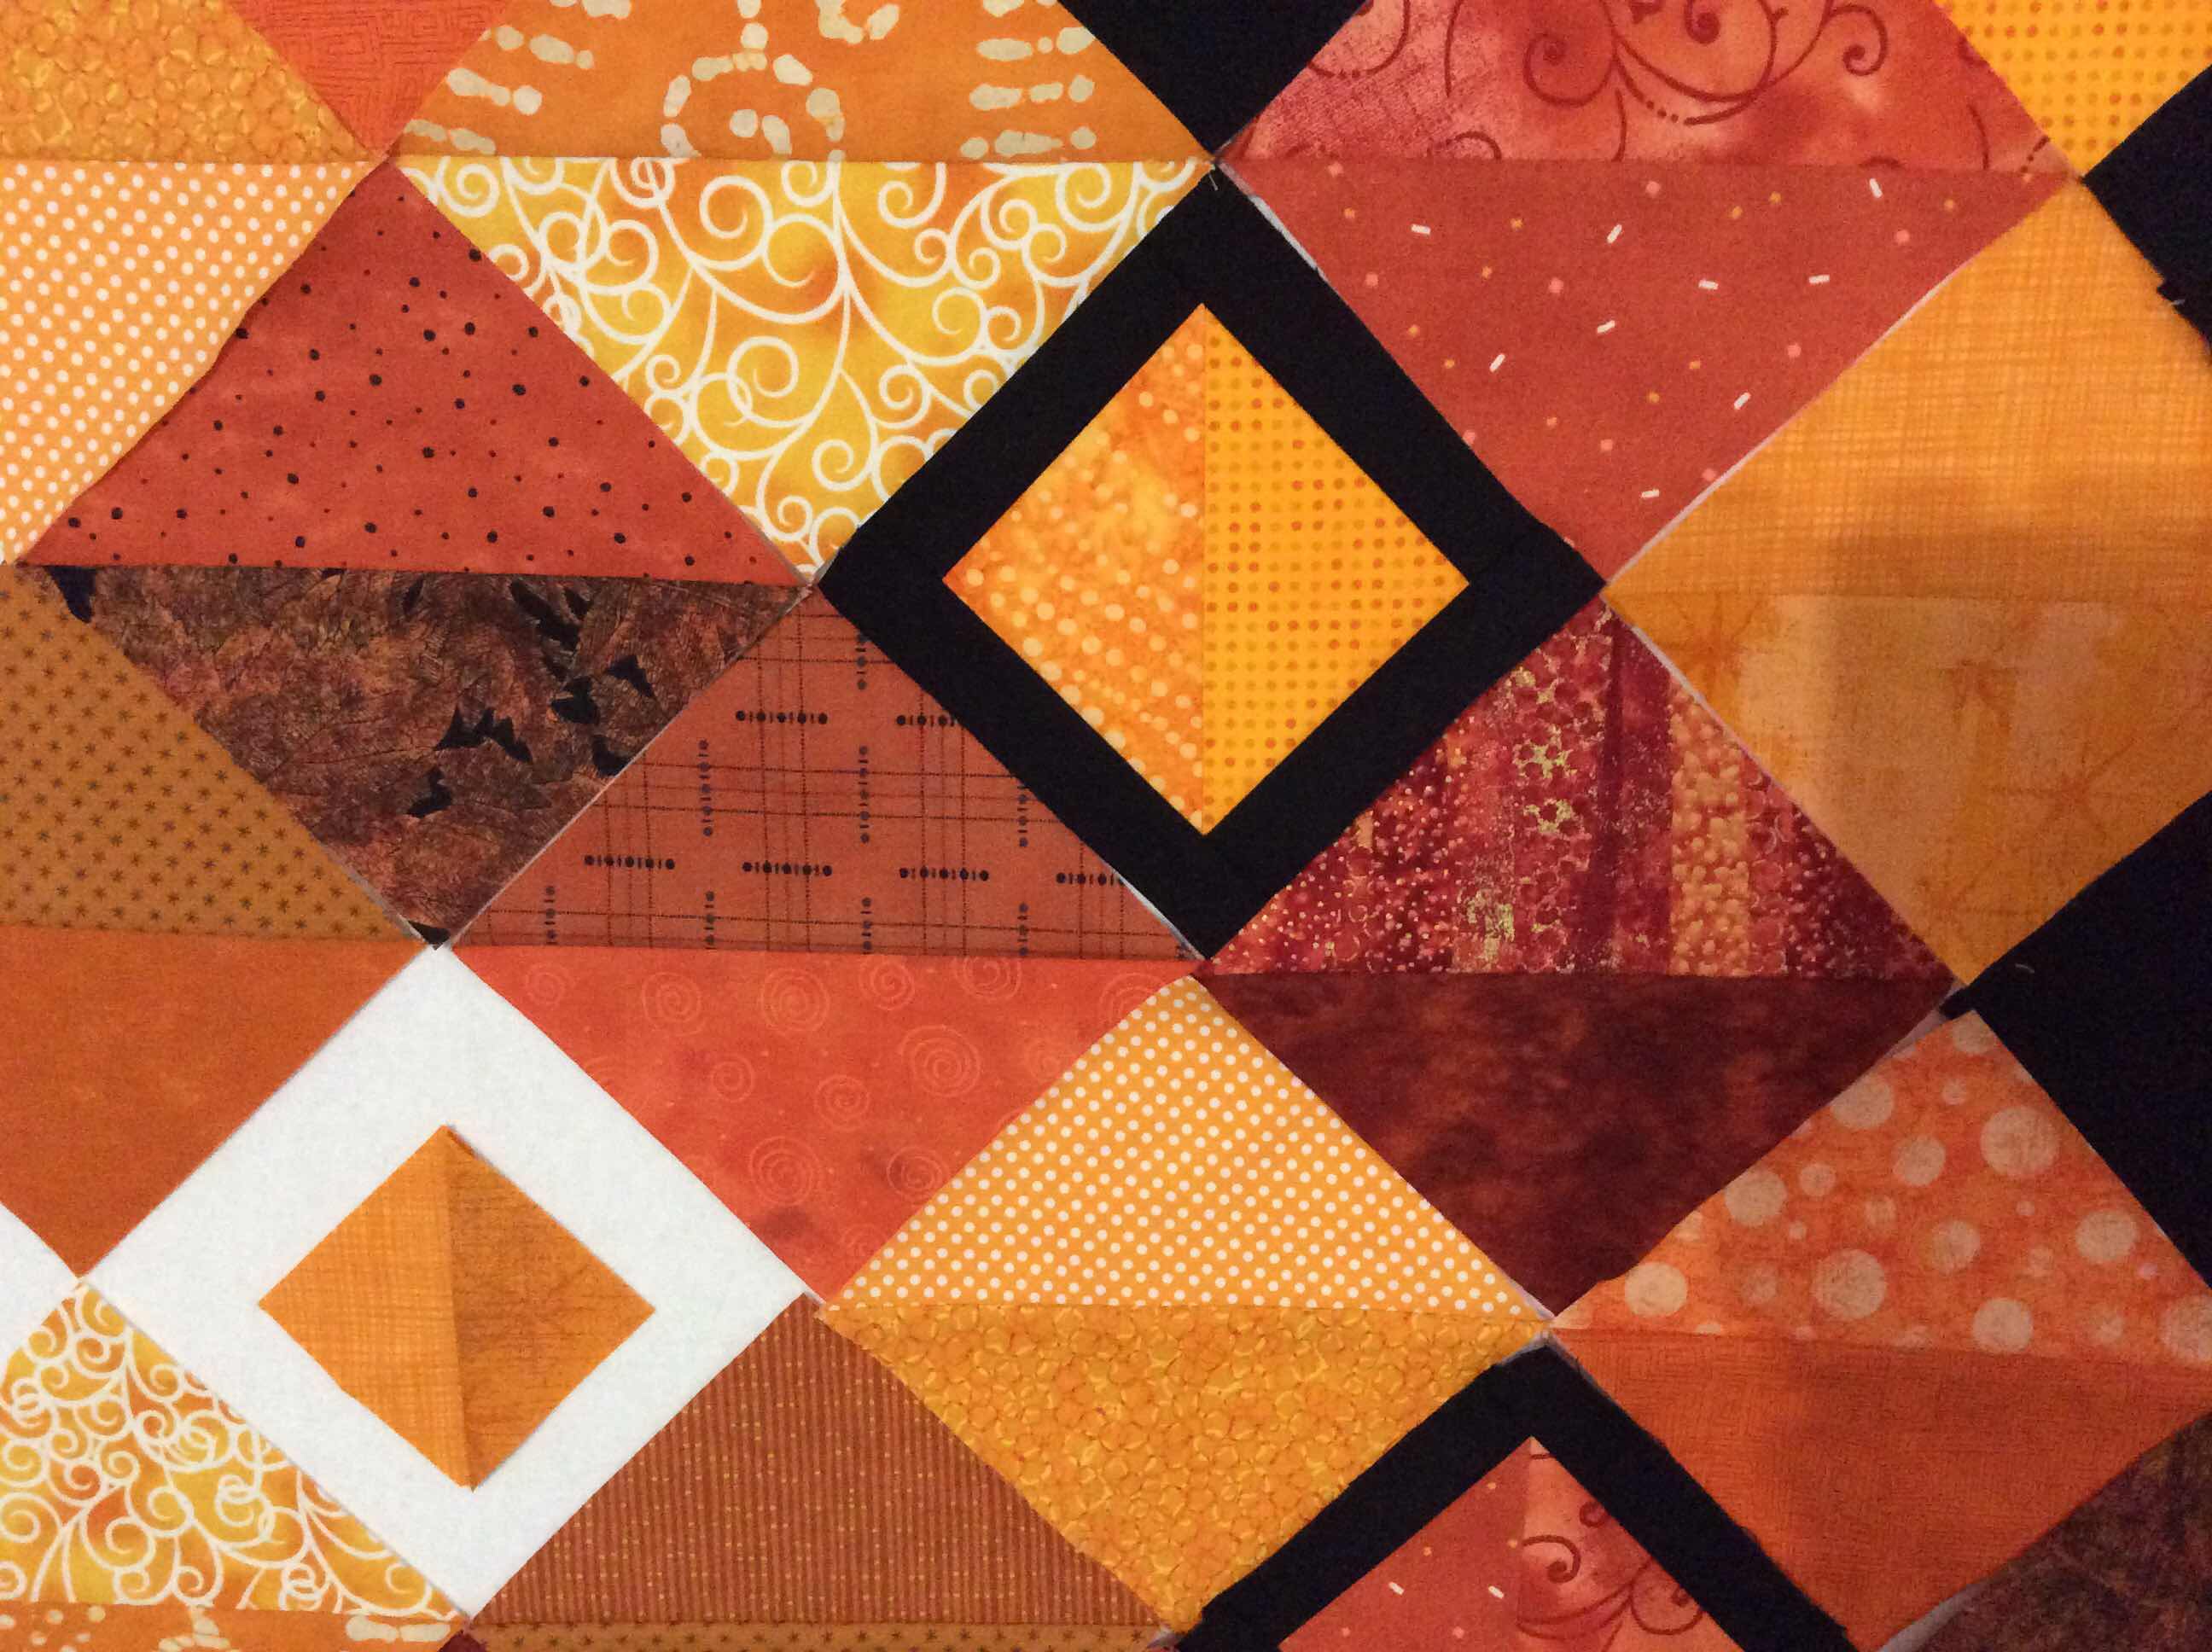
I did not use a pattern.  Just half square triangles set on point.  

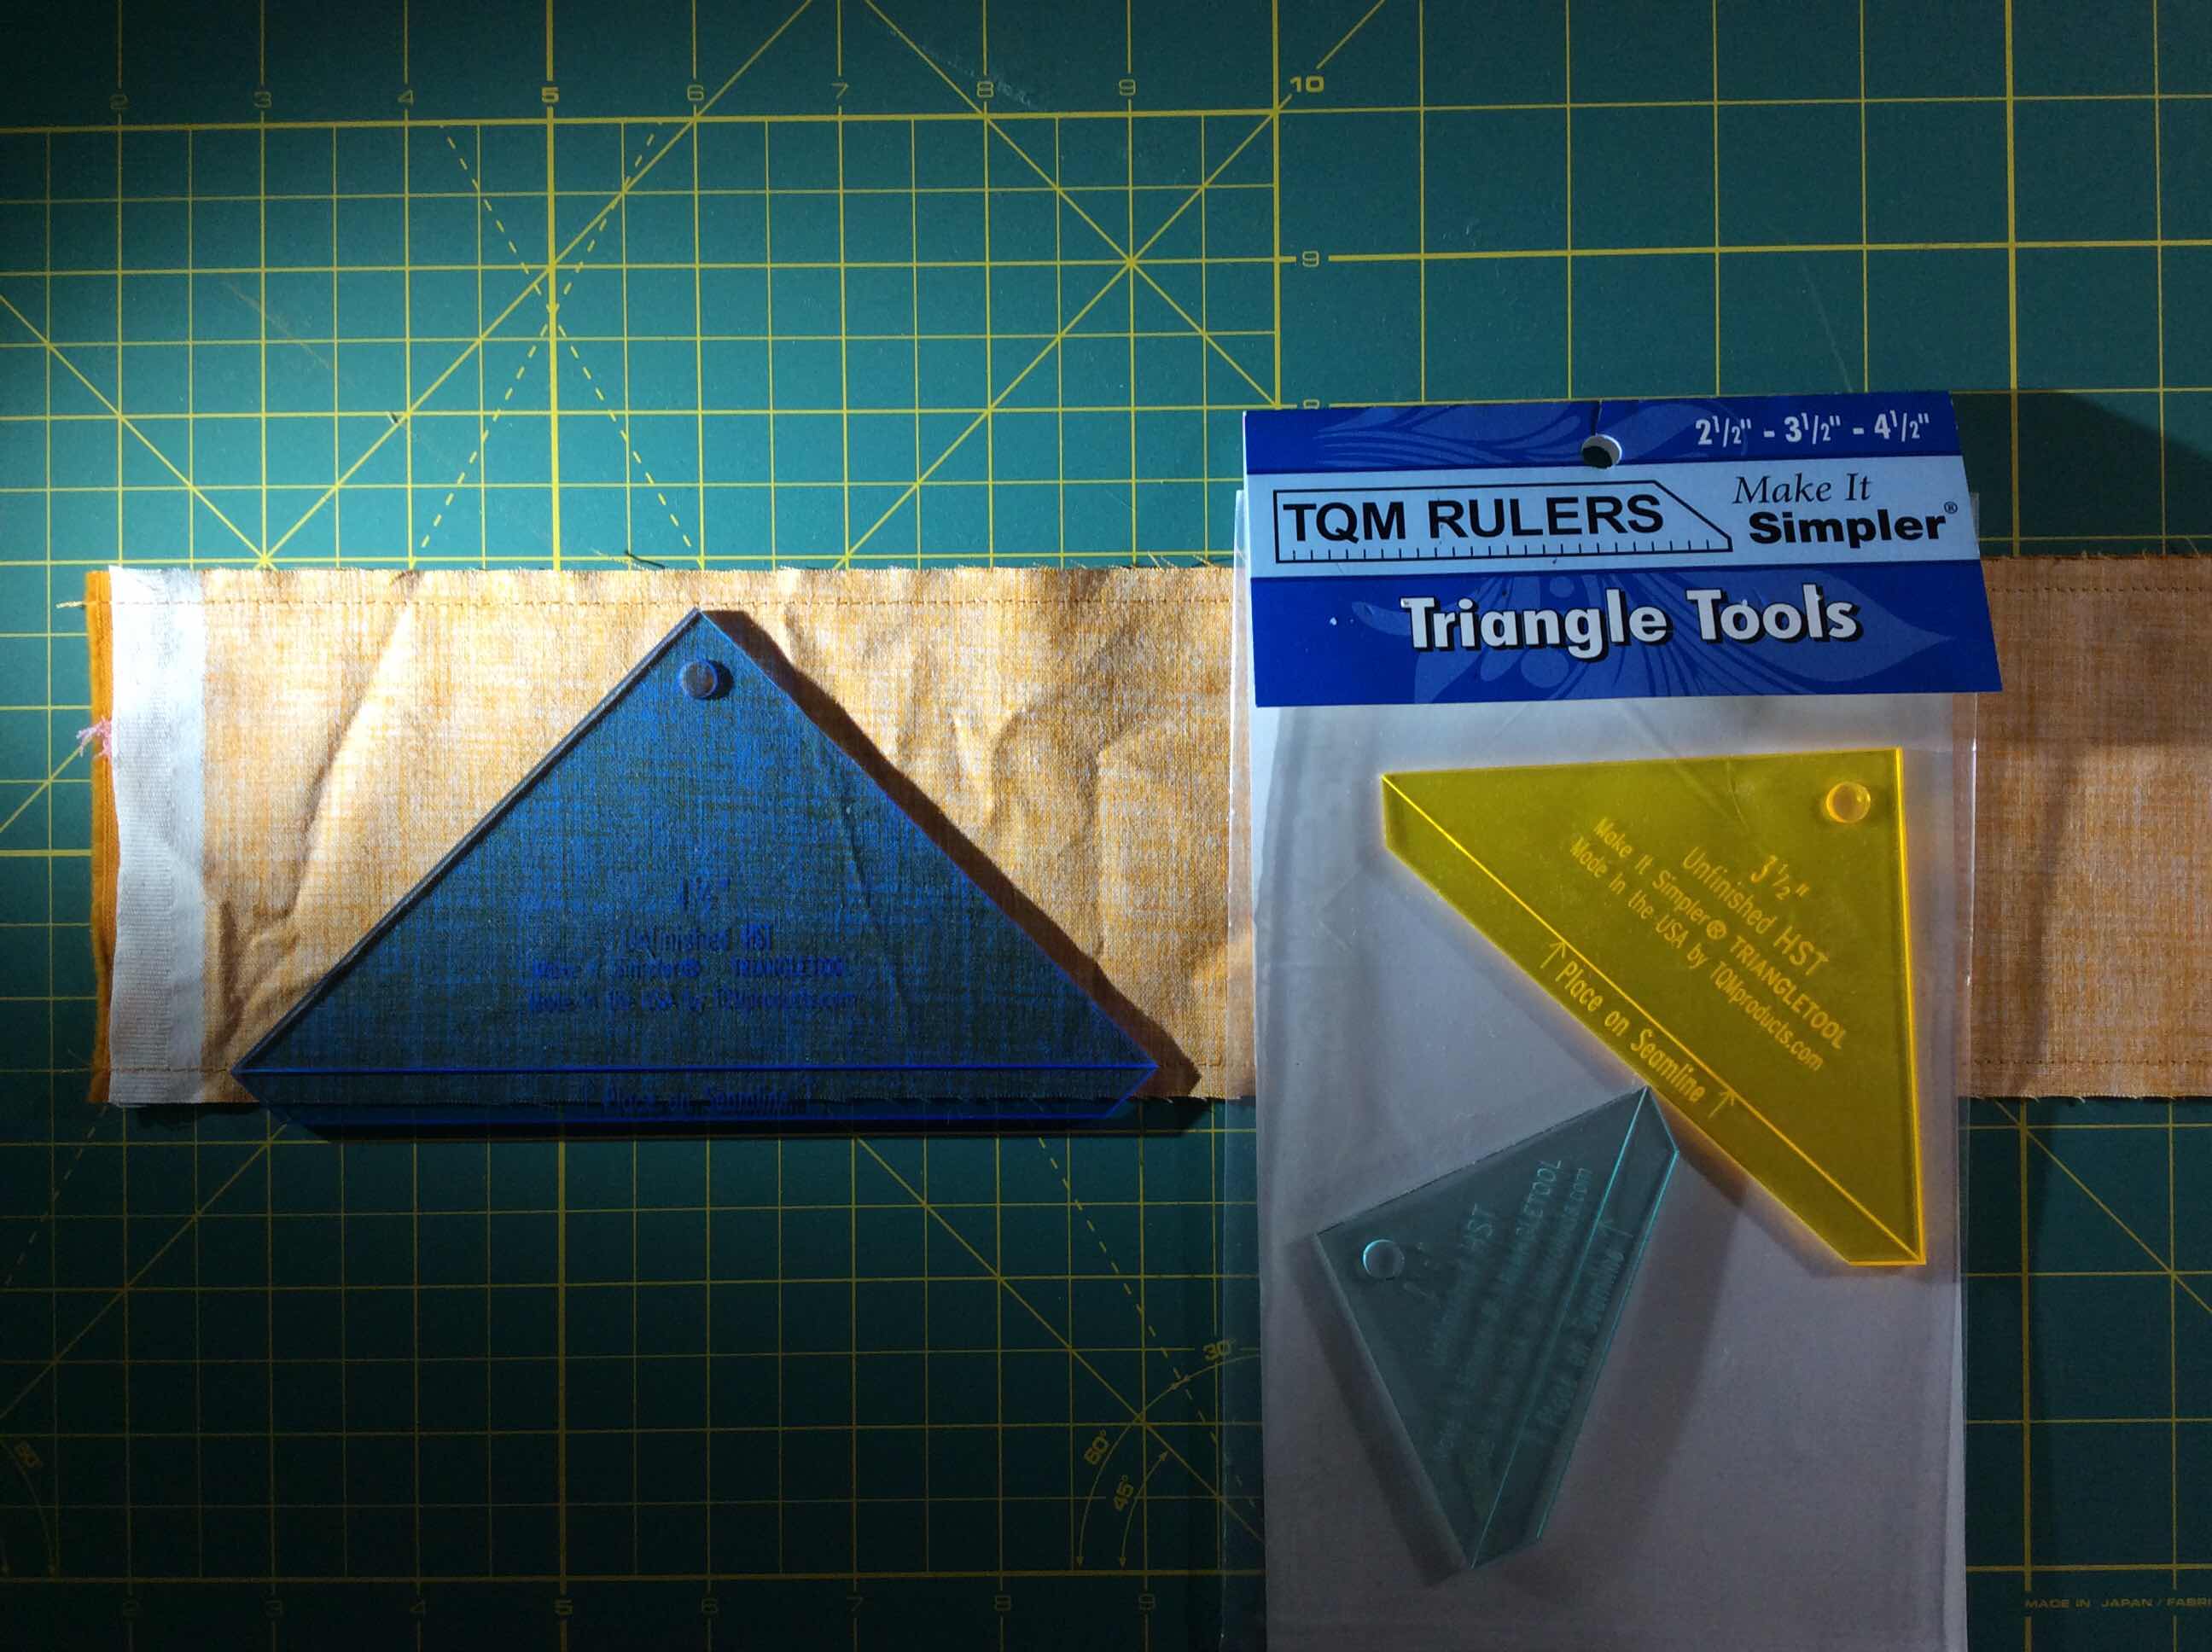
I was anxious to try these triangle rulers I found at the quilt show.  Wow, did these half square triangles (hst) make up fast!


I love that the ruler has guides for trimming off those dog ears as you cut the triangles.

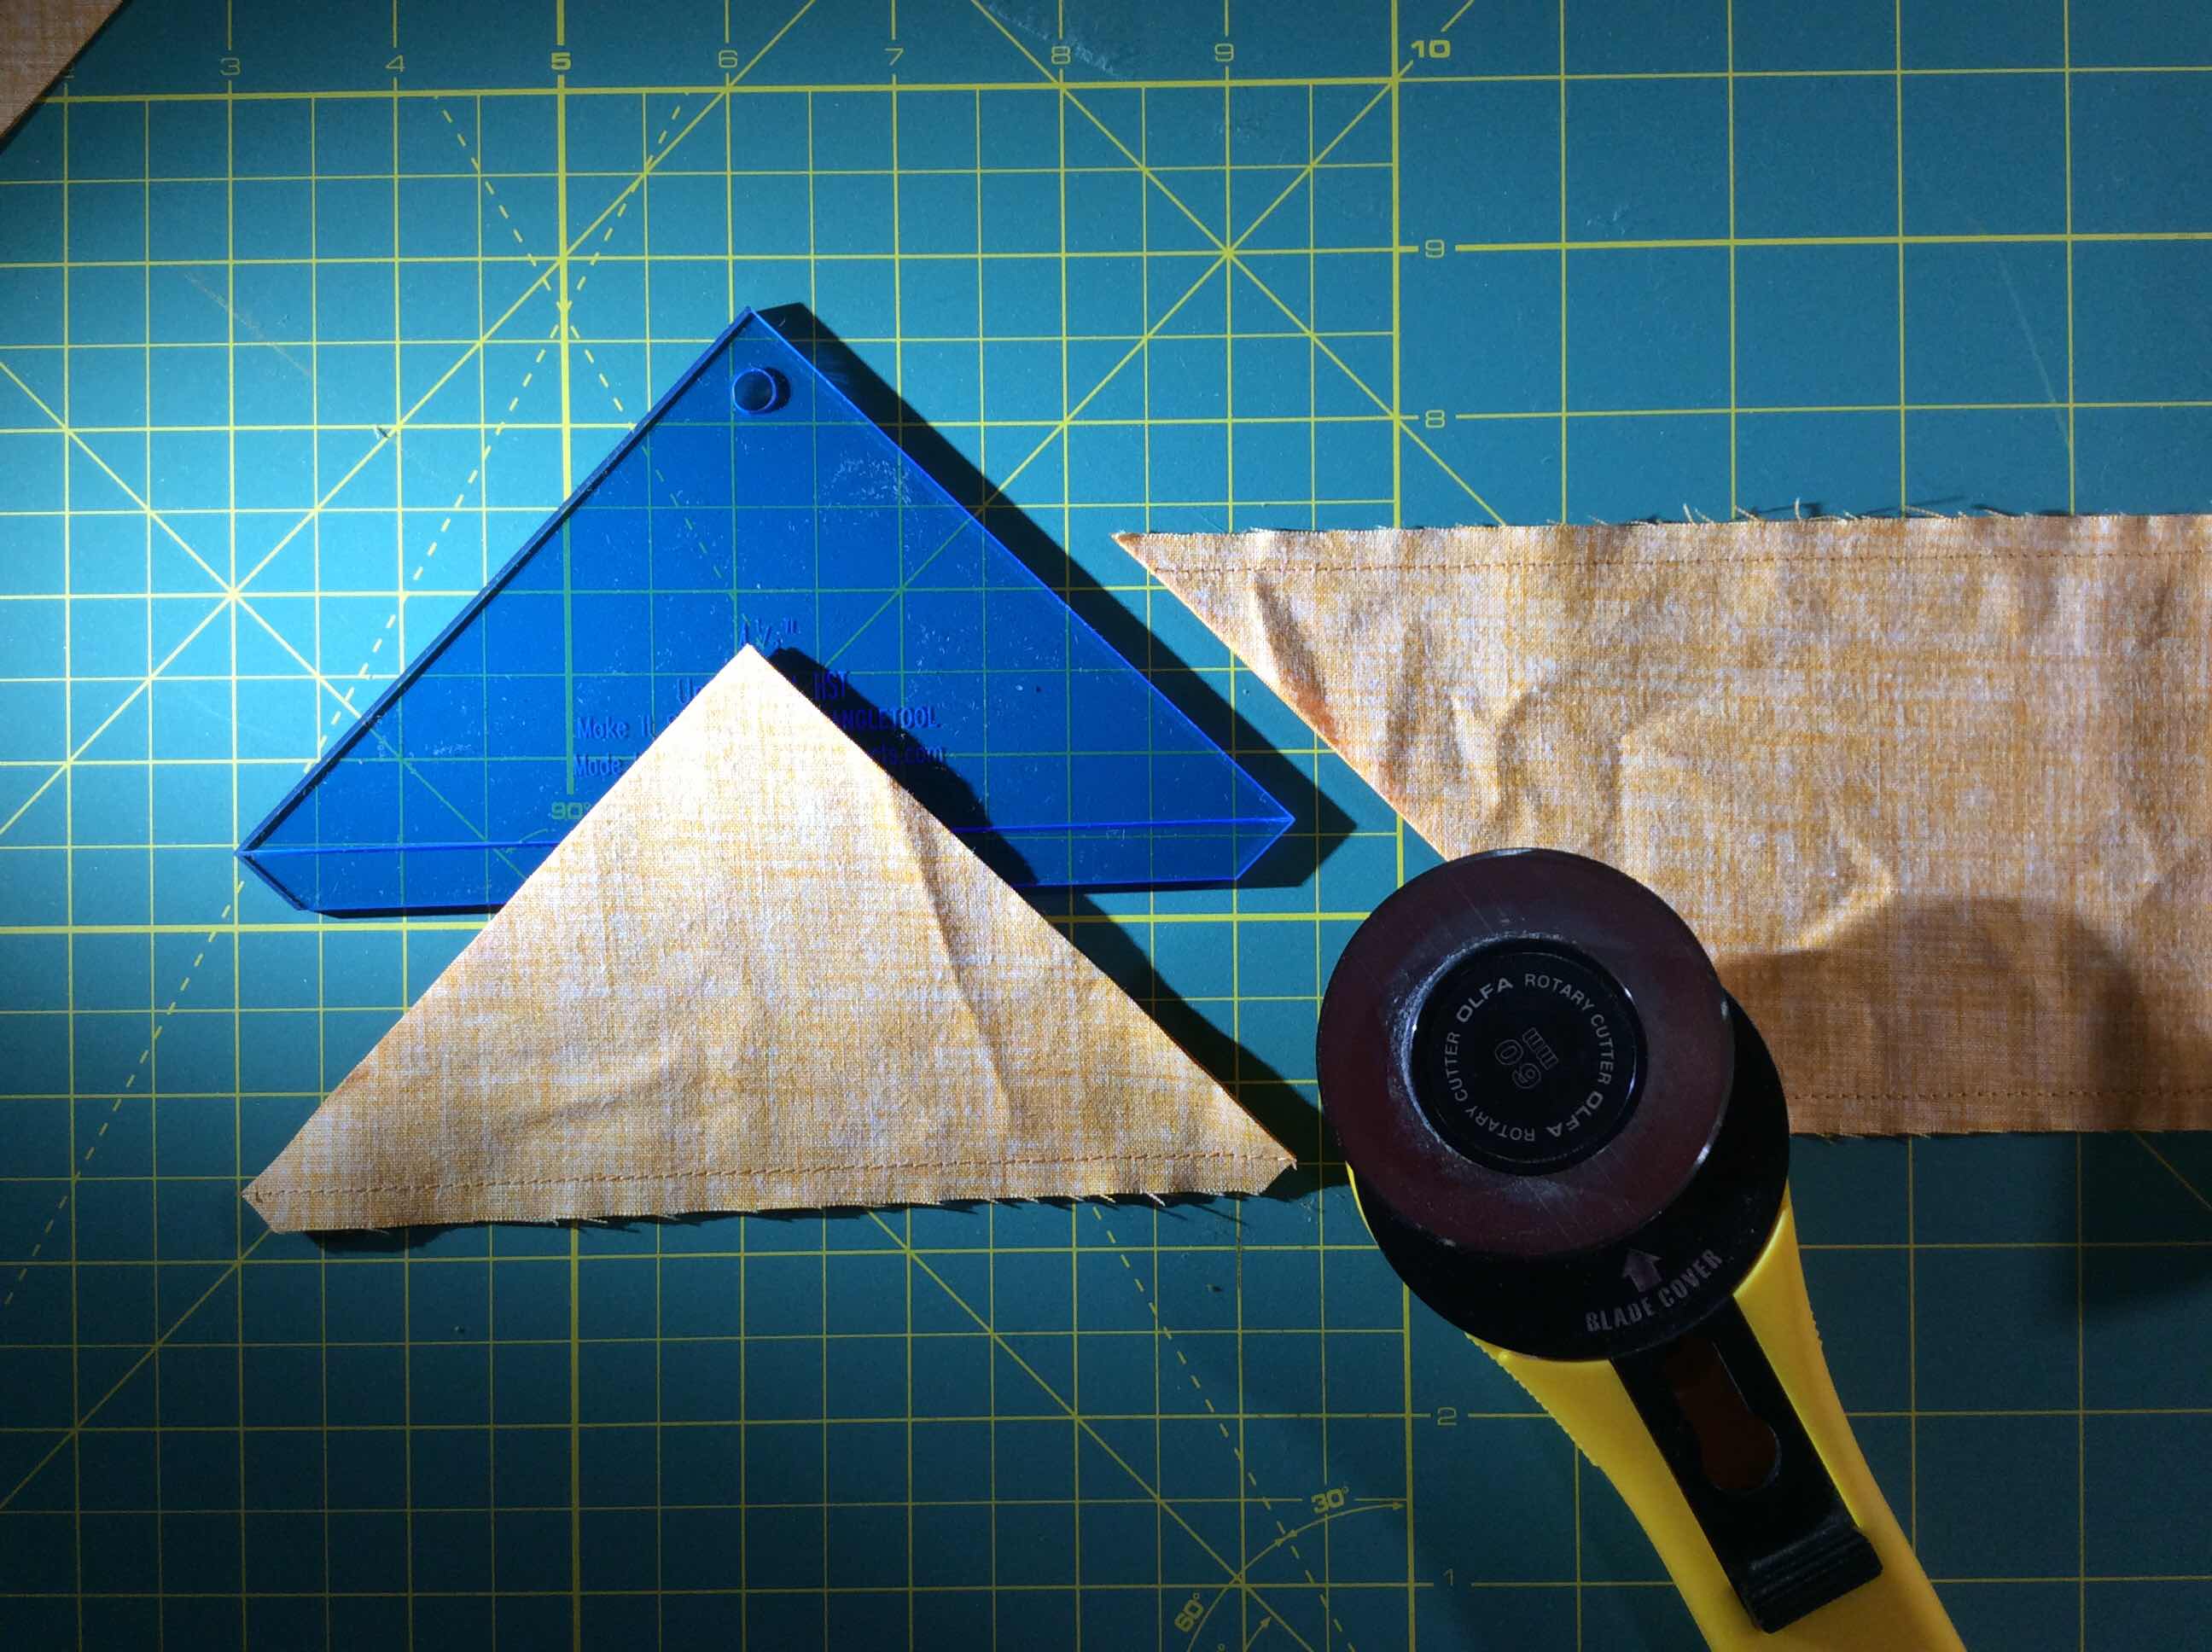
Cut and neatly trimmed and ready to sew!


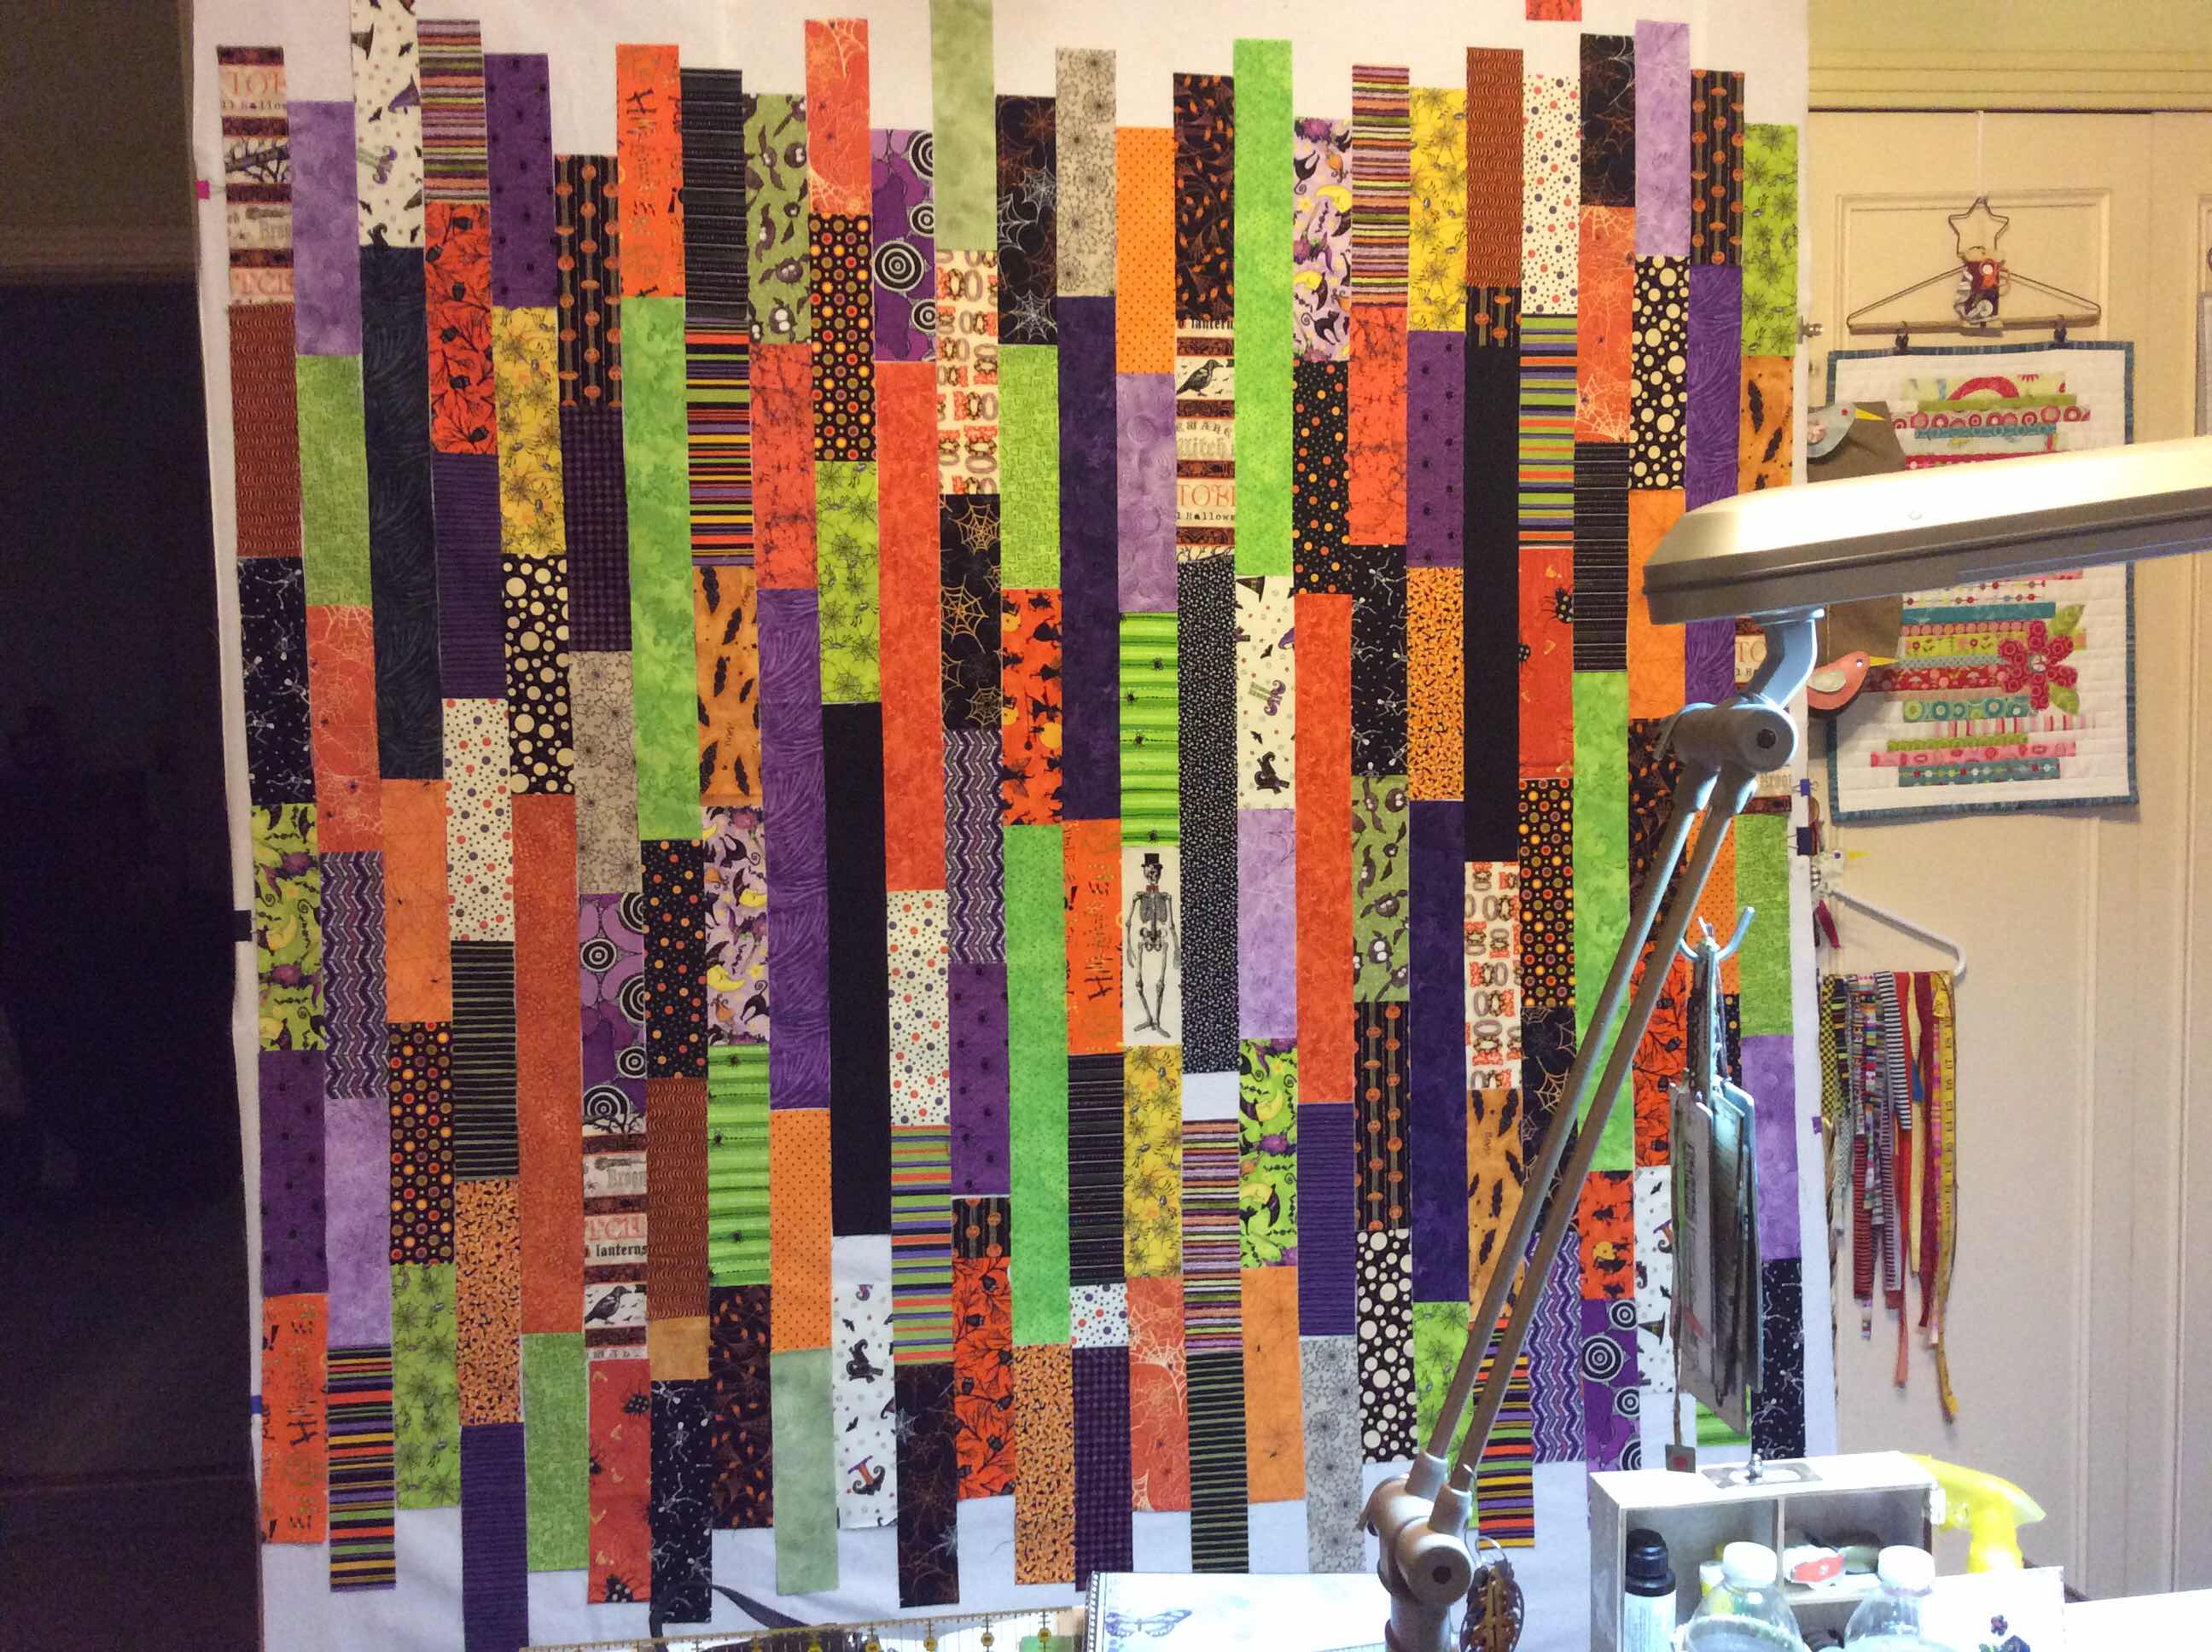
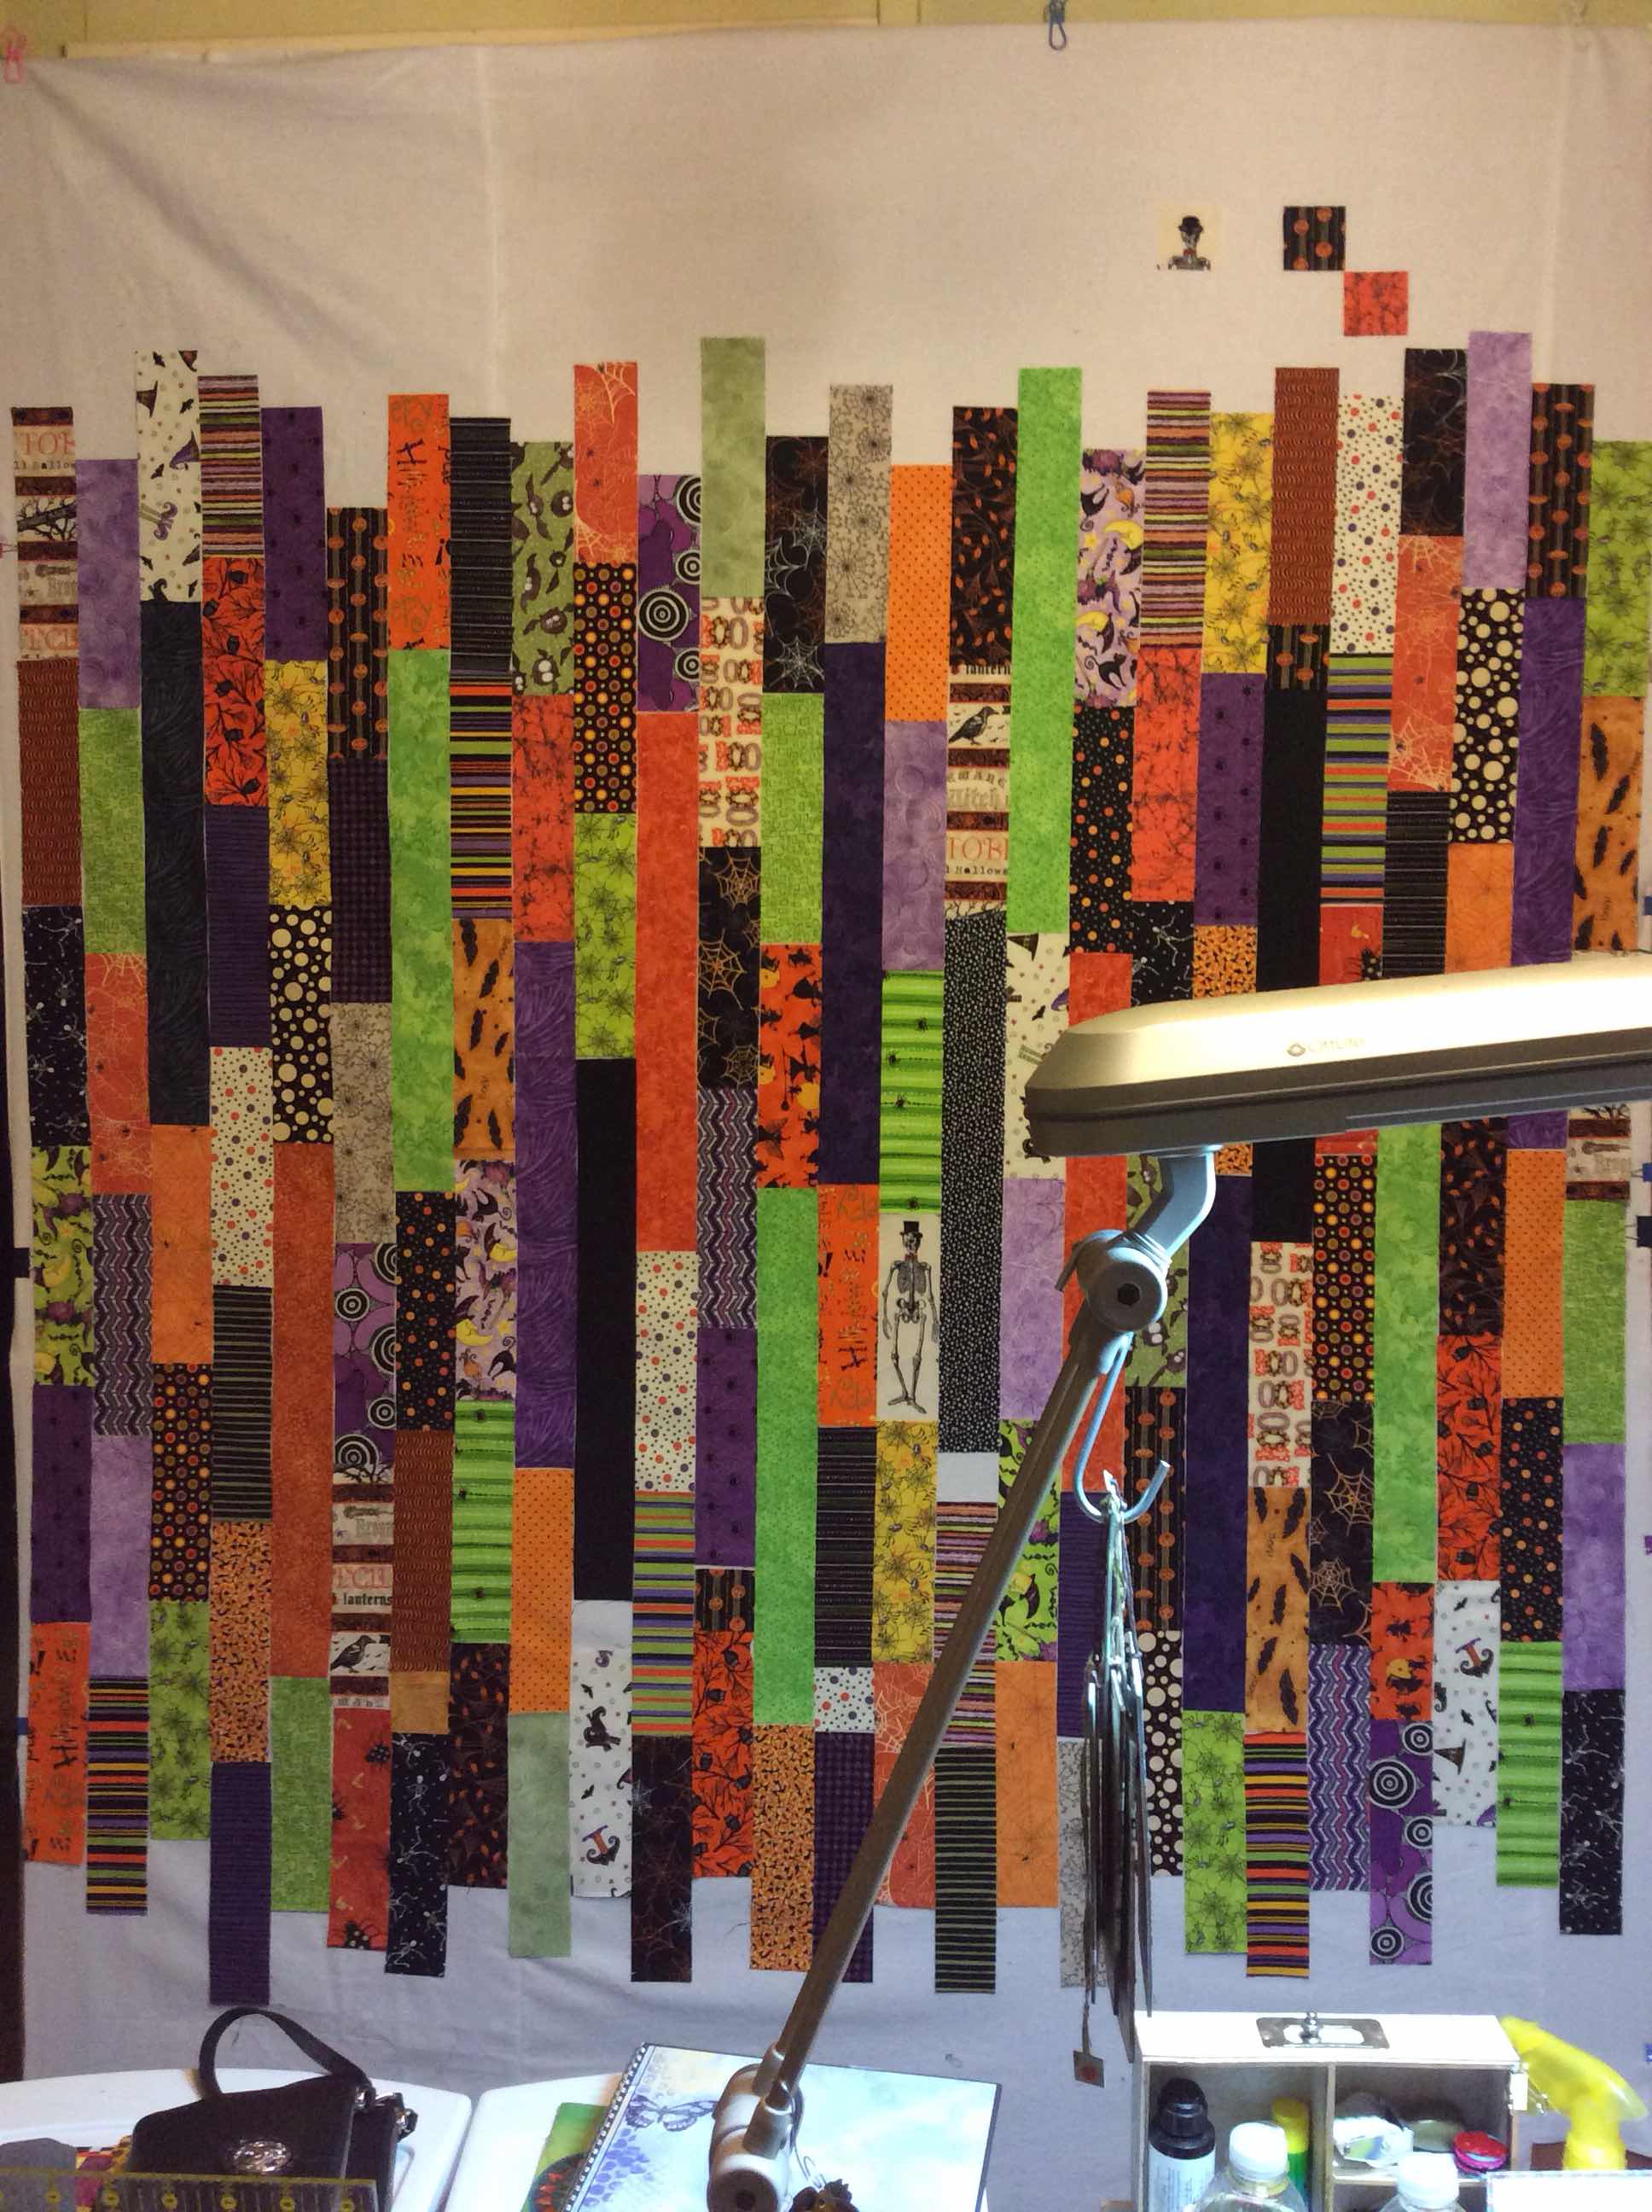
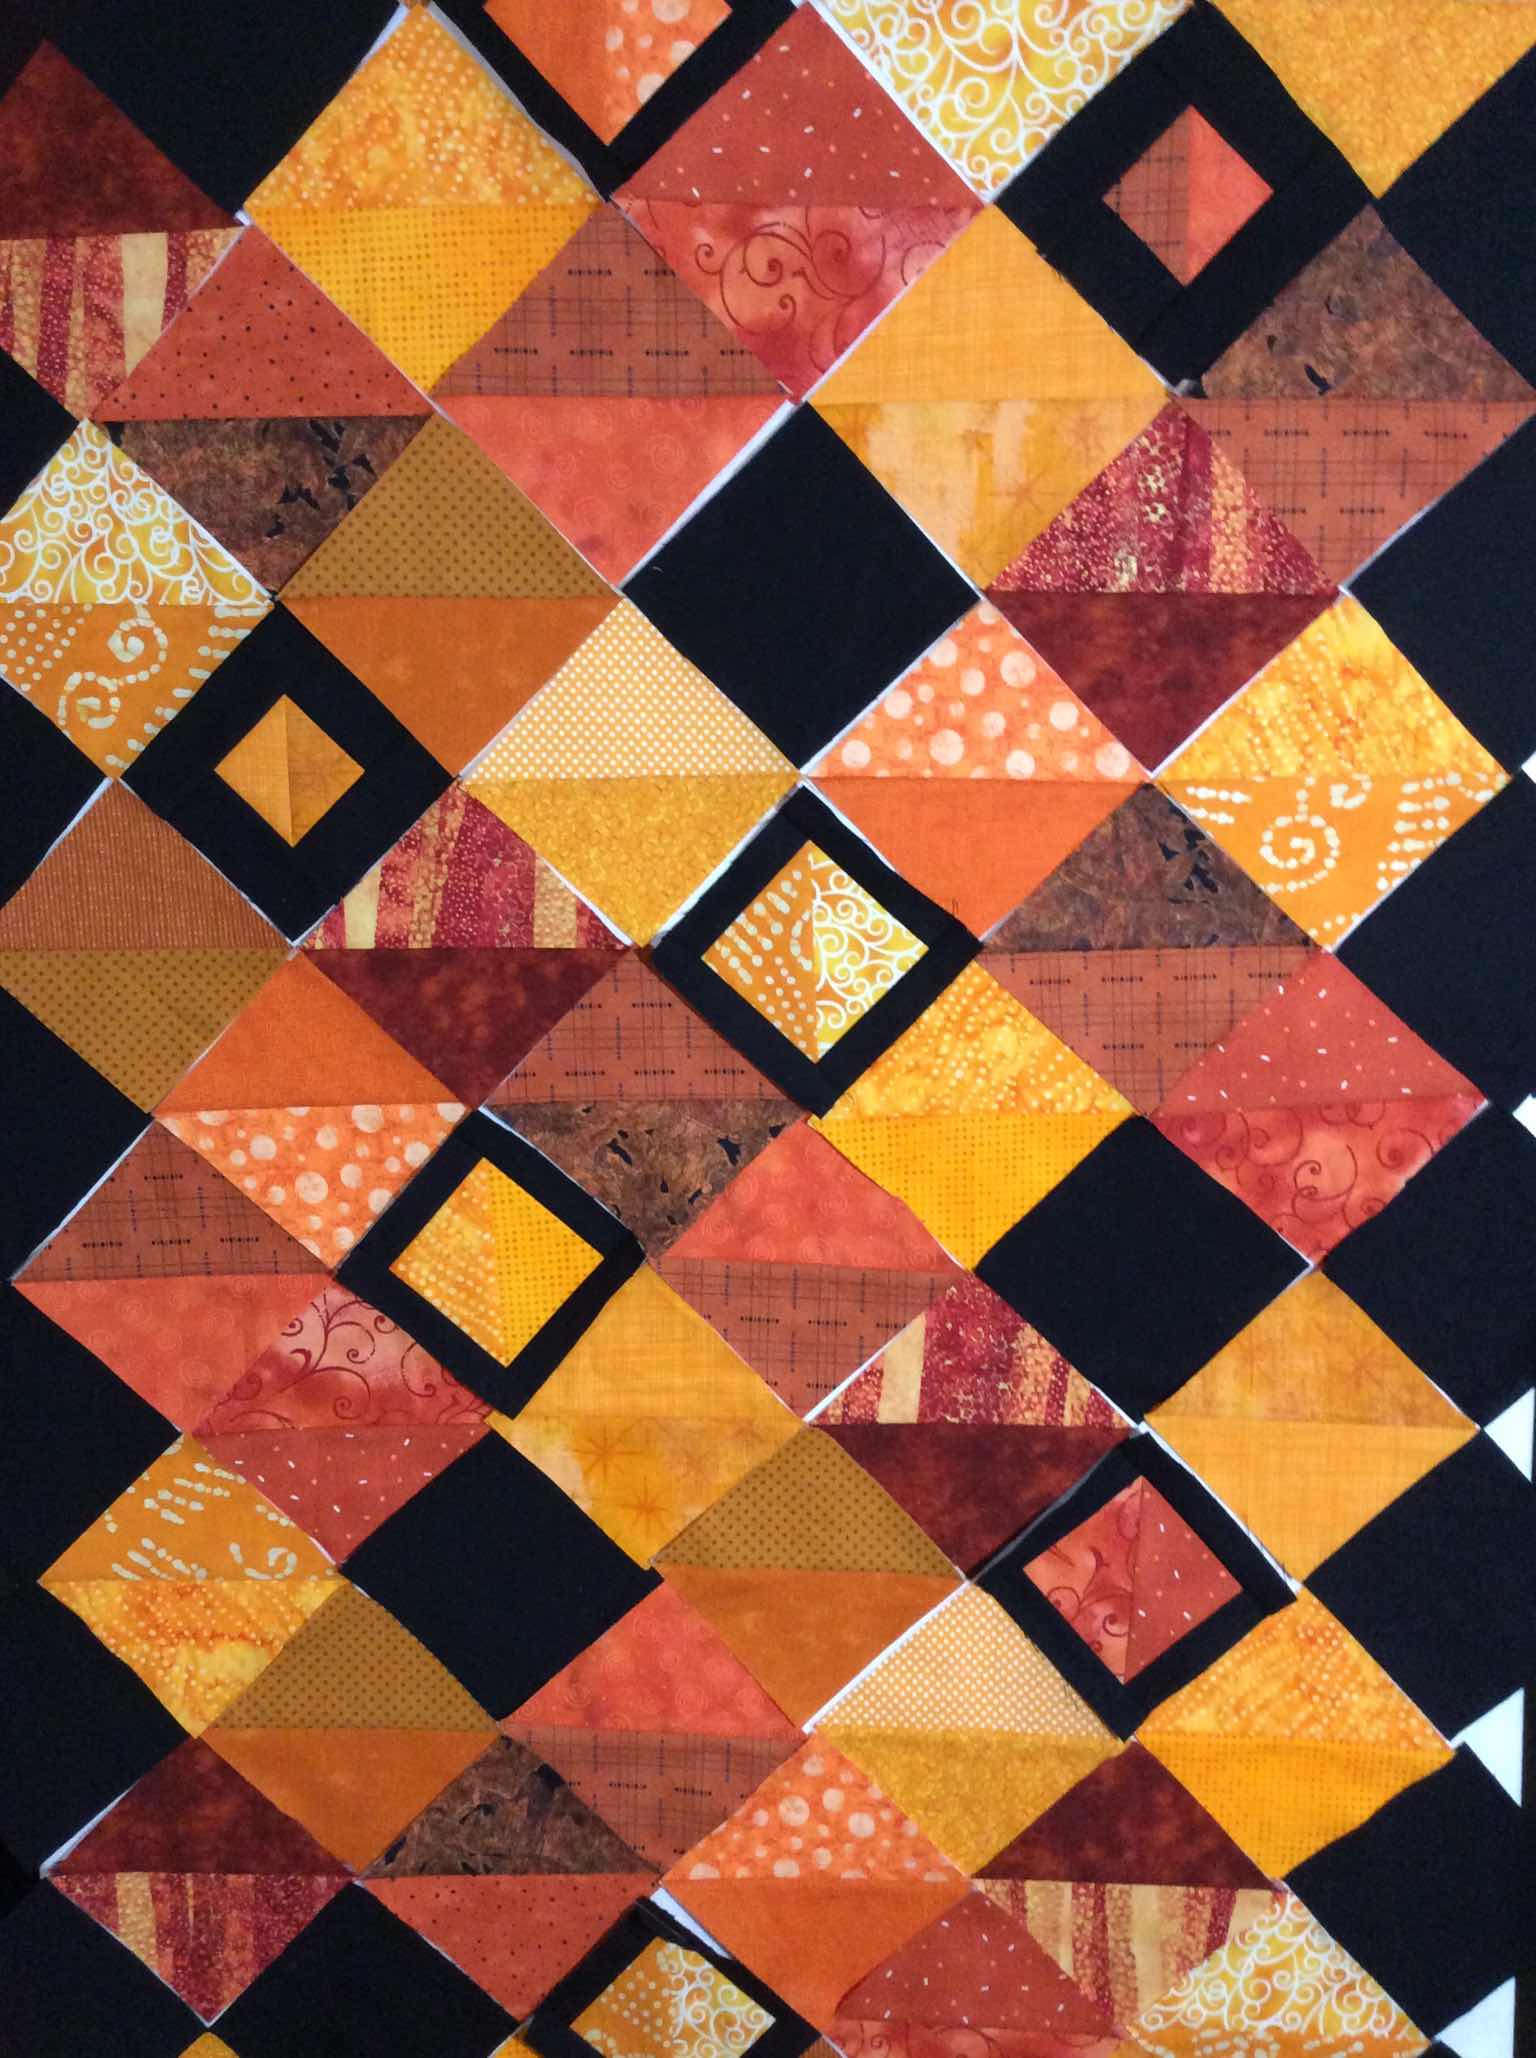
I designed as I went along.


I used all three triangle ruler sizes.


I was thinking I would probably only use these little triangle rulers this one time, but really it went so easy and much faster than I thought it would.  Finding enough orange fabrics took more time than making the hst.  I have another quilt planned using these rulers already.

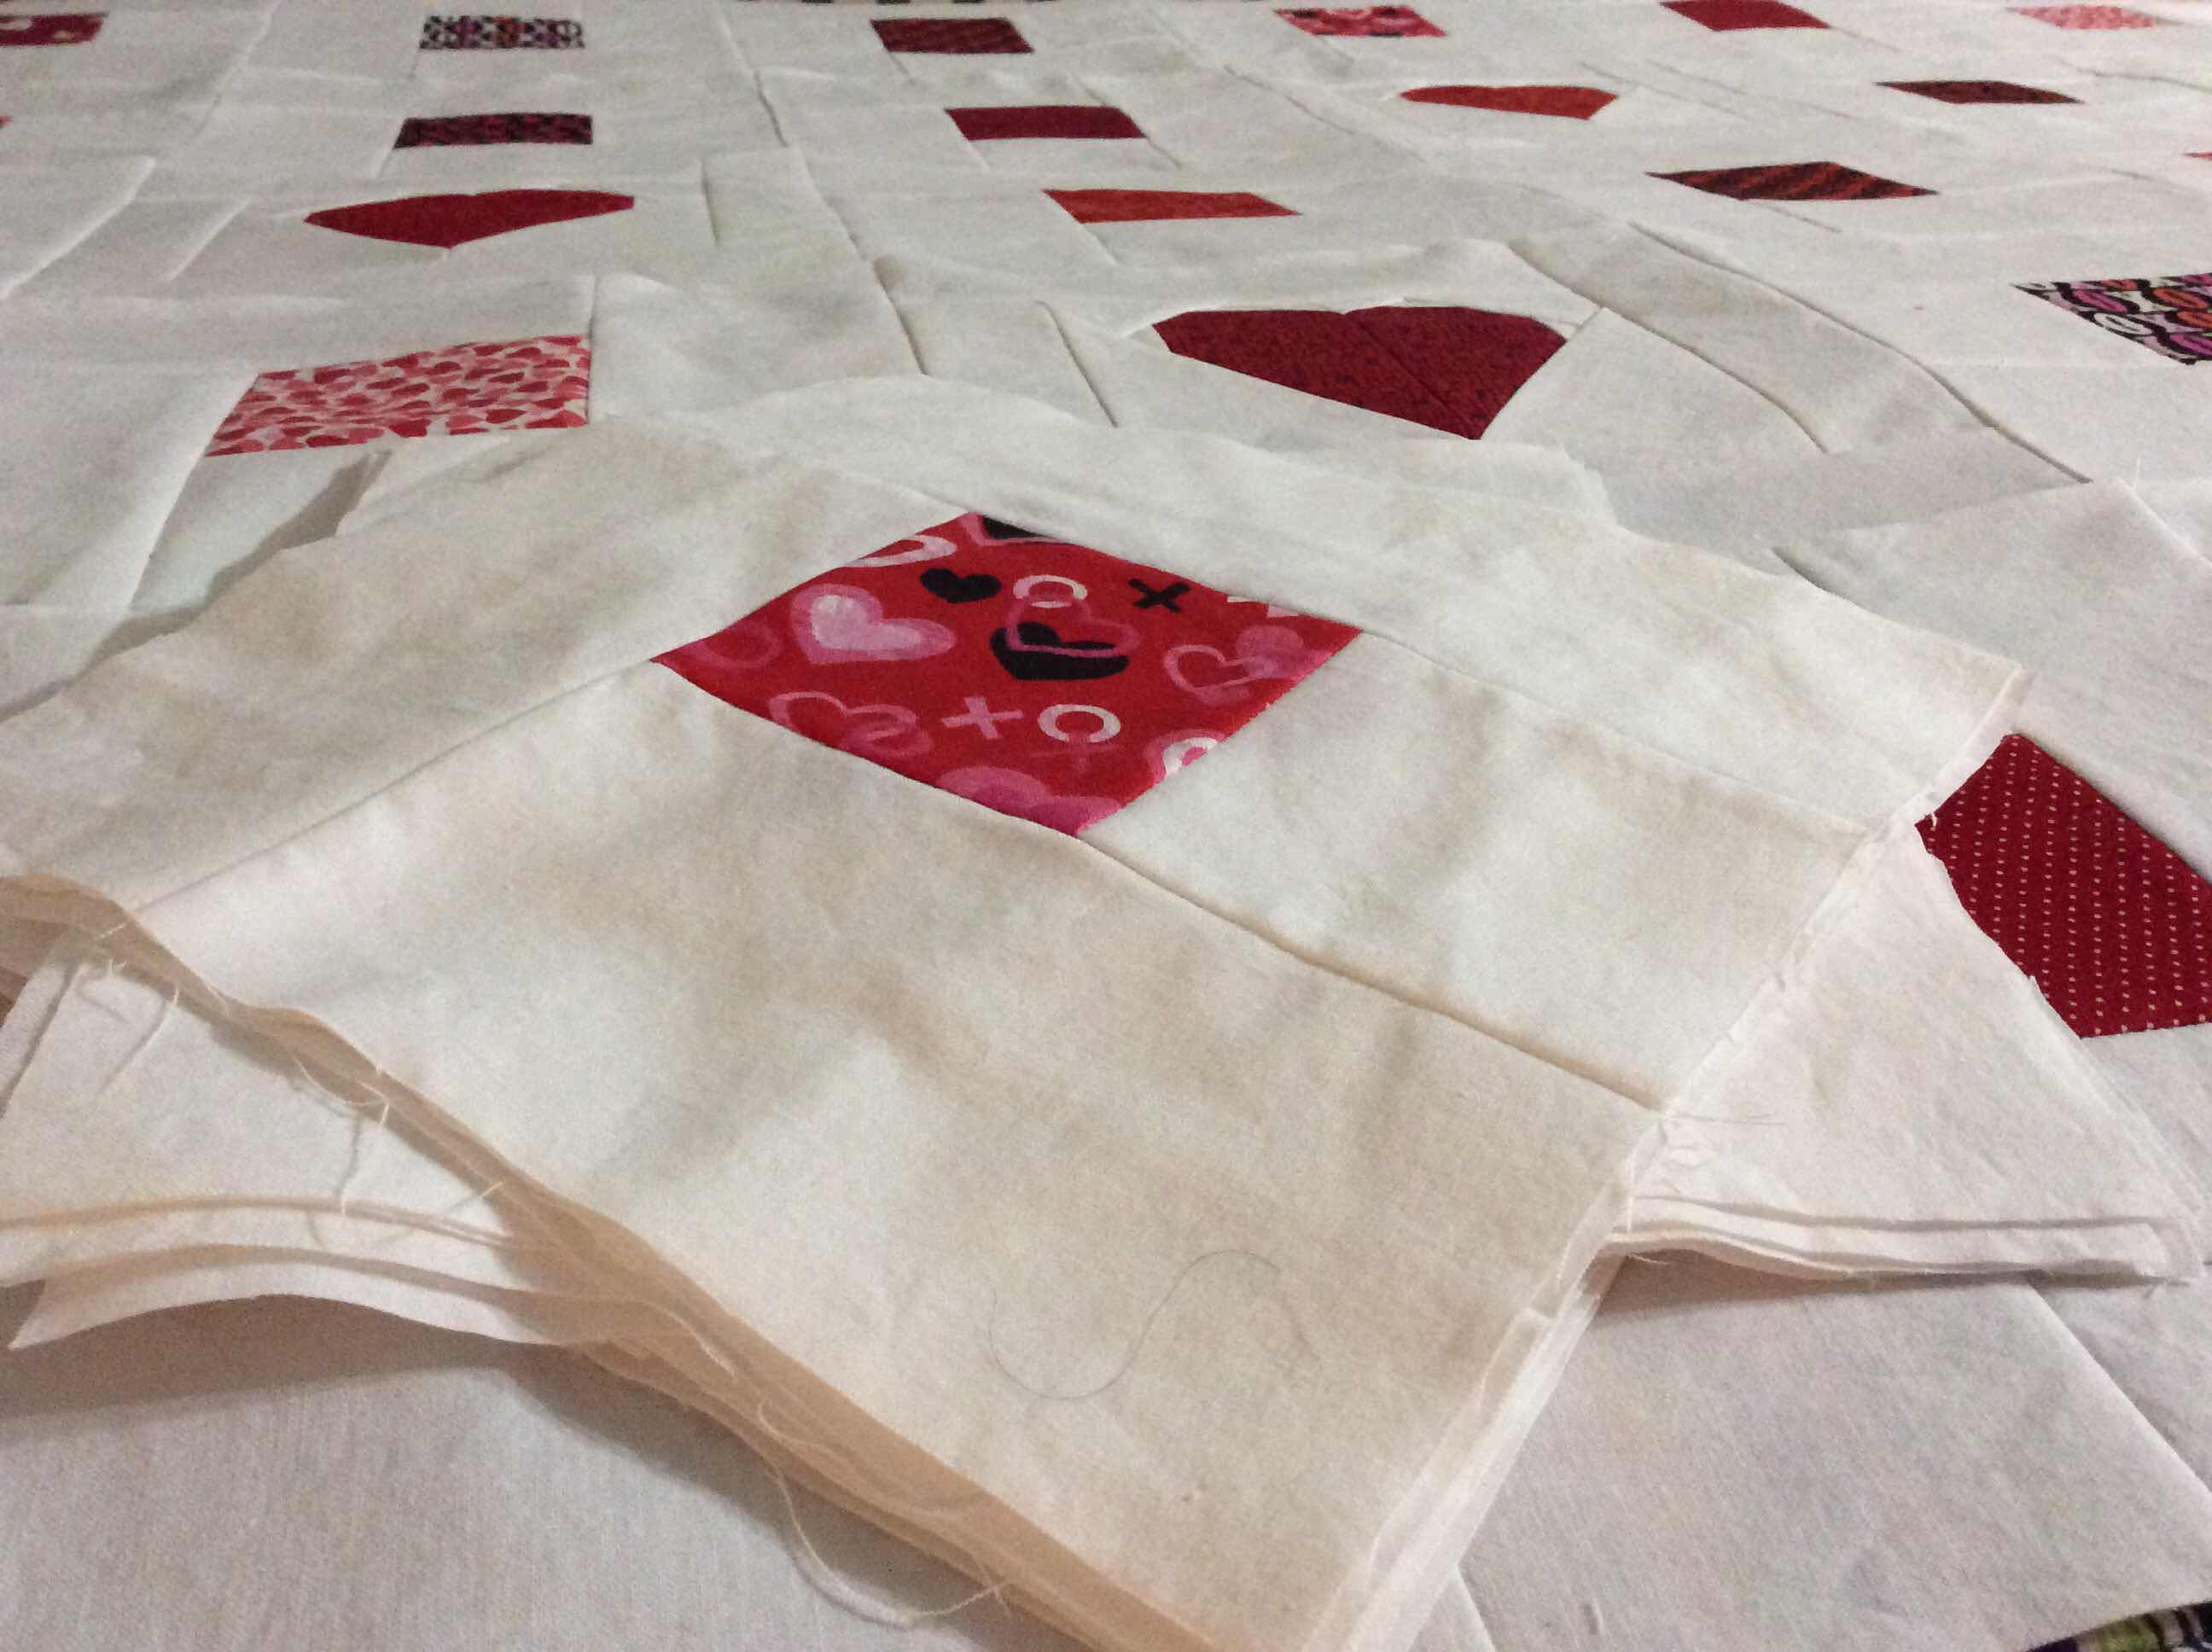
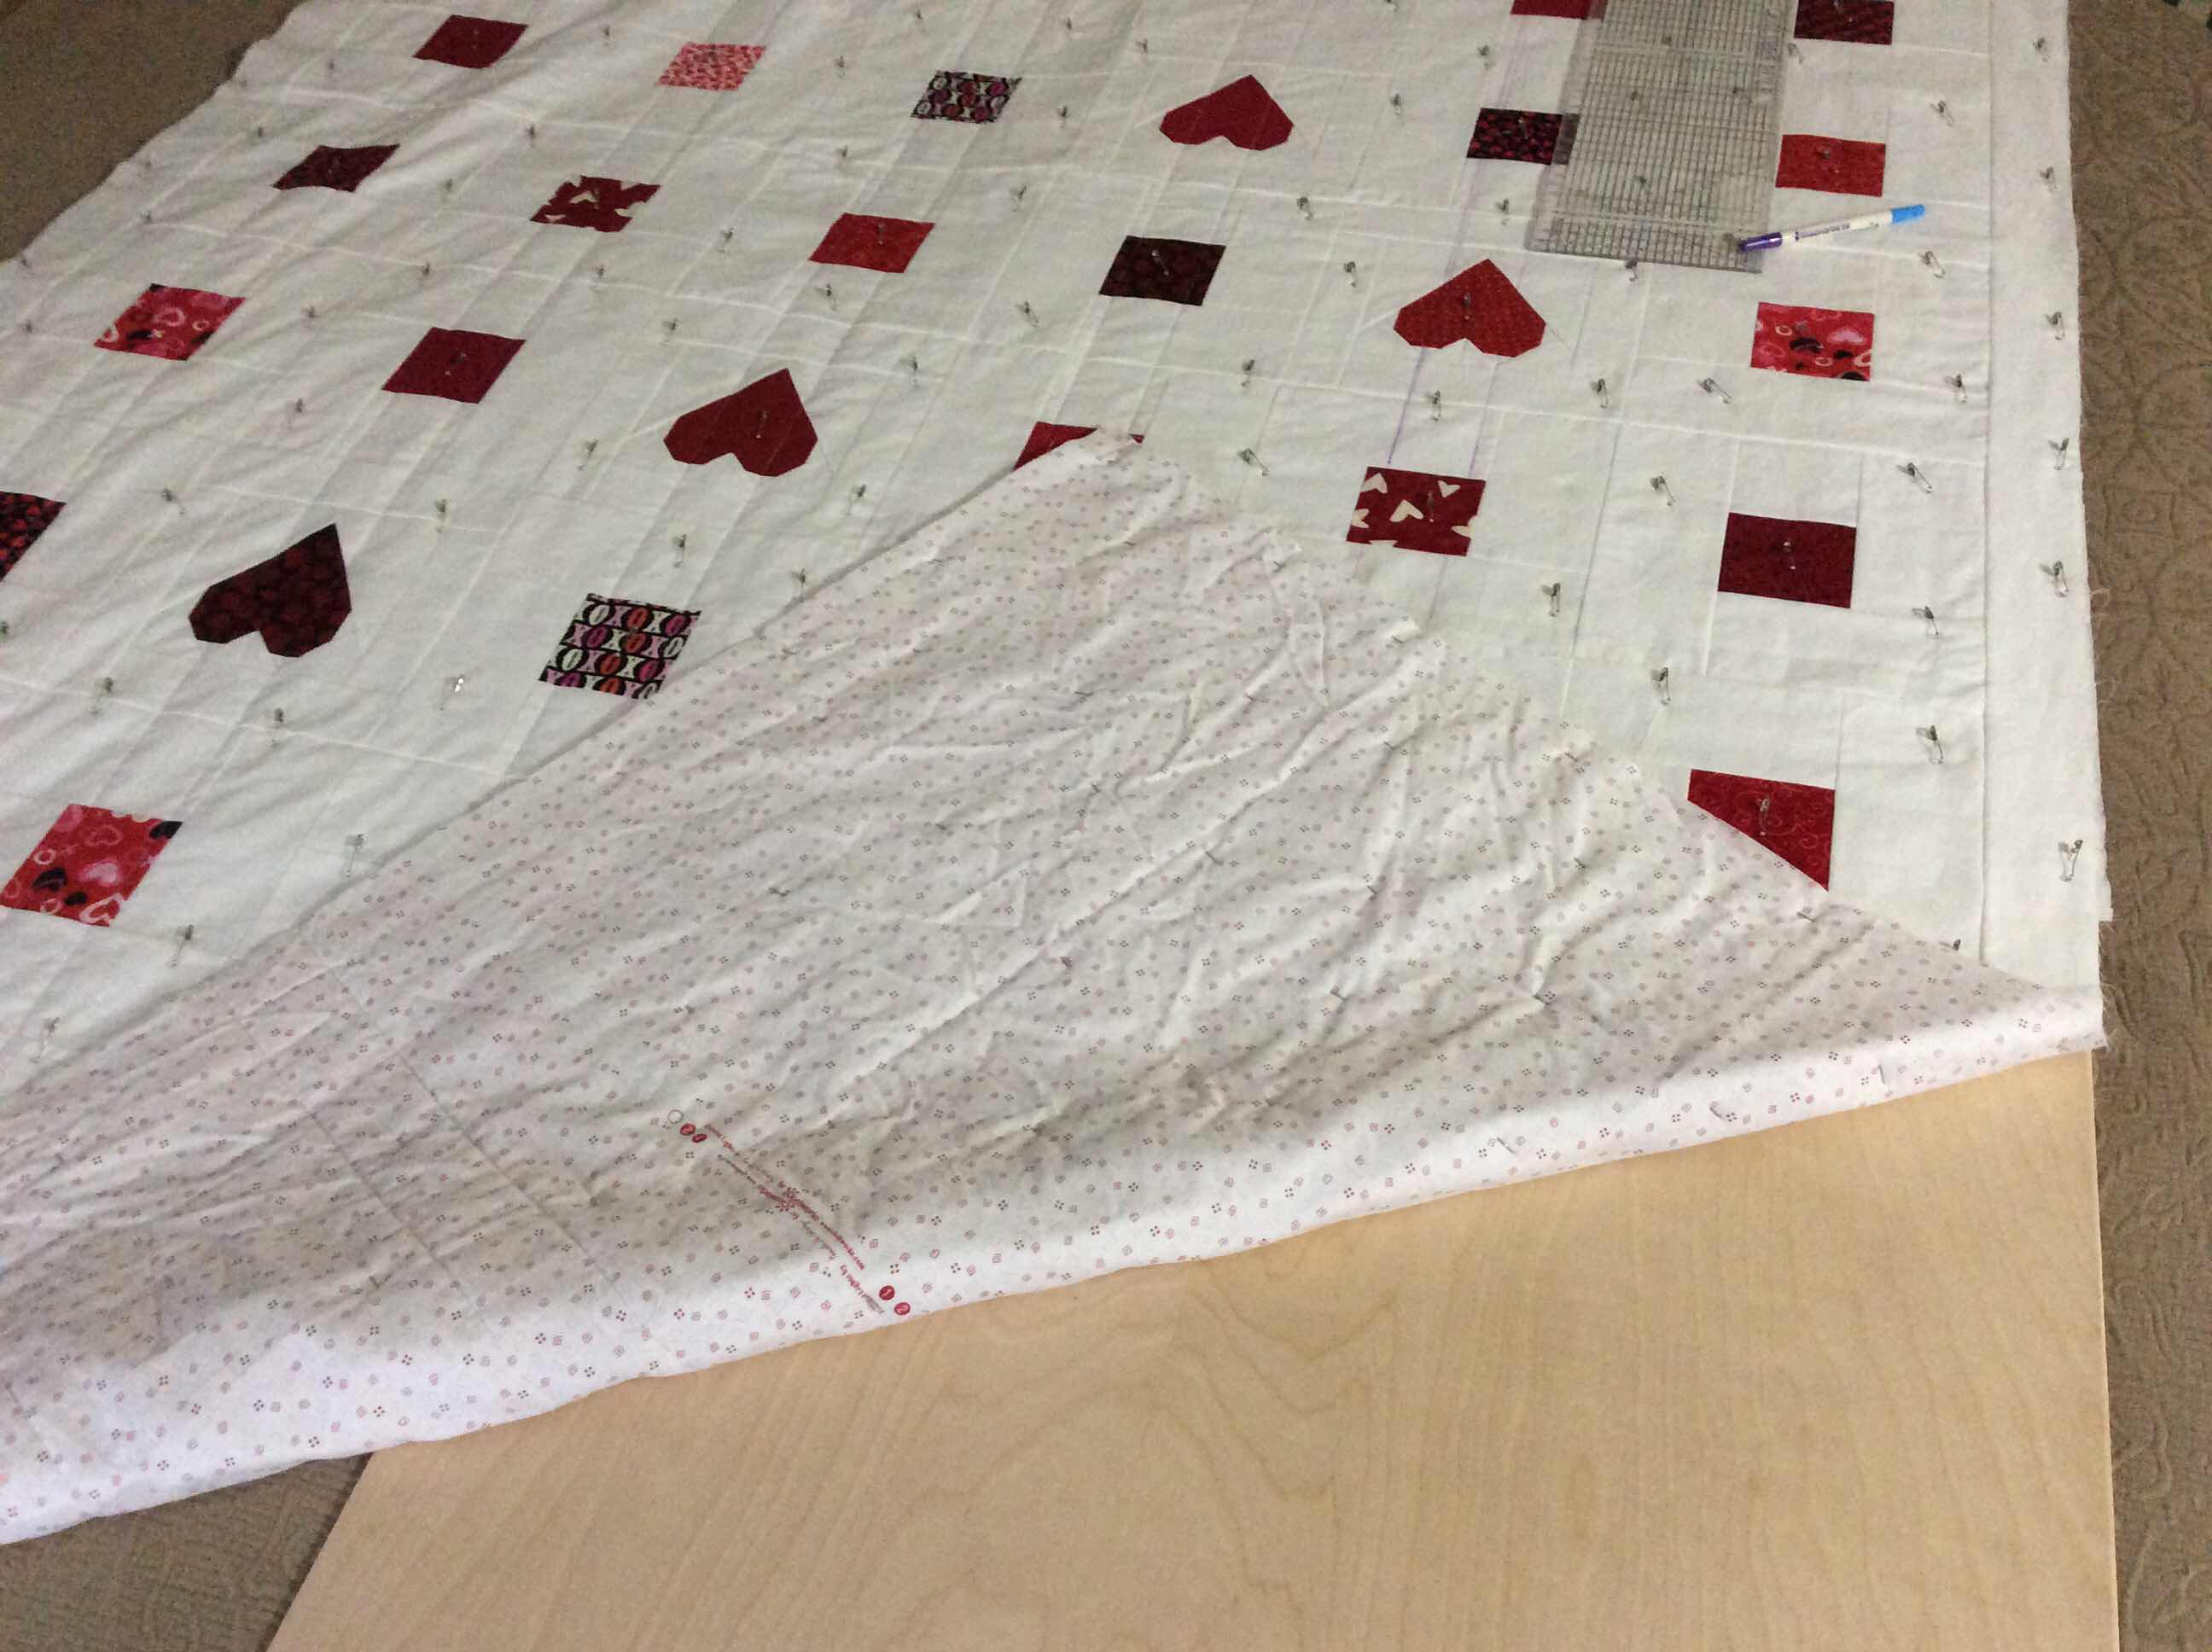
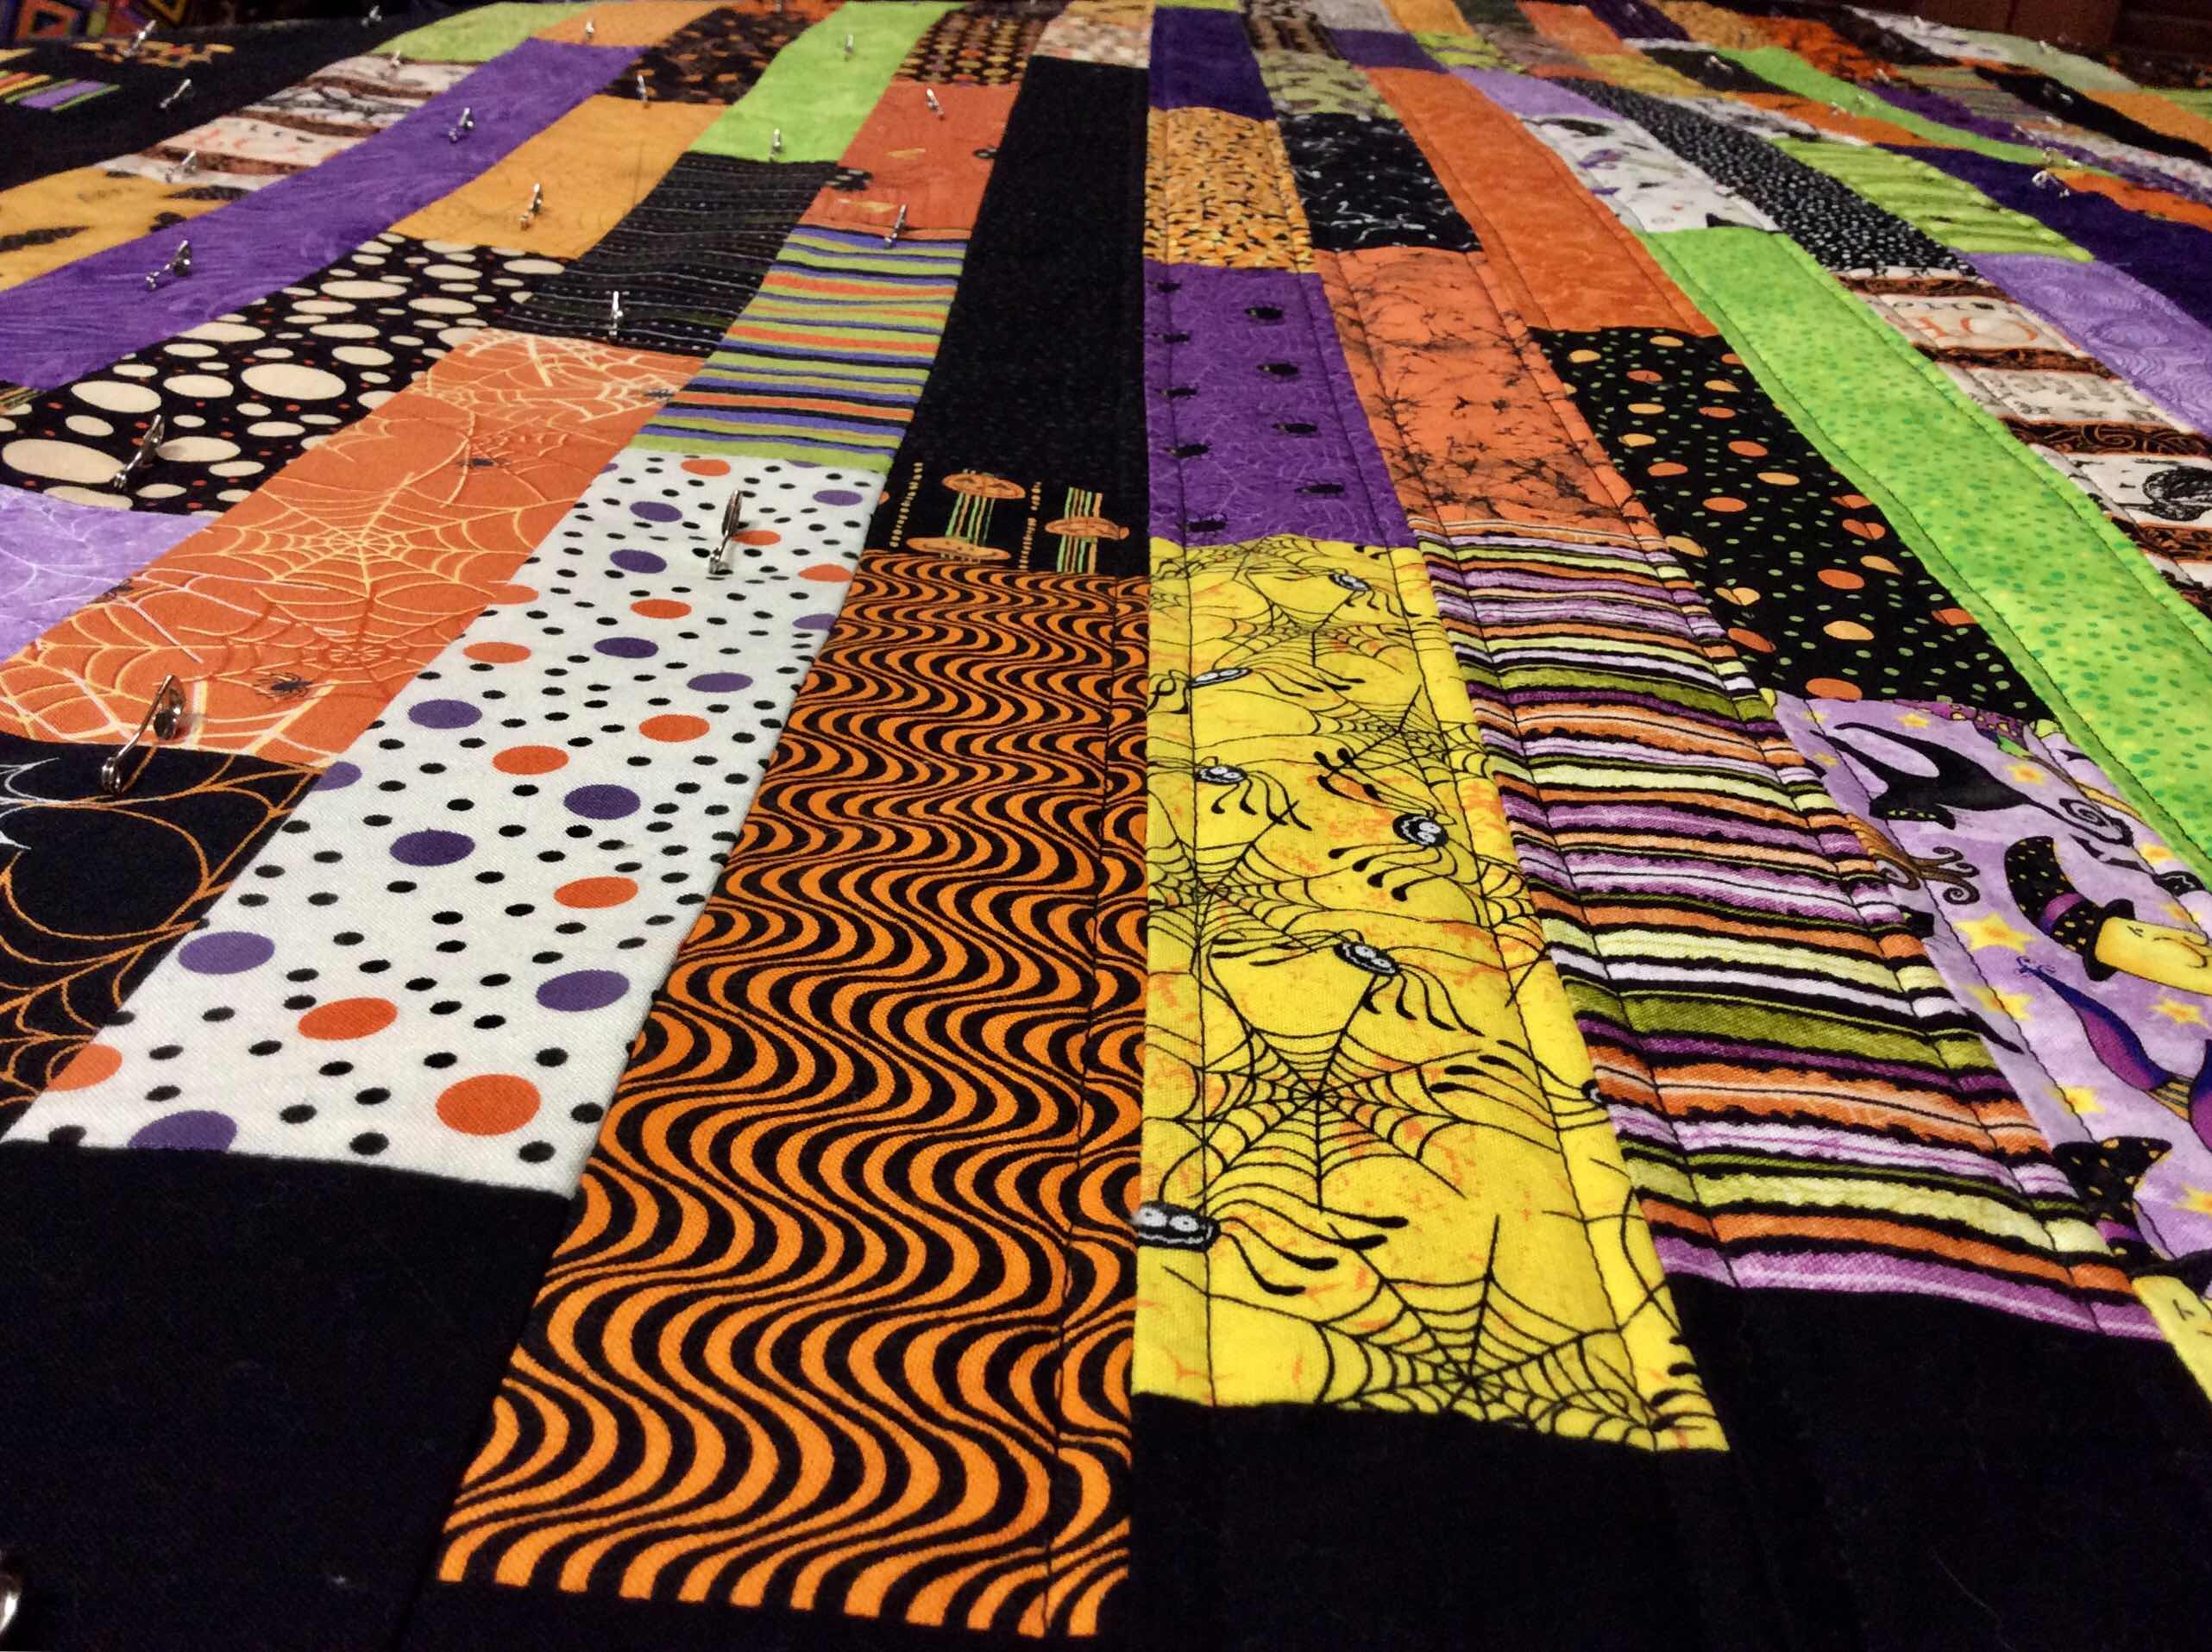
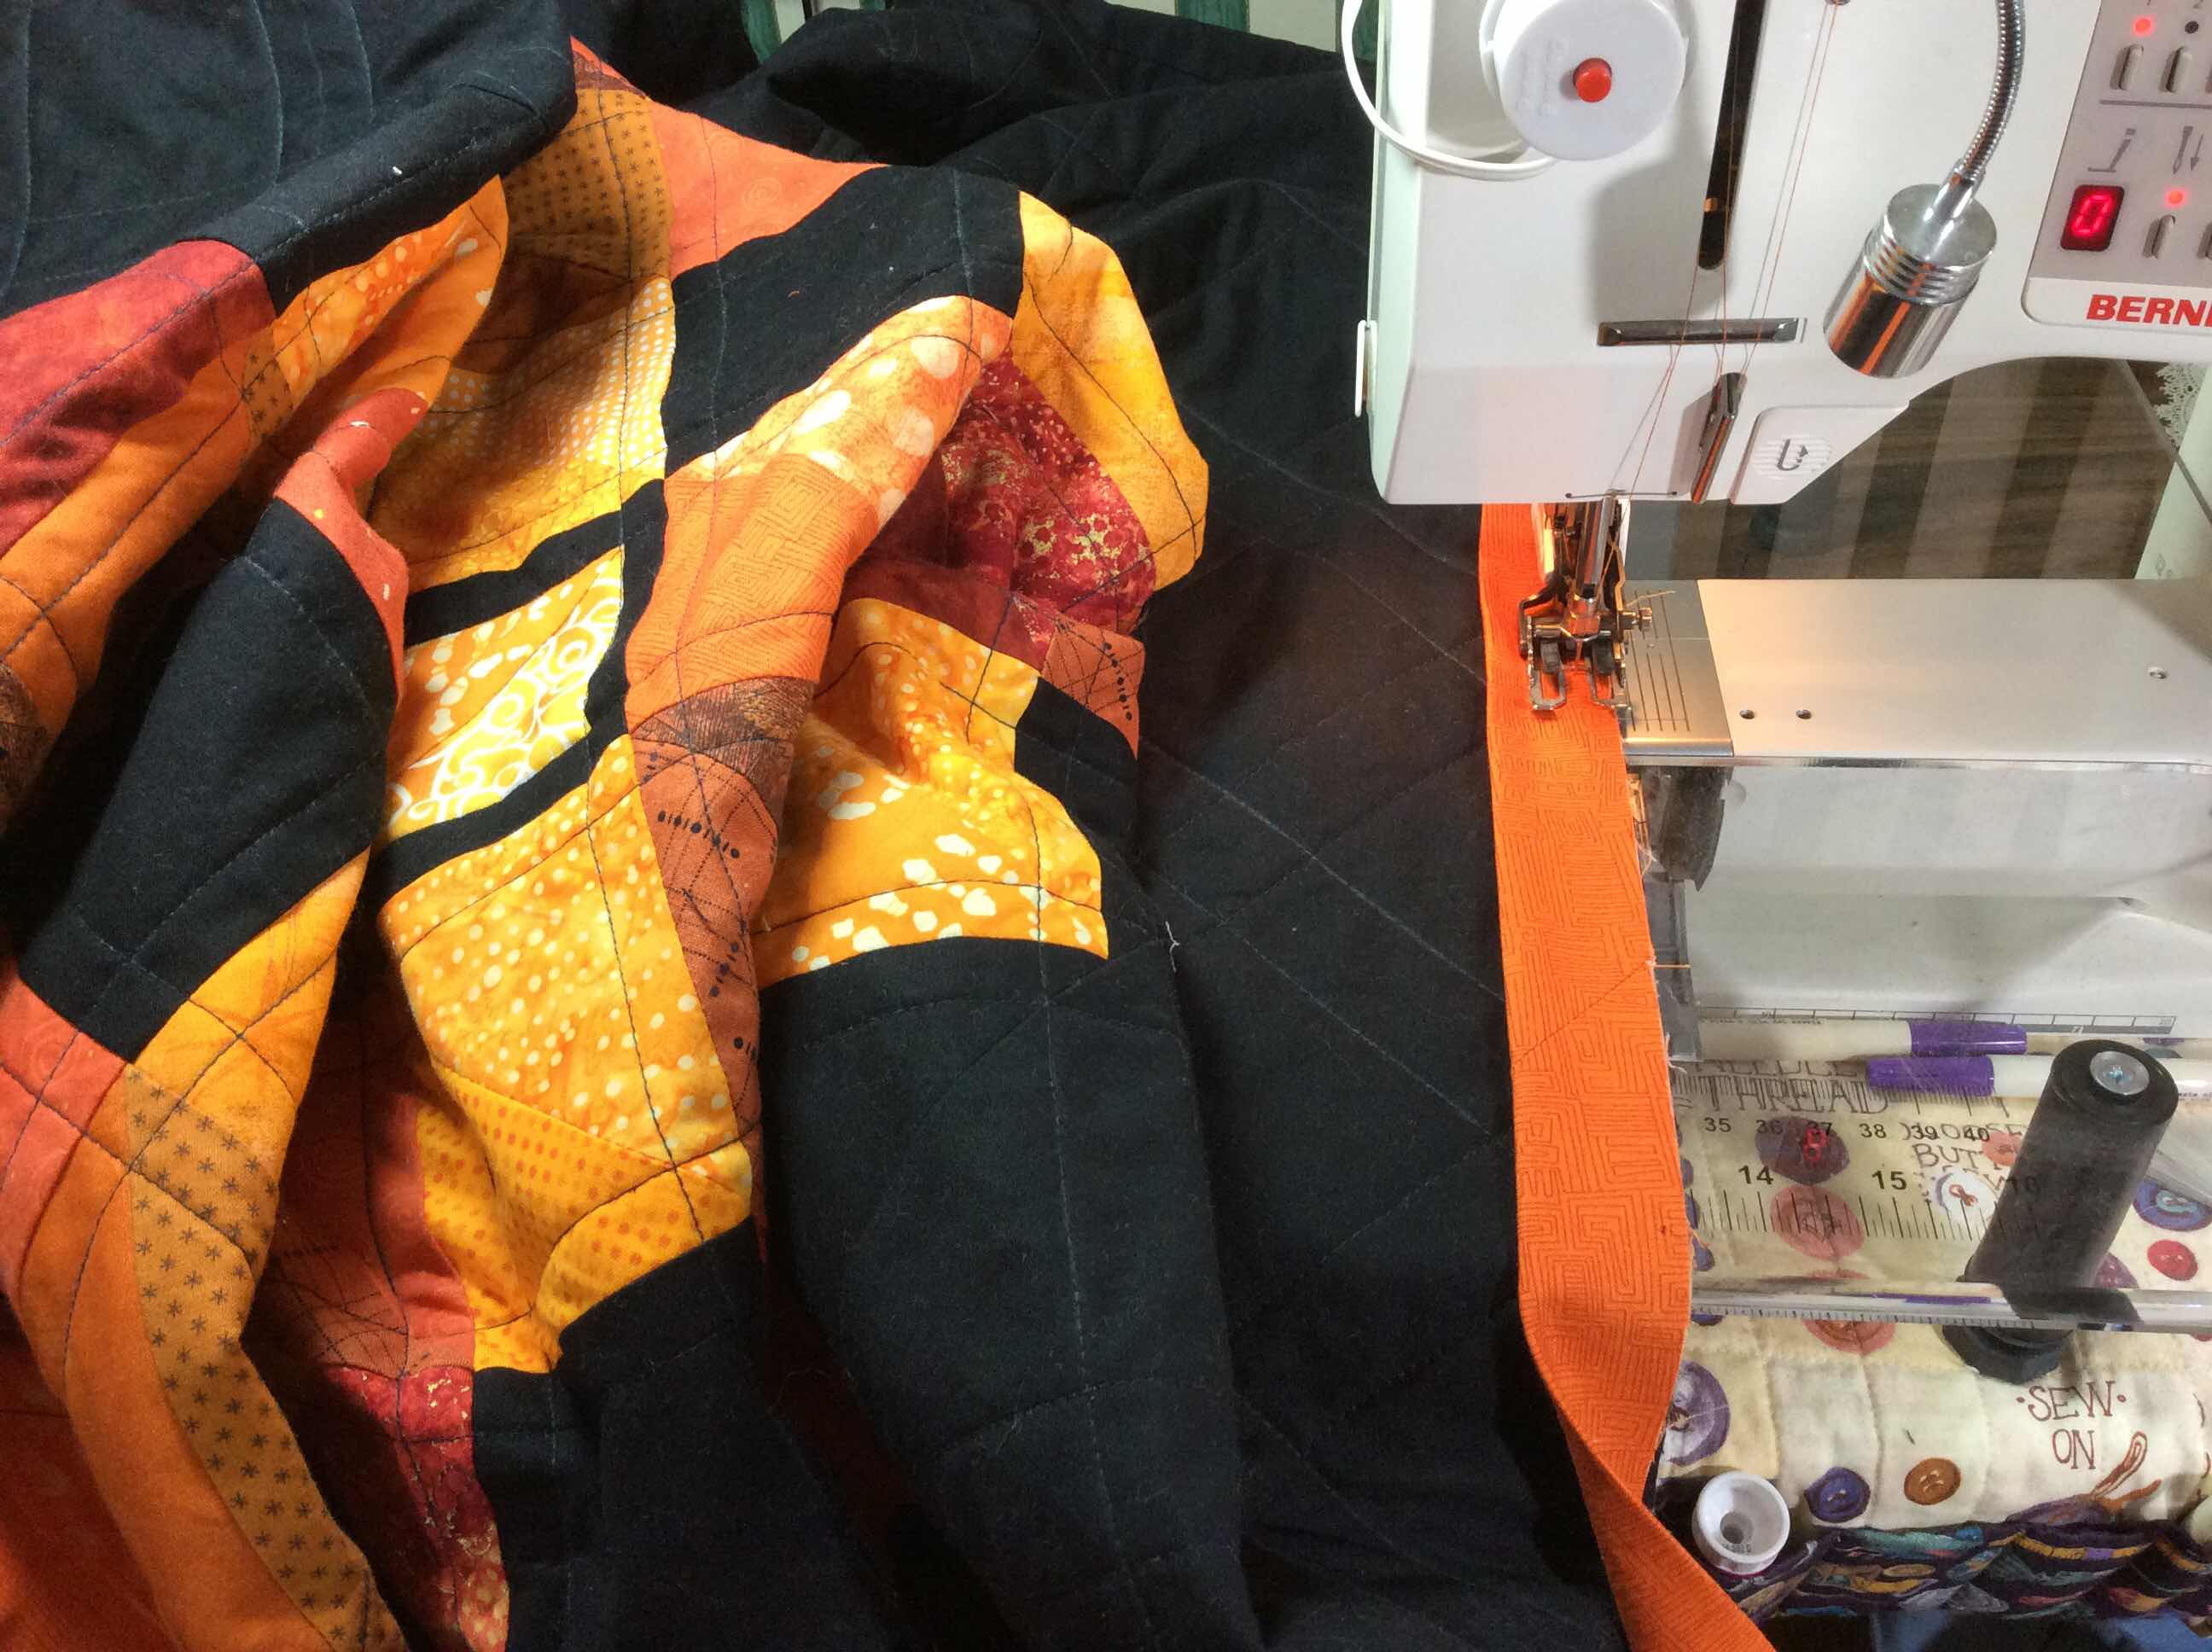
Before I knew it I was basting the layers together!
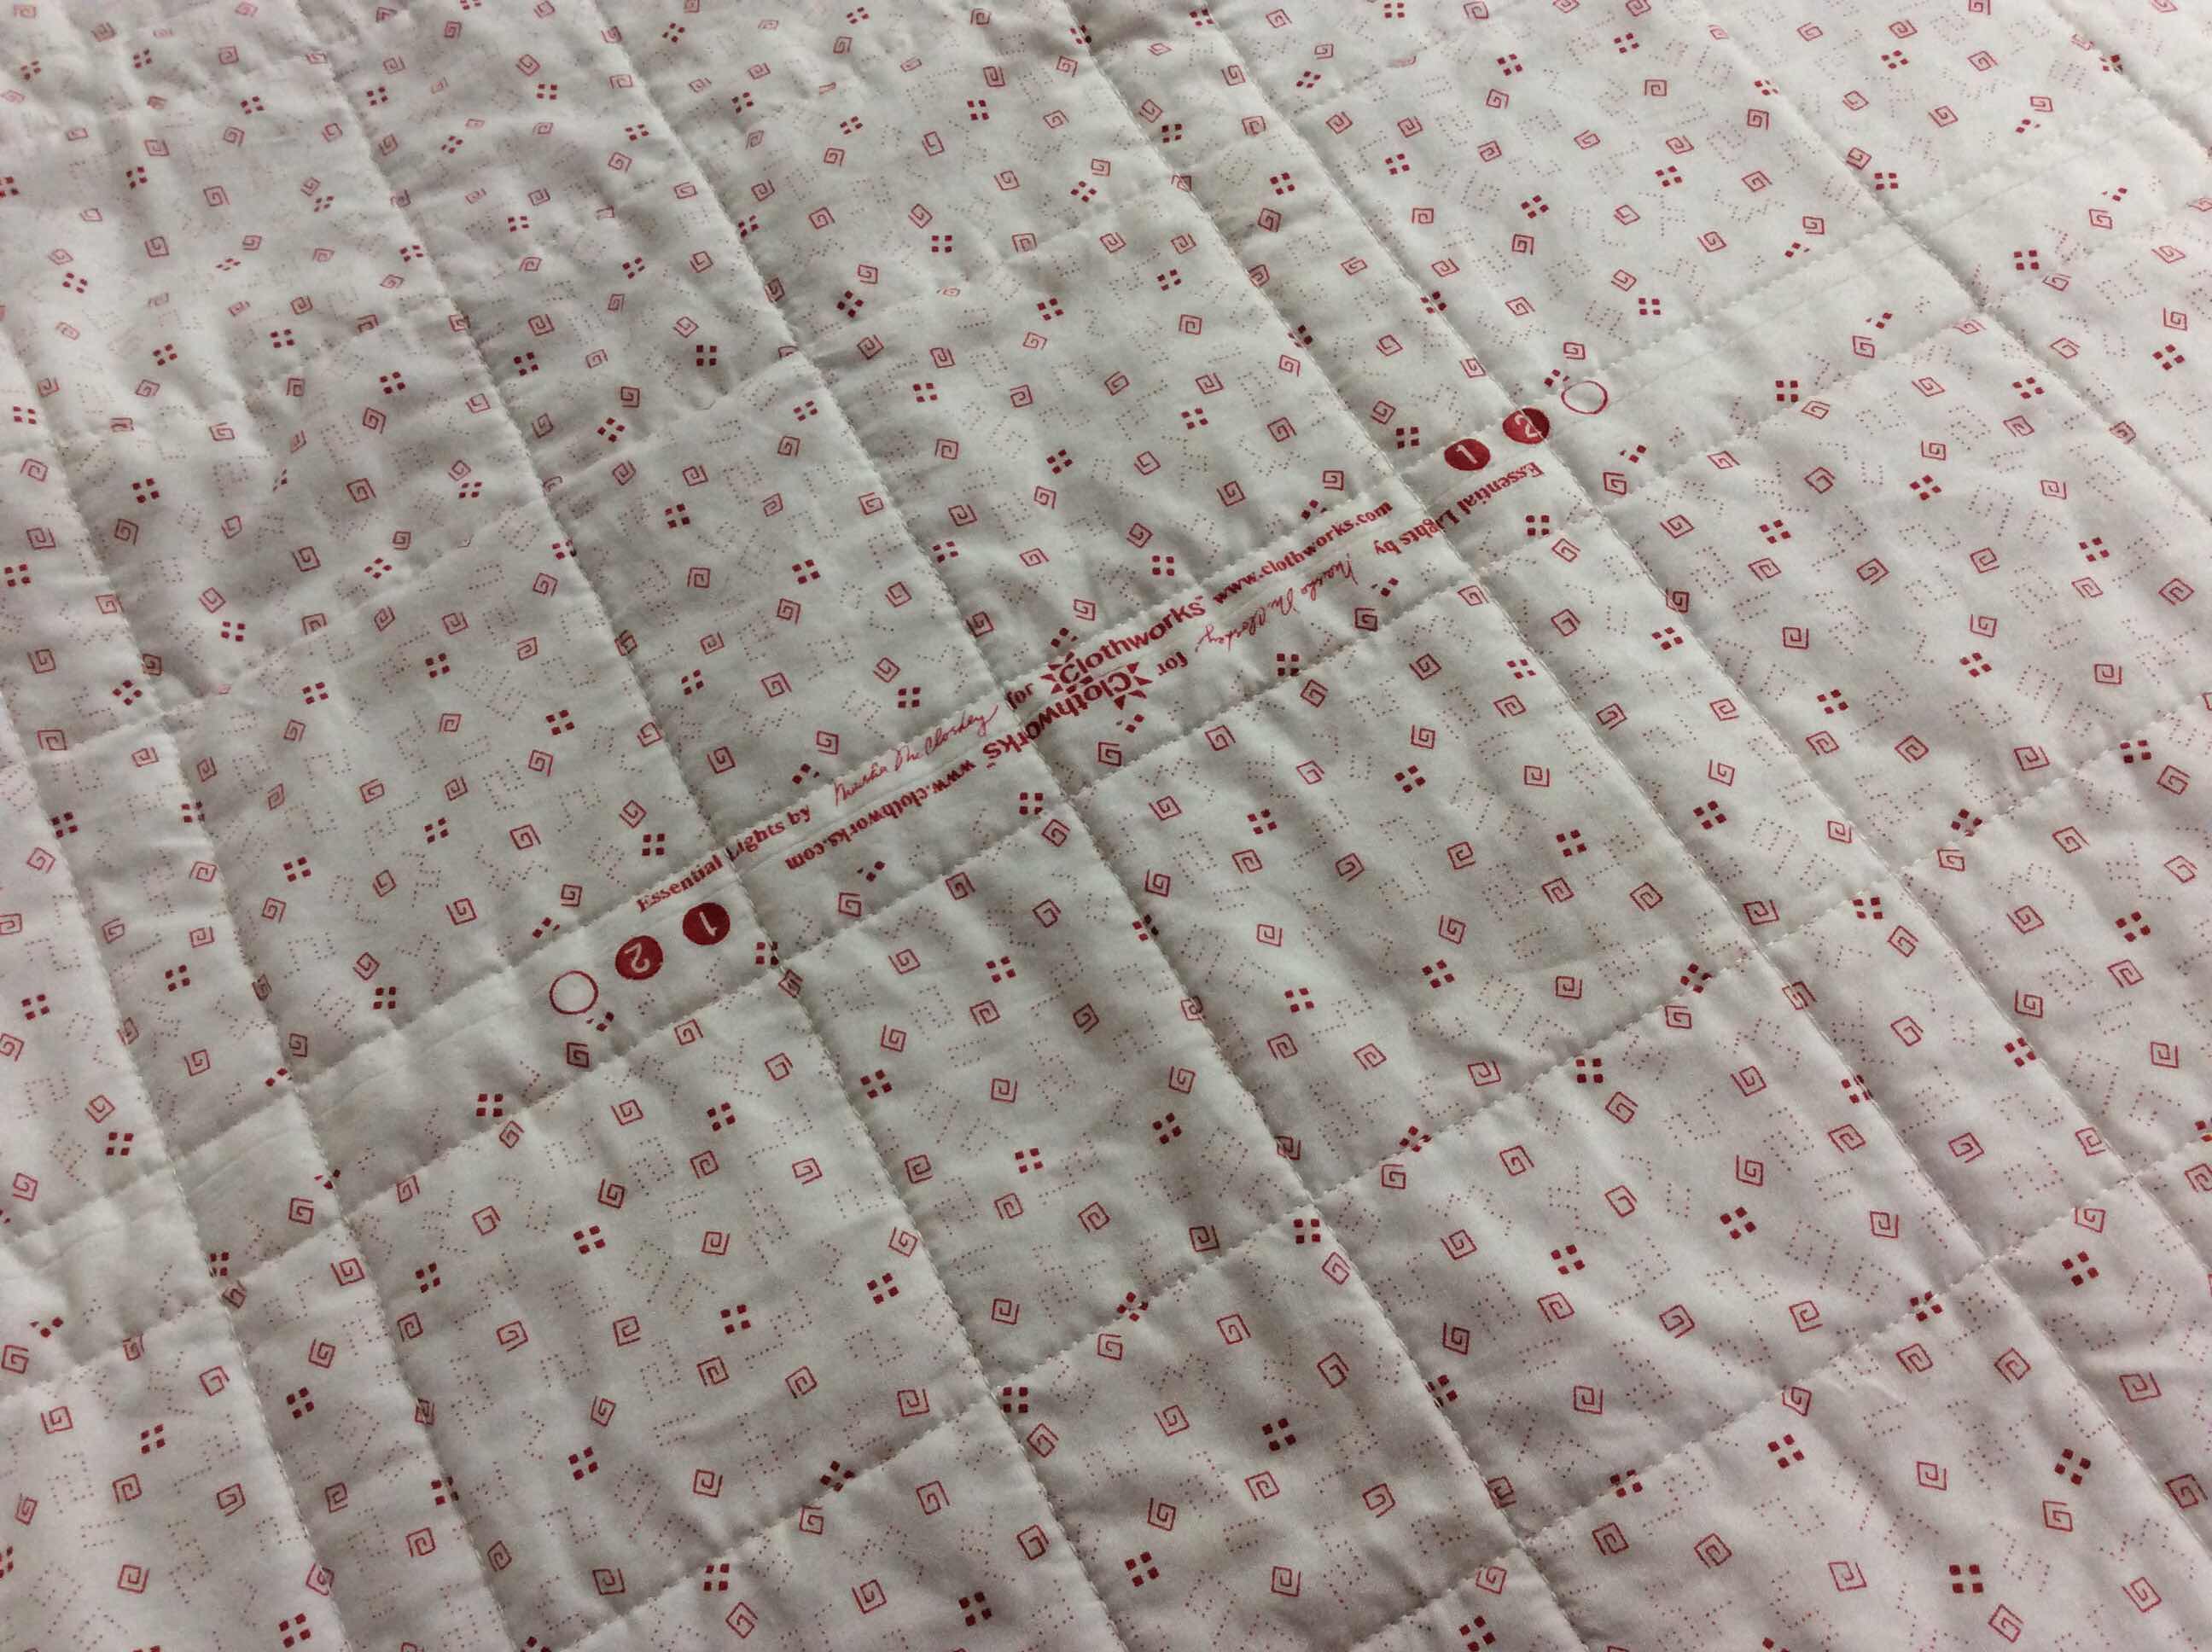


And quilting!


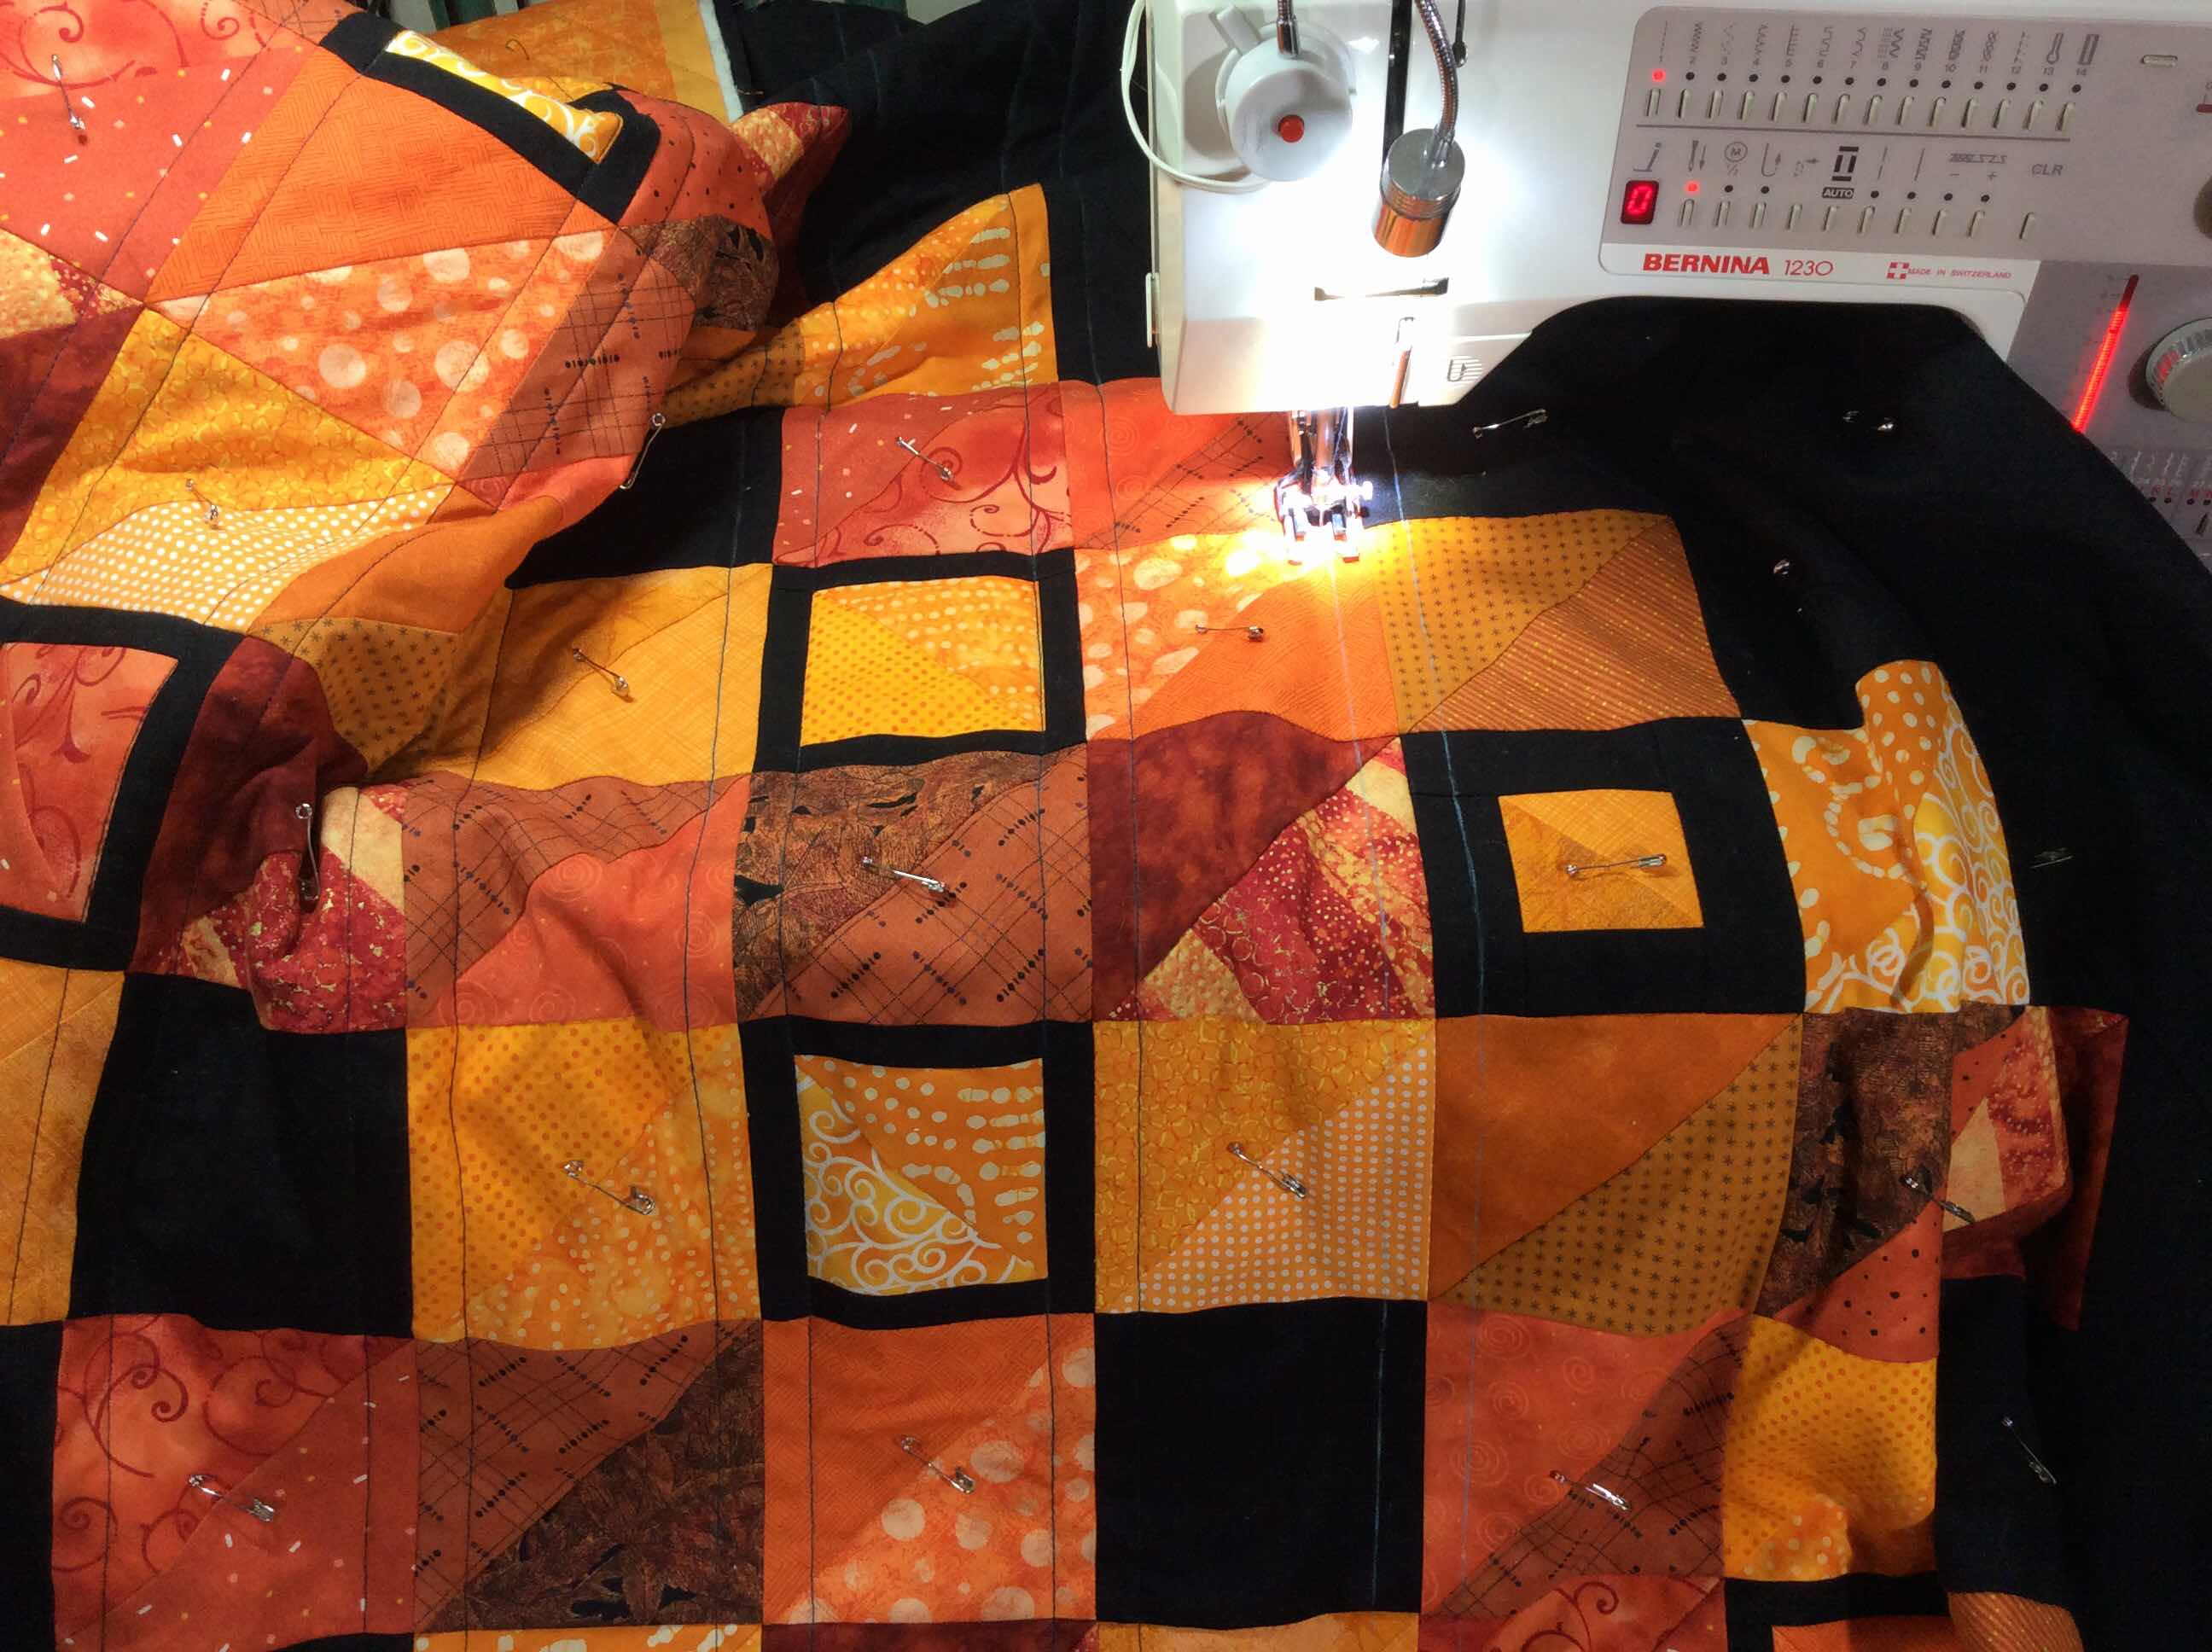
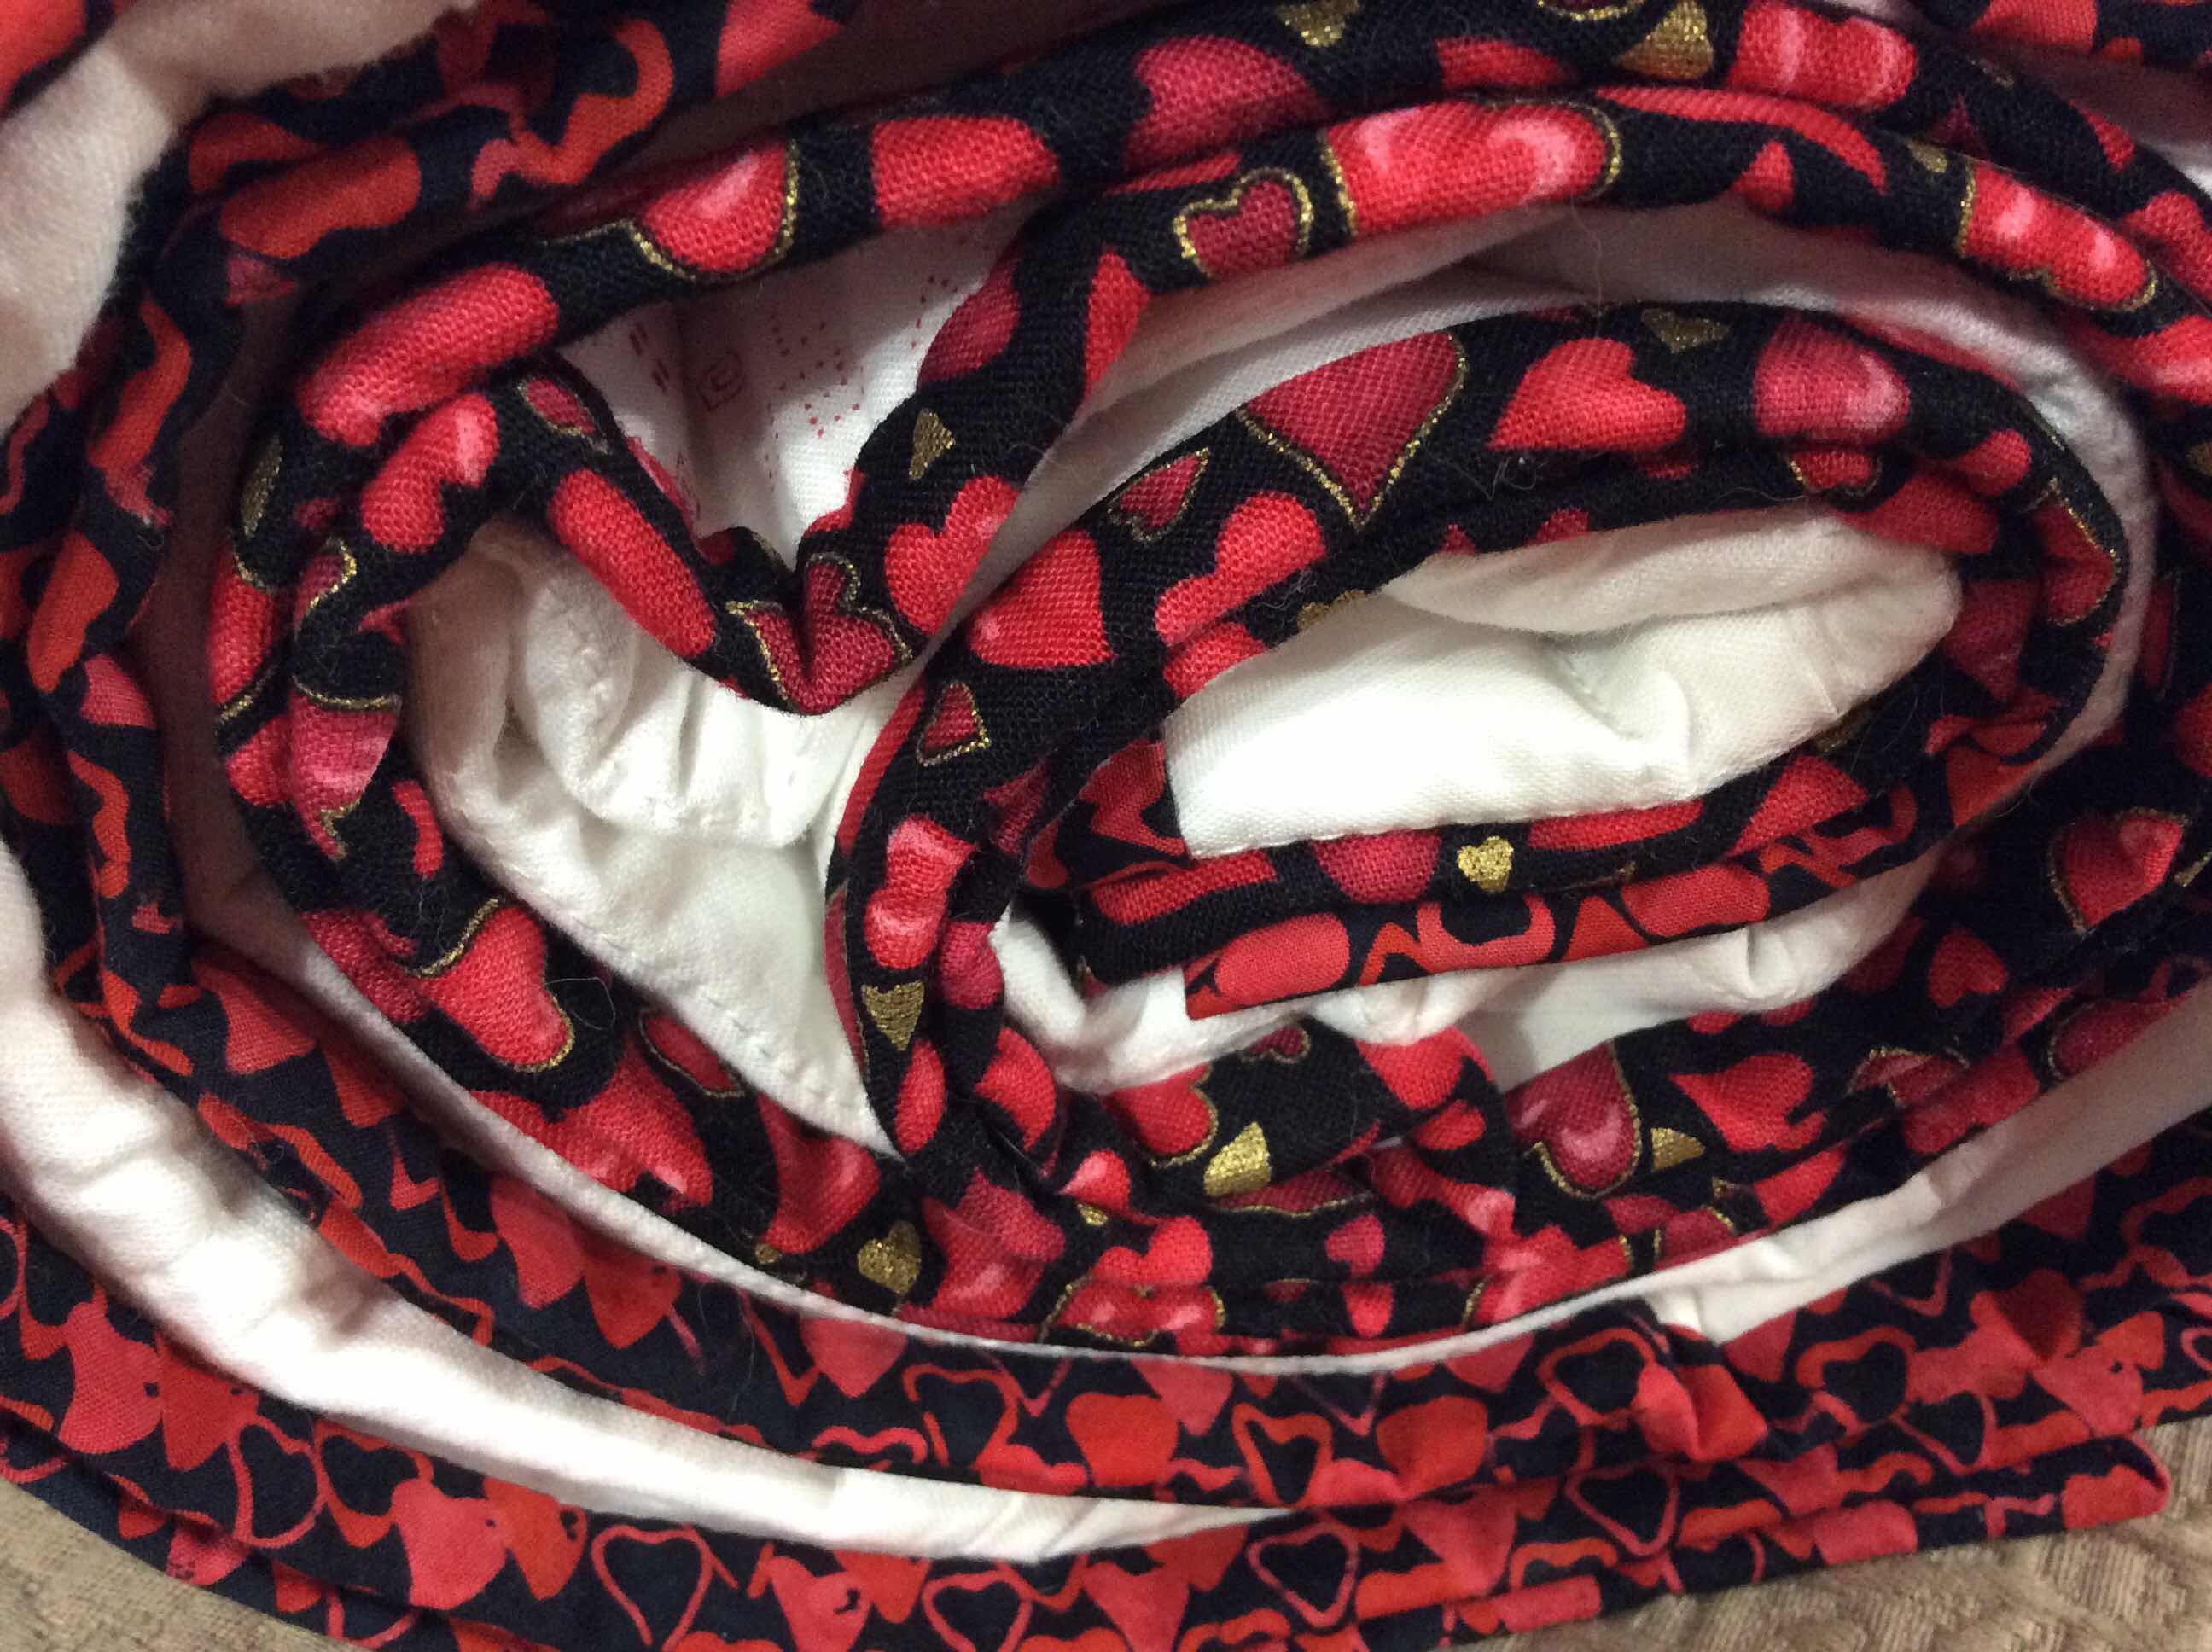
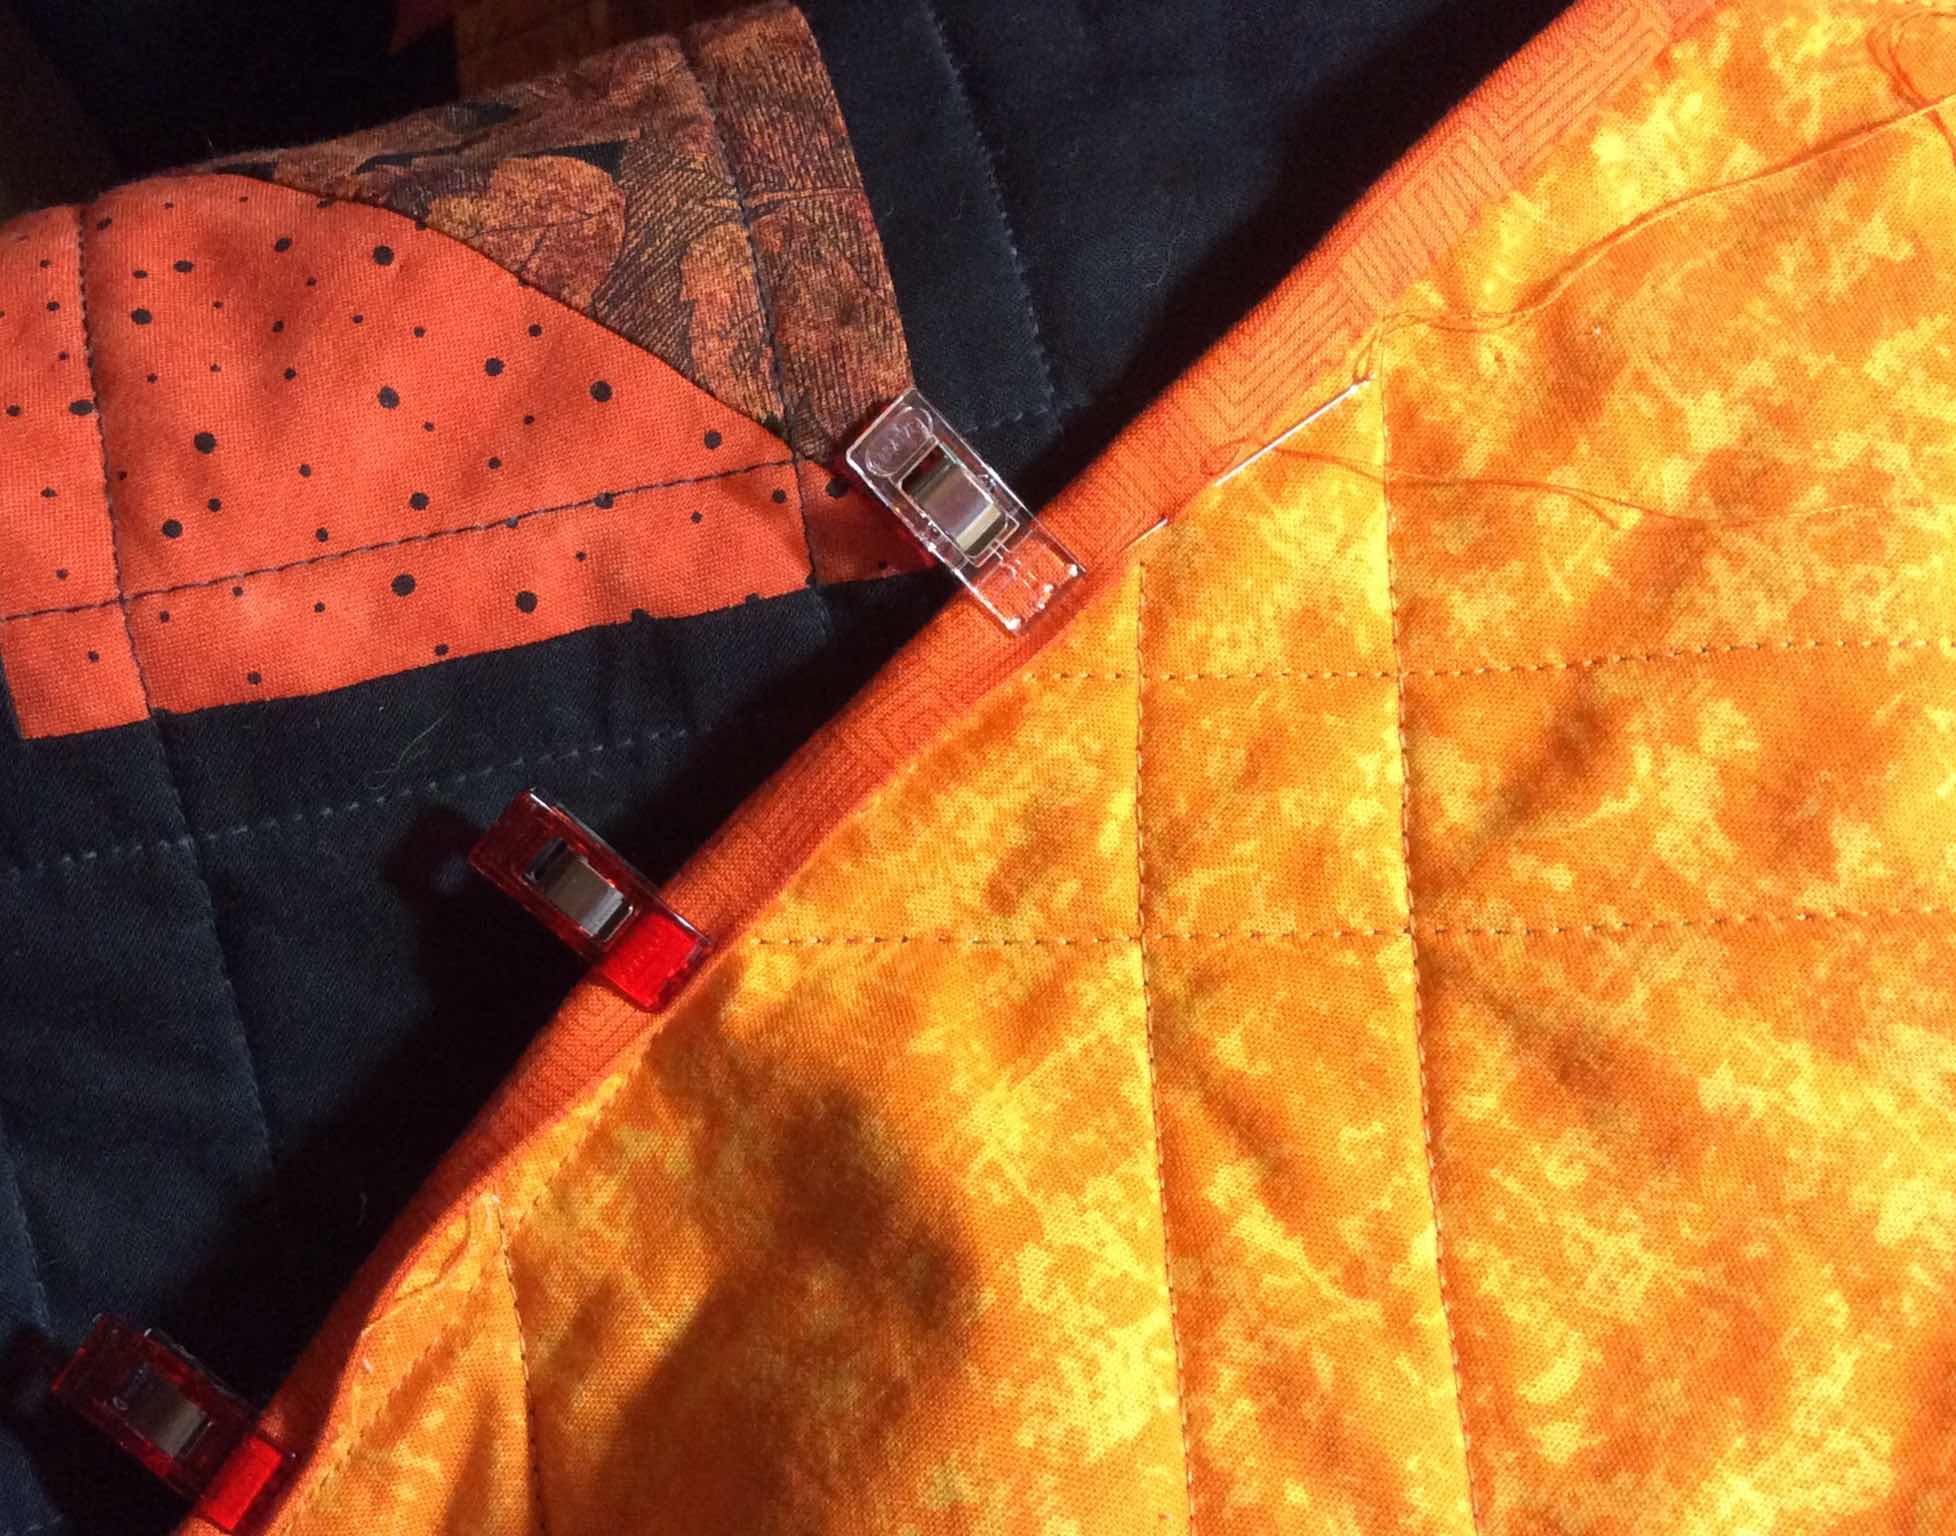
And binding!  By the time I get to sewing the binding on a quilt, I’ve had quite enough of fighting the quilt in a small space up against a wall.


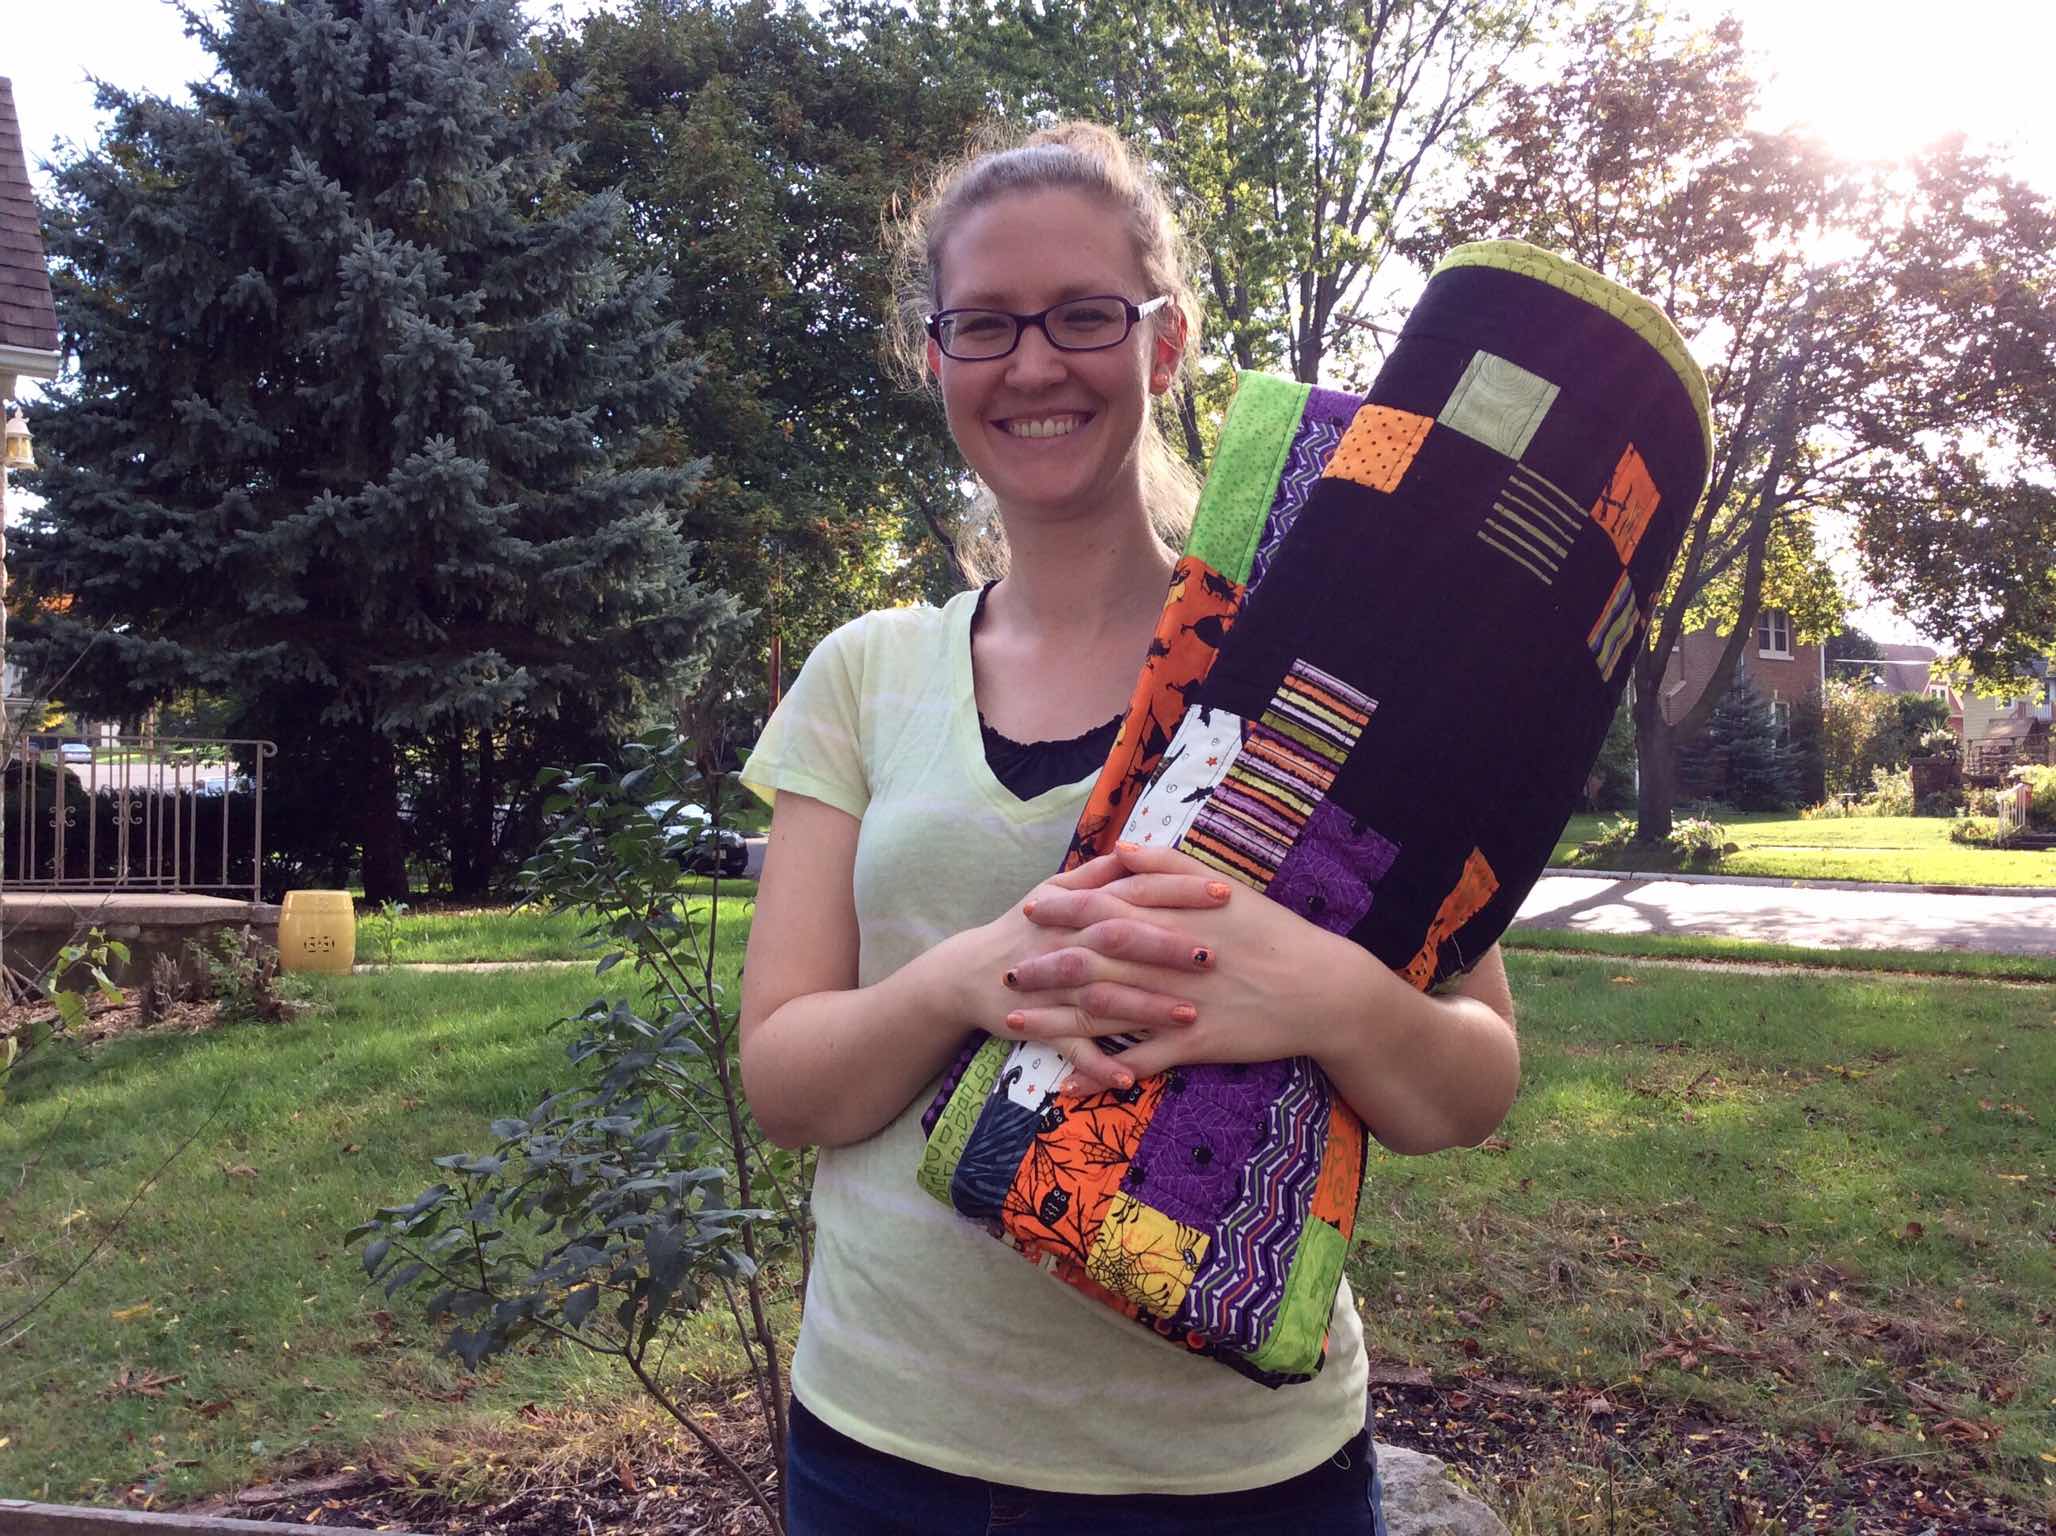
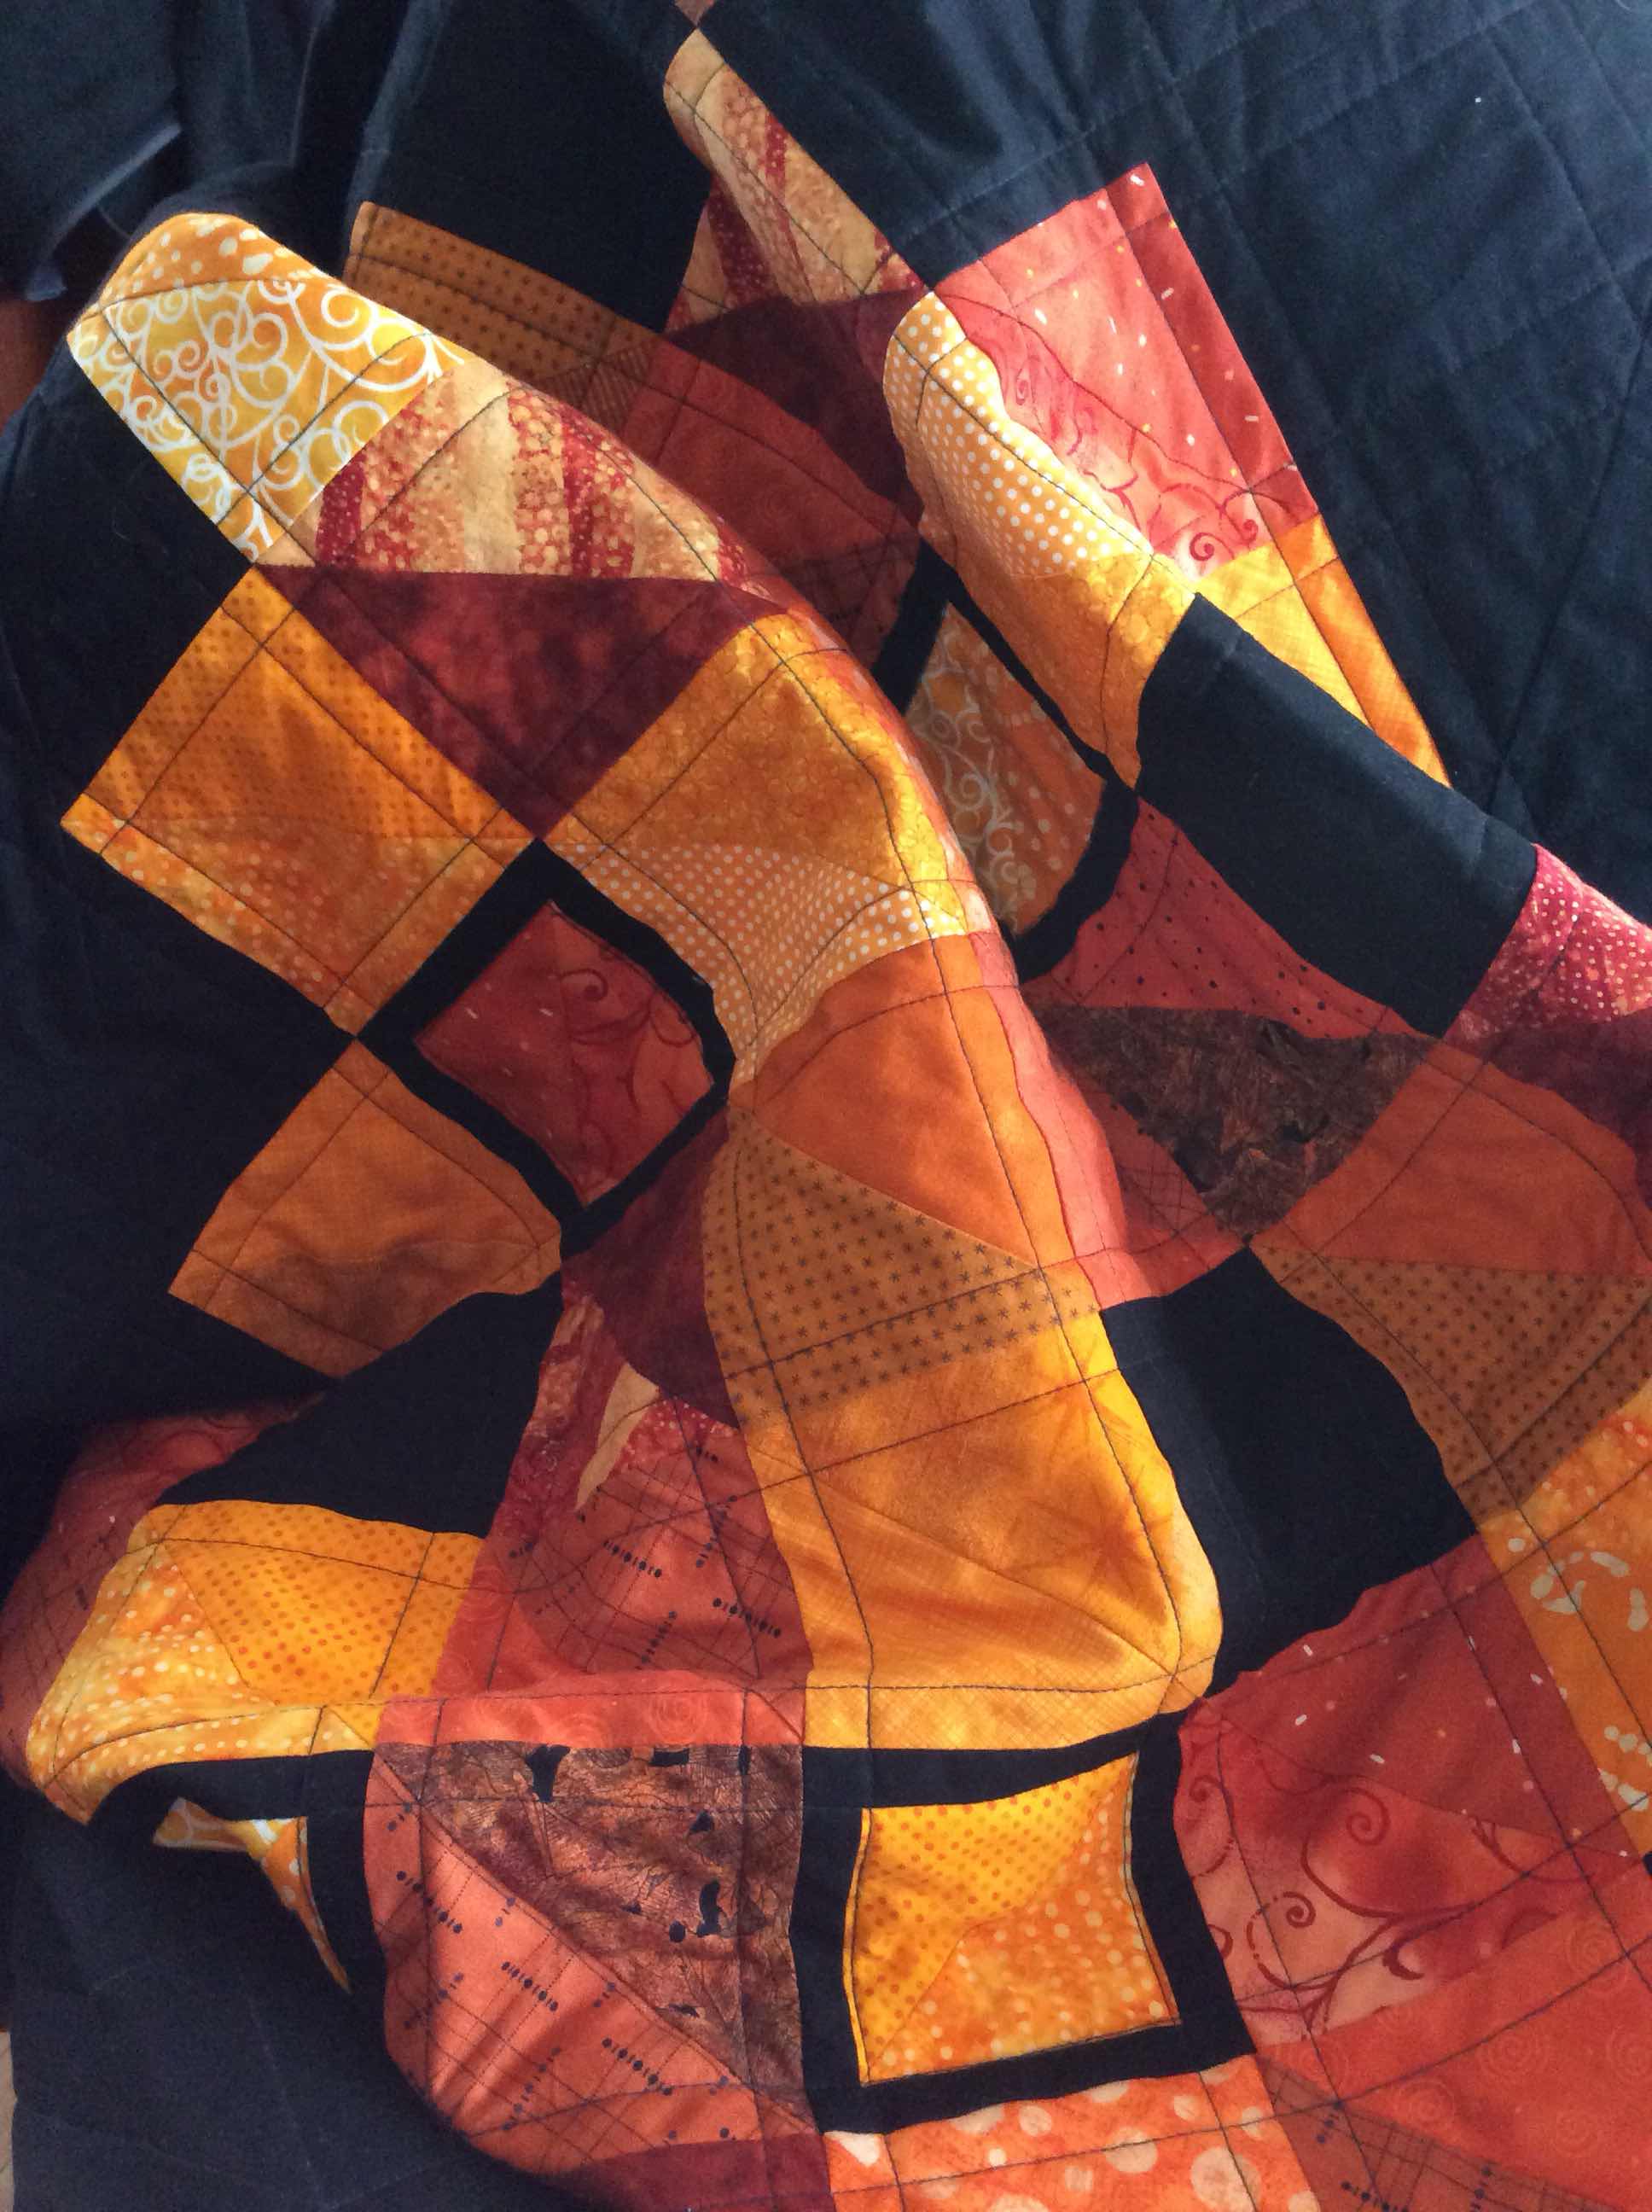
So when I get it to my lap to hand stitch the binding, I’m a pretty happy quilter.
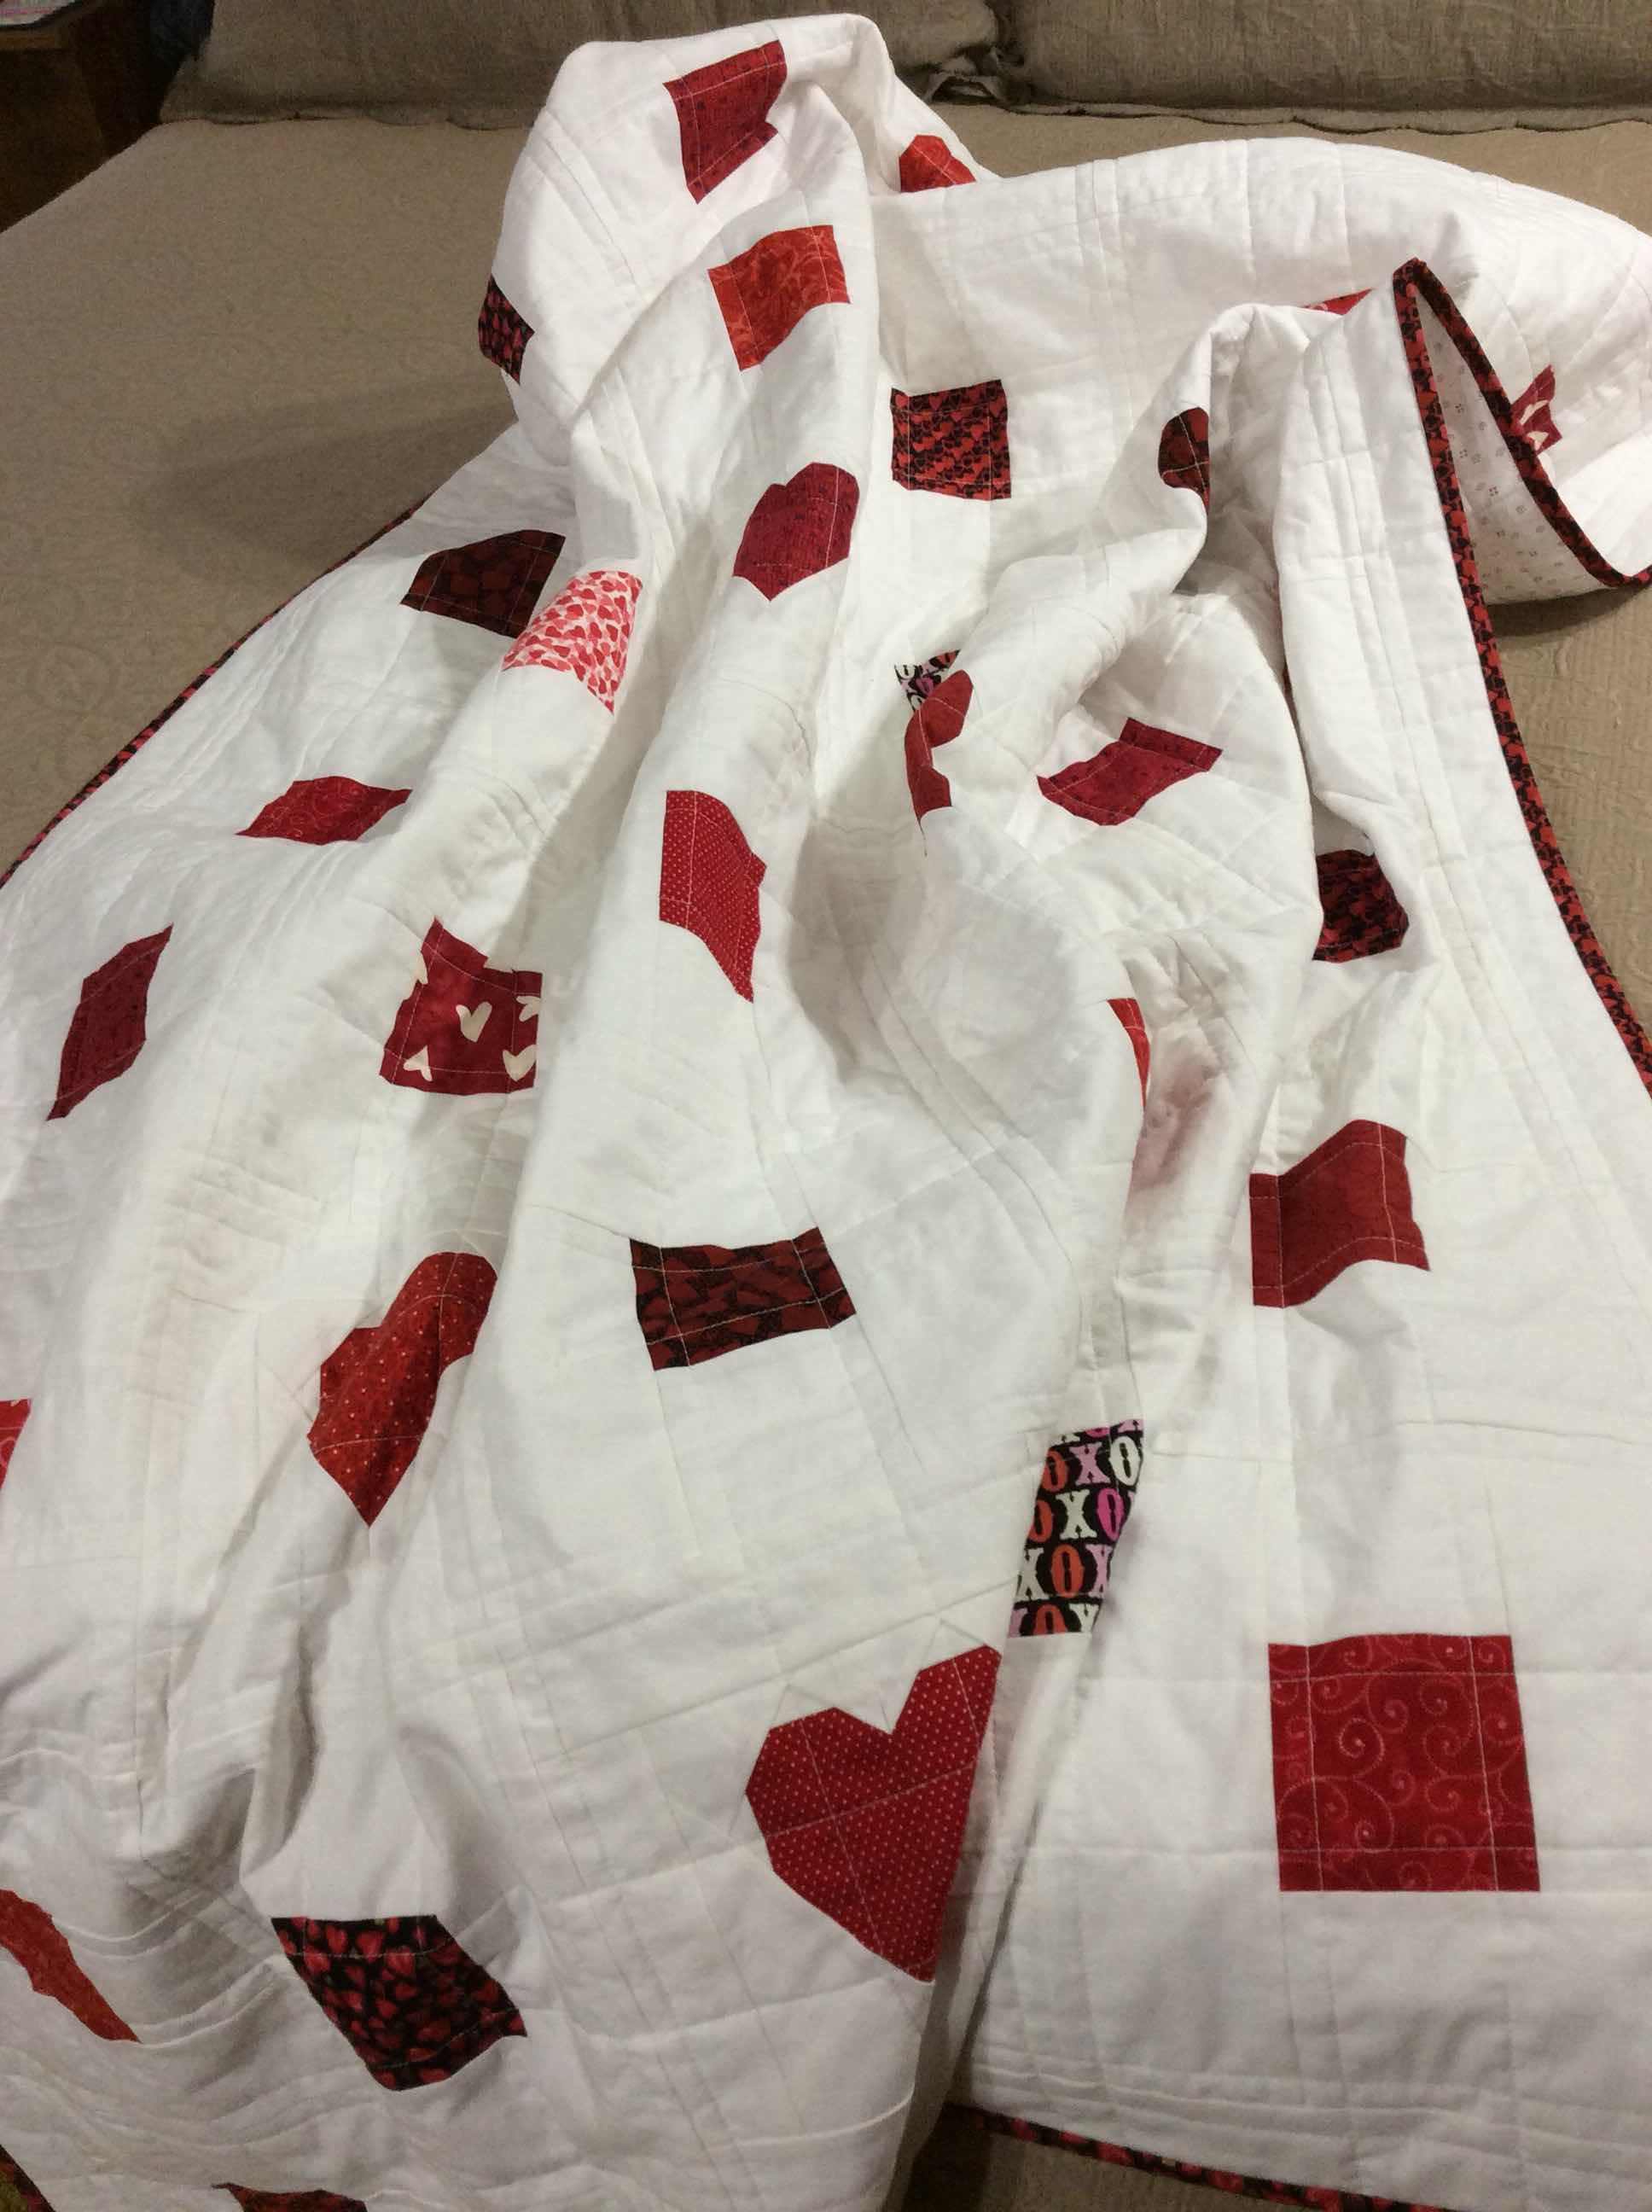
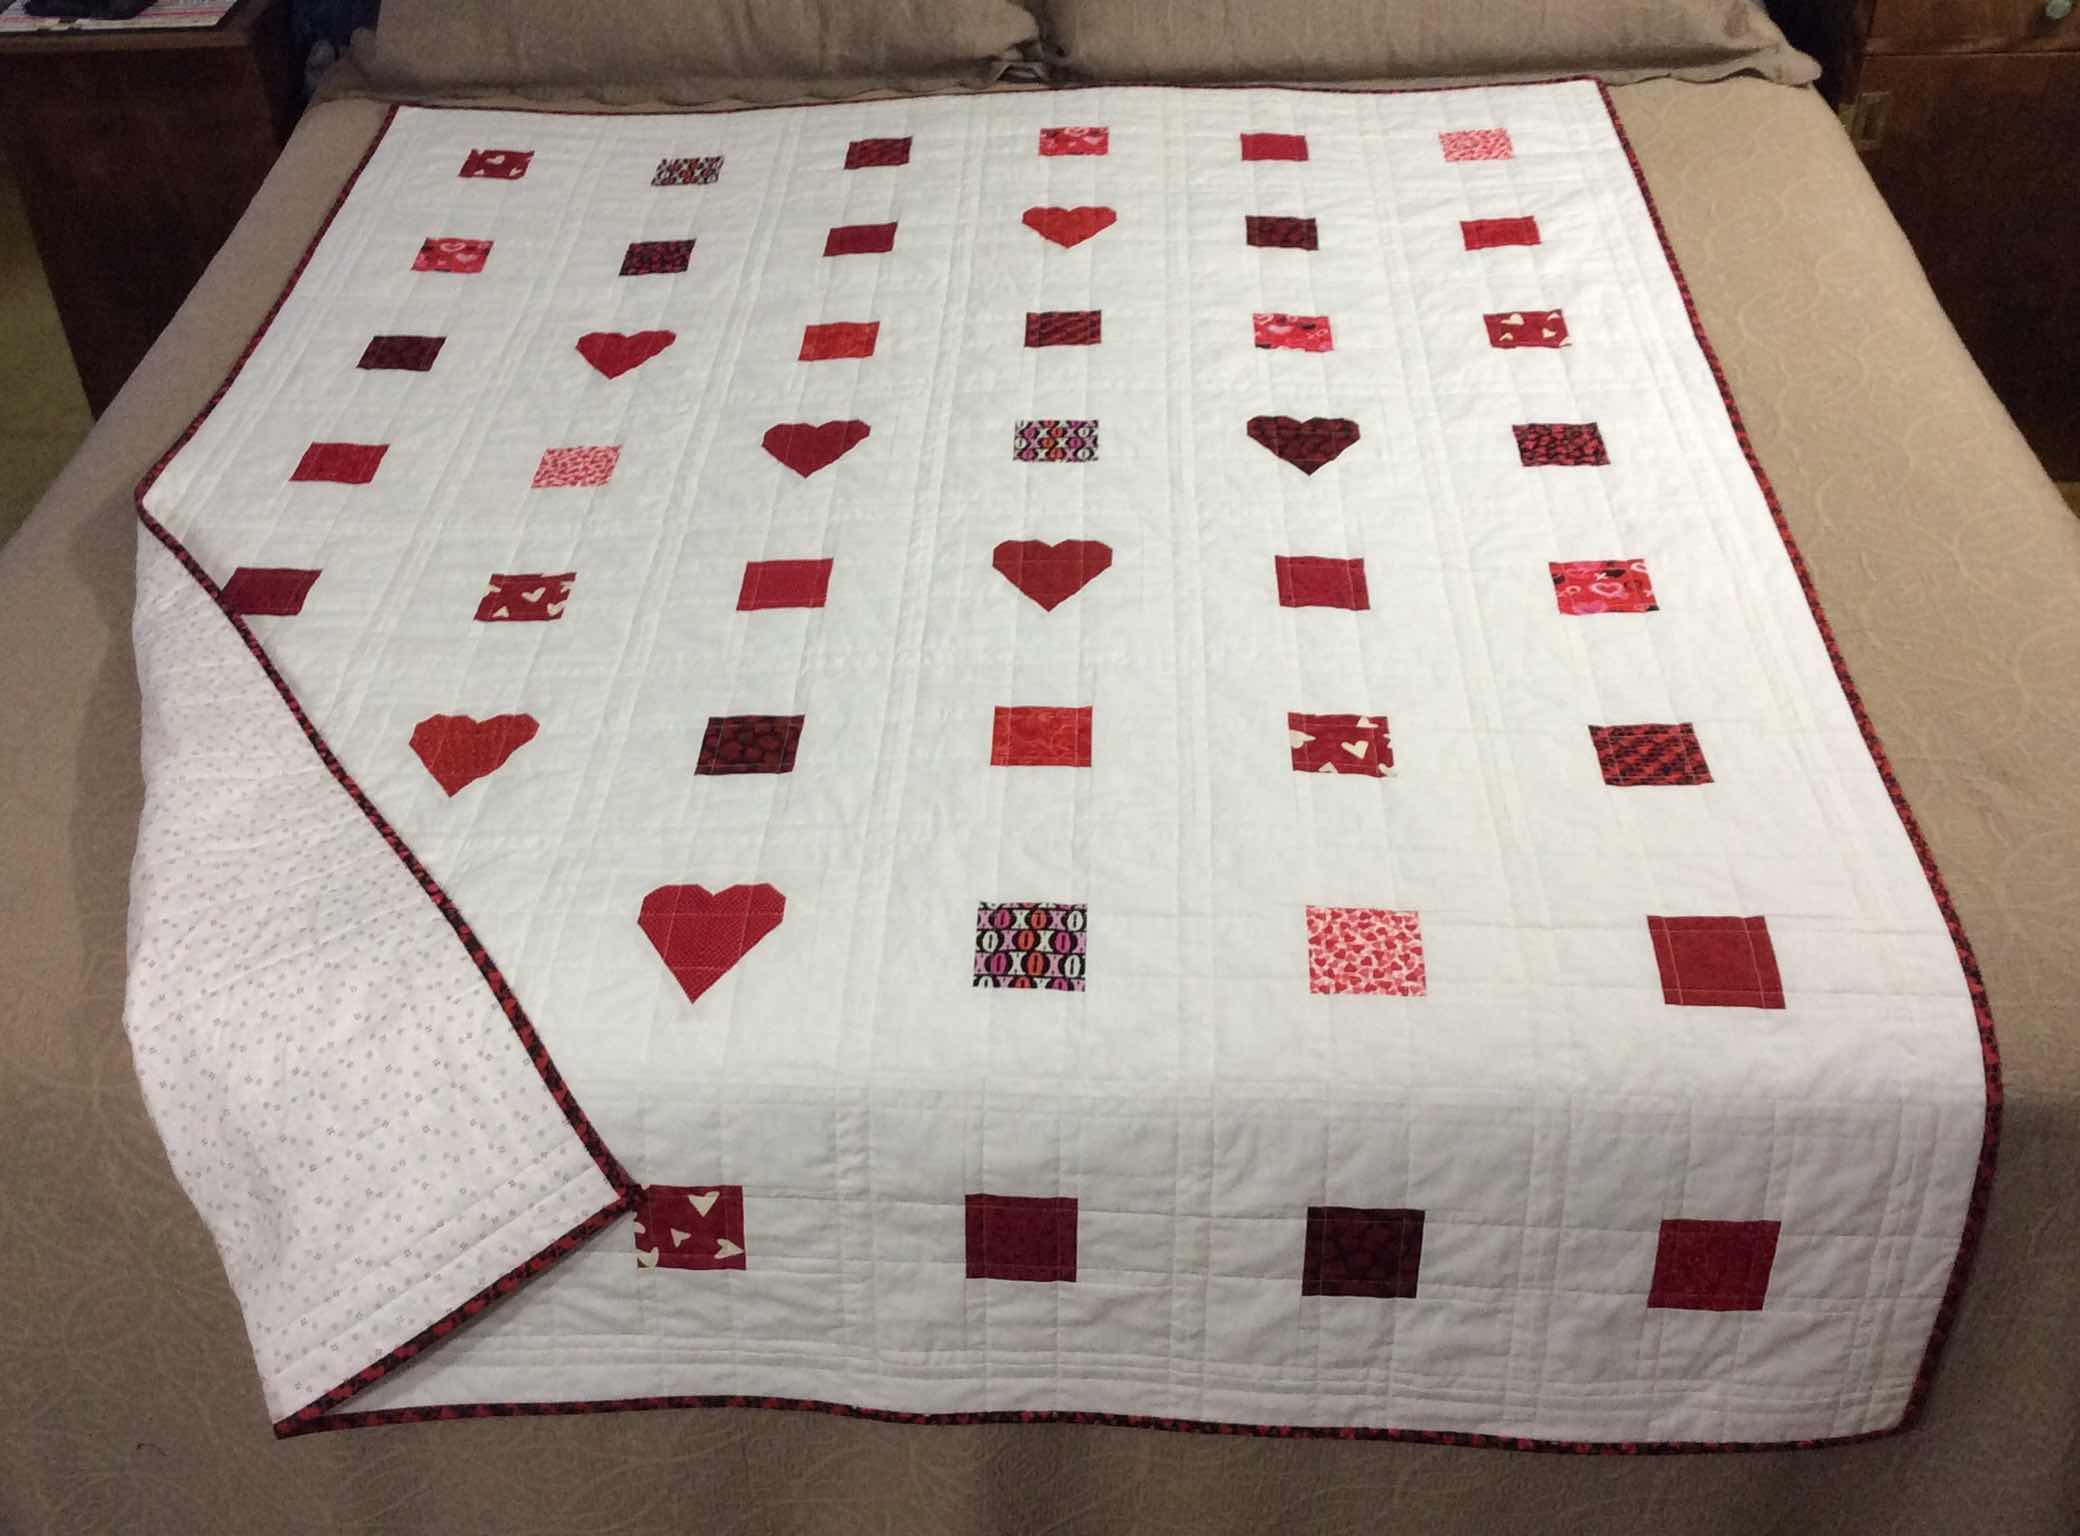
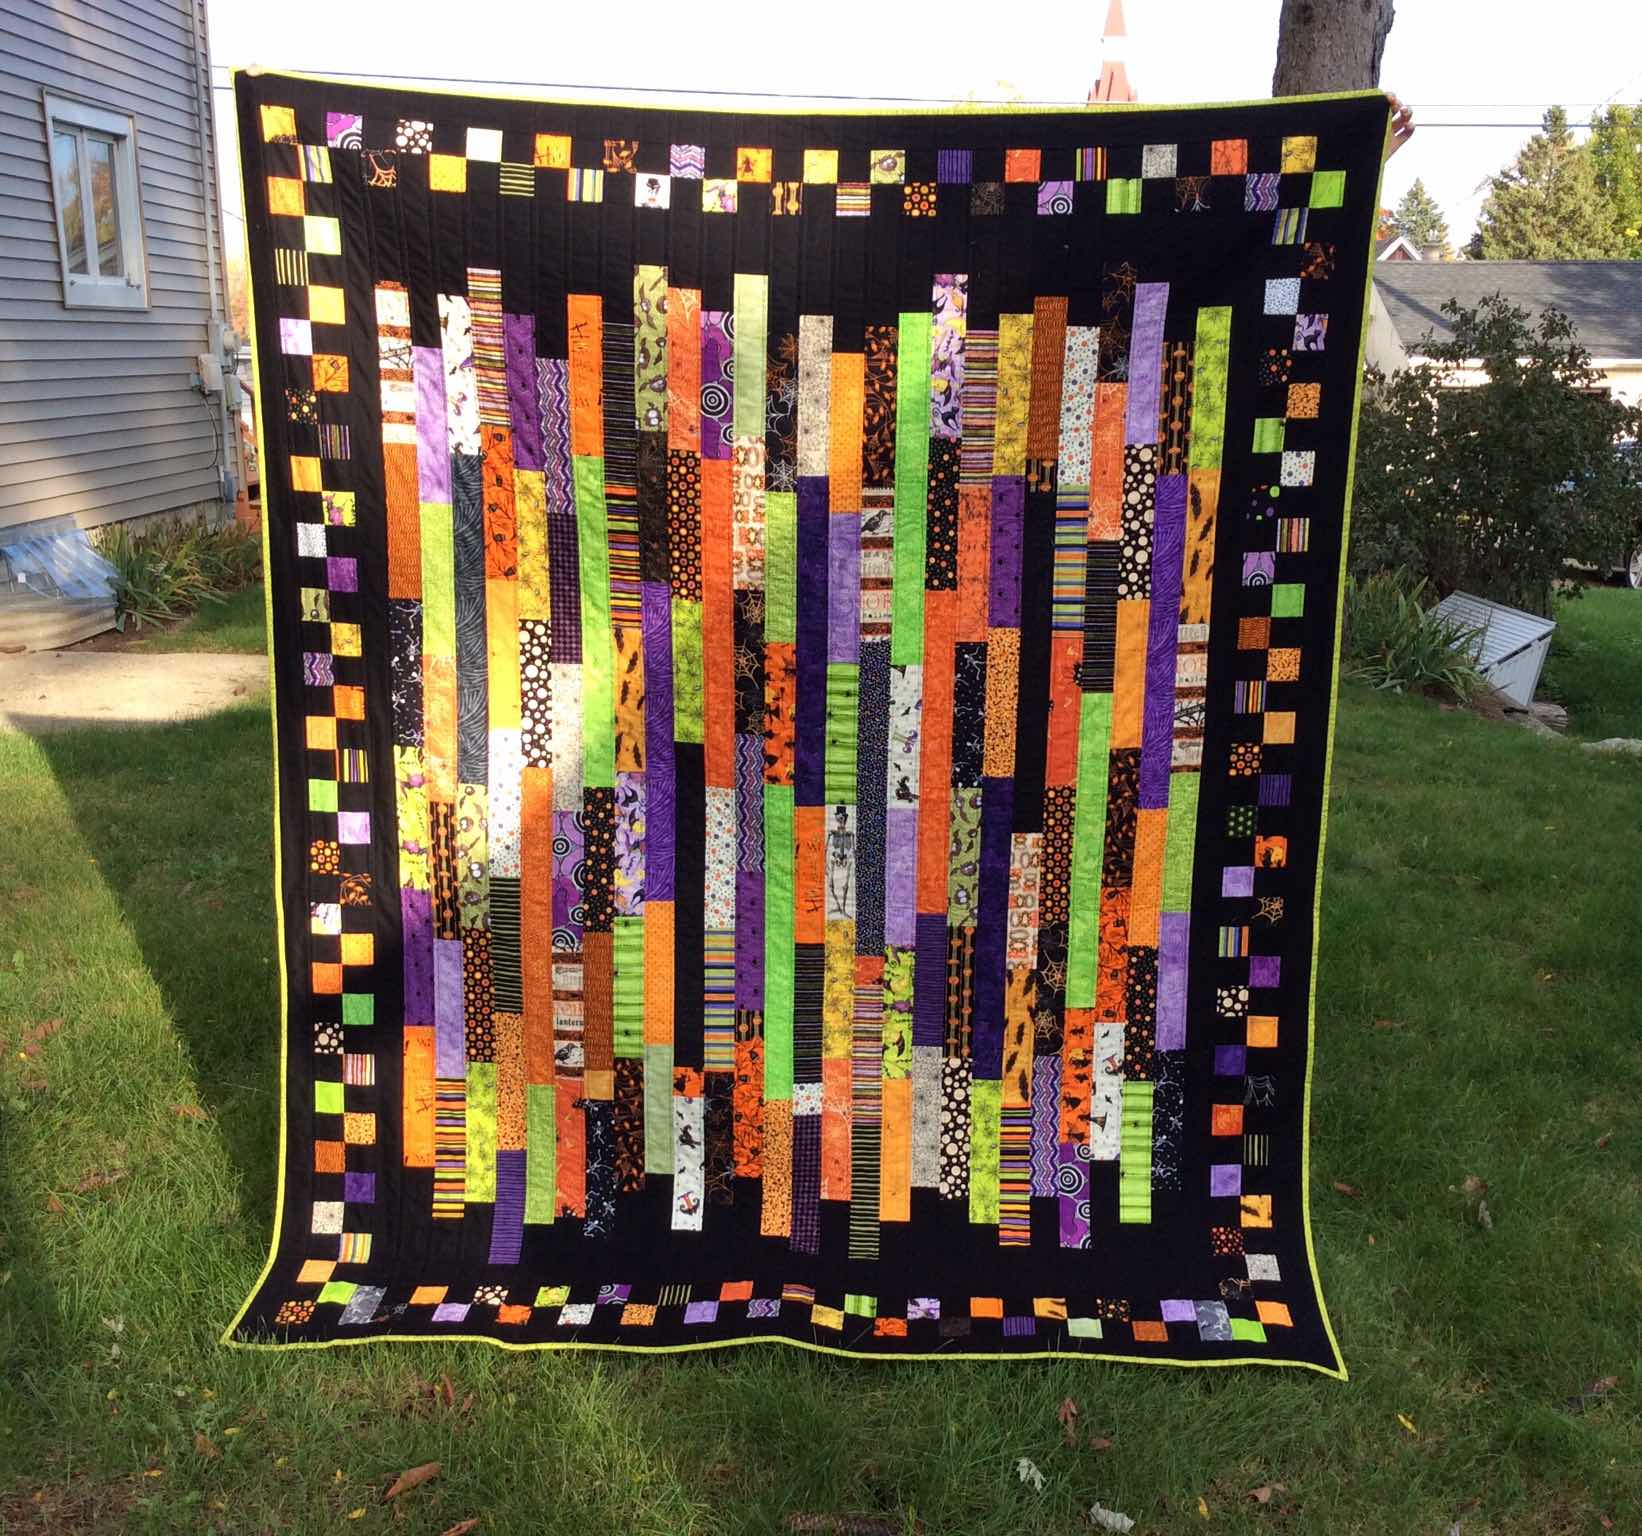
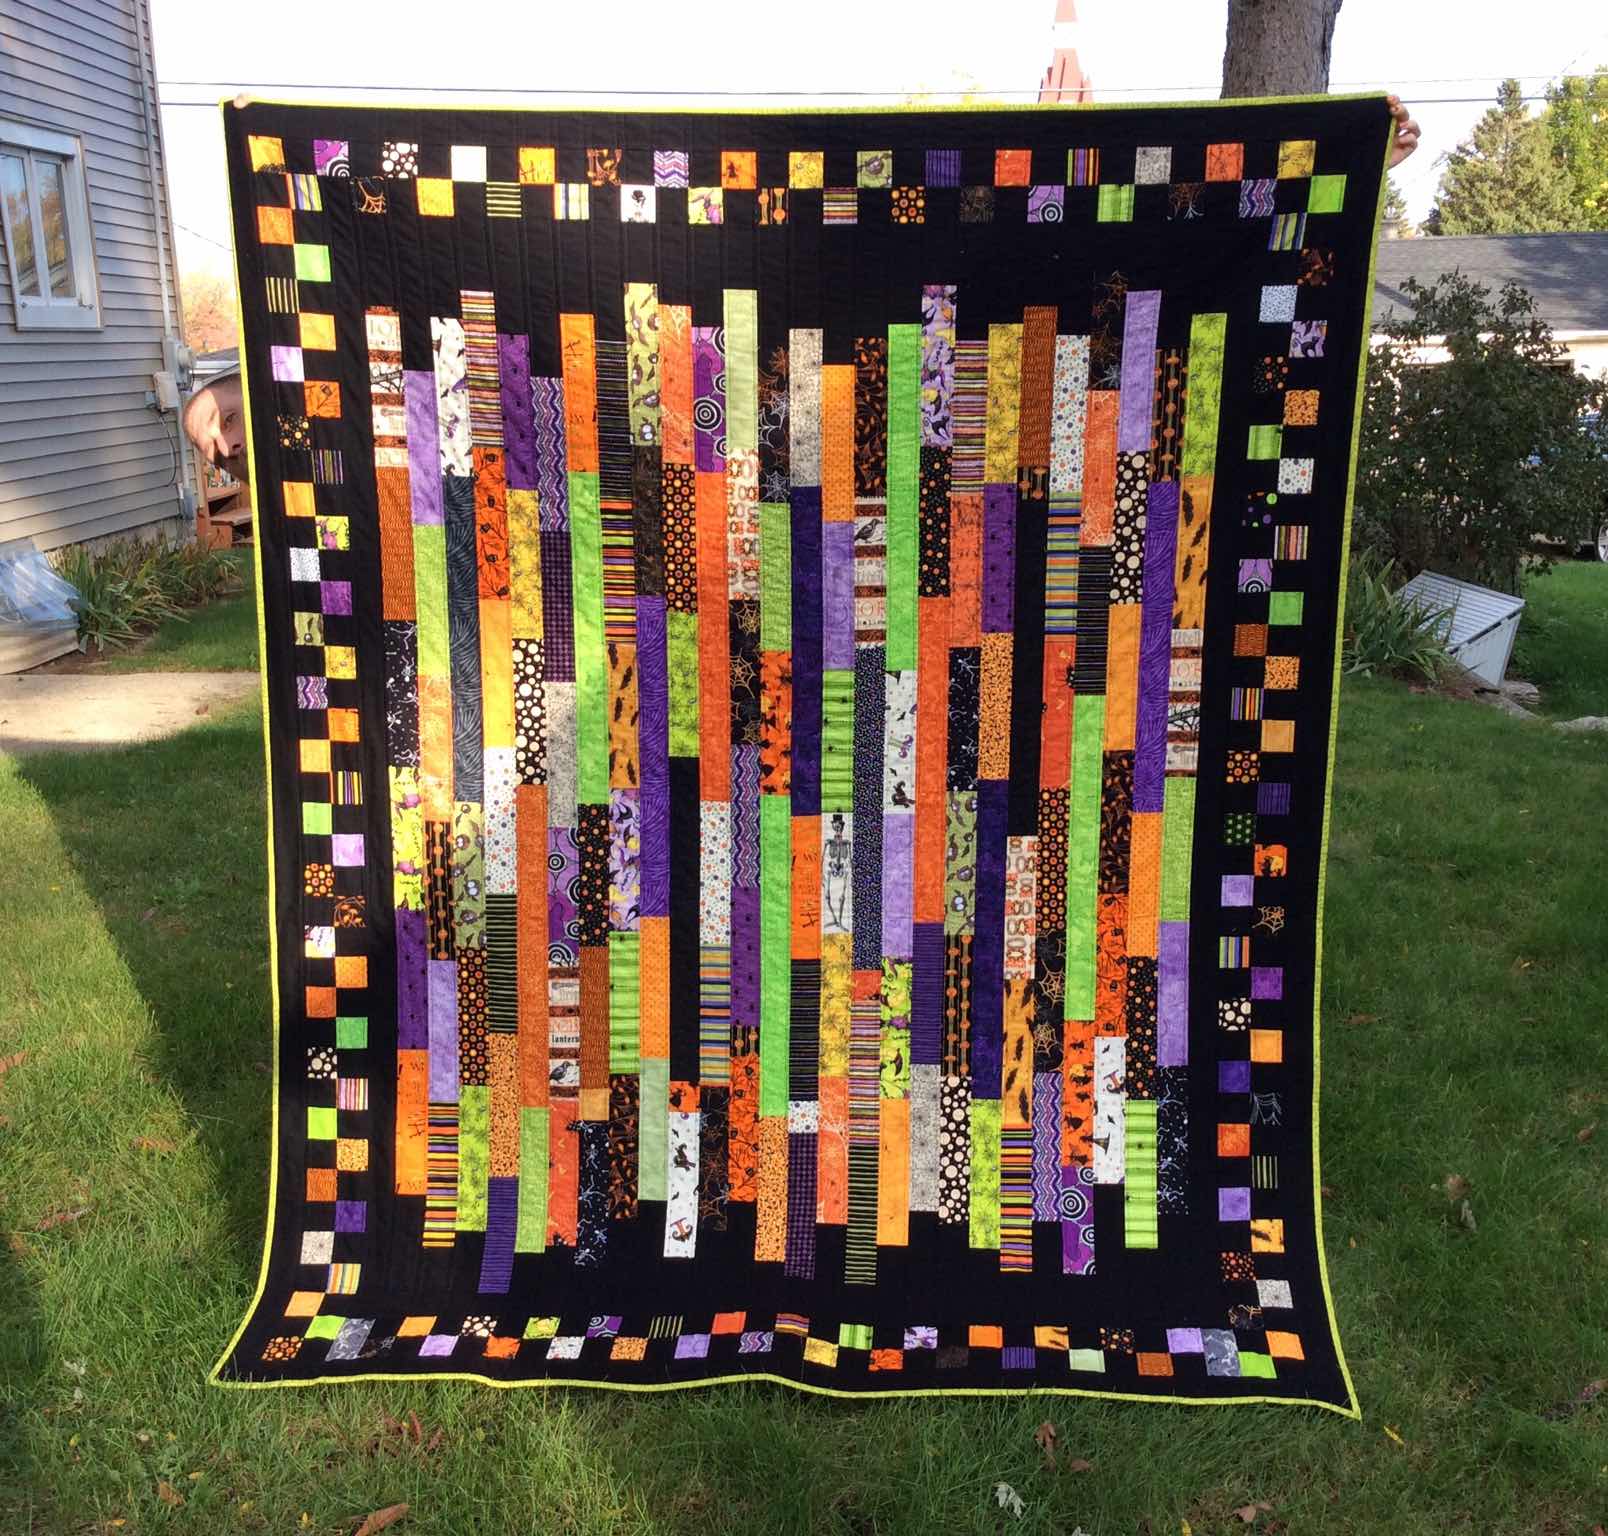
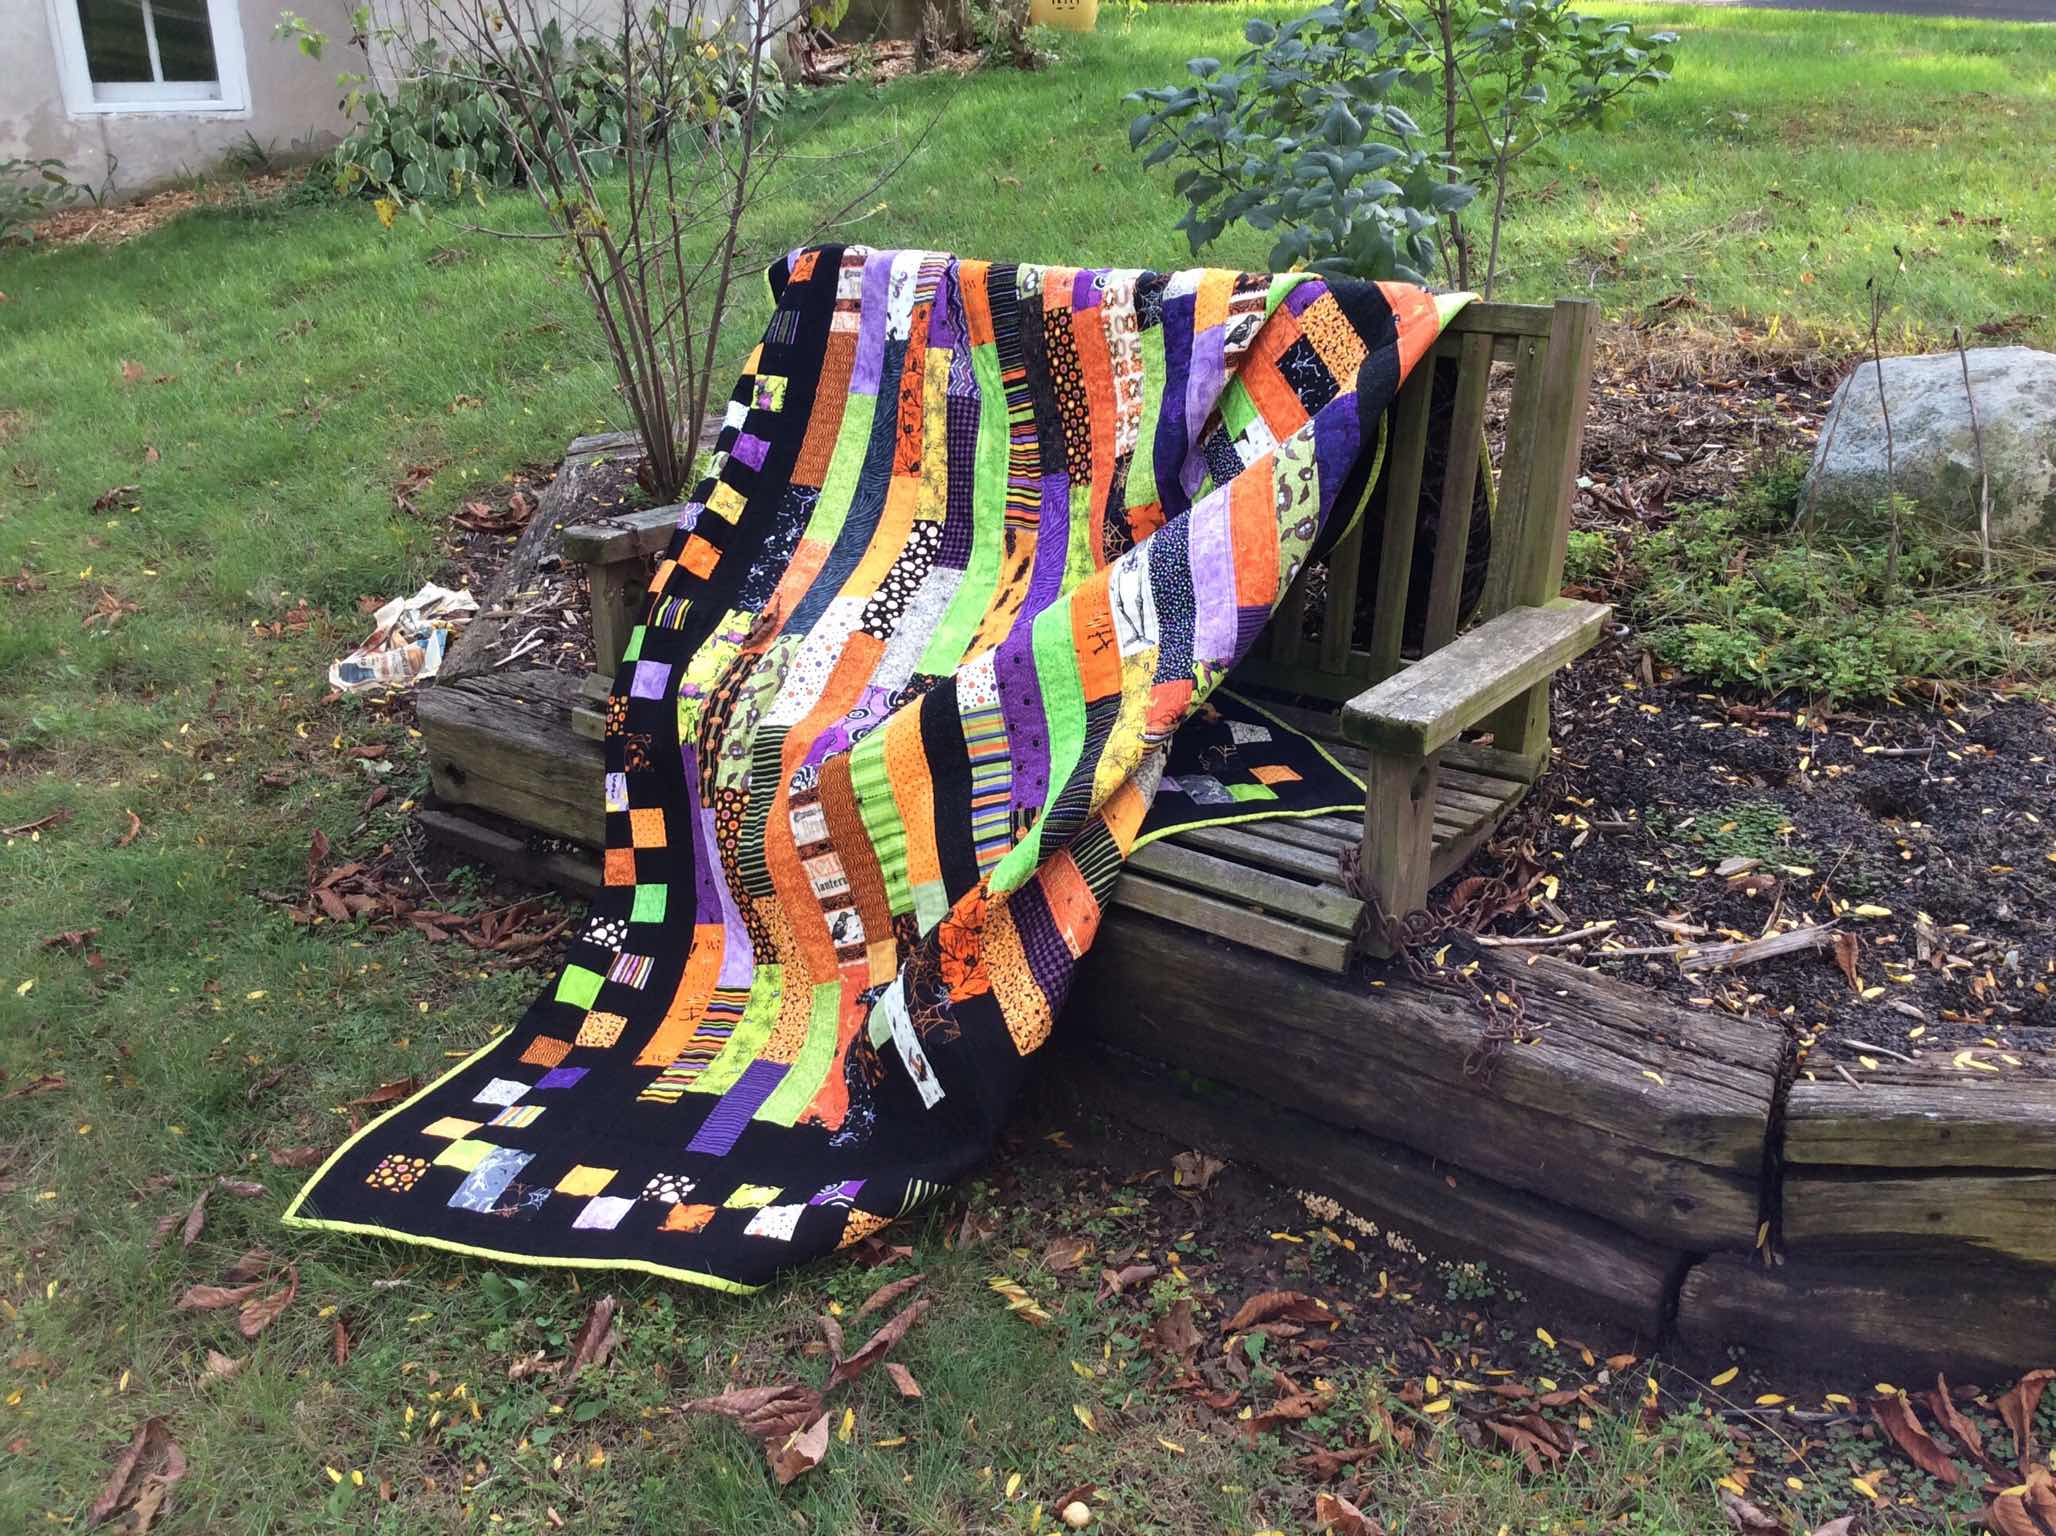
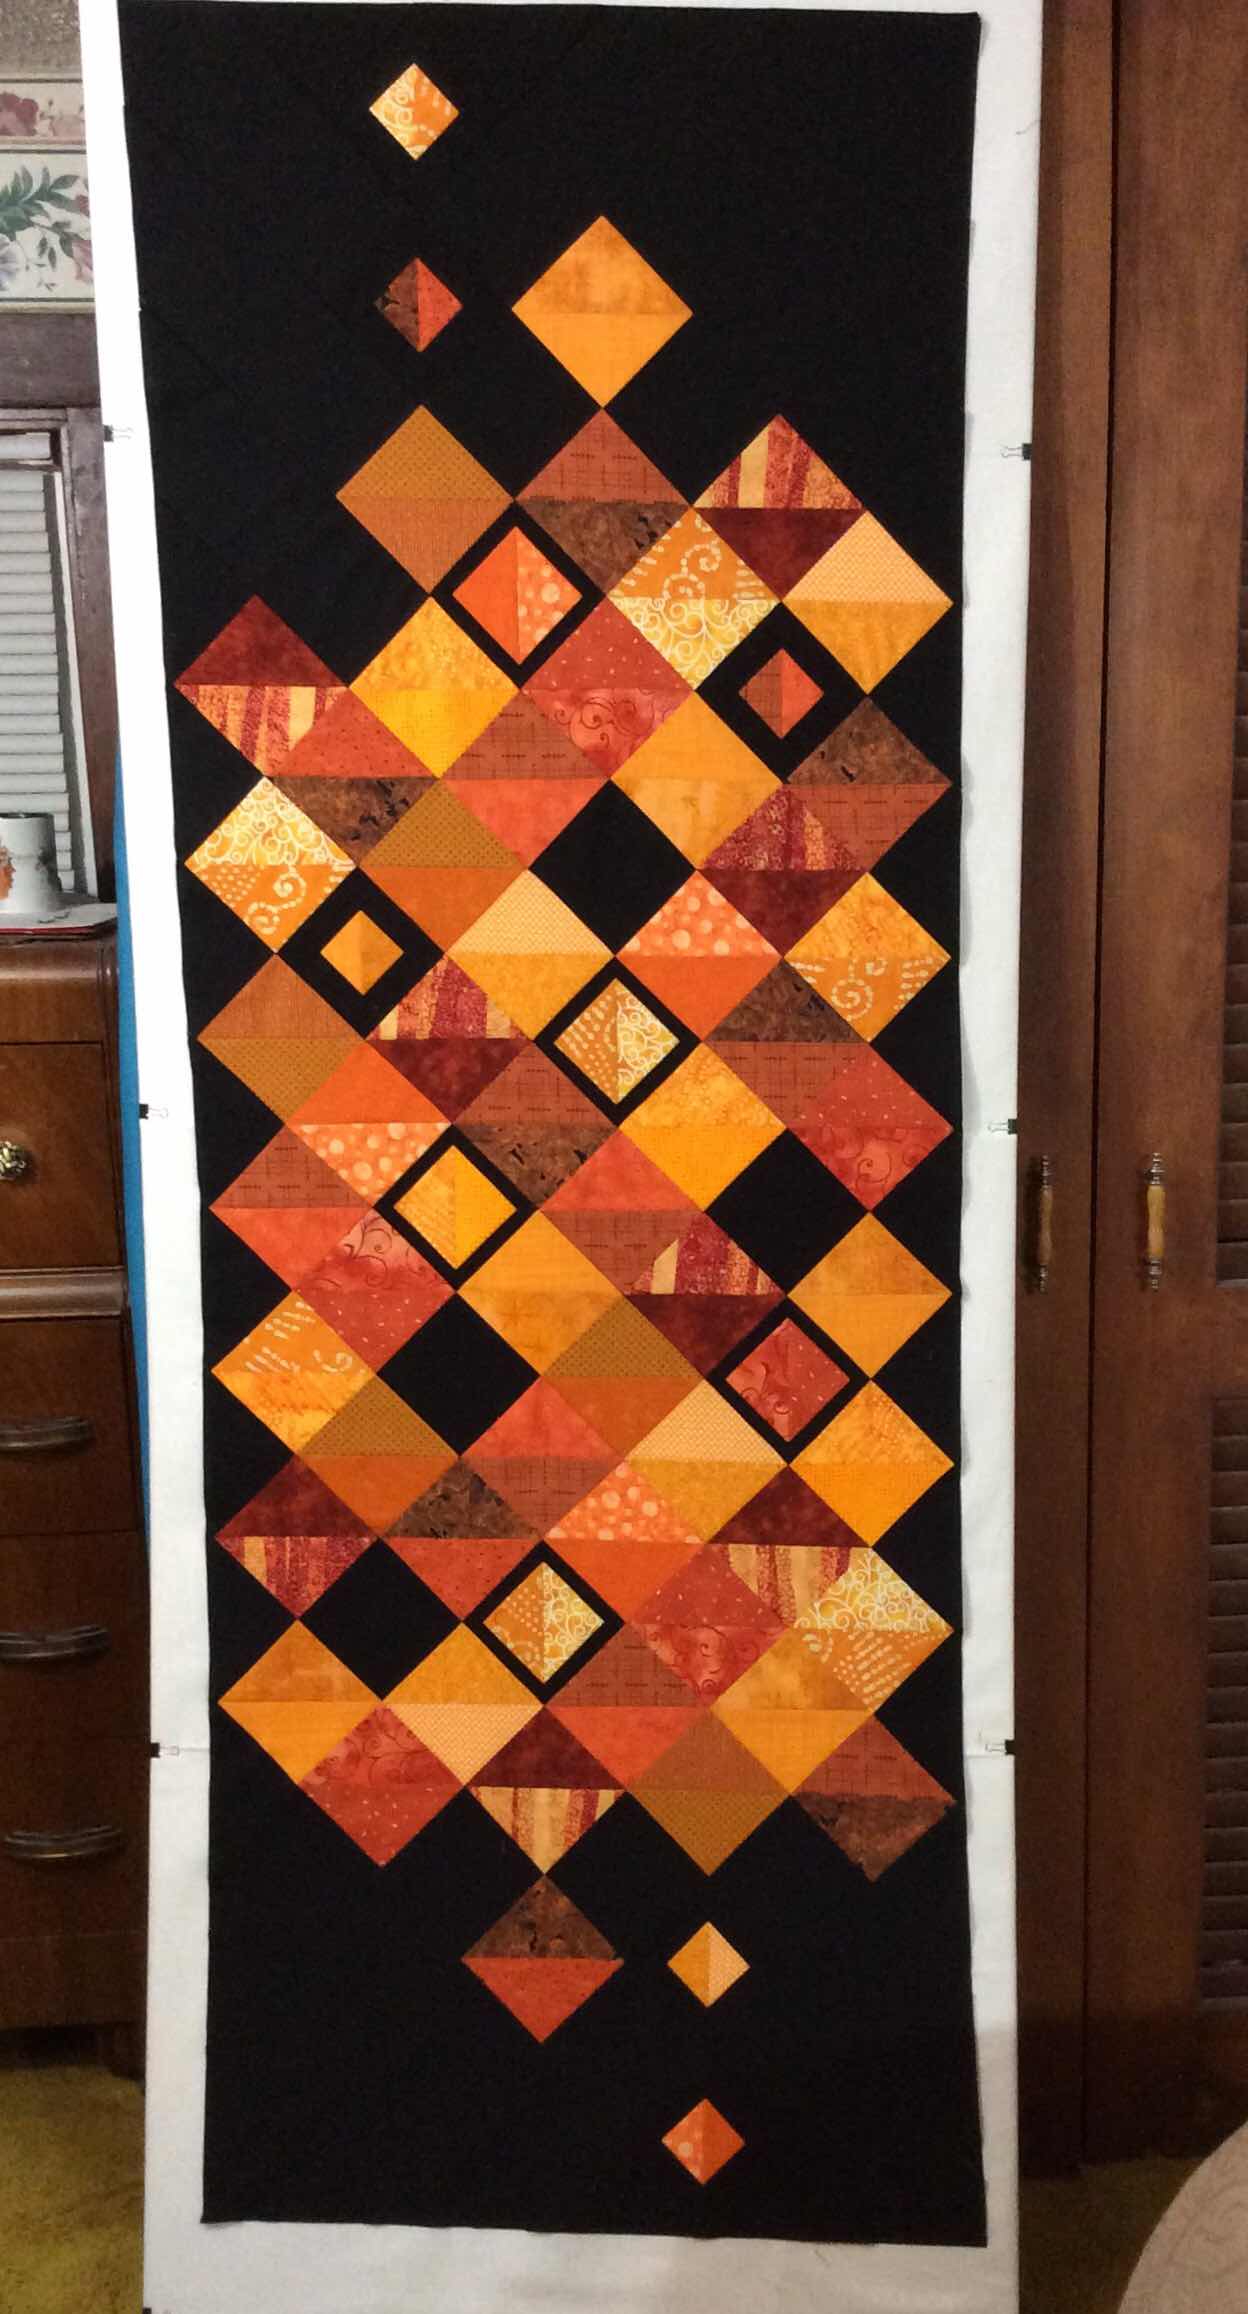
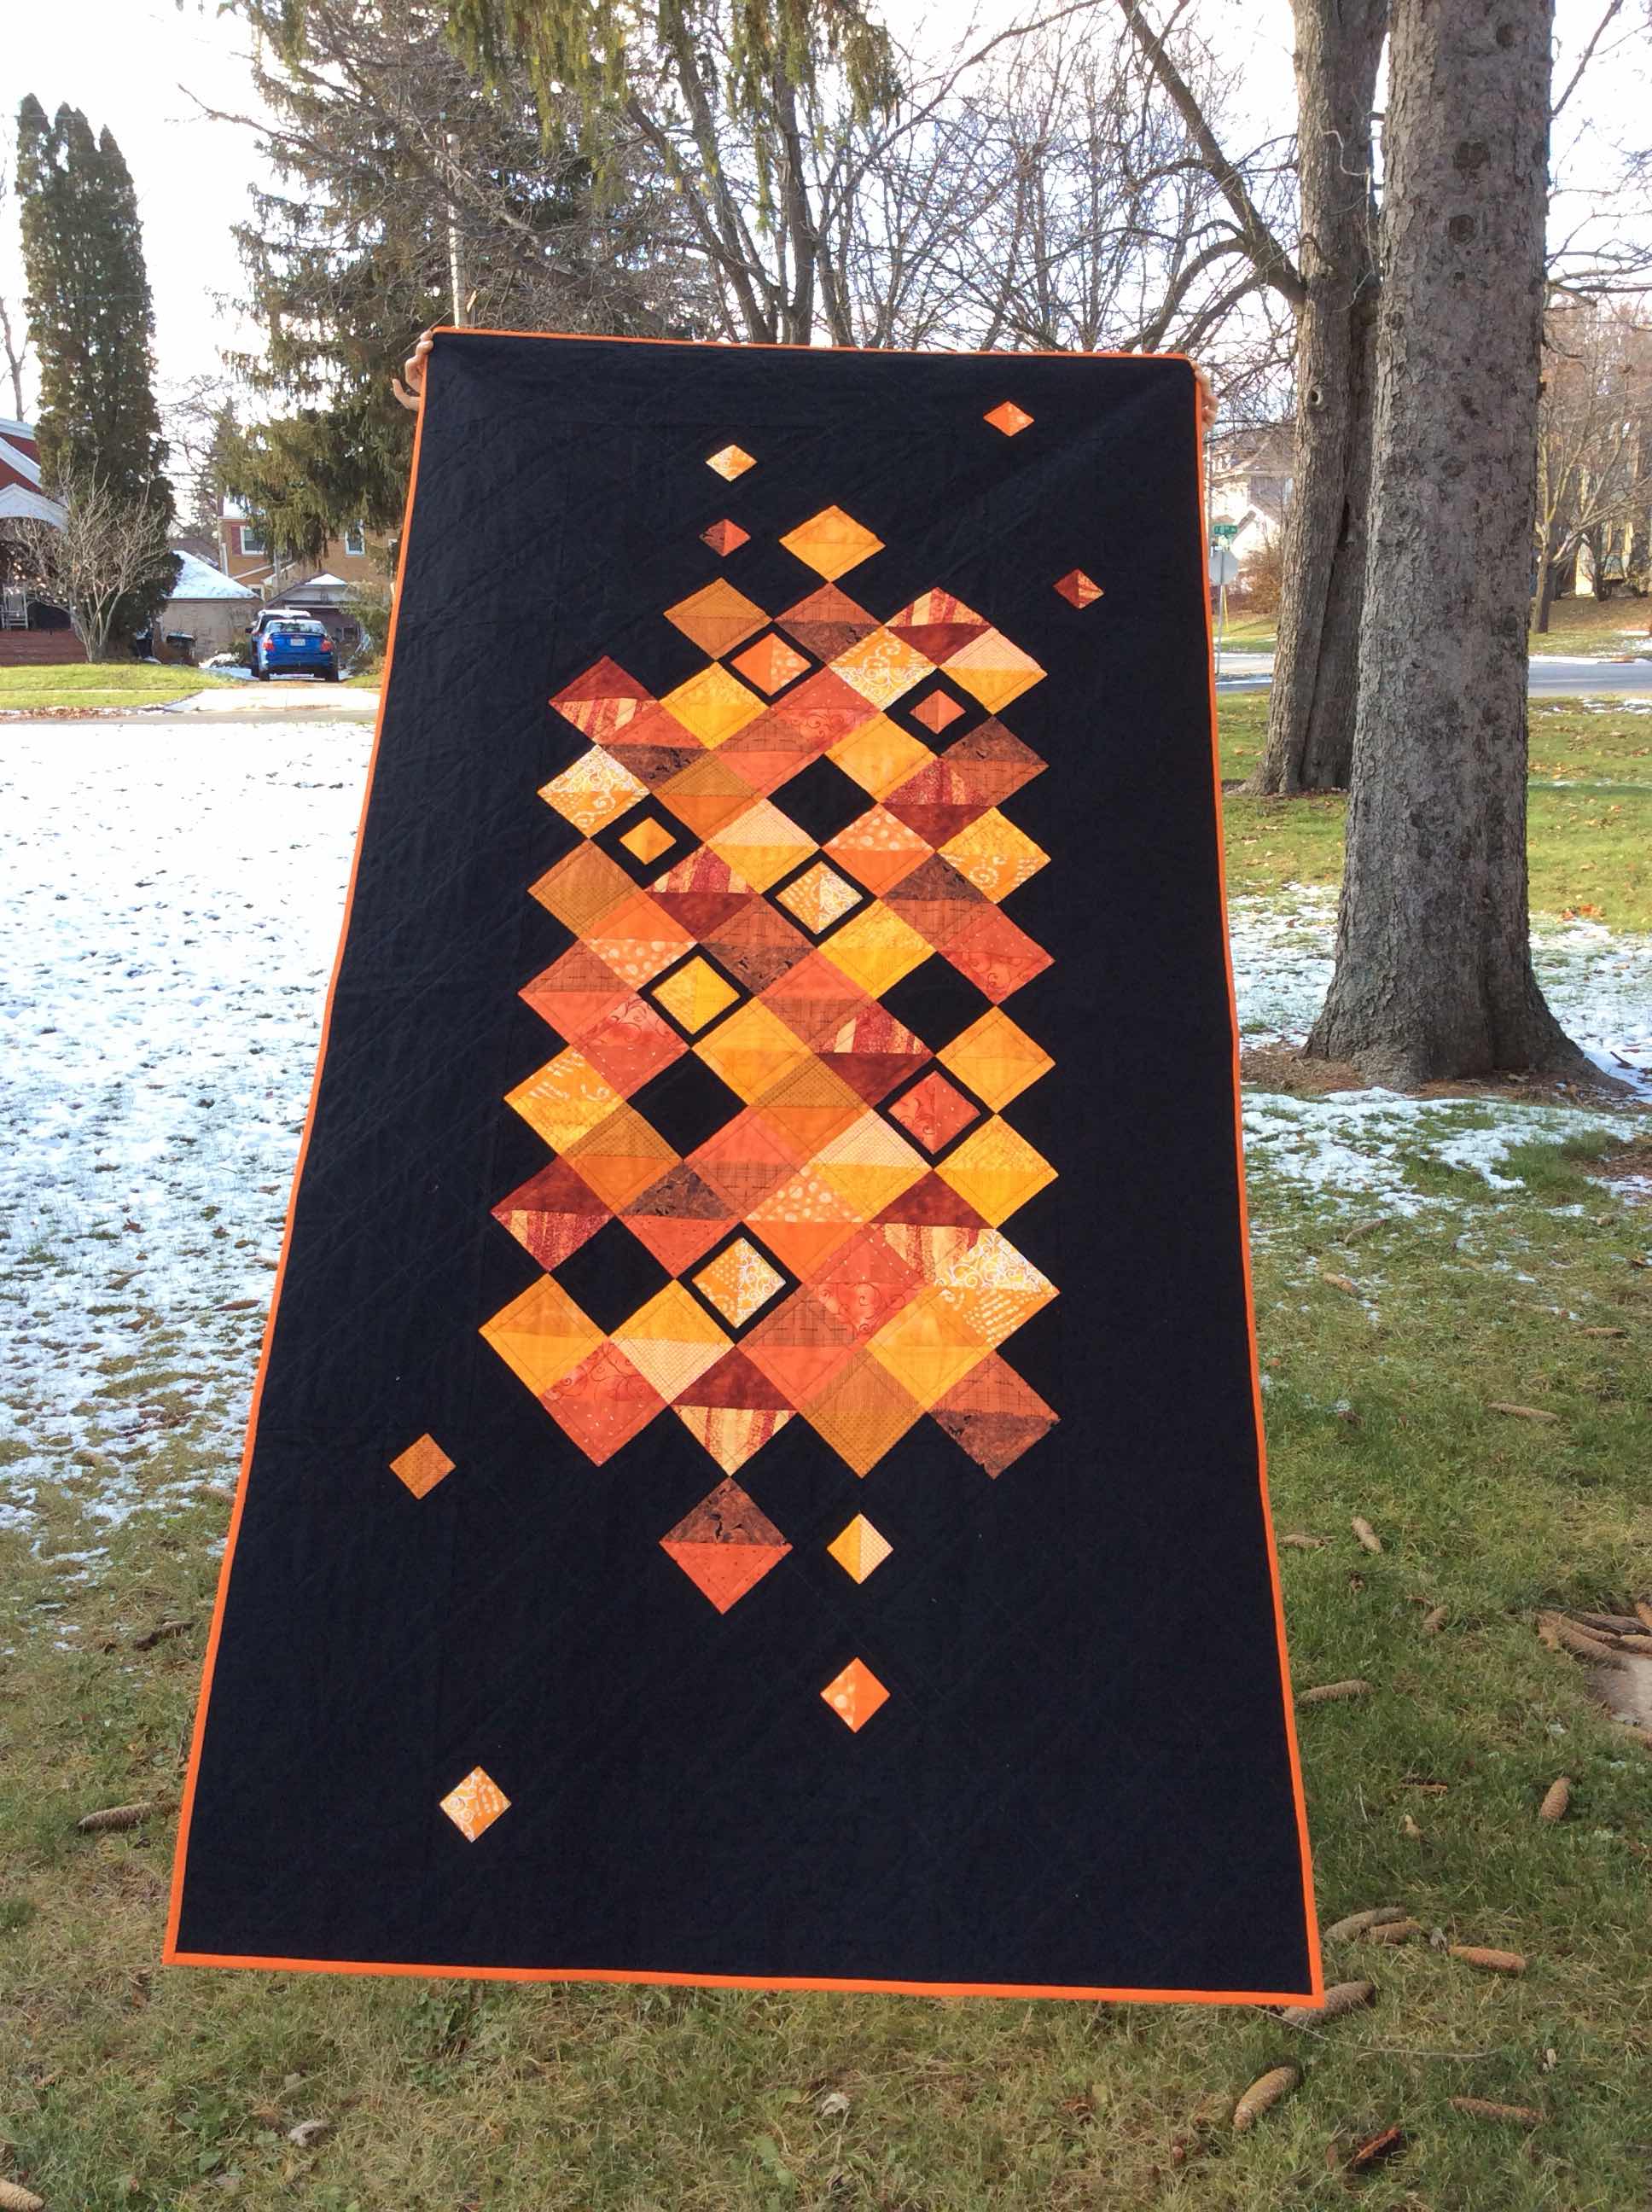

And done!


It measures 44” X 87”. I was going for an 80” length but this quilt had a mind of it’s own for length.  Extra long is much better than too short.


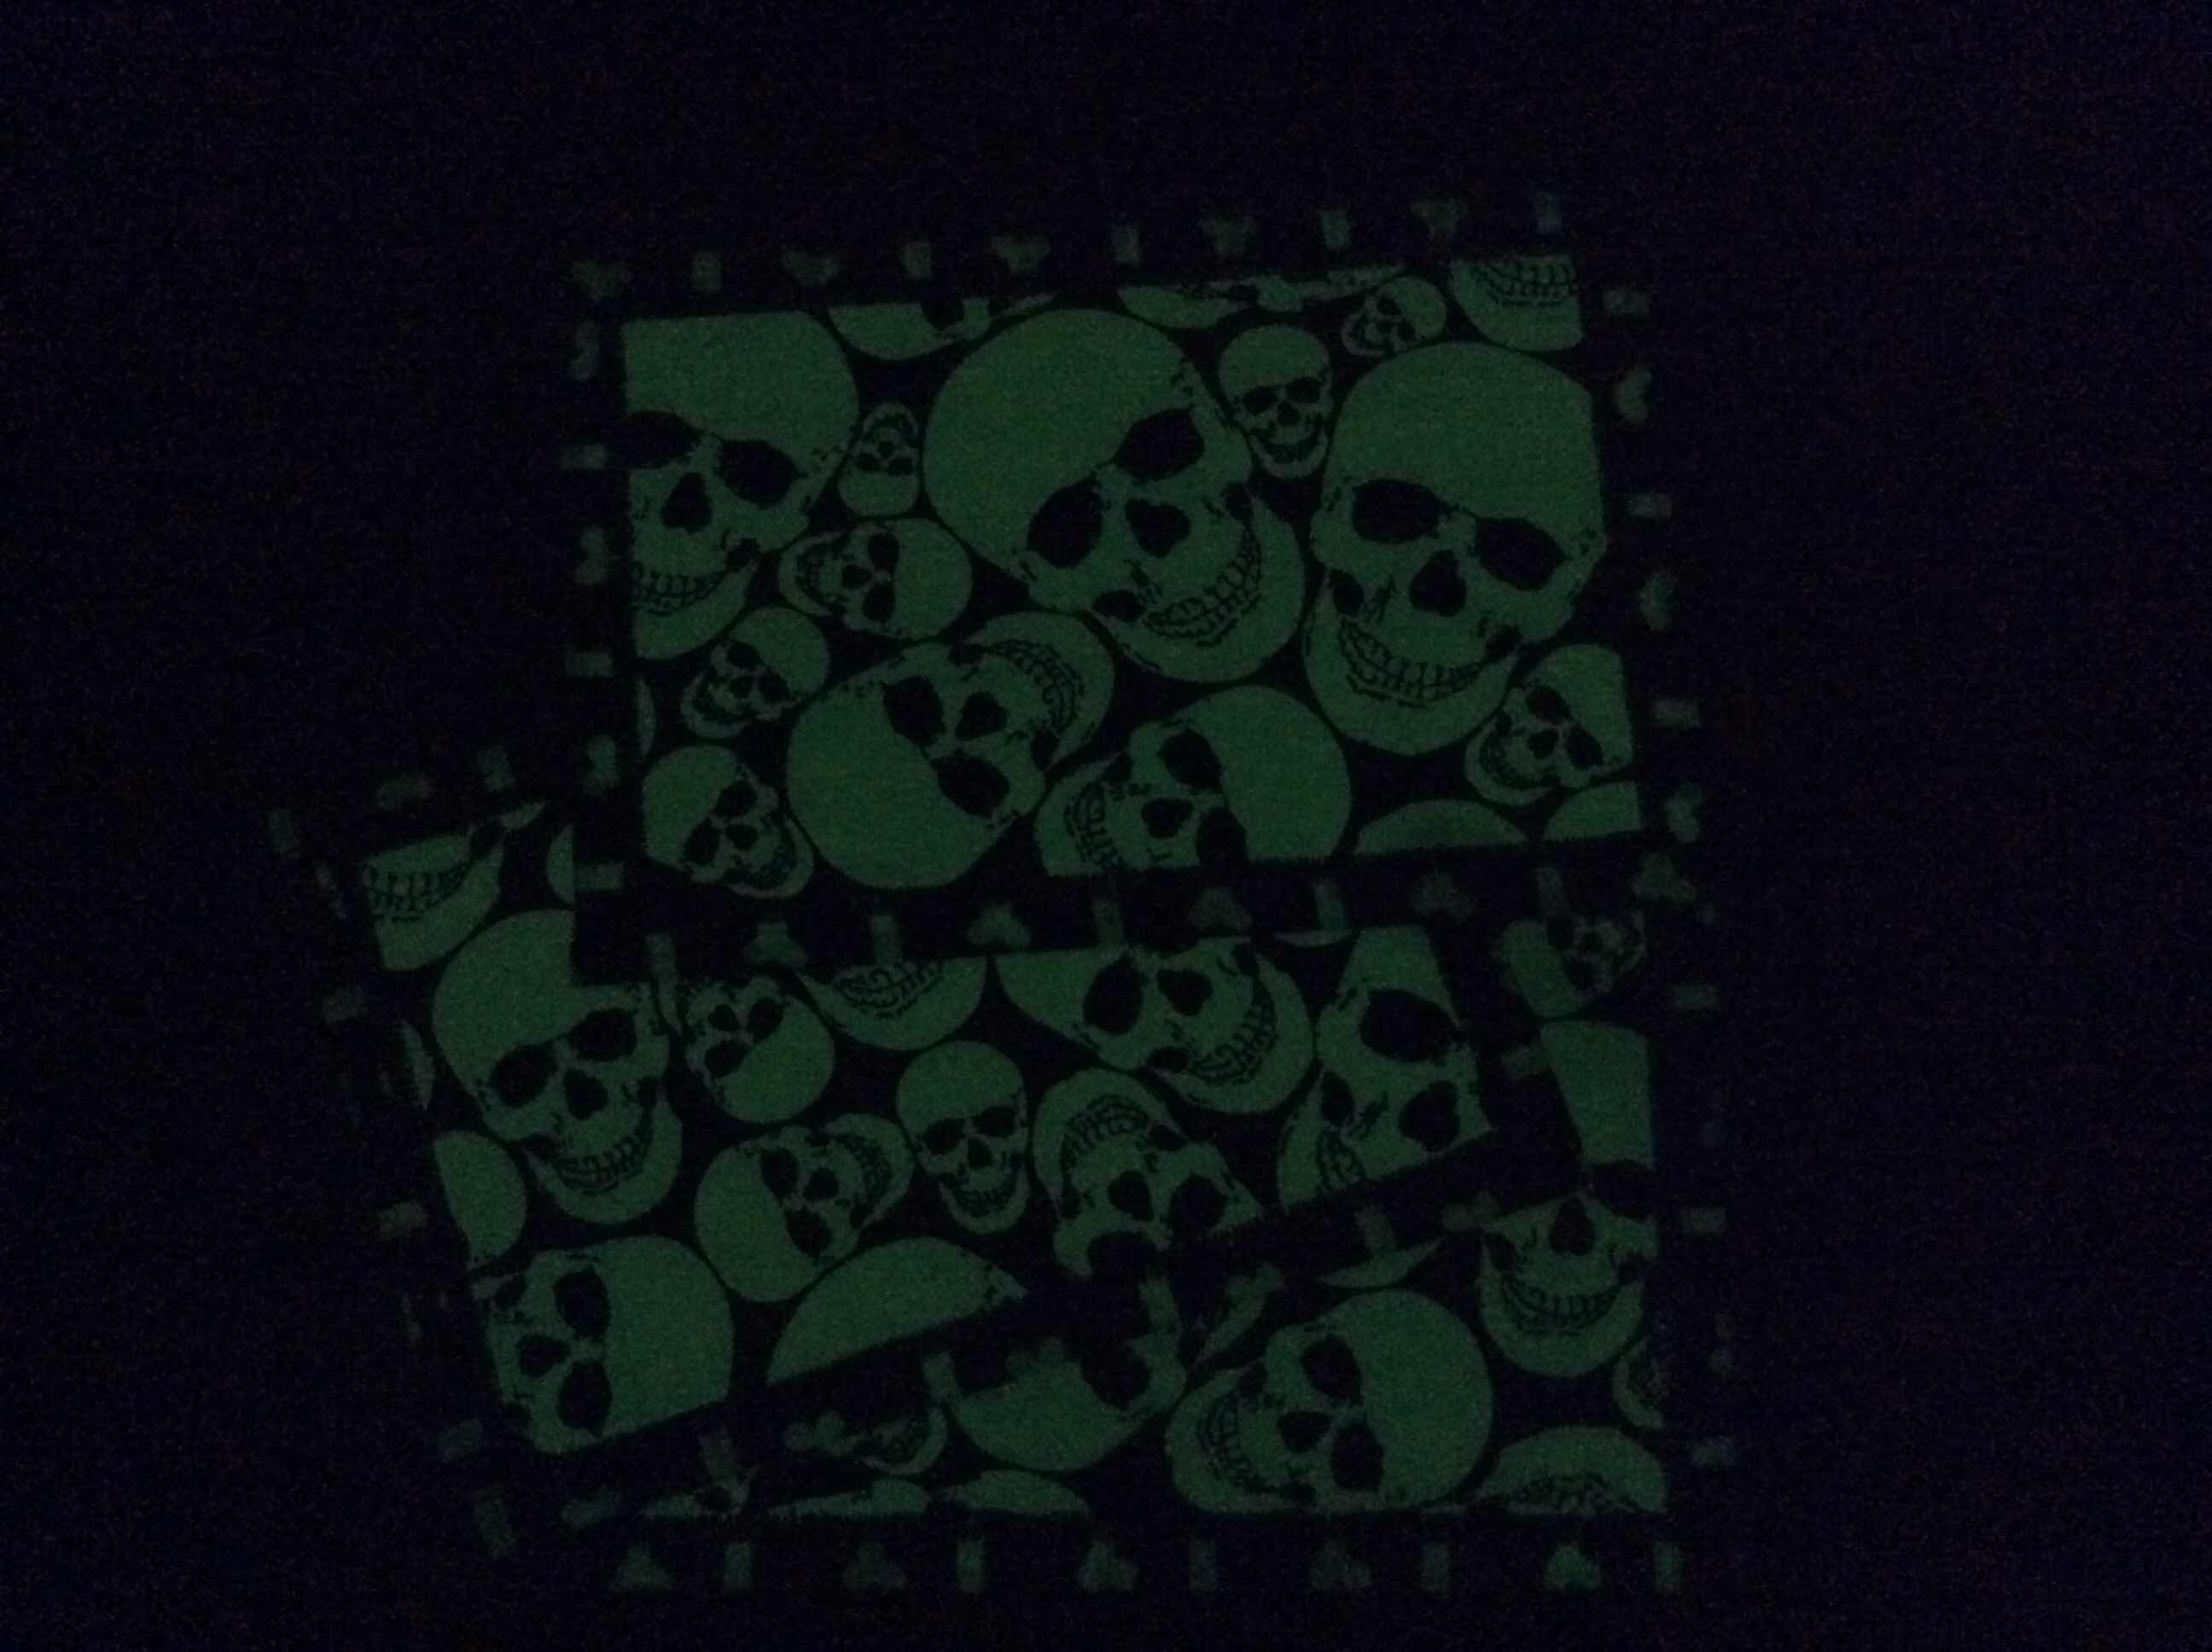
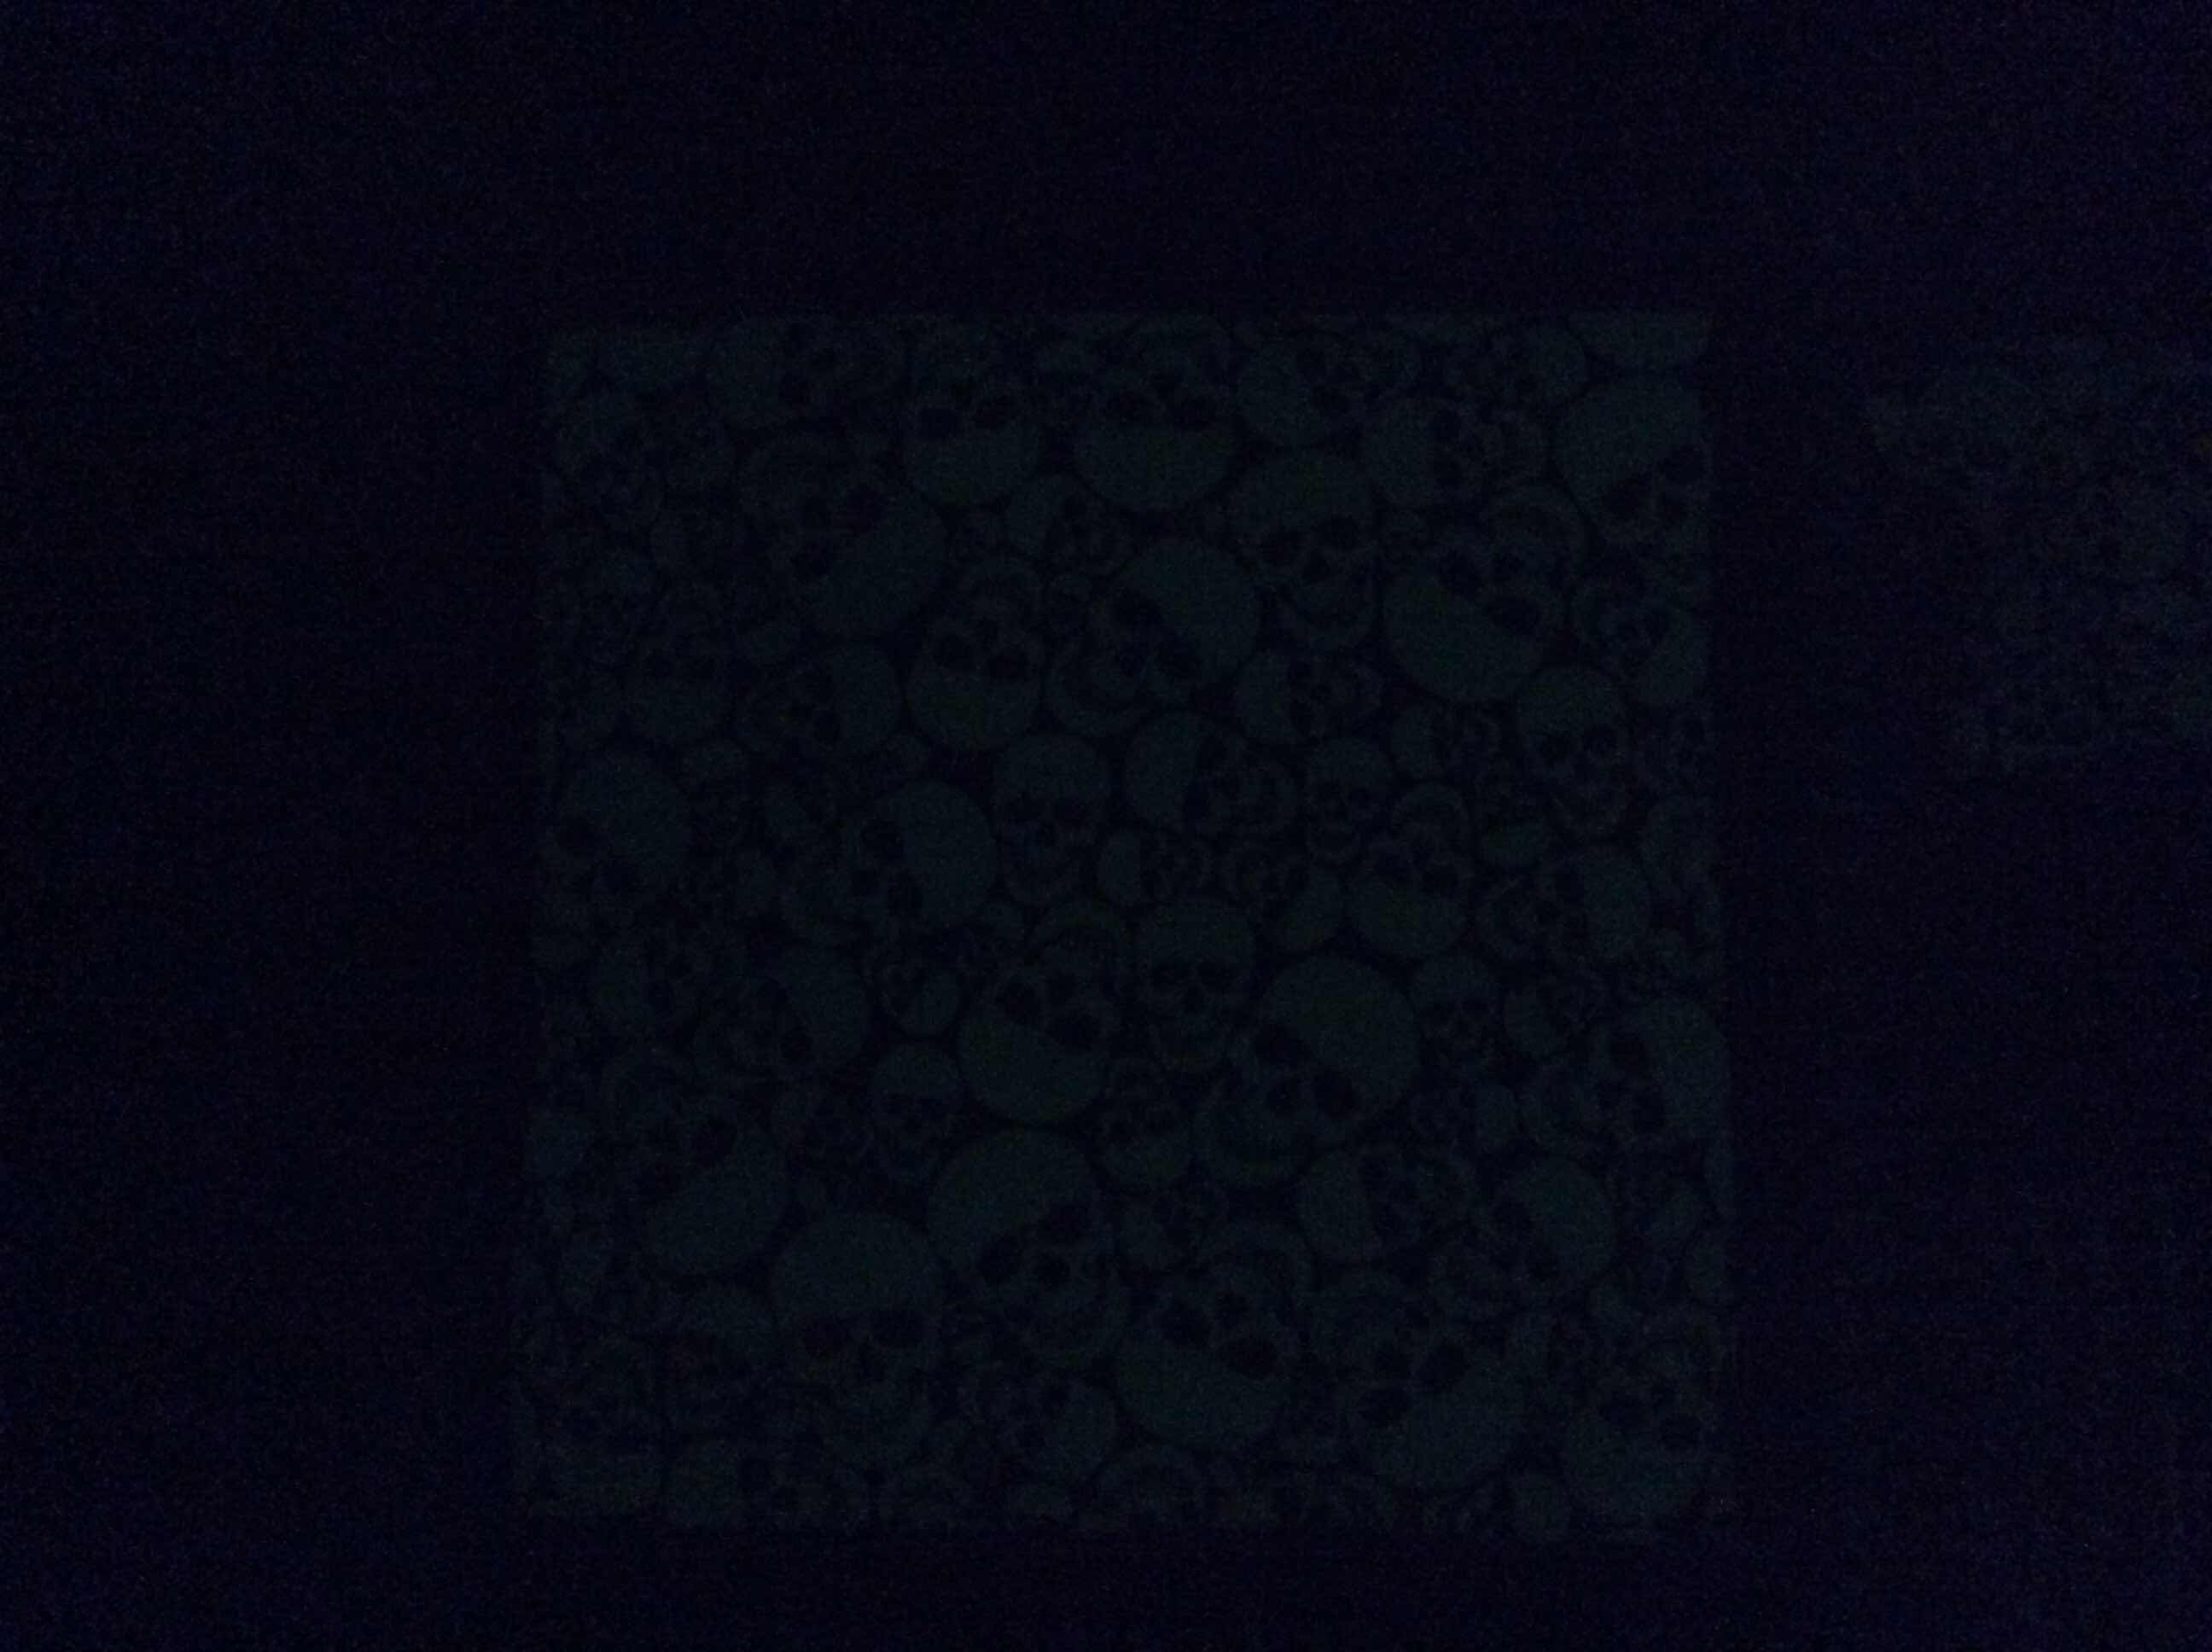
Then someone came along and said “you should add glow-in-the-dark skulls on it.”  And the other someone said “YEAH!”  And I said “seriously???”


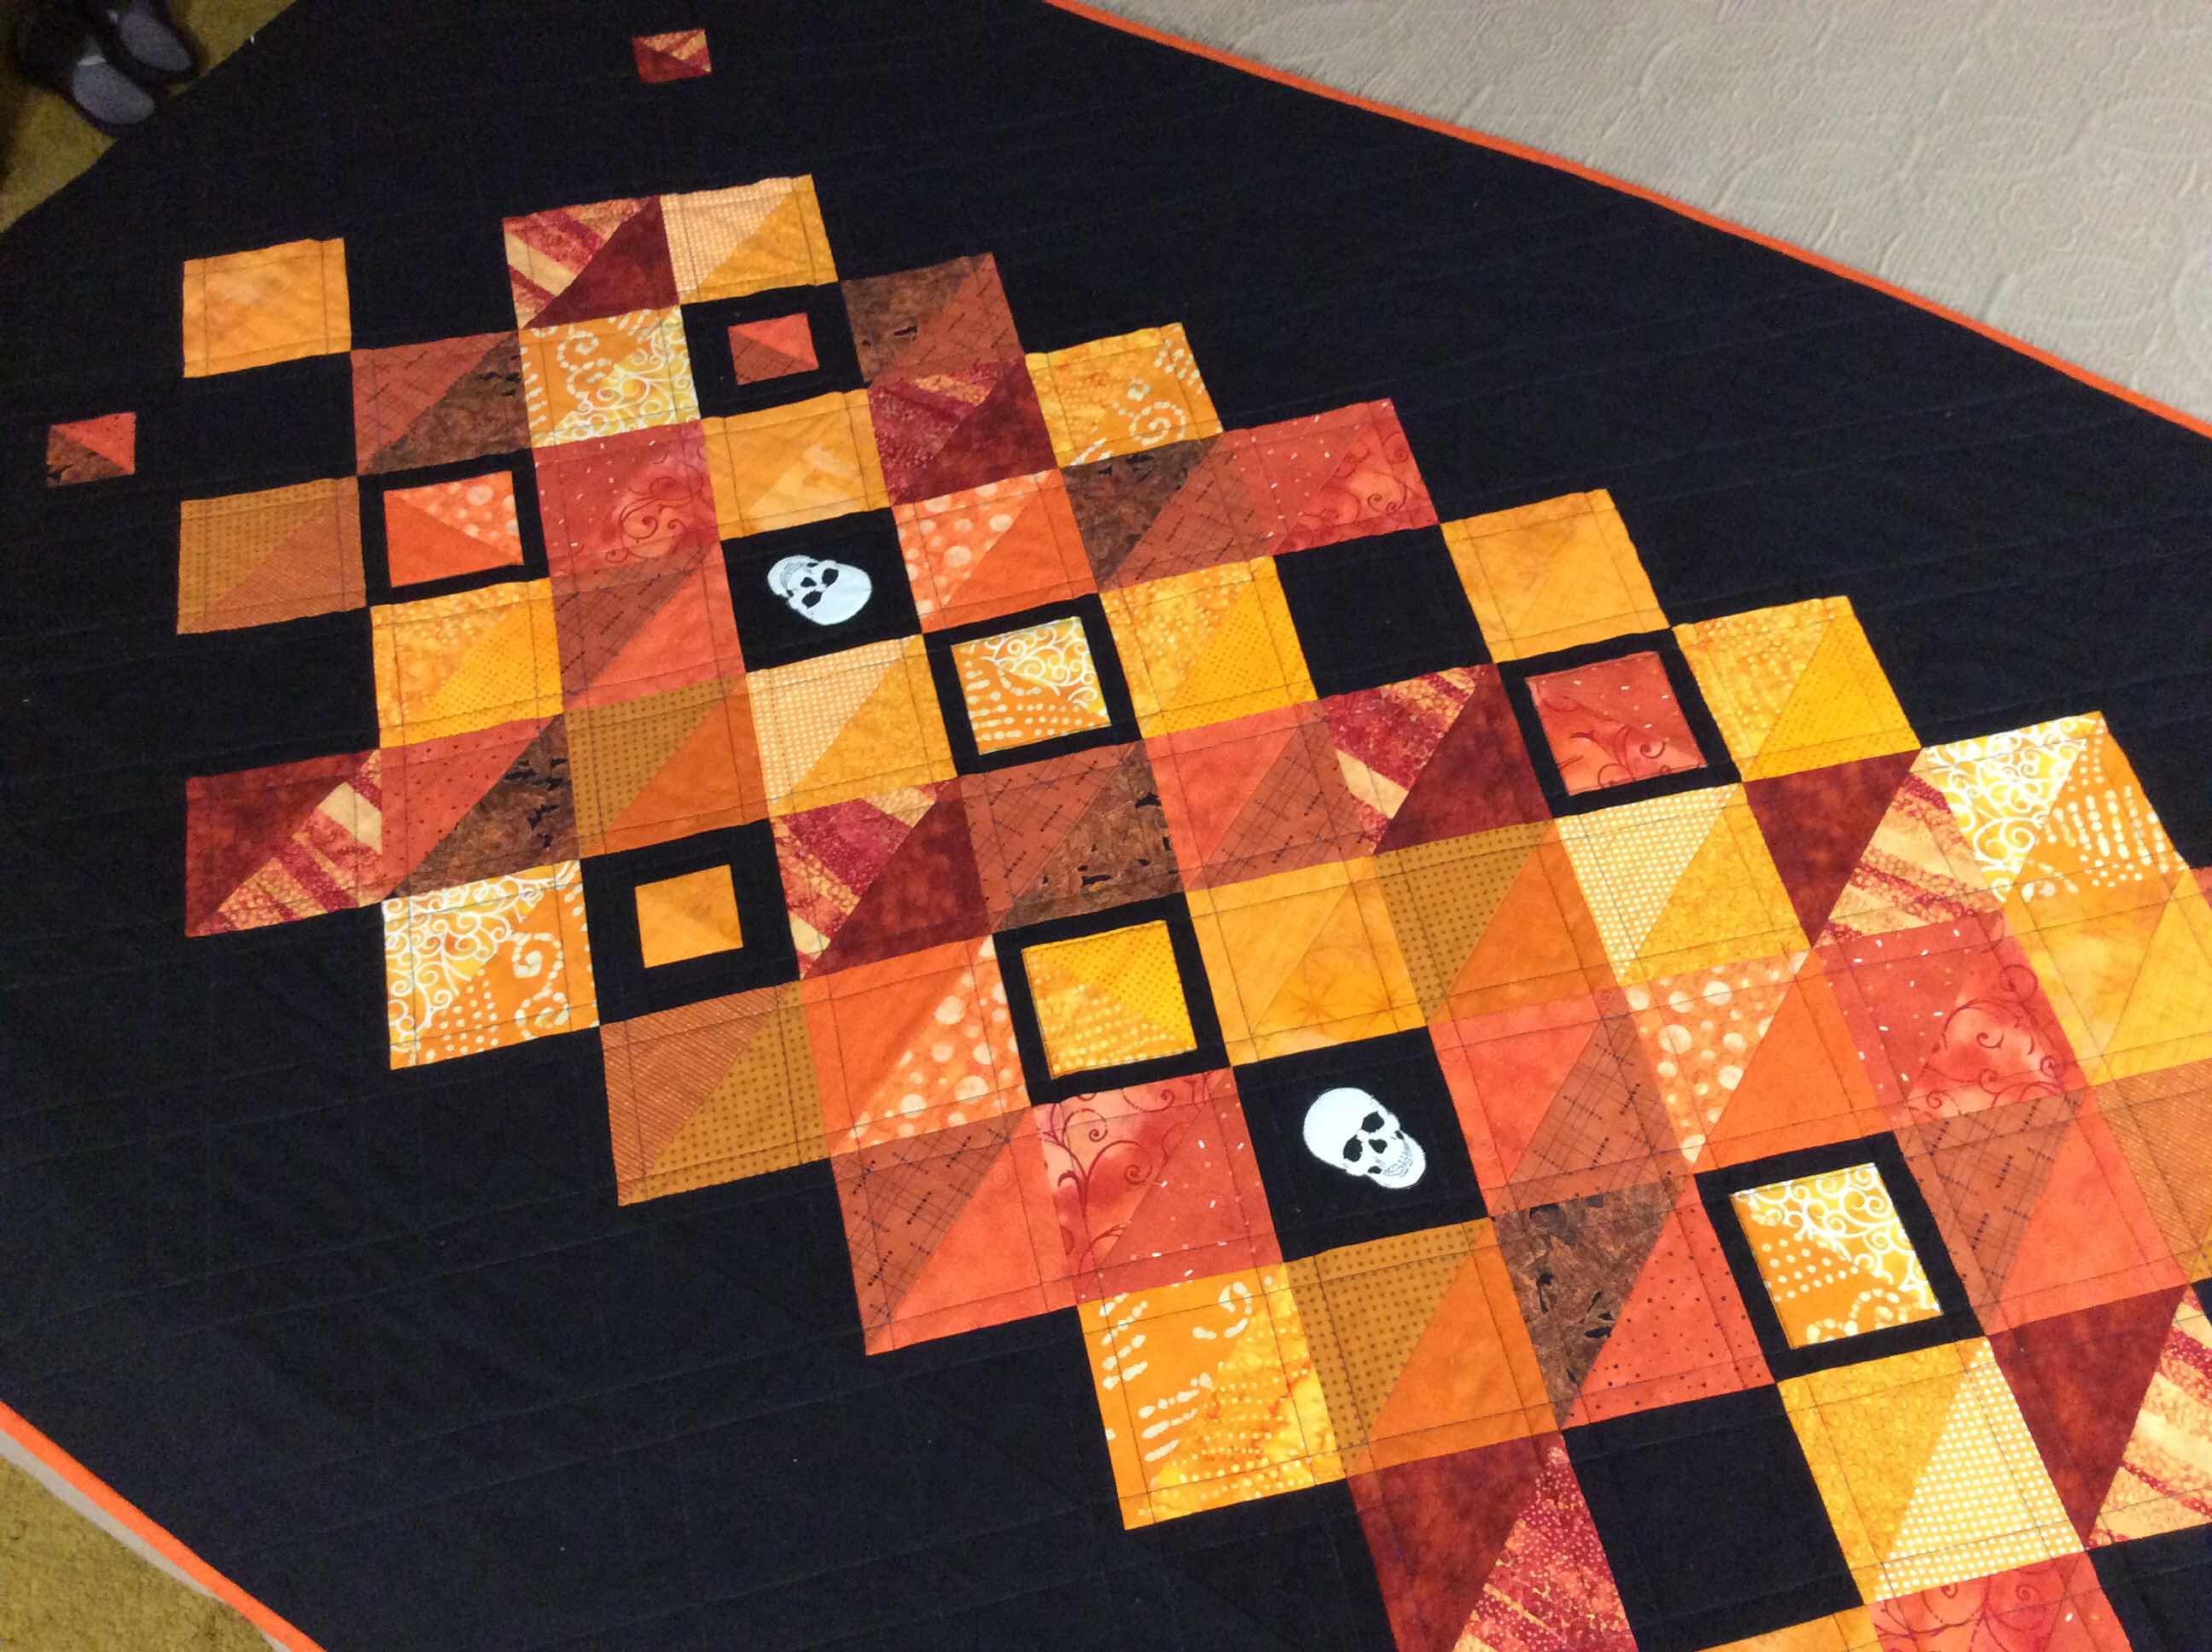
That might look like Halloween to some, but not to them.  They just like that stuff.  Actually we are a bunch that enjoys a little creepiness in our everyday life.  Especially if it glows in the dark!  I have a very happy new quilt owner...that’s all that matters to me.

I’m trying not to keep adding to my scrap drawers so I’ll share in my next post what I did with the leftovers from this quilt.

Sunday, November 11, 2018

Upcycled Nightshirt to Infinity Scarf


My friend has been upcycling thrift store men’s shirts.  I think they look quite fun.  But I don’t want to make them.  She shared an infinity scarf she made from men’s shirts.  That item caught my attention.  

I always have a Goodwill bag going.  I had a new nice warm flannel nightshirt that was accidentally put into the dryer after washing.  So I wasn’t going to be wearing it anymore.  It went into the Goodwill bag.  When I saw my friend’s upcycled infinity scarf, I thought about that nightshirt and what a nice warm scarf it might make into.  Out of the bag it came!

I cut two useable pieces from the nightshirt.  Then stitched the buttoned front placket closed and moved the label from inside the collar to the back yoke above the pleat.  I left the pocket alone.  I can hide something in there.  I stitched these two pieces together end to end to make a full circle.


Here you can see the pocket.  I also cut the cuff off one sleeve.  It can be buttoned around the scarf any way and where desired.  It also slides around...it is not sewn down.


The placket, back pleat and label shown here.


Just before turning the scarf right side out, I saw where I had accidentally snipped part of one layer.  Aaargh!  I had to unstitch some of the serging to make the repair.


I cut off the buttons section of the other cuff and sewed it over the snipped section.


My apologies to someone who is NOT going to get a new flannel nightshirt at a steal of a price from Goodwill, because that nightshirt is going to be keeping my neck warm this winter.

Thank you Leslie for your awesome infinity scarf inspiration!  I’ll be keeping an eye out for other desirable upcycled clothing ideas.

Friday, October 26, 2018

Candy Wrapper Pouch

I just made this sweet little candy wrapper zip pouch!

What fun!

Yes, eating the candy AND sewing the pouch.


These wrappers are from the giant bars.  So finished, the pouch measures 4” X 7.5”

I didn’t choose very exciting lining or a bright zipper.  I just wanted to use a piece of fabric that was never getting chosen for anything.  Just in case the whole thing was a fail.


I couldn’t be more pleased.  I must make more.  Oh gee, I’ll have to eat more candy.  Isn’t that a shame!  :-)

I used this tutorial to make this pouch:

https://www.punkinpatterns.com/blog/2011/03/sweet-tooth-pouch.html


Thursday, October 25, 2018

Halloween Postcard Greetings

A few more Halloween greetings mailed out...

A Raven at Halloween is always a favorite.  I have a kinship with him for shiny things.


A black cat.


Glow-In-The-Dark Skulls!  From fabric leftovers of another make.

Here they are, glowing in the dark.  Of course they glow way better in real life.  

Take them to your bedroom at night.  They will watch over you while you sleep.  
Isn’t that a creepy thought!

**insert Vincent Price’s laughter**

Glow-In-The-Dark Pillows

Creepy good glow-in-the-dark pillows for my grown grandchildren.

There’s no such thing as too old for glow-in-the-dark, right?!


20” pillows accented with their favorite color.

And my favorite black & white stripe binding.


I tried getting a “glowing” photo.  Didn’t photograph well but they glow really well. Even the bones fabric is a glow-in-the-dark.
They aren’t Halloween gifts.  These kids like this creepy fun stuff all year long.  It must run in the family...it was hard to mail them away.

Happy season of frightfulness!

Thursday, October 18, 2018

Be My Valentine Quilt

My third unfinished quilt is FINISHED!

Be My Valentine


This quilt got its start in 2016.


I paper pieced the hearts from a pattern I drew myself.  A heart paper piece pattern is not hard to draw at all.


I lay thin sheet boards on my bed for pin basting.  I have one full size sheet that is 4’ X 80” (because I have low ceilings upstairs).  I have an extension sheet that is 30” X 80”.  I used the smaller one for drawing my quilting lines.


When a fabric has a wide flat selvage with printing info on it, I like to make it a part of my quilts.  Just for fun.


This is a smaller quilt that measures 58” X 76”.


I used two of the fabrics for the binding.  They are pretty close in looks, so it isn’t easily noticed.  But I like it.


It feels so good to have all of my unfinished quilts finished.  


I couldn’t wait to start on the next quilt.  I meant to start and finish one.  But I’ve got two new ones going at the same time.  I planned one.  The second came as a request that I don’t want to put off too long.  So I’m just working them both at once.  What a happy quilter I am! :-)

Monday, October 8, 2018

Halloween Quilt #2

This second Halloween quilt began to come to life in December 2015.  I was ready for Christmas early and this Halloween quilt wanted to get started being made.


I wanted to make a Jelly Roll Race quilt.  I began collecting Halloween prints and colors a couple of years earlier to cut my own Jelly Roll.  But as I saw jelly roll race quilts being made, I saw that I wouldn’t be able to control how the colors landed together.  A quilting control freak cannot live with that!  I kept thinking on it and collecting and cutting 2.5” strips of fabrics.  

Finally I hit on this plan of jelly roll race CONTROL.  


I cut the strips into shorter lengths to maximize color EVERYWHERE.
It was fun to get this far, but I began to wonder if it was too wild and out of control.
  

But I kept going and for some reason, stopped taking progress photos.  But I began to like it again when the black end strips were added.  And I liked it even more when the checkerboard pieces began to be added.

Then I had to put it away to move back home.  Back to my teeny tiny sewing space that was not inviting me to come sew in it.  The quilt stayed packed up with the art quilt and another unfinished quilt for a years time.

I finally caught the sewing bug, worked on making my sewing space useable and began a mission to finish quilts.  It was now this quilt’s turn.  The rest of the checkerboard framing went faster than I thought it would.  Soon I was quilting this quilt.


It took me a weeks worth of every free moment to get it quilted.  And I only do straight line quilting.


I couldn’t believe I was finally about to bind this quilt.


I was so glad I chose the green for the binding.


I didn’t even notice the tiny green dots on the backing fabric until I was hand stitching the binding.  What a lucky choice to do green binding.


I still struggle to believe this quilt got finished.  But I love it.  My daughter has already claimed it for herself.  She’s Halloween crazy and color crazy.  I’m thrilled she loves it too.


My photo helpers are a bit on the silly side.


It measures in at 68” X 84”

I did it. I finished it.  I’m still trying to convince myself of that.


And there it goes, off with it’s new owner.


That’s now two of my three unfinished quilts finished!  The third one is being quilted now.  I’m getting pretty excited to start a new fresh quilt and get it from beginning to end.  No more of this UFQ (unfinished quilt) sewing!

It’s time to get your creep on!