Sunday, February 17, 2019

A Little of This and a Little of That

I’ve been up to a little of this and a little of that.

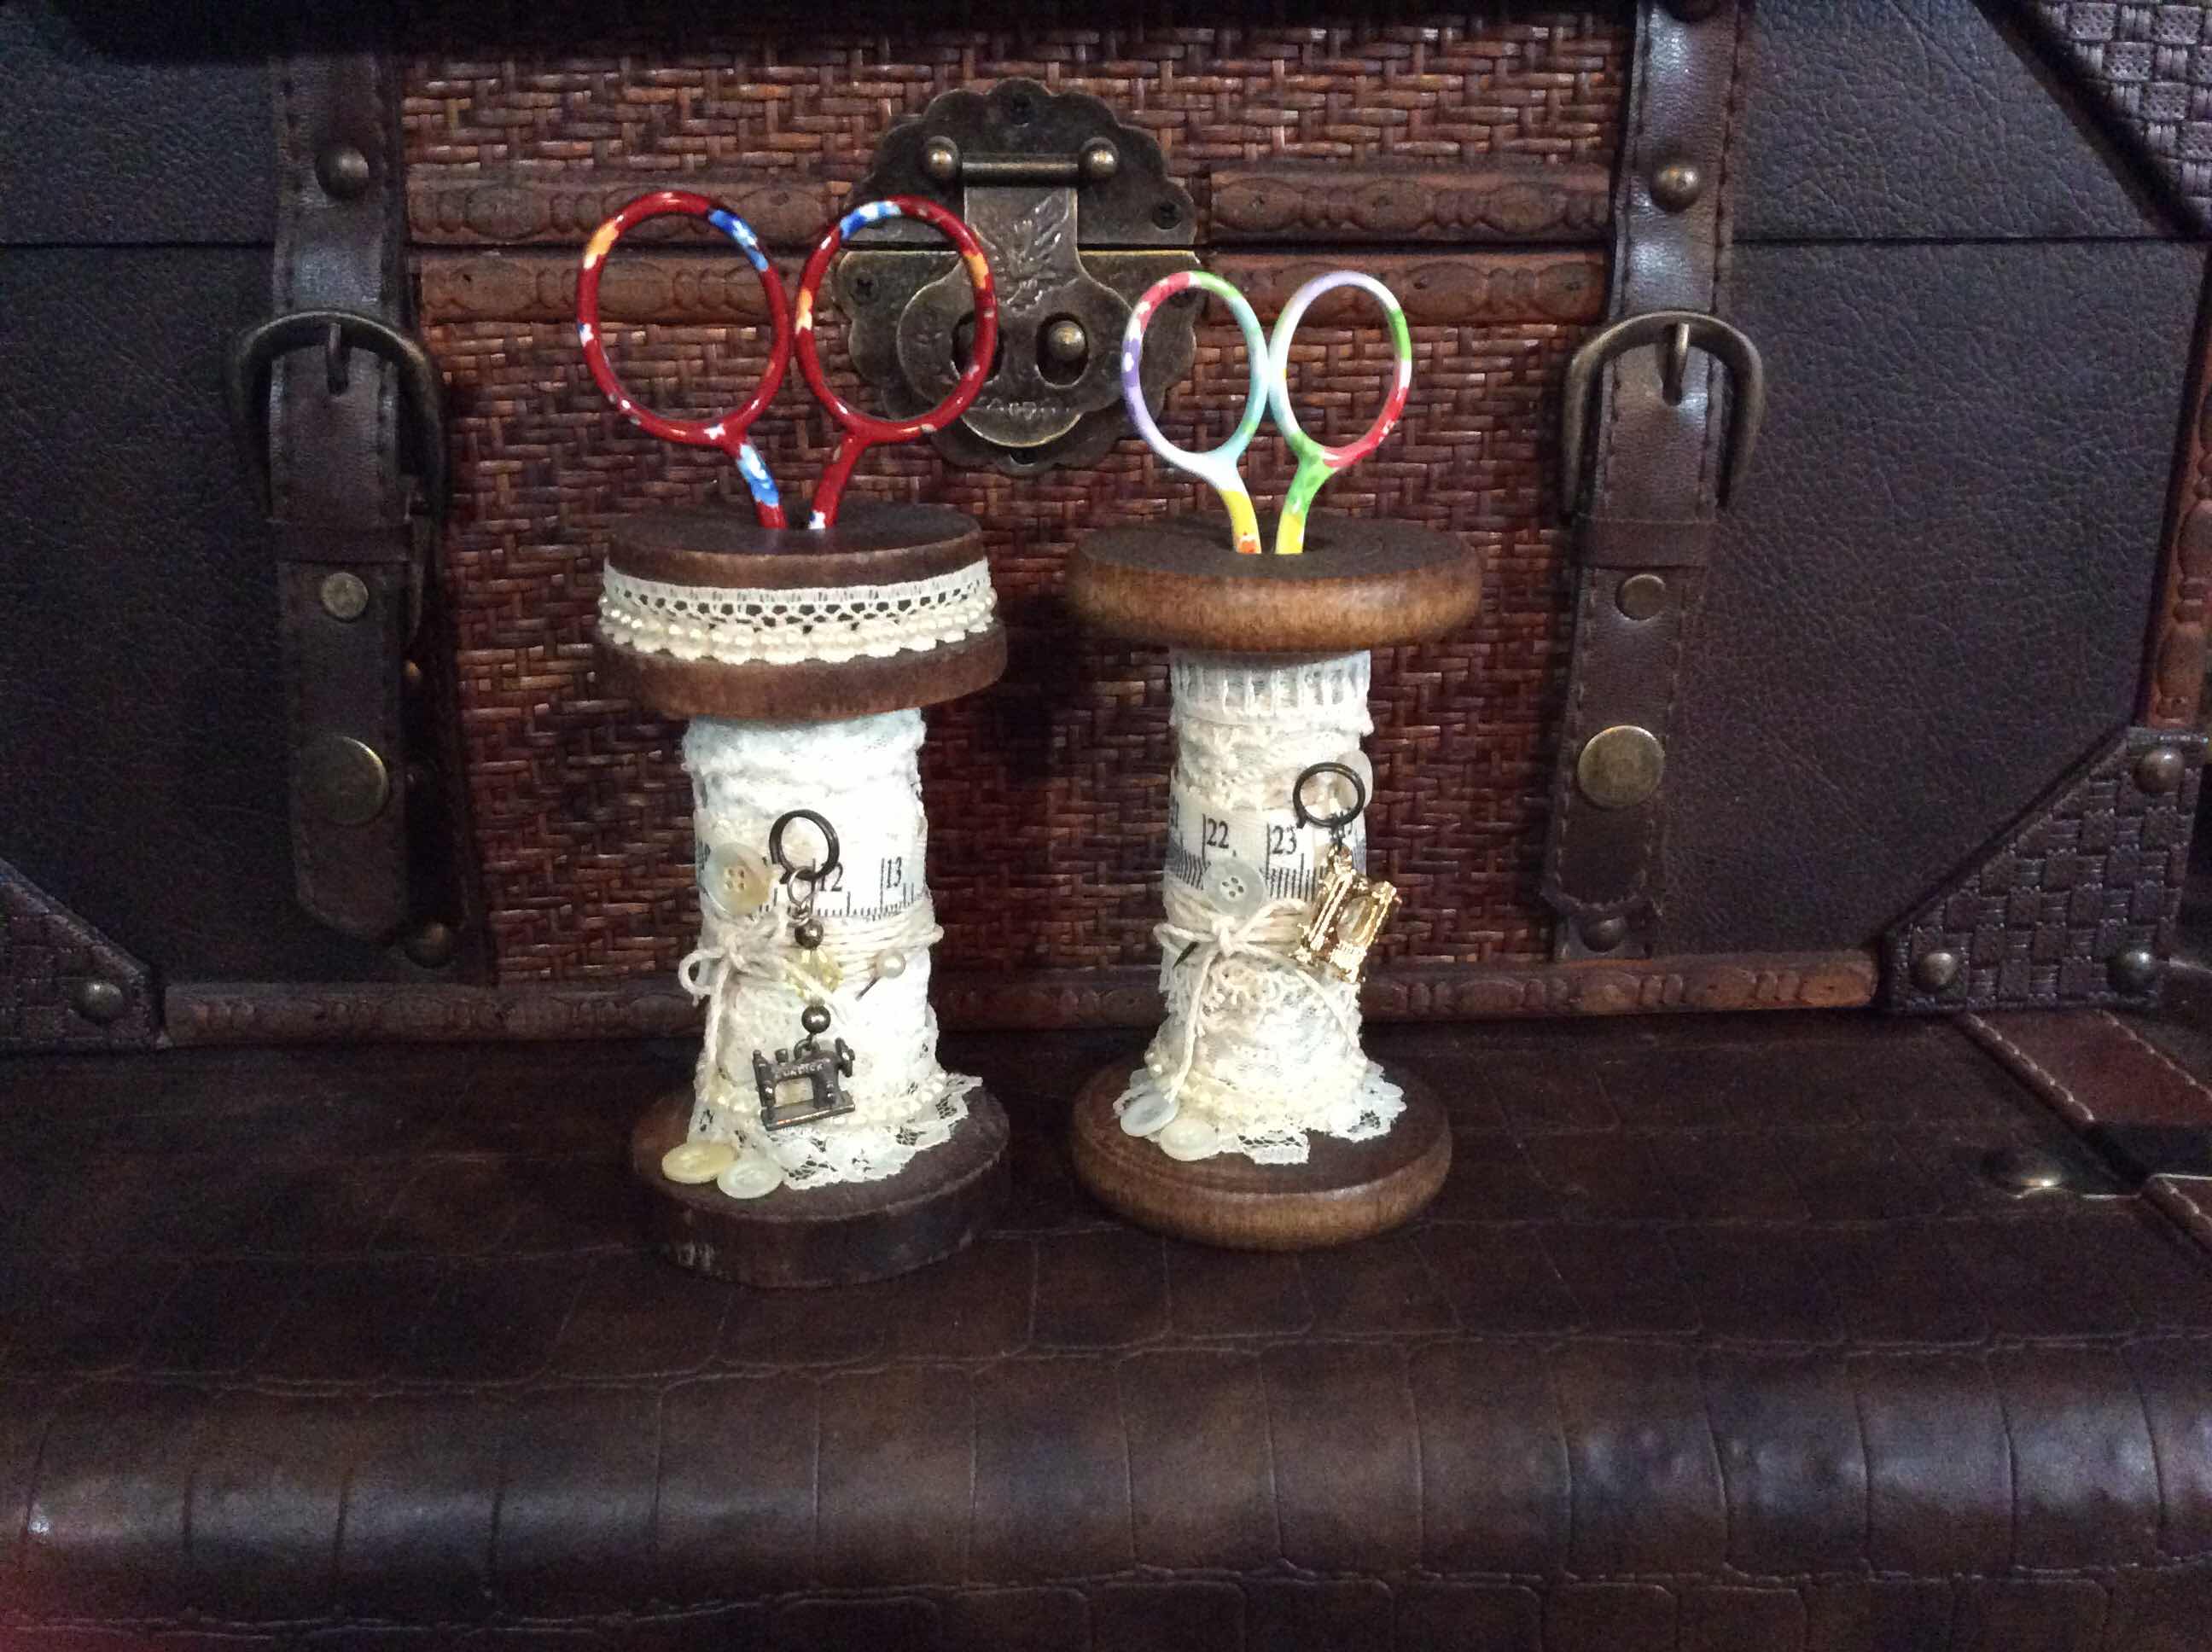
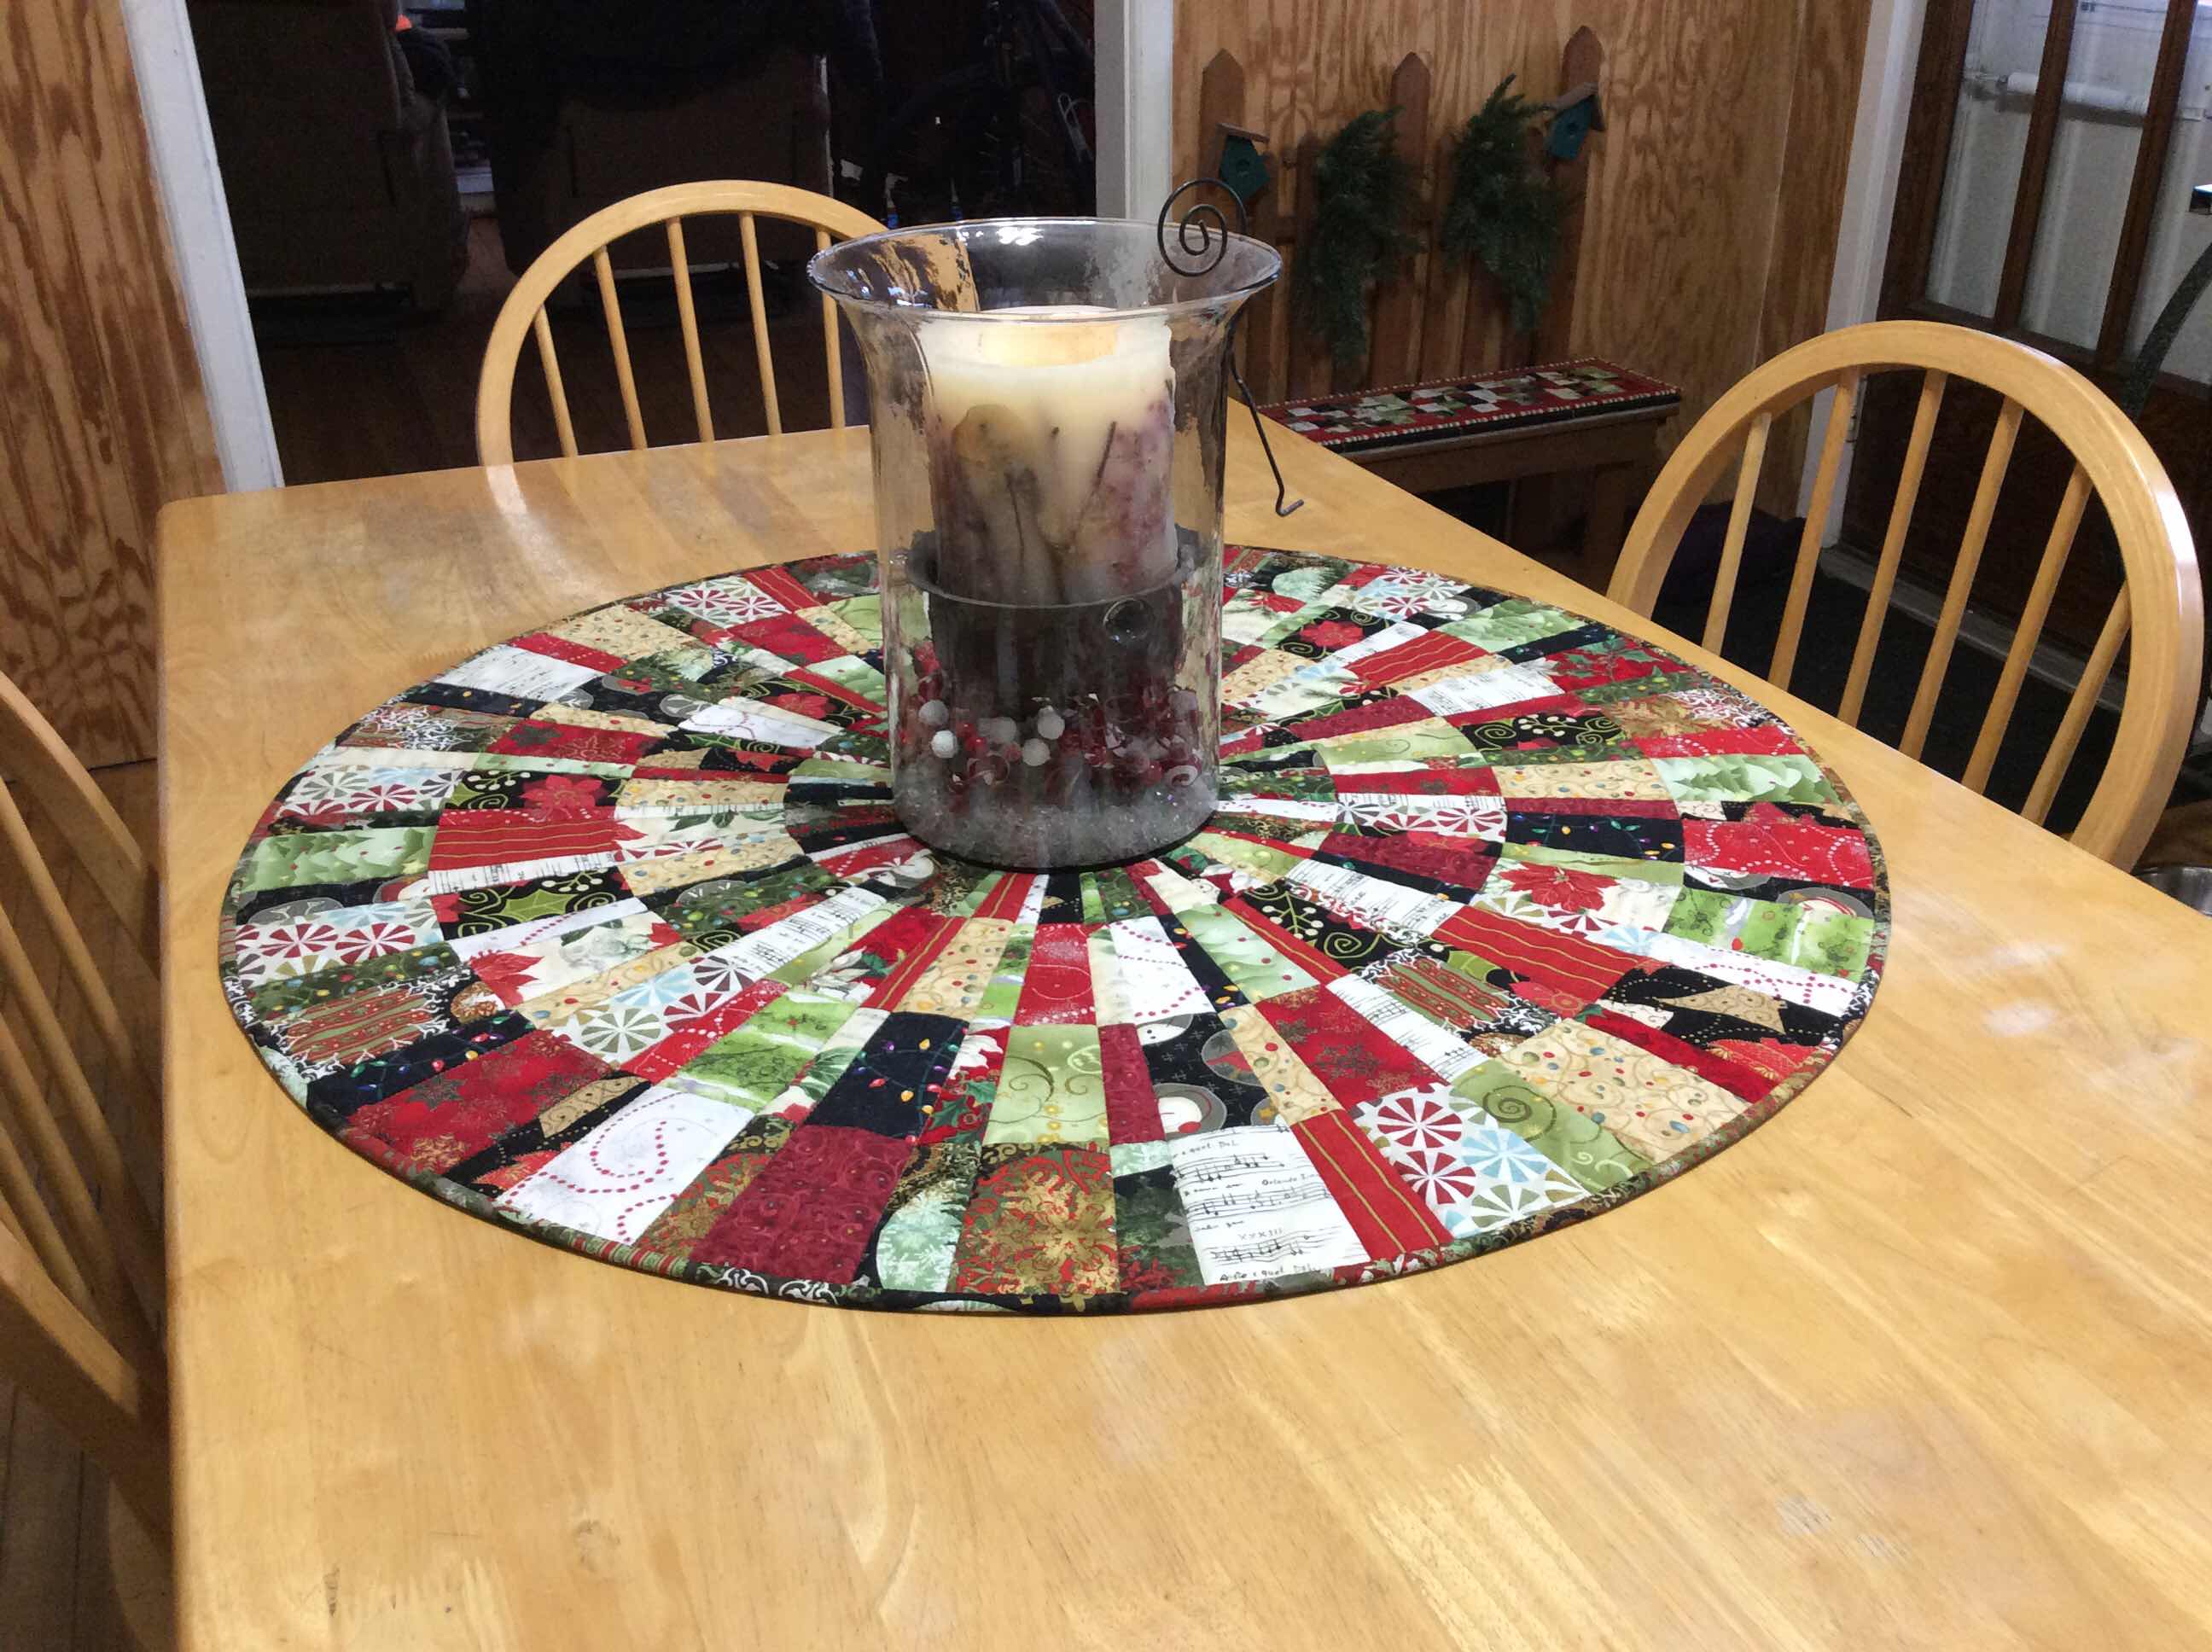
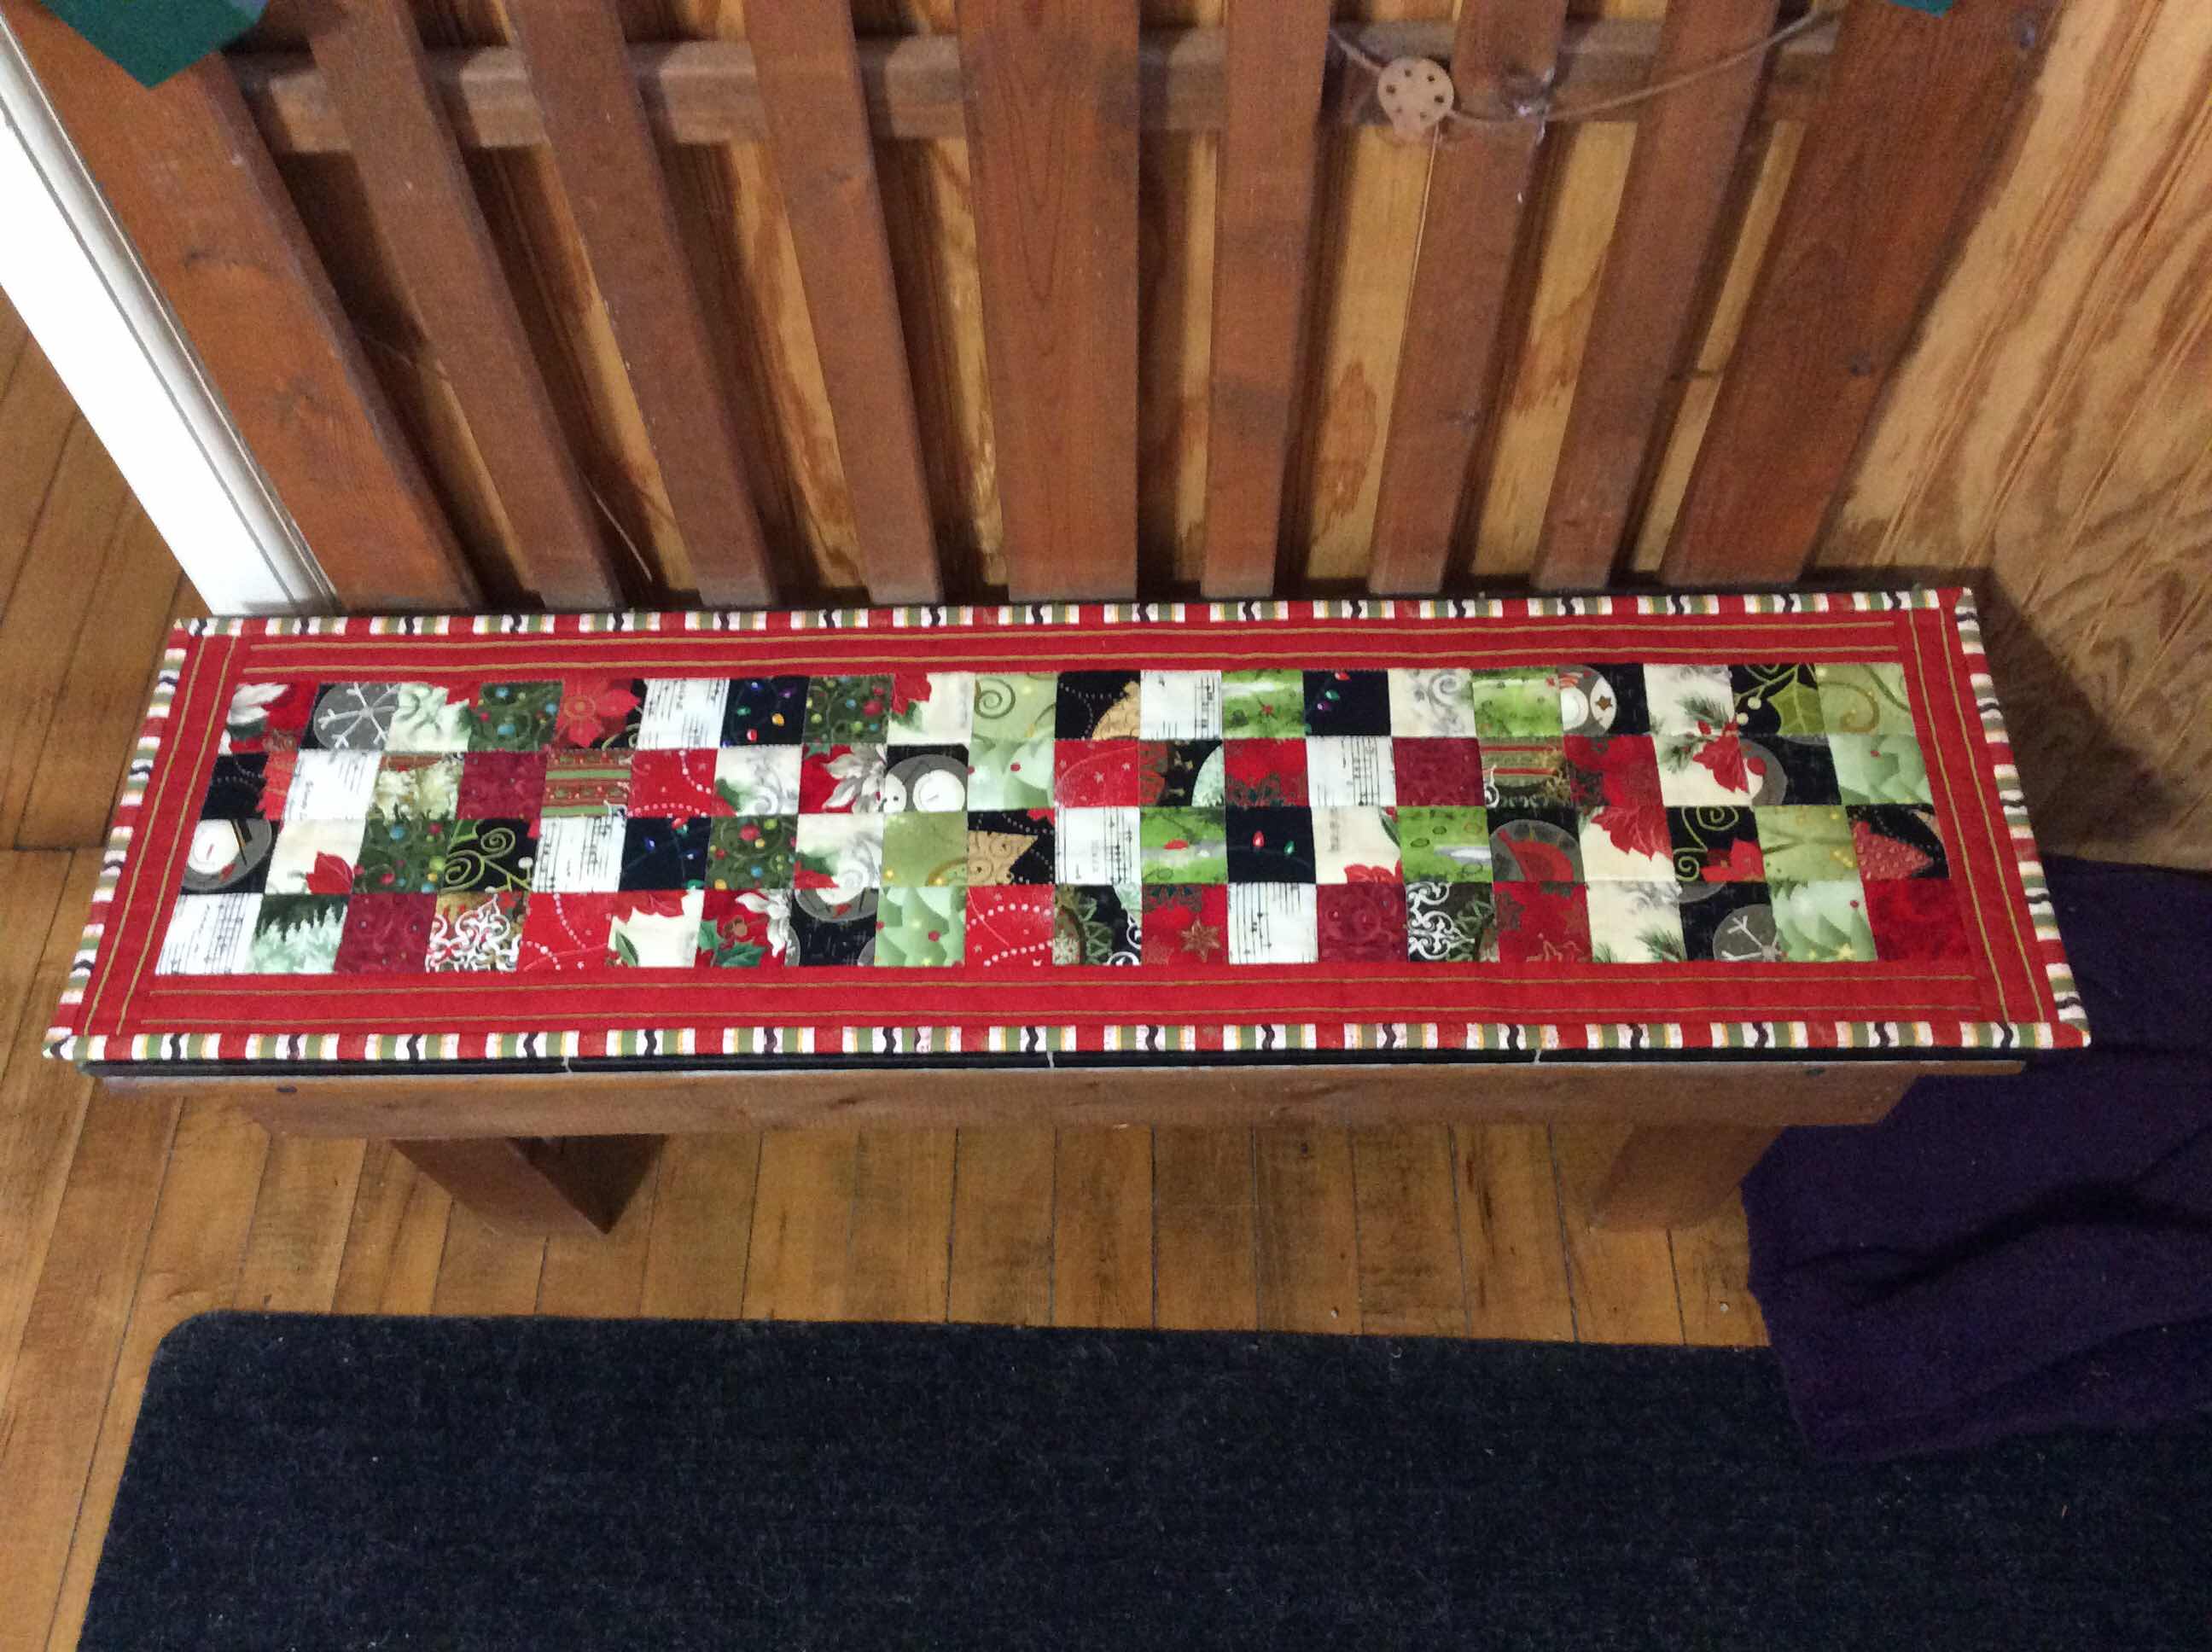
A little bit of sewing...
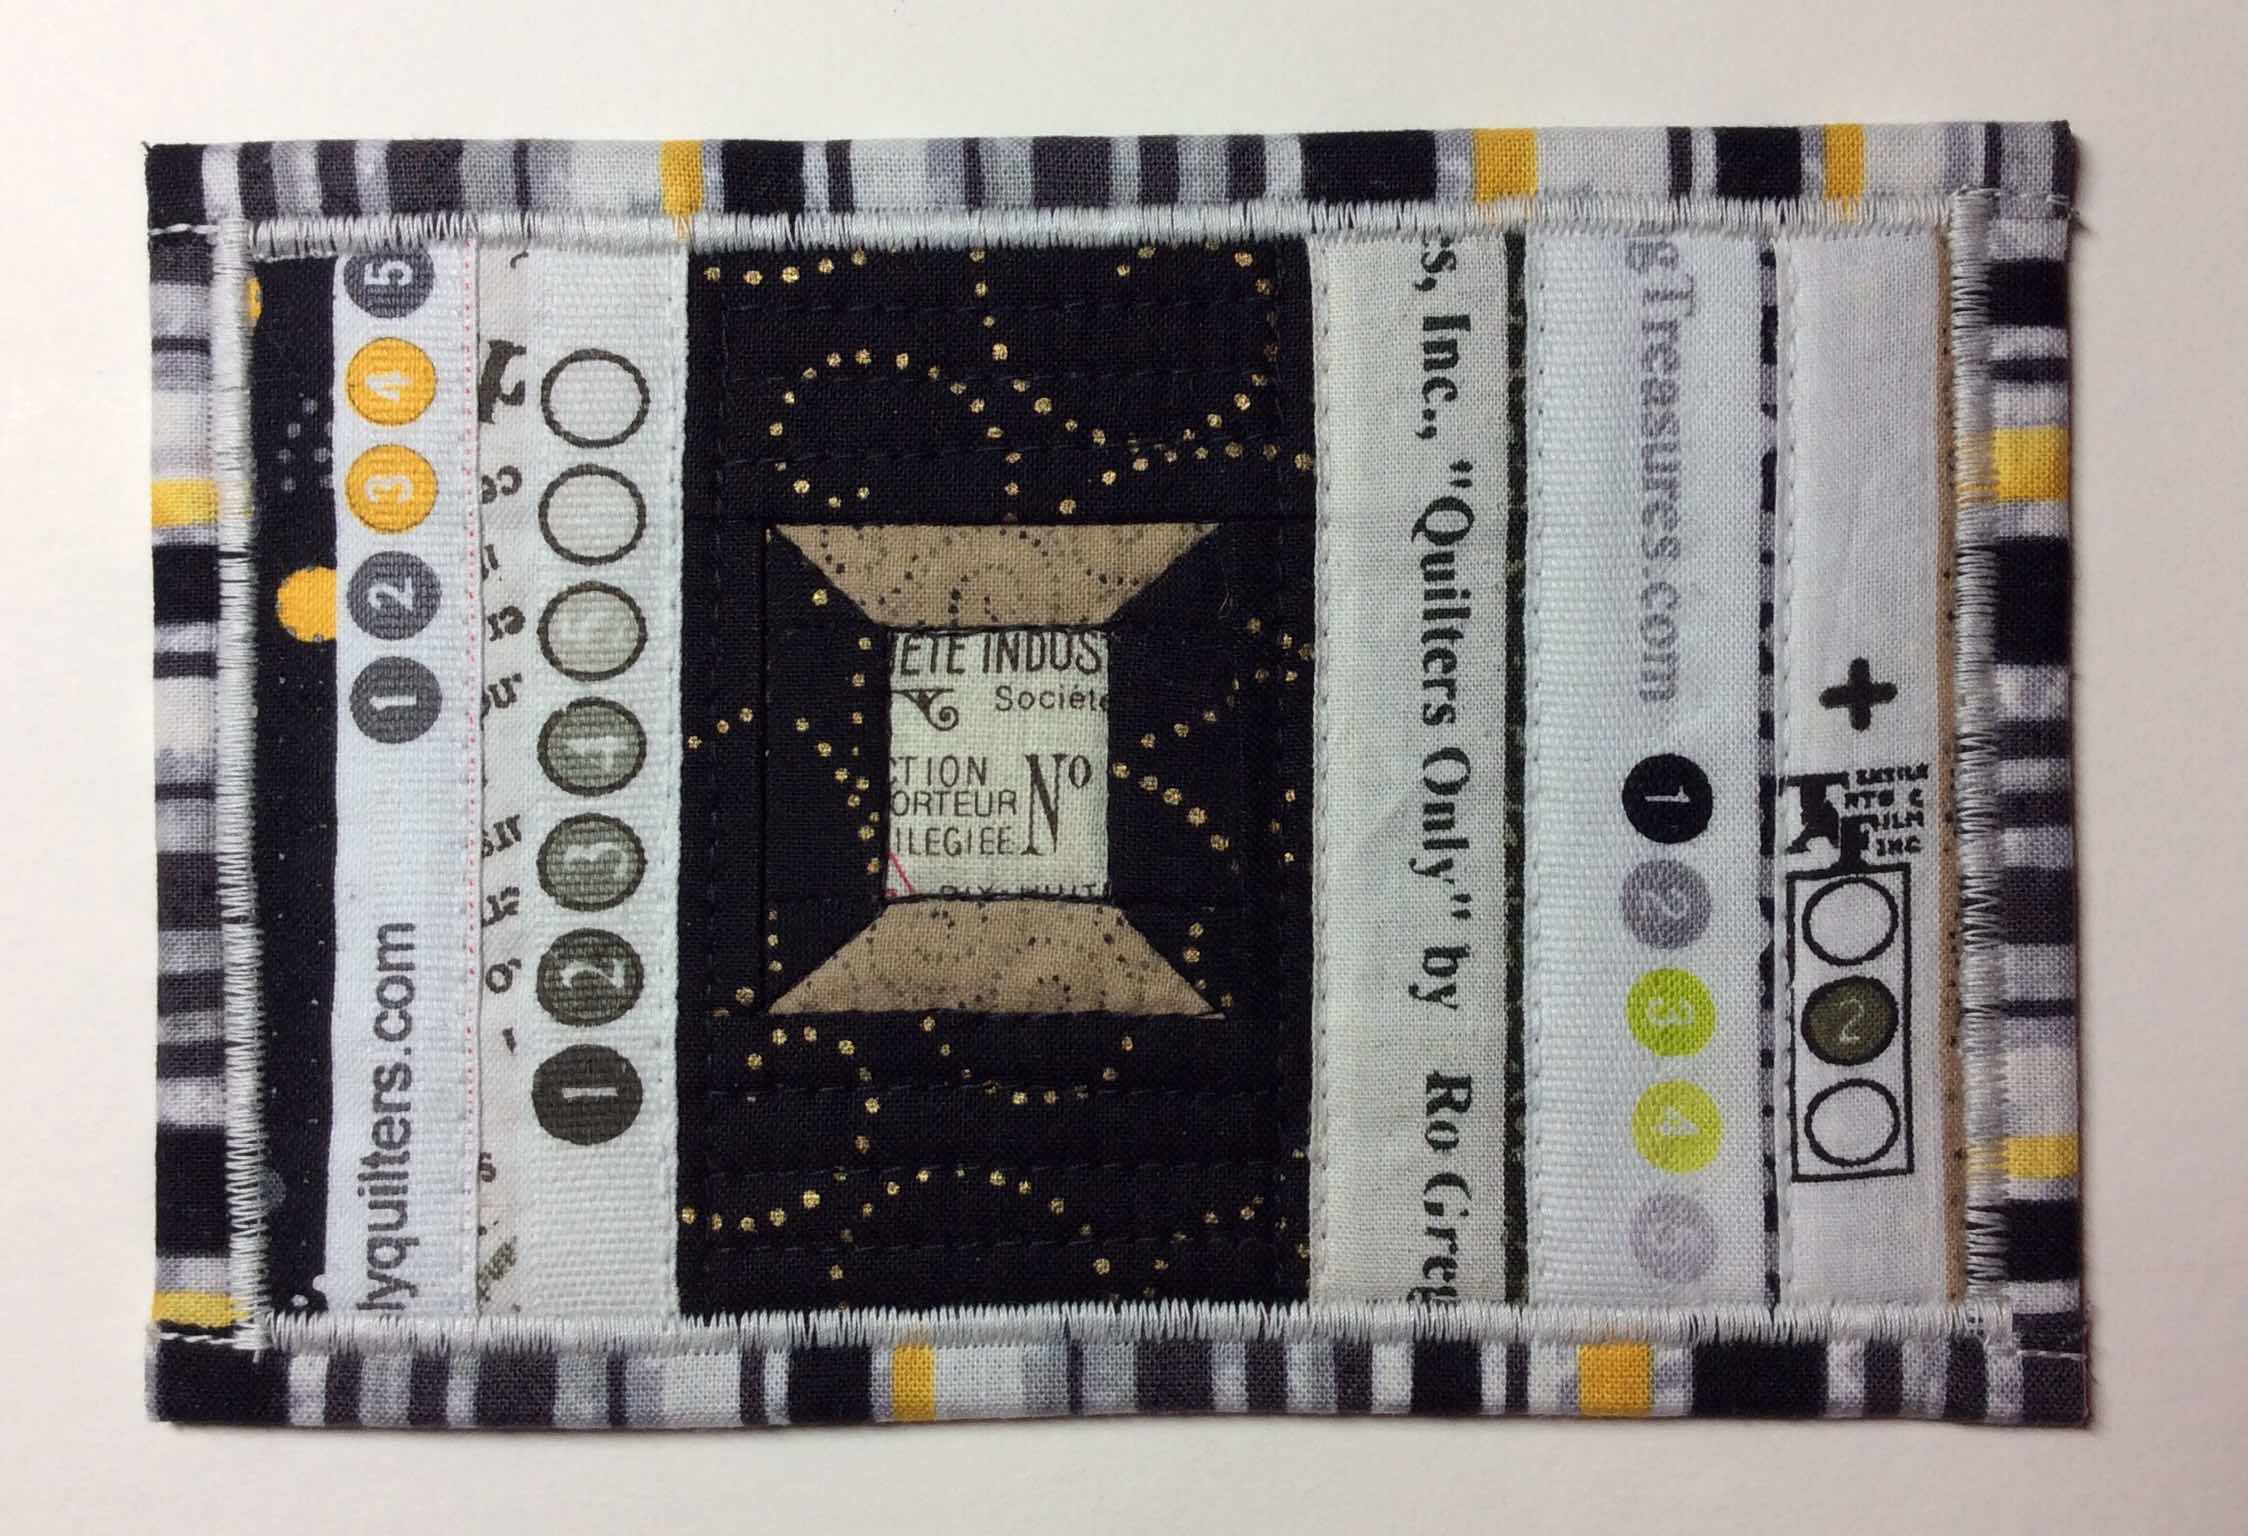
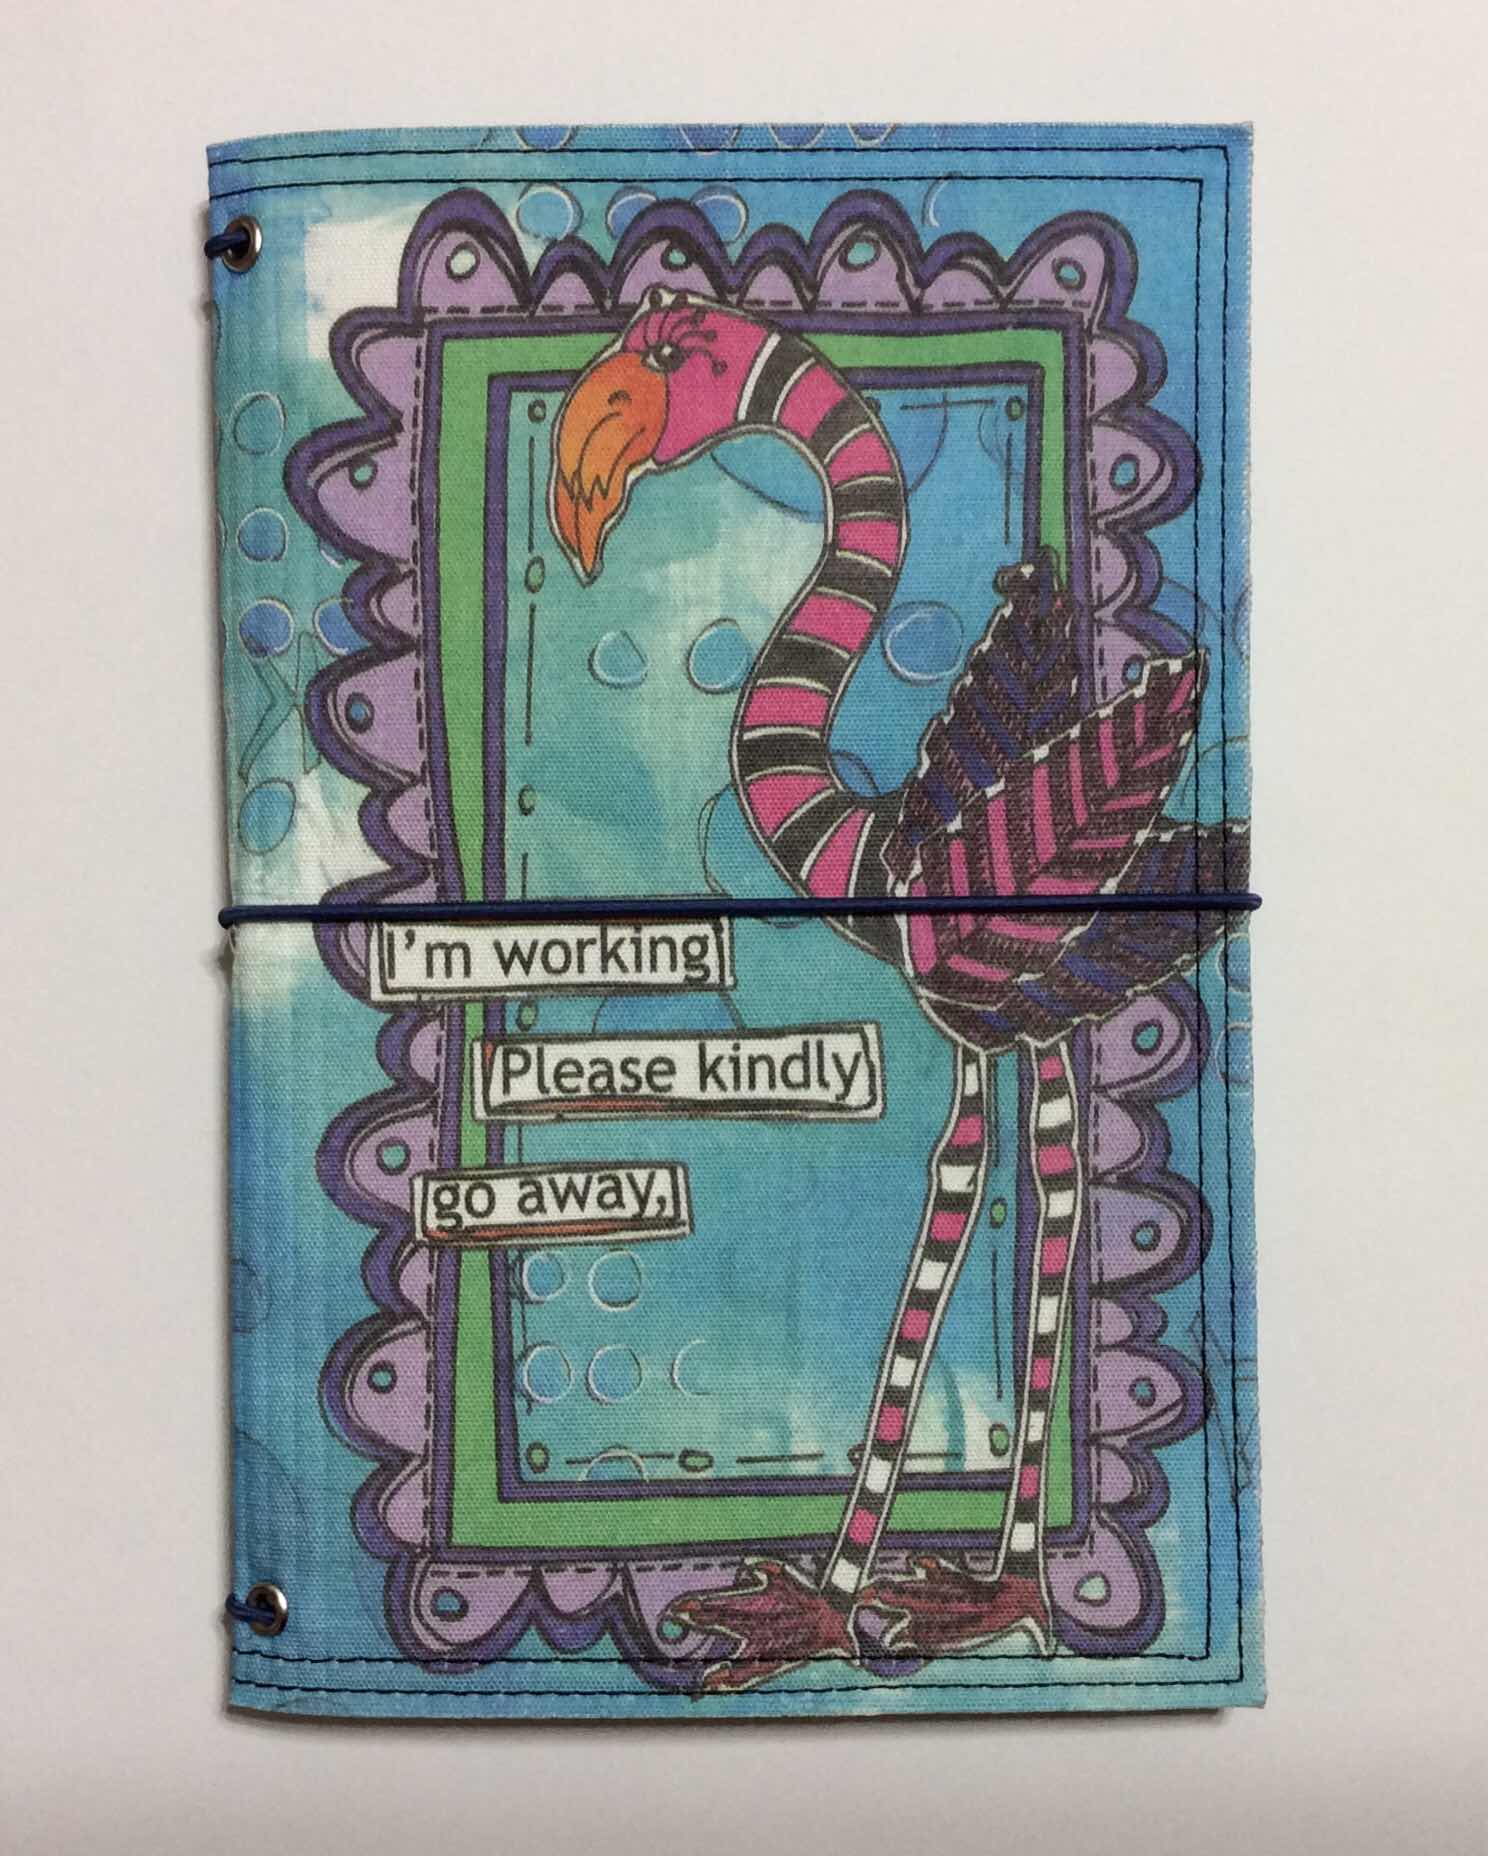

A fabric postcard.

Then, I’ve gotten hooked on making these keyring wristlets.


I have quite a bit of ultra suede pieces that I purchased years ago when it was much more reasonable to purchase.  So it makes for a nice durable wristlet.

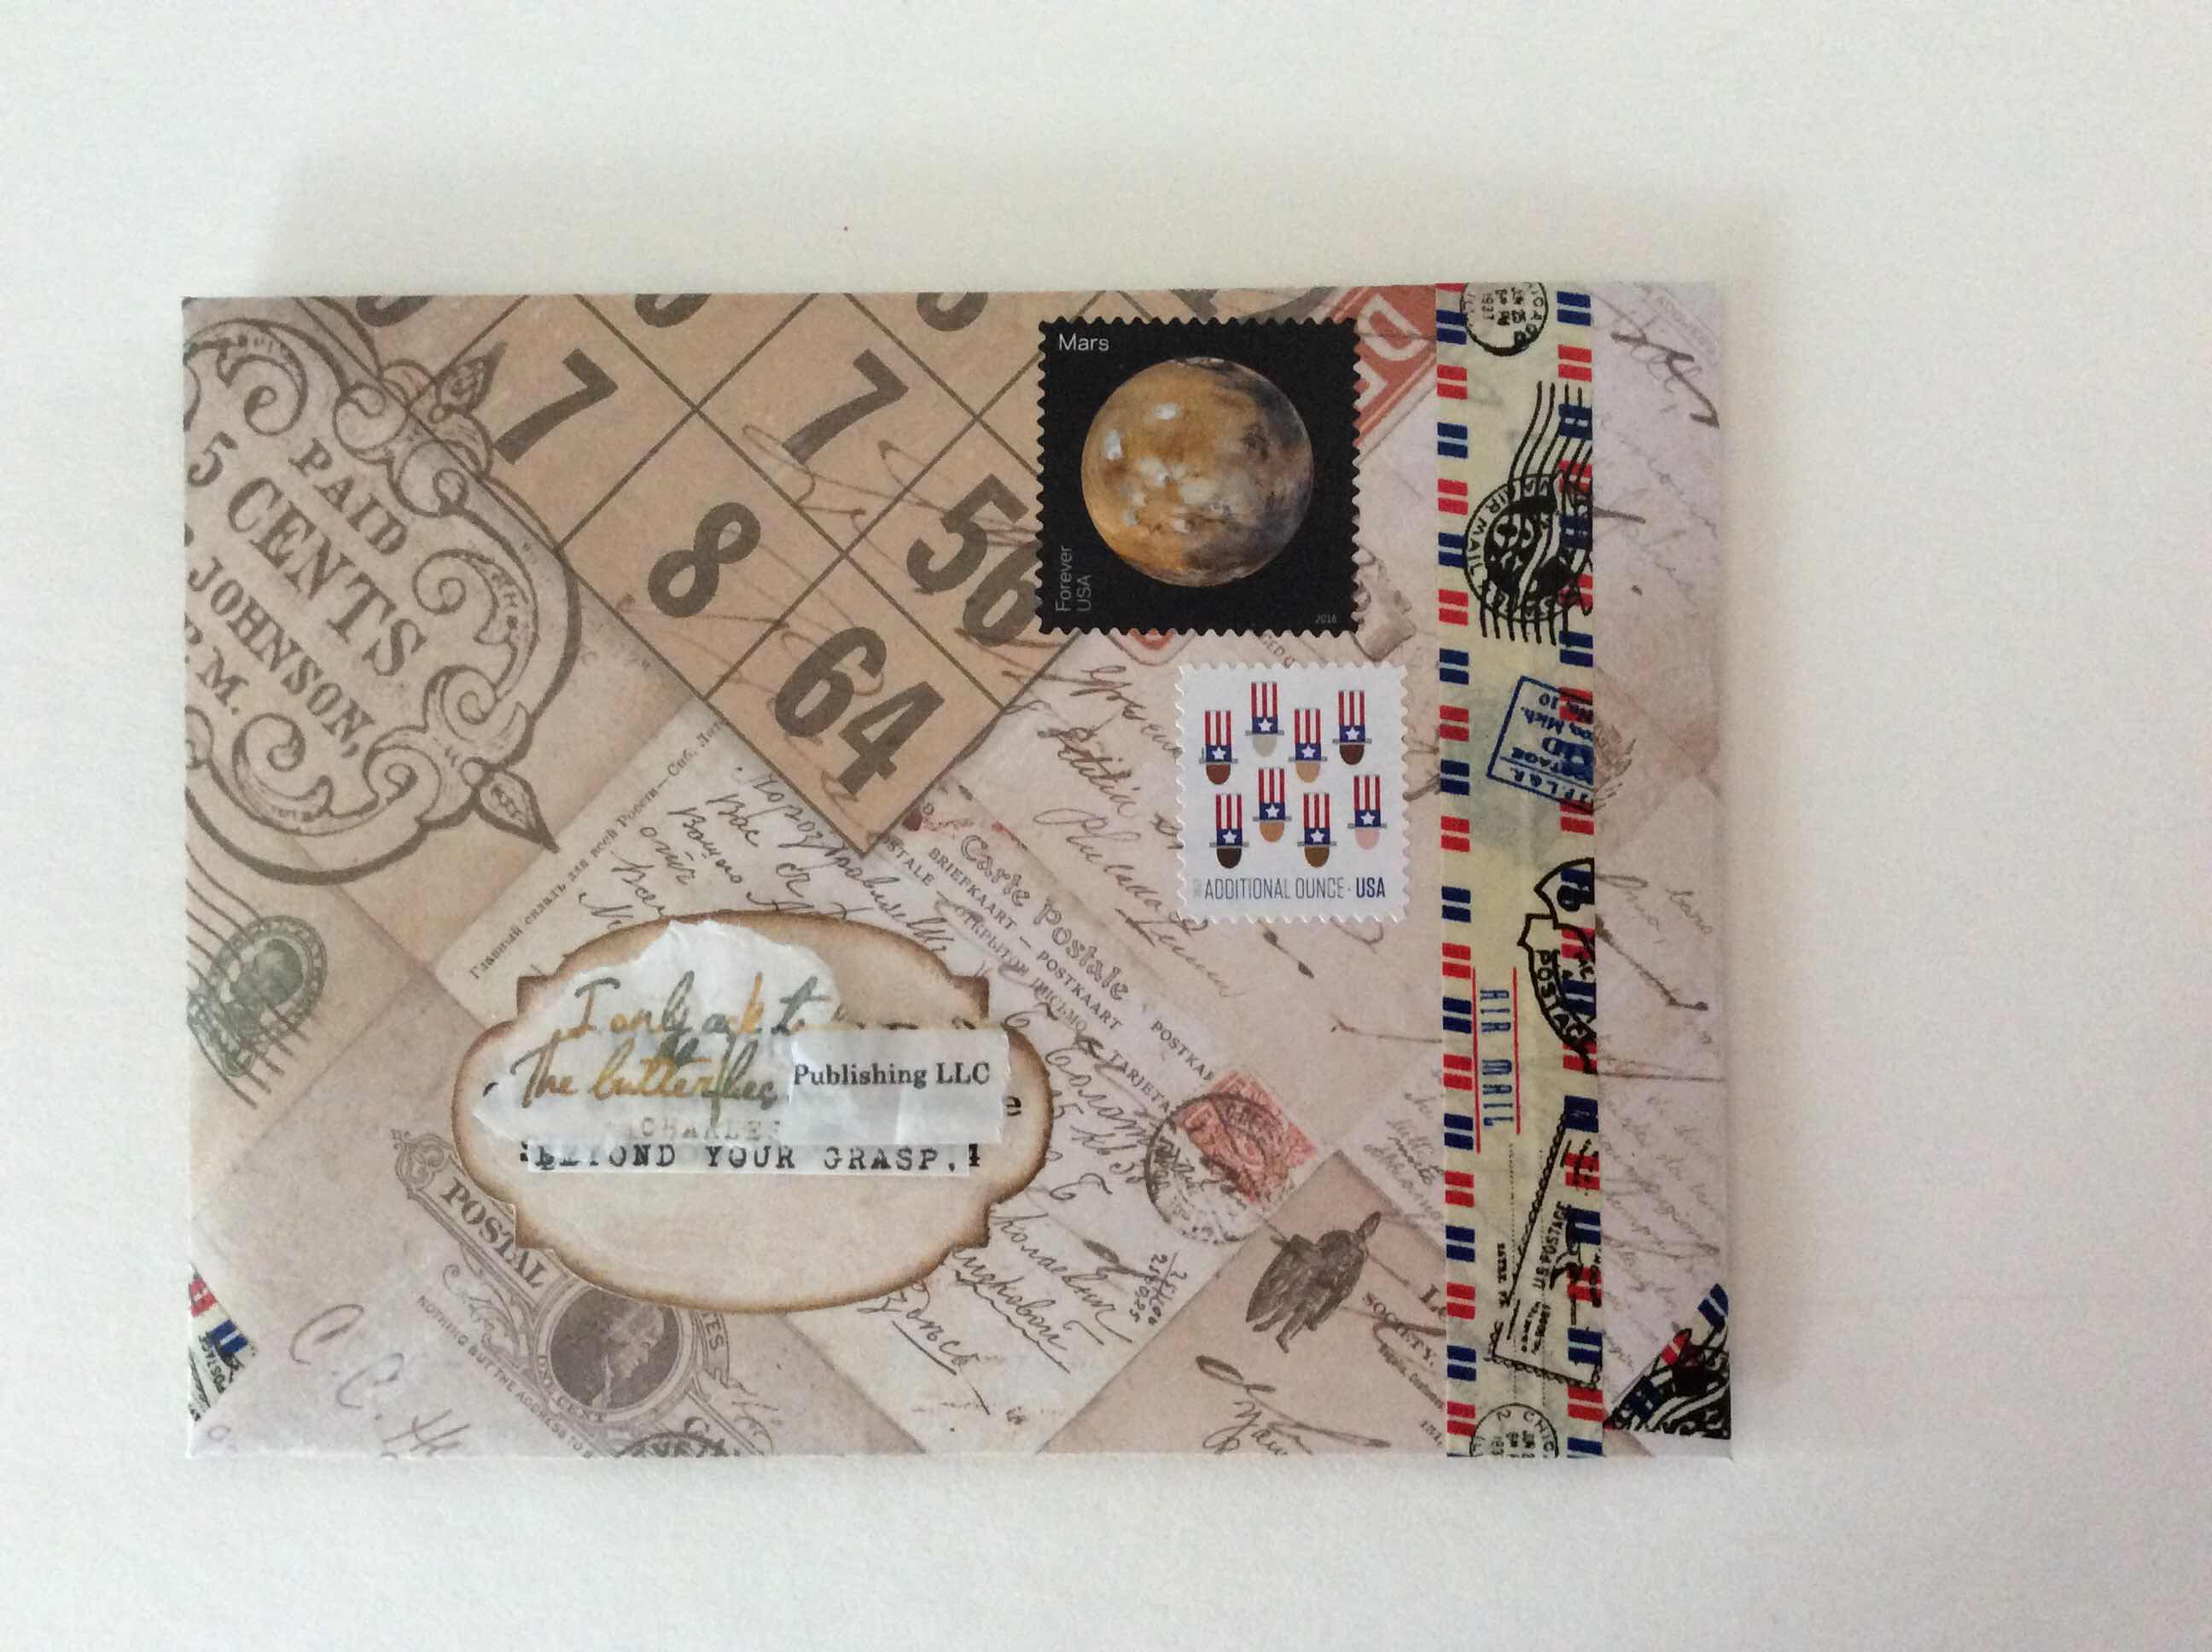
Then, I’ve sent out some mail...


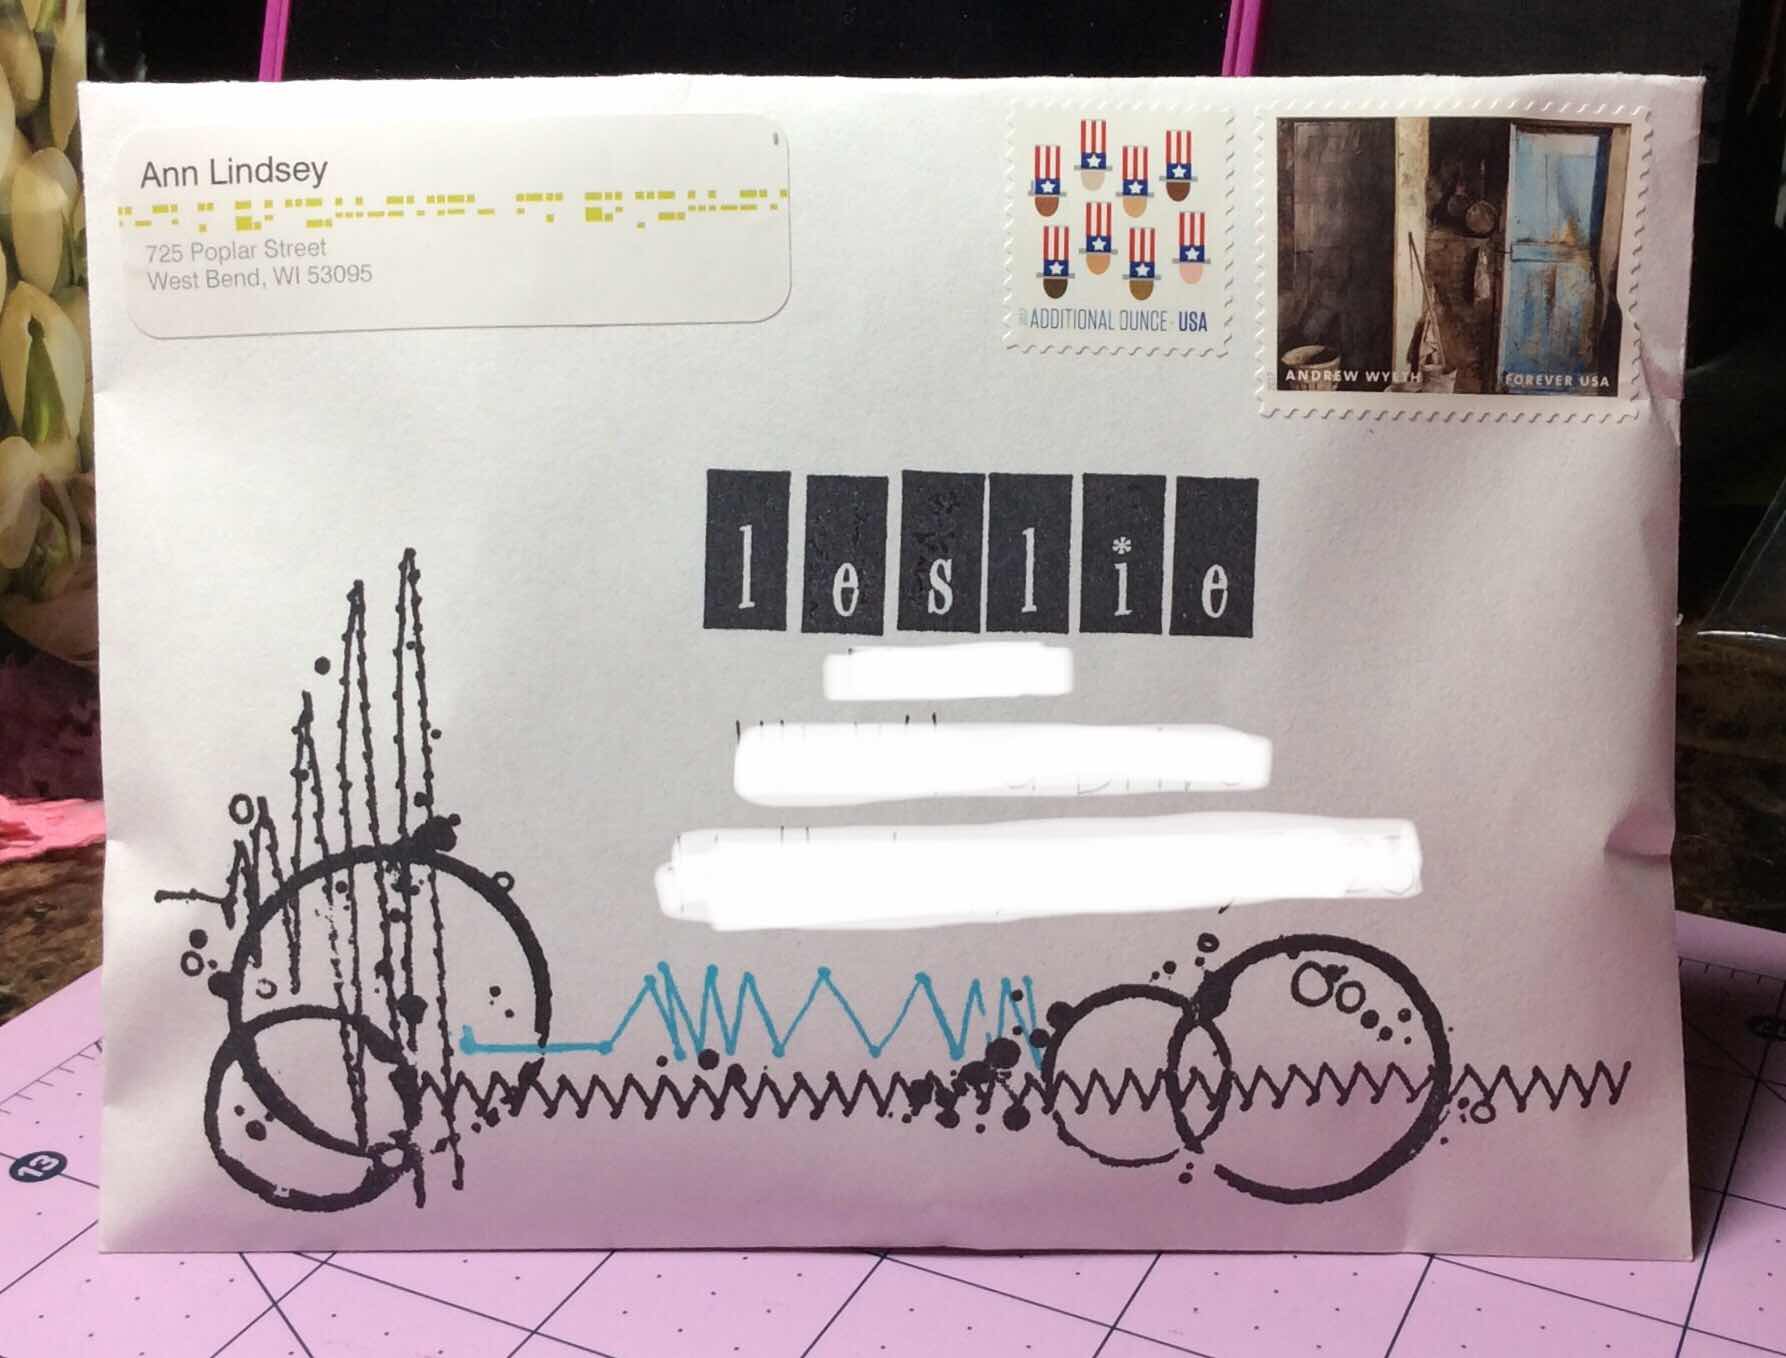
It seems like it’s been awhile since I’ve sent out some mail art envelopes.  Even just a bit of quick stamping changes boring mail into fun mail.


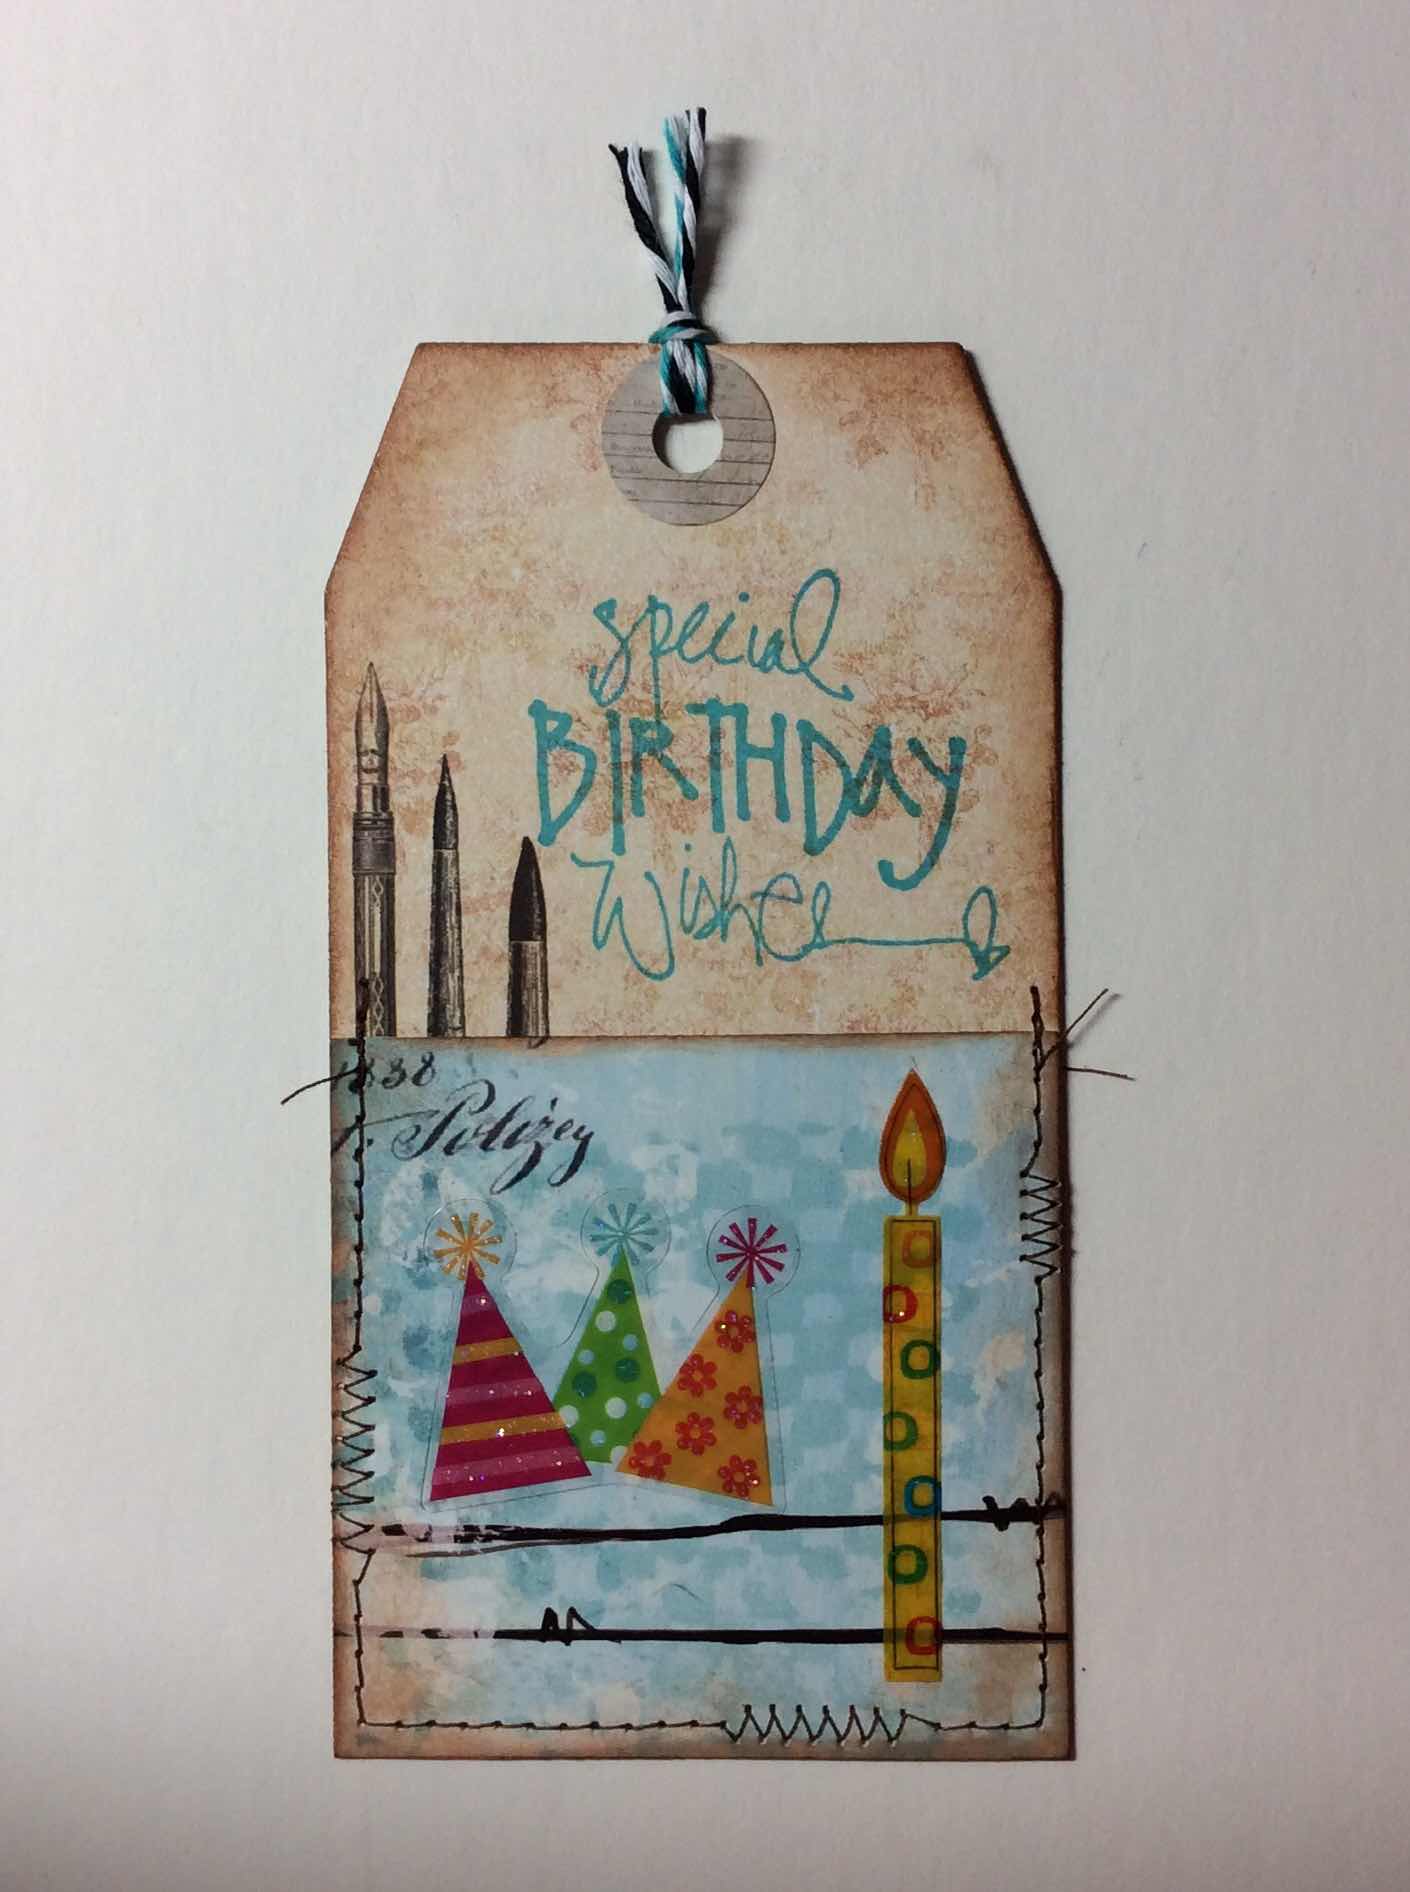
Sheila had a birthday.  Happy Birthday Sheila!


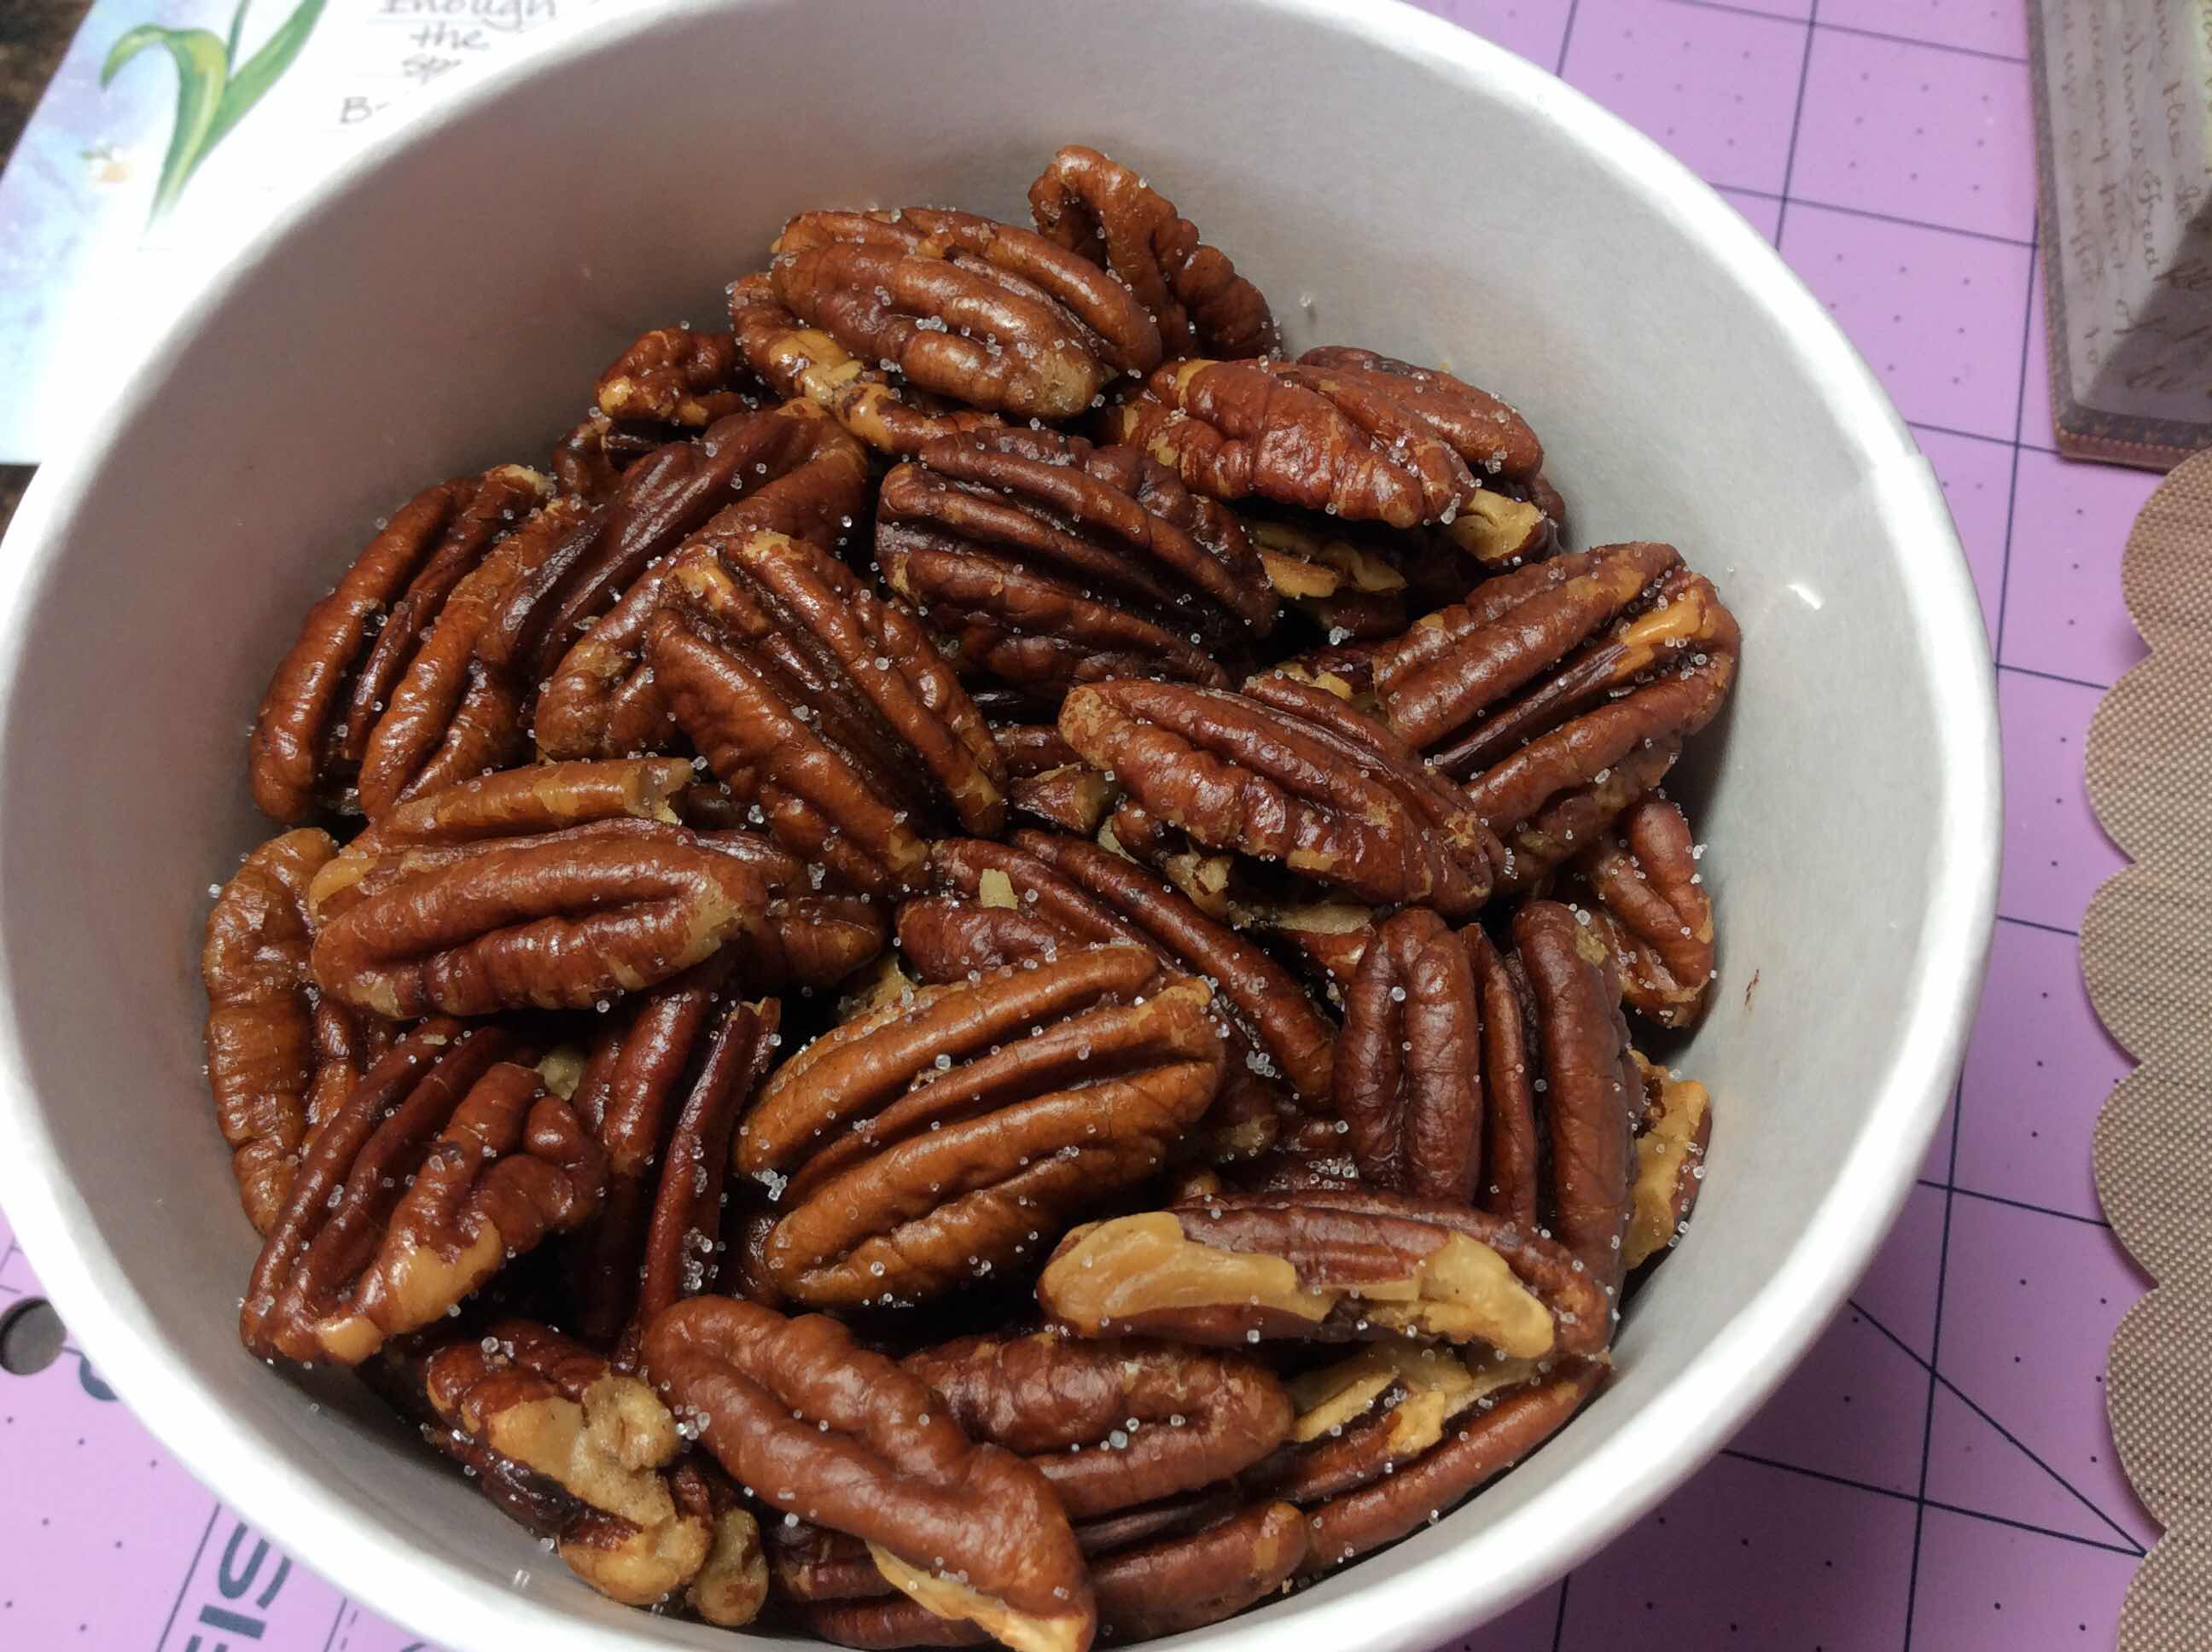
I did a little roasting and salting of pecans.  Once we reach a certain age and condition and life style, we appreciate edibles more than things.  These are a favorite of my special Valentine.


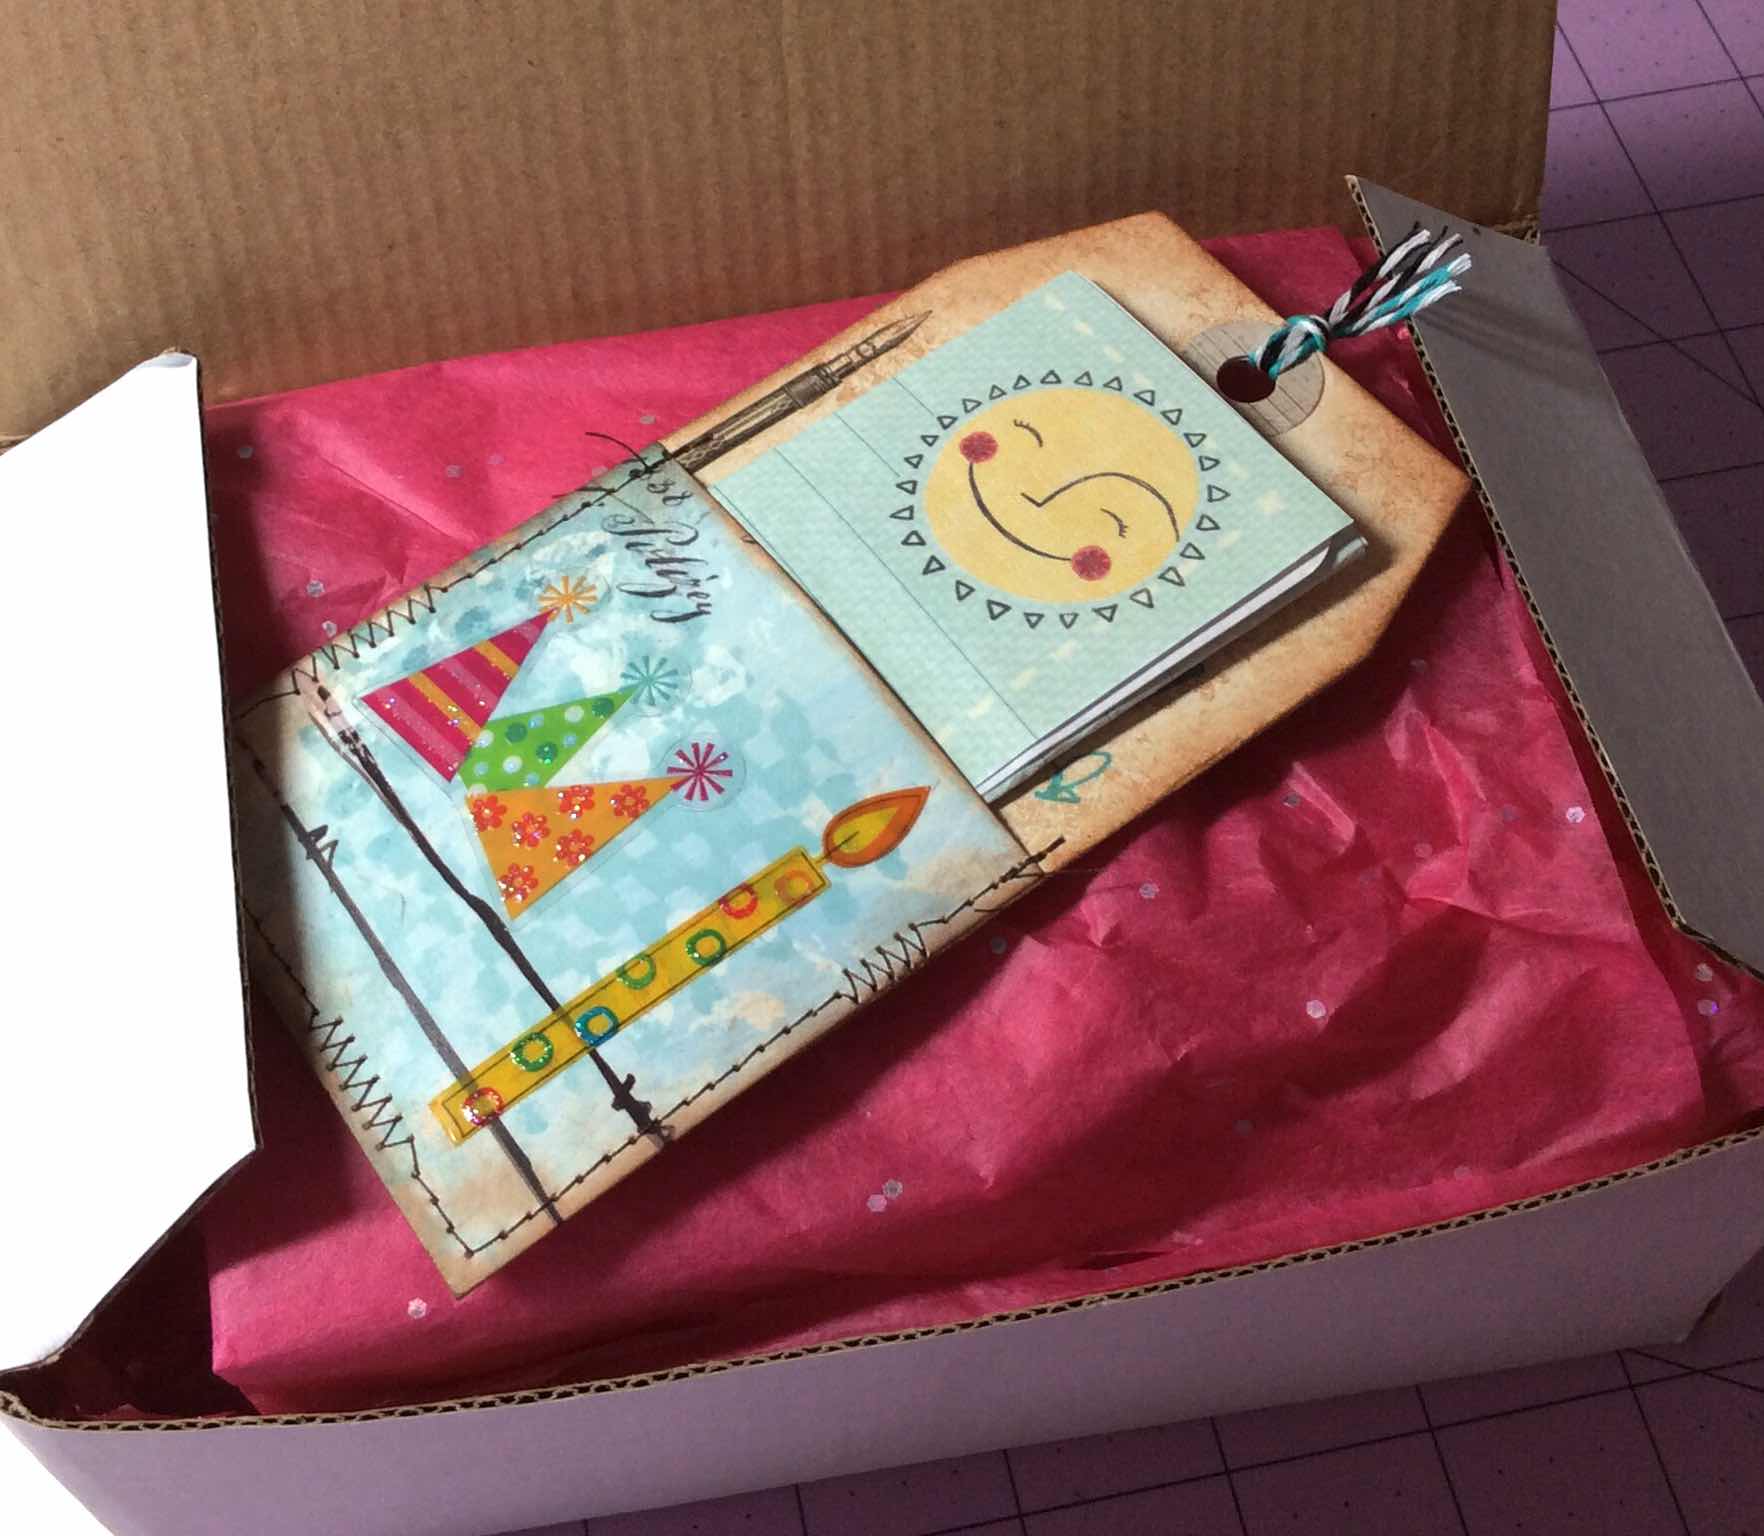
Of course a little pocket tag was needed.  I added a short letter into the pocket.


There’s my variety of little things that all went out through the mail to make very special people smile.

Although, I have SO many keyring wristlets still!  And I still want to make more!  Where to give them away???

Thursday, February 7, 2019

Calendar Journal 2019

I’m enjoying my new process style for my calendar journaling.


I keep telling myself to get more creative with the journaling part, but it seems there is always something more pressing to get creative with.  Most times I’m lucky just to write in the block.

Several months ahead are ready for filling in the days doings.


I’m glad to have found a good home for the Tim Holtz Paper Dolls.


I’m perfectly happy getting some use of my rather extensive Washi Tape collection.


I sure hope July doesn’t all of a sudden show up and I’m not ready for it!  It could happen...times flies by so fast when you aren’t 5 years old anymore.

Monday, February 4, 2019

Another Mini Booklet

I couldn’t wait to make another little booklet...so I didn’t!


They’re so stinkin’ cute and so fun to make.


I even pulled out a previously not used die cut from my newly organized little ephemera keeper booklet.  


Now being old people, we have a lot of pharmaceutical and medical bills to keep track of for tax deductions.  After I spent 2.5 hours sorting last years expenses, I knew what my next little booklet would be for.


The little pockets will hold those little pharmacy receipts.  And I will list the various medical expenses each month on a separate little sheet of paper to tuck into the pocket as well.


Then next year this chore will be a snap.


I’ve just let the scrapbook papers do all the design work.  I mostly just did die cutting and some careful tearing and taped it all together.  Score Tape is fabulous!

Wednesday, January 30, 2019

Crafting in the Polar Vortex!

They’re calling it a Polar Vortex!

It’s very cold here in Wisconsin.  The big temp today was -23 degrees F with a wind chill factor of -52 degrees F

Excellent day for indoor crafting.

I found at clearance price the Eileen Hull’s Traveler’s Notebook Inserts cutting dies.  I didn’t read all the packaging, so I thought it was the whole notebook.  After some research regarding the cover die, I decided to make my own cover to fit the inserts how I wanted them to fit.  


This little booklet is about 4” X 6”
I had some special scrapbook papers that I was saving for something special.  I decided this booklet was it.  The papers are called Happy Accident.  I used that part of the sheet to reinforce the front and back edges.


I’m not really a journaler except for my little calendar journaling squares.  But I really wanted to make one of these.  I finally thought about how my odd ephemera and rejected die cuts needed organizing.  So this is my ephemera keeper booklet.


It really was a lot of fun to make the pages and all the pockets to keep the little pieces in.  No more digging carefully through a box.  I couldn’t believe how this little project cleaned up my mess of bits and pieces.  Amazing.


I think the little see-through corner type pockets were the most fun to make.

This booklet has three folder style page sections.  To attach the pages to the cover I sewed down the middle of each of the three folders.  And stitched right through the selvedge booklet tie to keep it attached.


A little papercrafting and a little sewing.  My two favorite things to do.
It’s so cute.  AND it’s useful.

I’m trying to think of some other small something that needs organizing.  I’d love to make another.

Saturday, January 19, 2019

Greetings Mail

Greetings..... 
Birthday, Thank You and Get Well Wishes.

These are what have been keeping me busy.


A birthday greeting pocket tag.  I tucked a quick little letter into the pocket.


A thank you for some yummy Christmas goodies.


Another thank you for something special.


The envelope is made from scrapbook paper using the 1-2-3 Punch.


And some Washi tape to dress it up a little more.


A birthday card for my creep-loving grandson.


Lastly, I still buy cards when I see ones I like.  This one is full of happy glitter.


Then I try to gussy-up the inside so that it isn’t like every other store bought card.  I added a little stamping and a die cut flower.  The hearts are also die cut but they are loose inside the card.


Of course the envelope can’t be any ole normal envelope when it comes from me.  Just can’t send it without adding some fun to it.


I might be finished with January greetings now.  We never really know until the month is over do we.  

Now I really need to uncover my sewing machine...

Sunday, January 6, 2019

Sewing Space Decor

I was inspired by Pinterest (as usual) to gussy up my vintage wooden bobbin to hold a special pair of scissors.


The sewing machine charm is also special.  As well as the vintage shirt buttons that my grandmother had saved, and the pearl head pin.  (I’m sure it isn’t a real pearl, just looks like one).  A small collection of memorabilia that I’ve saved and pushed around for years.

Well now, making one wasn’t enough!  But I had no more bobbins and I wanted to make another for a special friend.  I found some on eBay for a pretty price.  I couldn’t find any others, so I finally talked myself into buying them.  When they arrived, I was sure they were reproduction bobbins, not vintage.  But they would have to do.

Now my friend has one too for her sewing space.


Her cute little scissors came from Hobby Lobby and the sewing machine charm I’ve had for years.  I knew I’d think of use for it eventually.  I tried finding one that was more defined like mine, but I had no luck with that at all.  The buttons are from my small vintage stash from my grandmother.

Details


Antoinette, we’re bobbin buddies! 


 I’m trying hard not to collect “things” unless they have great meaning to me, or it is something I LOVE and enjoy or serves a purpose.  Clutter is a thing of my past.  Not my present.  Not my future.

Saturday, December 29, 2018

Fresh Calendar Journaling

I’ve found a fresh new calendar journaling system.


I’ve always thought it was the system I grew tired of.  But now I think it’s the monotony of the same old, same old.

I sometimes want to stop calendar journaling.  It must have gotten into my blood stream...as I cannot let it go.  And that’s okay for me right now.  This is the 6th year I am documenting my daily life.

For 2019, I have found Dyan Revealey’s Dylusions Dyalog System.  You can google it to see how this system works.  There are a lot of options for all types of journaling.

I’ve chosen this canvas Dyalog journal cover.


And I’ve chosen the Backgrounds Dyalog Insert Book.  The pages are colorful and blank.  You can add whatever type of artwork you choose.  I have chosen to use the pages as a calendar.


There are several insert book styles to choose from.  There are enough blank pages for me to journal 2 years in this one little book.  There are twelve page designs repeated twice.

For January 2019 I’ve used washi tapes for my grid and as collage art for the bits of blank areas.  Opened, the page measures 8” X 8.5”. A bit smaller than I am used to.  I think it will work out great.


The only troublesome part of my new system is that the book paper did not like it when I wanted to reposition “some” washi tapes.  The paper stuck to the washi.


But I think it works out okay as part of the charm of collage art.

Now to see how it goes as I’m back to designing the calendar pages.  I hope I don’t hate it.

My ultimate wish is that one of these awesome background artists will design a calendar journal completely each year so that I just need to buy it and enjoy their artwork and simply add my daily words.

I’m looking forward to this new journaling venture.
Happy TwentyNineteen!

Friday, November 30, 2018

Christmas Table Mat

My table needed a bit of Christmas cheer.

So I decided to make my Christmas Tree pattern into a table mat as a smaller version and complete circle.


As I suspected it would, it worked perfectly.  I followed my own tutorial:  https://freezeframe03.blogspot.com/2011/12/tutorial-christmas-tree-skirt.html
With only minimal changes as I show in this post.
I did not purchase any fabric, I pulled out my Christmas fabric stash for this table mat.


Instead of using 5” Charm packs, I cut 4” squares from my stash.
Instead of stacking 5 charm squares, I stacked only 4 squares.


Instead of aligning the wedge ruler at its 24” measurement, I aligned it at 16-3/4”. Instead of aligning right at the lower right hand corner of the strip, I moved it over by 1/4”.  Had I not moved it over, the two strips would have been too much the same width.  As with my tree skirt, I wanted alternating wide and narrow strips.


As with the tree skirt, I discarded the strip on the right and used the center and left cuts.


The rest of the circle construction follows the tree skirt tutorial.


Of course I didn’t want a hole in the center of my table mat so I had to fill that in.  I have these handy dandy circle cutting rulers.  They work like magic for cutting a perfect circle.


I sewed a long stitch around the circle then pulled the threads for a slight gather to make it easy to turn under the edge.


I pressed the edge under.


Lay out the mat so the center opening is as round as you can make it.

I then pinned the heck out of it so that the mat opening would not shift while I just top stitched the circle in place.


That worked well enough.


Since I won’t see this slightly imperfect opening once it’s quilted, I have completely forgotten it isn’t perfect.  It is not at all noticeable.  You know I’m loving that!


I have a layer of Warm & Natural batting and a backing.  I just quilted in the ditch.  (My tree skirt does not have batting as I wanted it to be very drape-able).


I sure wondered why I had so much of this fabric, but some has been put to good use here and the Christmas fabric drawer does not bulge any more.  (Room for some new pieces, right?!)


The binding is, as always for me, cut on the straight grain.  I avoid bias bindings at all cost.  LOL

I LOVE this table mat.  It measures 33.5” diameter.


There were squares leftover (because I just cut a strip then cut the strip into squares).  Too lazy to figure out exactly how many squares I needed.  So this second table mat or runner was made with the scraps.


The back looks kind of pretty too.  Bonus!


It sits so nicely on my little bench by the door.  I think it just needs a few little wrapped gifts added to it.


I love that I bought NOTHING to make these.

Merry Christmas to all my bloggy friends!