Monday, March 7, 2022

Bunting

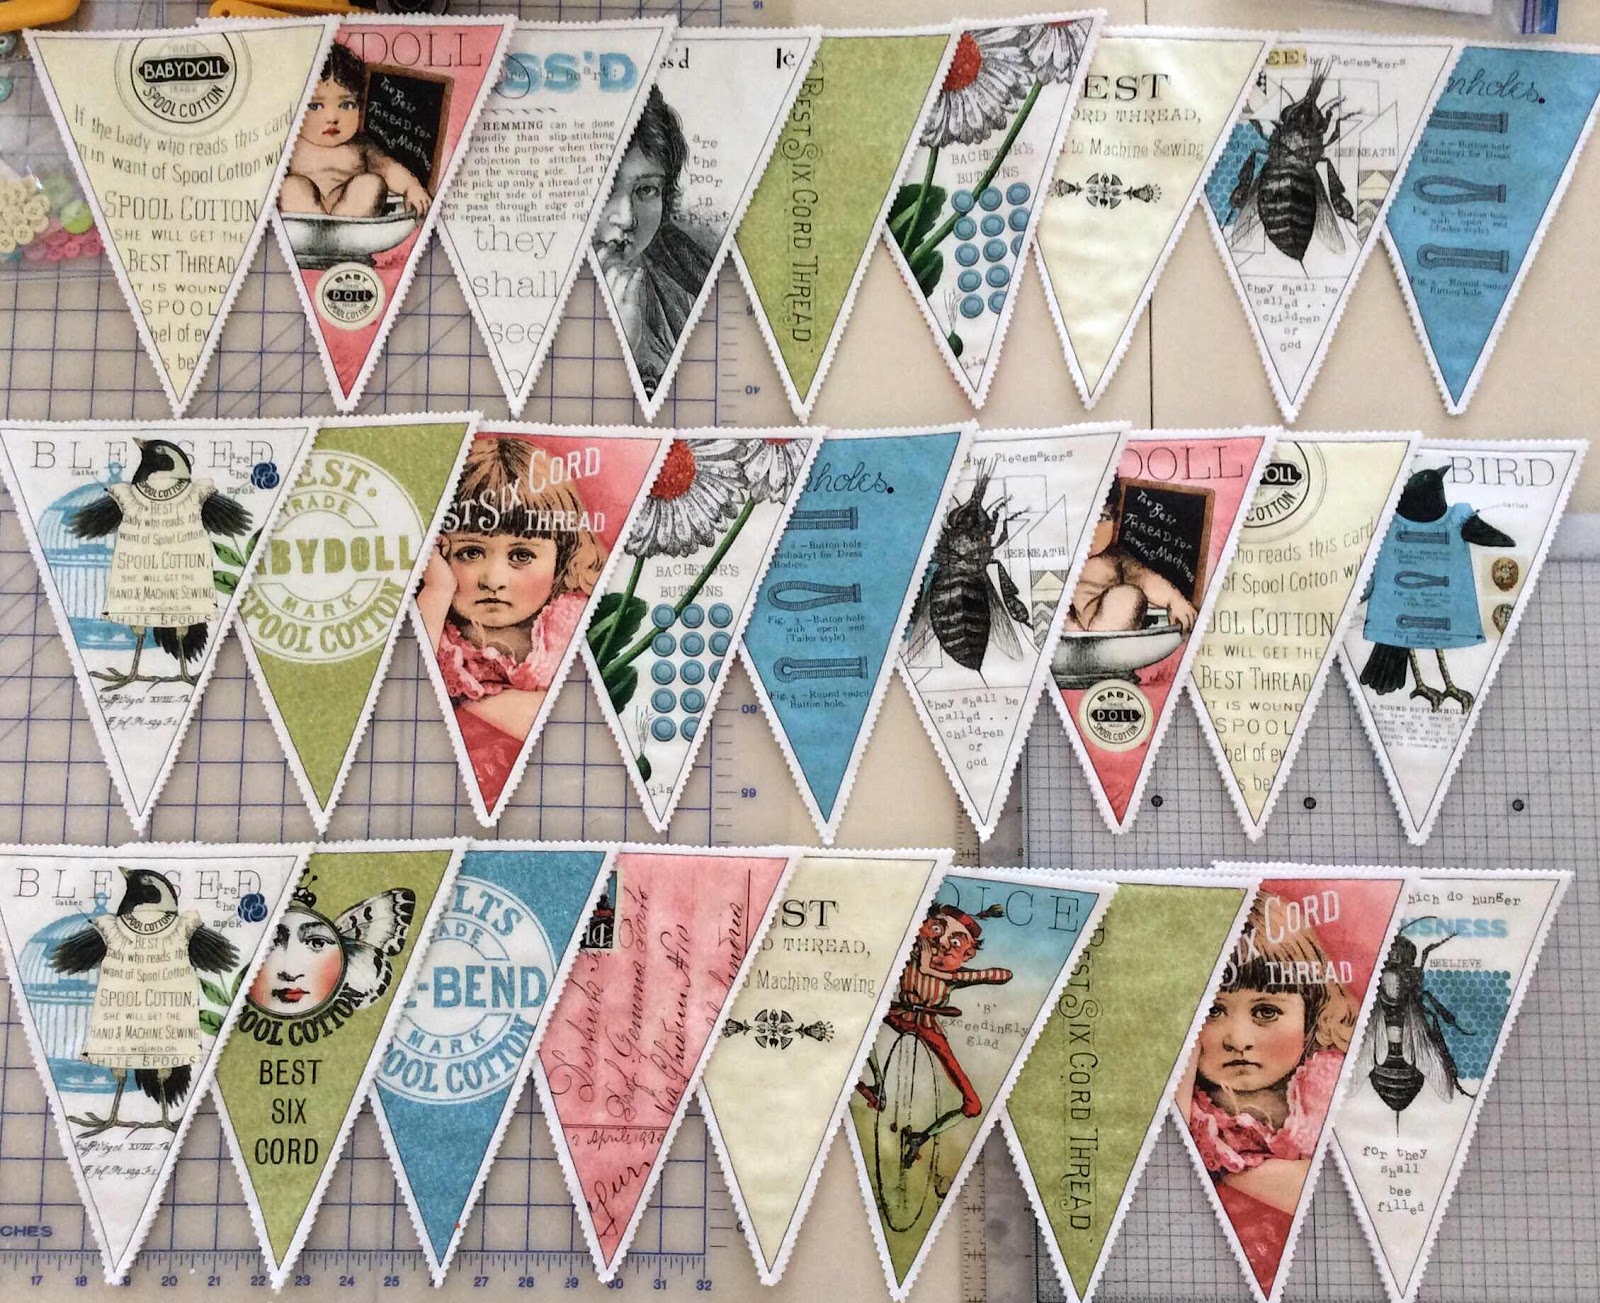
I was gifted four very fun fabric panels.  Now that the sewing bug has bit me again, I began with this sweet bunting panel.  (It is actually a panel and a half).  I’m sure these triangular shaped prints can be made into many things, I wanted buntings.

The panel is a Riley Blake Design by J. Wrecker Frisch, Joy Studio


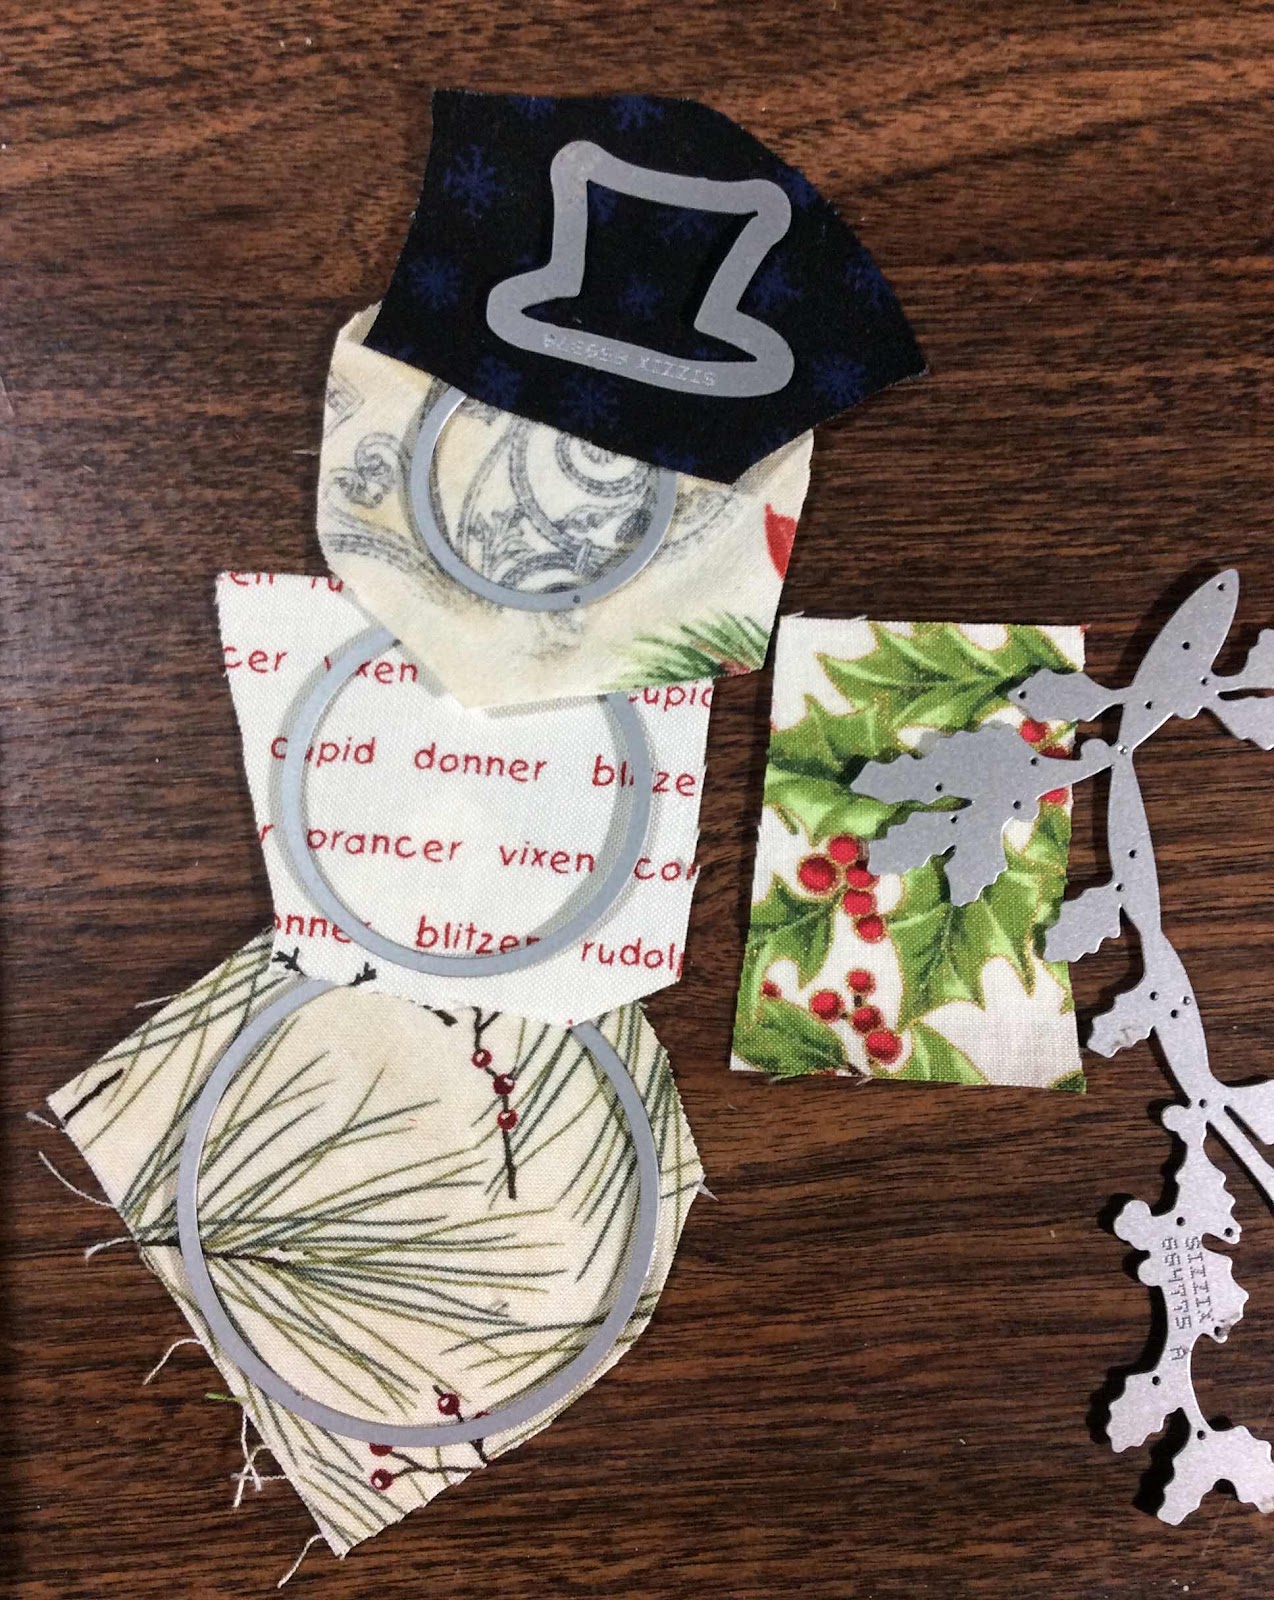
I cut the pieces apart with some almost-as-old-as-me pinking shears.  Then I stitched the pieces to batting and a backing and then trimmed the backing. As I began sewing the first piece, I realized that pins were not helpful.


You could make a very long bunting with these pieces. I chose to make 3 separate buntings.


Next I chose some button options to embellish the pieces.


I connected the pieces to a length of striped fabric.  Machine stitching the front and hand sewing the strip to the backs (like binding)


I added buttons by tying them with Perle Cotton threads.
(My ball spools say “Coton Perle”)


The first finished bunting hangs here on my half wall.


It makes me happy to see it there.  


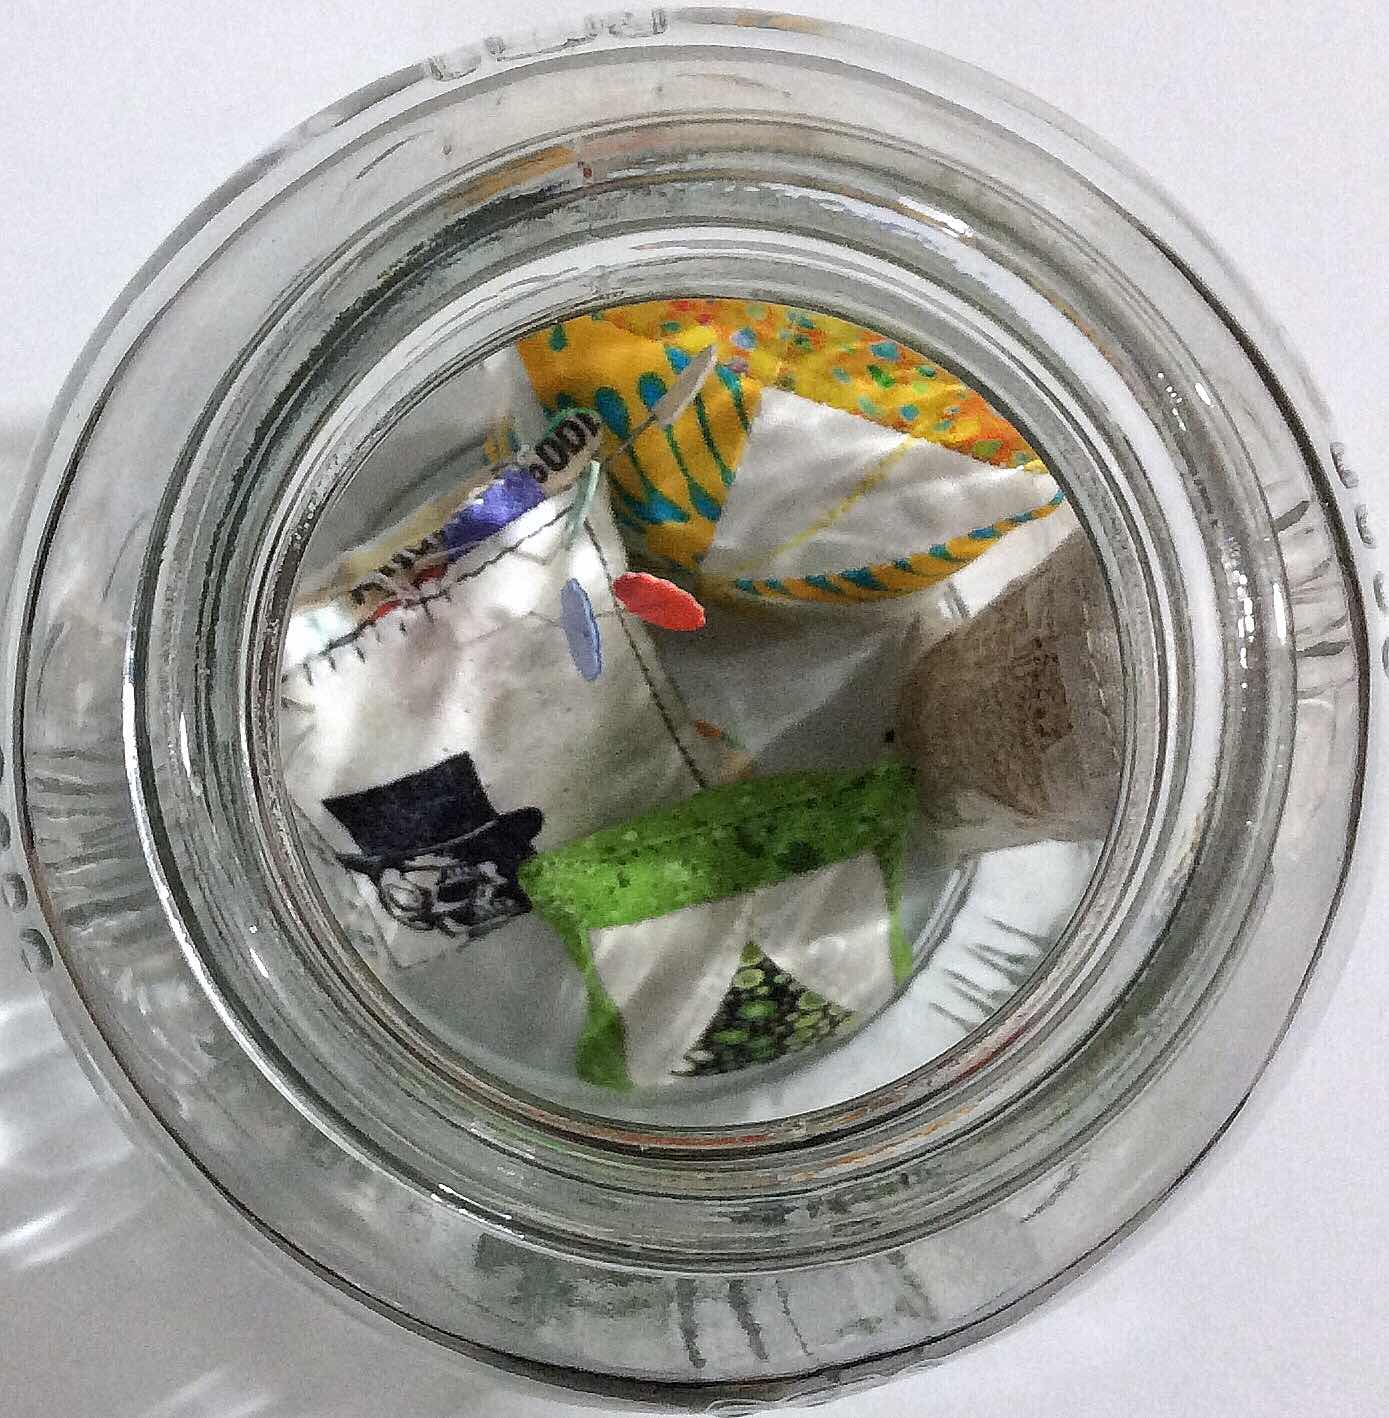
I pinned sewing themed charms between the pieces using safety gourd pins.


This first bunting is for a special friend.  The second one now hanging on my half wall is for me.
It makes my happy space feel even happier.


My buntings measure 80” in length.

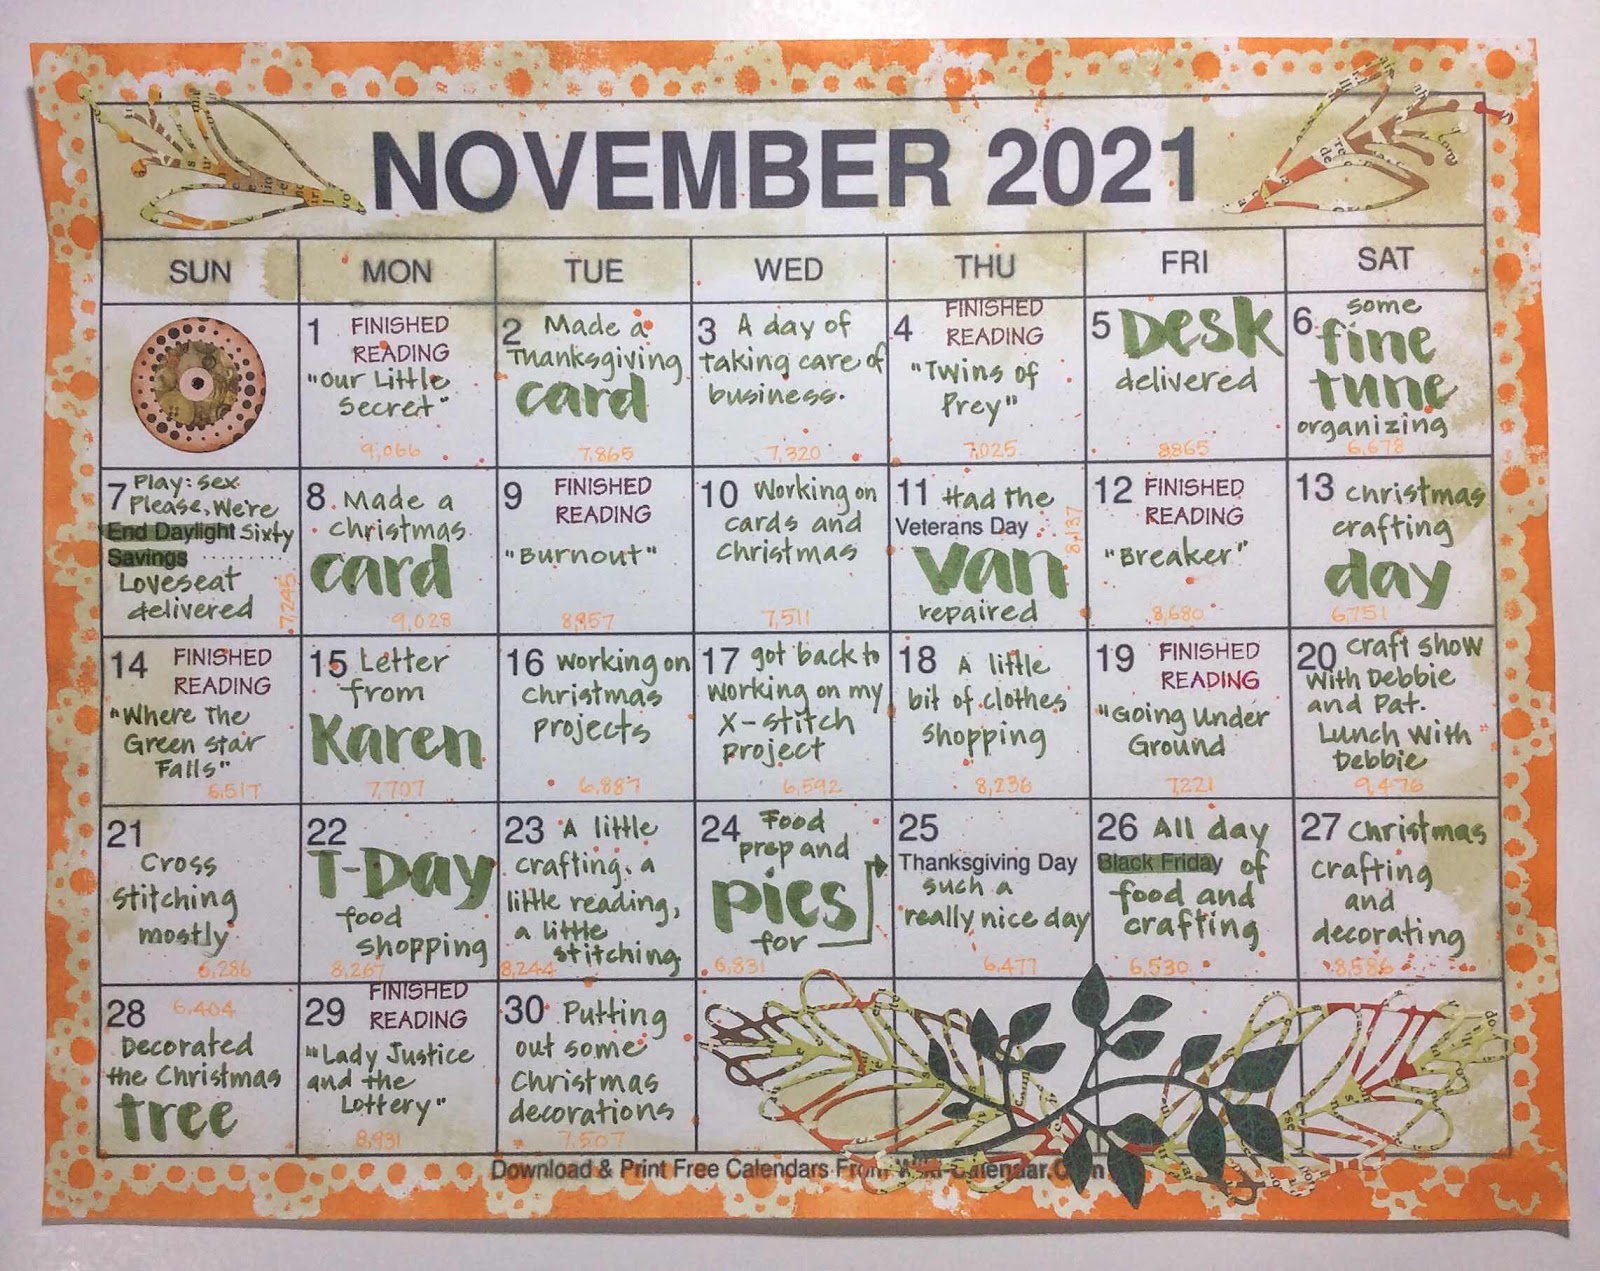
To catch up with my calendar journals, here is January and February.


We get closer and closer to Spring!  That too makes me happy.

Friday, January 14, 2022

Snowman Challenge

Thanks to a new challenge I found, I have my first Christmas card for December 2022!  


This is a monthly themed challenge at the blog of   The Joyful QuilterThe link to the challenge rules: https://thejoyfulquilter.blogspot.com/p/2022-table-scraps-challenge.html.
January’s challenge is snowmen/red.  
I loved the Christmas tag I made in December, shown here, with the snowman and wondered how well he’d make into a Christmas card.  I’m combining my fabric scraps with my paper crafts to make cards this year.  At least that is the plan.  It will depend on how well the monthly challenge fits with that plan.  Fabric postcards are always an option too.

I began with fabric scraps backed with Wonder Under and cut using cutting dies.


I then chose a background fabric (red) cutting it and a piece of cardstock to a 4X6 inch size.  I fused the pieces to the background and stitched them down.  Adding a section of selvedge for a scarf.


I then began embellishing with foil paper punched circles on the holly and paper punched circles for buttons, a snowflake punched from glitter paper and a heat embossed message. I stitched the finished panel to the front of a folded card.
I sprayed ink through a stencil for the envelope.


Inside the card is a heat embossed message stitched to a background paper then taped to the inside of the folded card.


I love mixing sewing with paper crafts.  I can’t wait to find out what the February challenge will be.


December 2021 calendar journal


I don’t normally show progress photos, but this is what has been keeping me quite busy for the past month.  A massive cross stitch.  350 stitches X 349 stitches.  I have completed the first 39 rows...13,650 stitches.  Only 108,500 stitches to go!


Happy stitching of one type or another!

Thursday, December 23, 2021

Christmas Decor Tags and Cards

I love when there is time during the Christmas season to create with a Christmas theme.  I managed a couple of decor tags to add to my collection to hang around the house.

Front and back
      

Both tags began on craft paper embossed with an embossing folder that I inked with red inks before running it through the embossing machine.  Then embellished with die cuts and stamping.

Front and back
    

Following are Christmas cards I managed to get made this year.


I wish a very merry little Christmas to one and all!
Be safe and be happy.
May the world have the happiest New Year ever!

Thursday, December 16, 2021

Paper Pieced Trees Quilt

Oh but I CAN see the forest for the trees!


I’ve wanted to make a little forest of trees for some time now.  Checking that off my list.  And it is a ‘little’ forest.  


When all sewn together, each tree block measures just about 3.25” X 2.25”.
I wanted a selvedge border so I dug around in my selvedges tote for neutral selvedges.


Then the little wallhanging stalled while I figured out how to stitch the selvedges for an inner border.  Of course I eventually figured it out.


Simple in the ditch quilting.


It was finally finished.  I’m SO pleased.


I tried out a couple of tree sizes before deciding.  The tiniest one turned into a cutie pie of a pincushion.
The block was SO TINY it didn’t look fun to sew so I added a bit of a border.  It was still so little.  But so cute.


I now have a very small collection of four little pinnies in my pinnie jar.


I actually use the skeleton one so it doesn’t really live in the jar.


I like that the little trees quilt can be hung for me to enjoy at any time of the year.  Right now it might be a Christmas tree farm.  Later a forest.

Sunday, December 5, 2021

Money and Gift Card Wrapping

It gets a little harder every year to come up with a different money gift holder from the previous years.  But once again, I made it happen.


I used the 1-2-3 Punch Board to create these envelope style holders for money gifts.  I folded in three sides of the envelope and left one end open.


I then embossed the holders and used a variety of dies to cut the designs for the ornament embellishment.  I used Graphmaster Metallic Brush pens to color the holly leaves green and made the berries silver.  Letter dies to add names.


I embossed in red words from Tim Holtz Tidings Mini stamps then framed them using a cutting die.  I left them long enough to write personal messages on each.  Then I clipped the tag to the money.  A little wired and curled ribbon added to the top with a string to hang and DONE.


For a gift card, I used the Tim Holtz Pocket Envelope Bigz die.


Embellishing the envelope with snowflake dies, and a stamped and embossed Do Not Open tag.  The ties are attached with snowflake brads and tied with a soft blue and white cord.  I spattered white paint for a snowy appearance.  I needed to keep it rather flat to mail inside a card.


My November 2021 Calendar Journal


There are usually lots of things to do in December.
Be sure to take time to enjoy the Christmas season.

Friday, December 3, 2021

Christmas Gift Bag

For December I have the honor of being the guest designer on the


The monthly challenges are always ‘anything goes’.  You only need to use at least three different mediums for your project.

I’ve altered a craft bag into a Christmas gift bag.  It’s December, it’s Christmas time, my house is filled with Christmas music and I’m full of the Christmas spirit!


First I slopped white acrylic paint onto the front of the craft bag.  Let it dry then sprayed and dribbled some Distress Mica Stain, Snow Flurries (blue) and Peppermint Stick (red).


After that all the embellishing began.  Snow flakes cut from glitter paper with cutting dies.  Stars cut from silver metallic paper, including some dots from the cutting die.


‘Merry’ is cut from red metallic paper using a cutting die and the words were stamped with Archival Ink.


I glued rhinestones in the centers of the snow flakes and tied a bow around the handle with colored twine pieces.


I was finished with the bag until I saw the pinecone and berries wired pick that has been in my stash forever almost.  The bag looked okay but not satisfyingly so.  When I tied the wired pick to the bow, THEN it was finished!


And you know me, even the back has to exhibit a little interest.


Check out the Creative Artiste Challenge Blog for lots of great creative inspiration.