This is the panel that drew me away from paper crafting and back into my sewing space.
For a long time I’ve wanted to make an alphabet quilt. But I didn’t want to make the letters and I wanted them to look artsy. When I bought this panel, I didn’t know it was a Marcia Derse design. No wonder I love this panel.
(Not to worry, all those prewash wrinkles will disappear as I work with the panel)
 I didn’t need to worry about wonky with this panel. The alphabet is intentionally somewhat wonky so any further wonky added during printing the panel would not be an issue. Looking closely at the panel, the letters are collaged on notebook pages. First thing I did was cut the notebook pages apart.
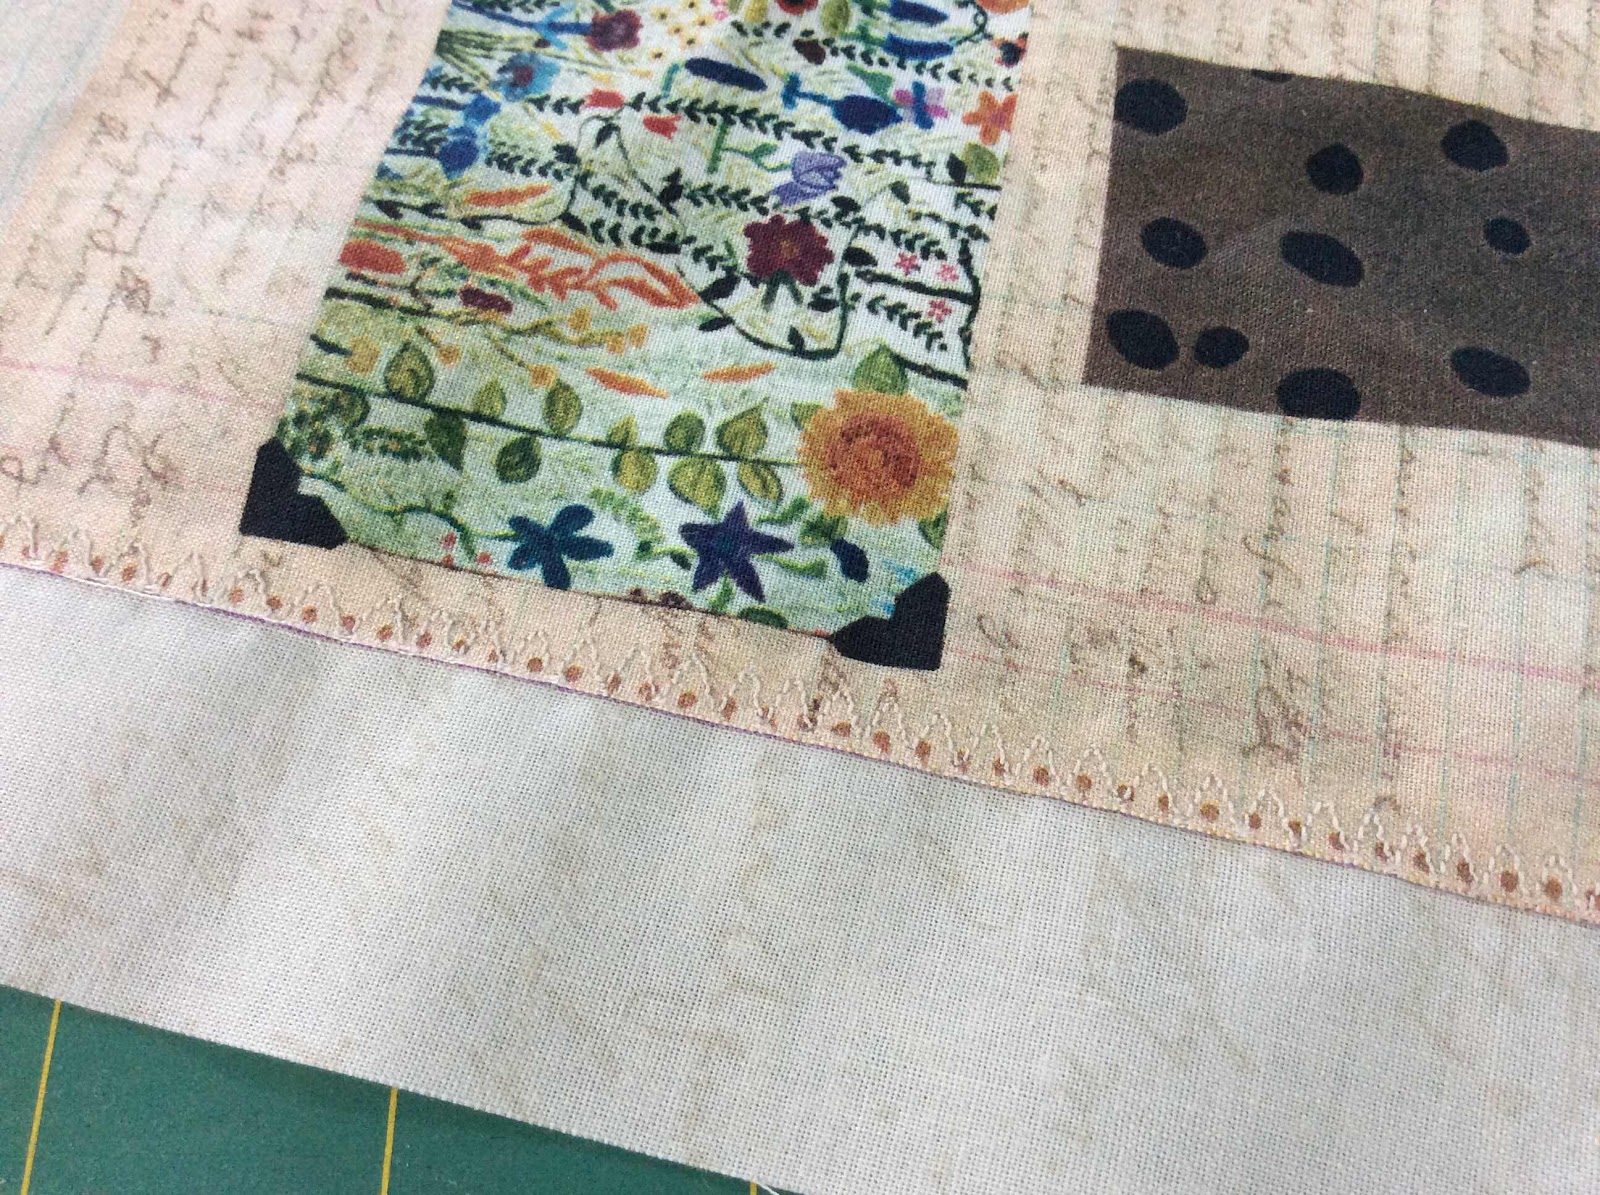
I wanted the letters to be separated from each other, so I cut them apart. That left raw edges very close to most of the letters. I cut 1/4” strips of Wonder Under and fused it to that raw edge on the wrong side.

 I then fused that raw edge to a strip of another fabric and stitched a zig zag to applique the two pieces together. That would allow me to have a seam allowance for piecing.
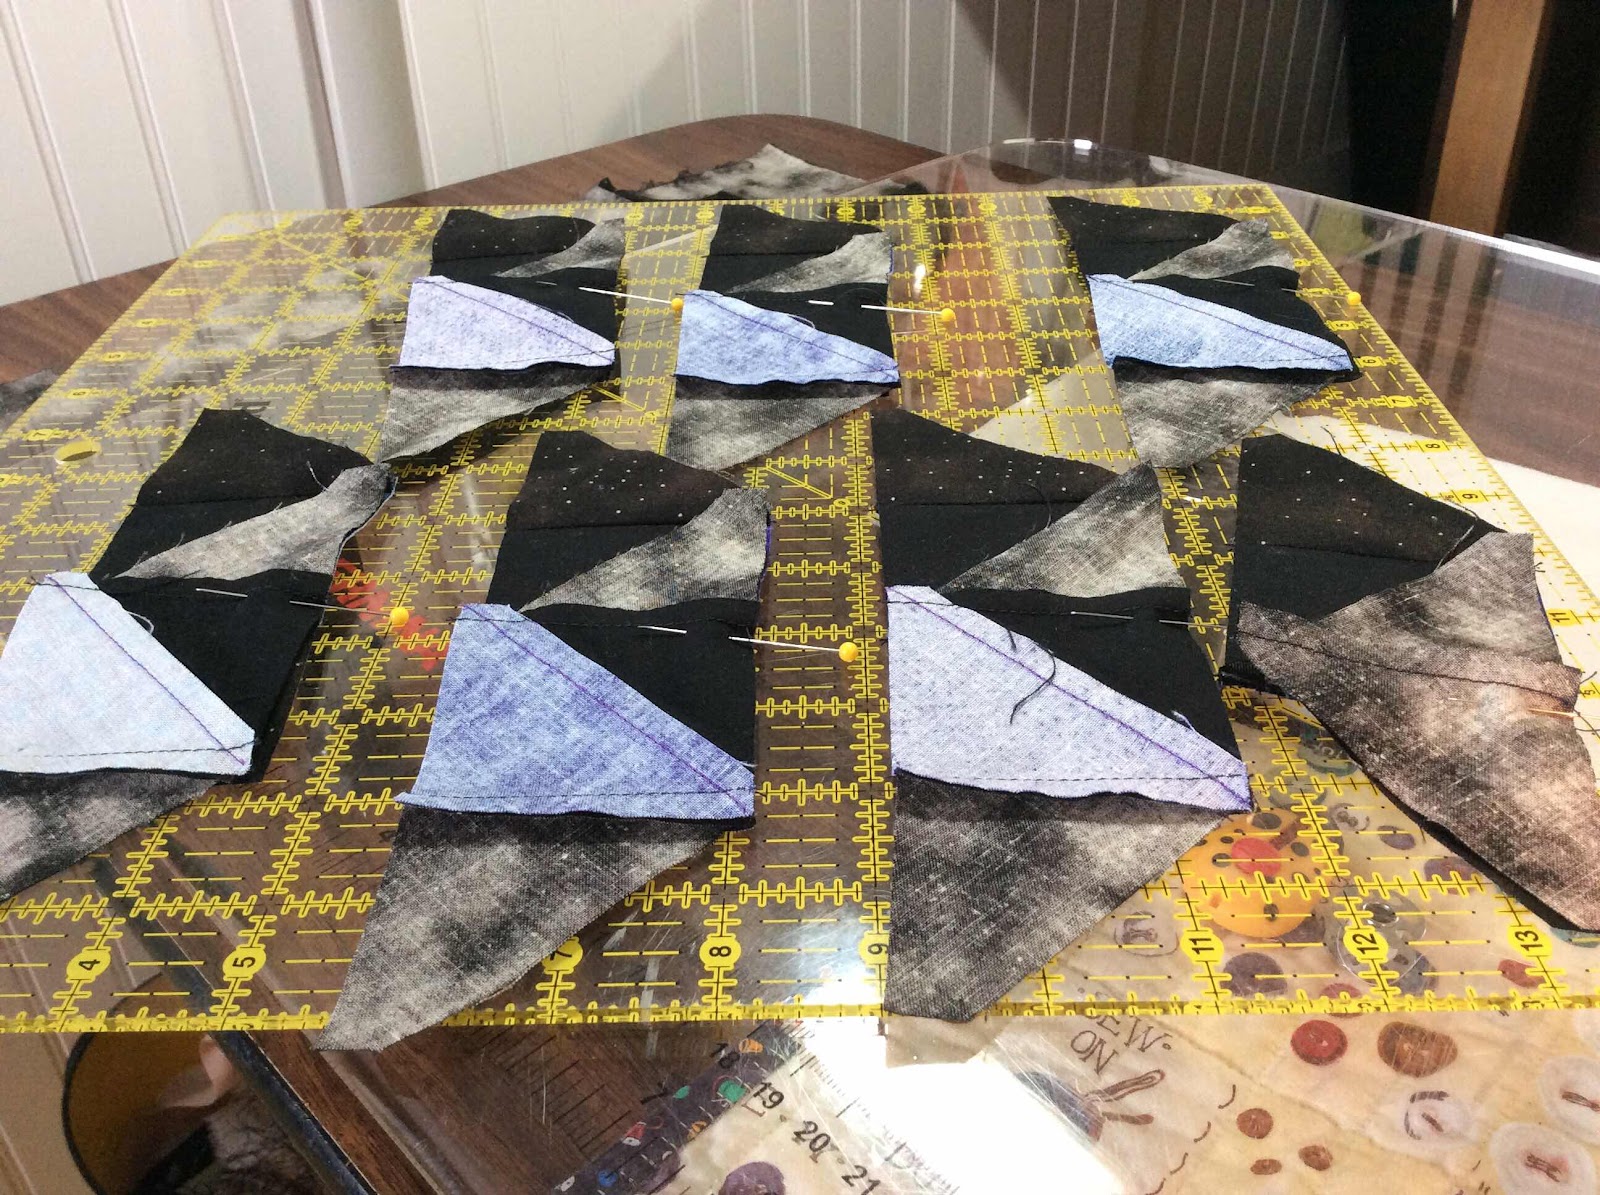
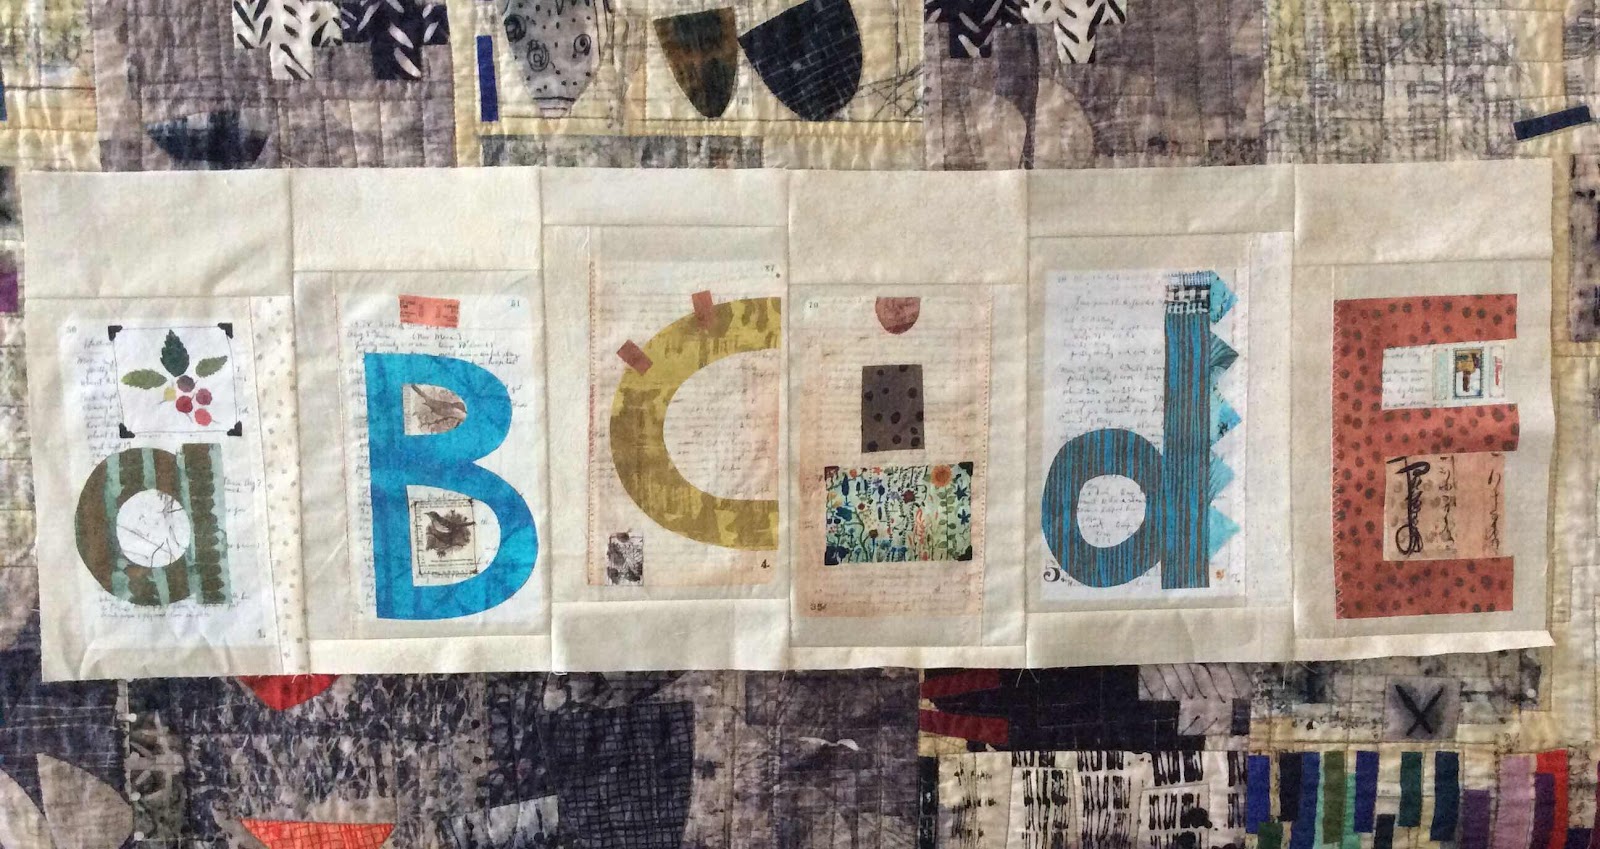
 I arranged the letters in rows, staggering them somewhat. I then began a rather measured improv piecing to make them into uniform length blocks. But within each block itself, if it was wonky, I left it that way. You can see what I mean in the closeup below. (The a, B and C are the most obvious).
 A close up of the first row.
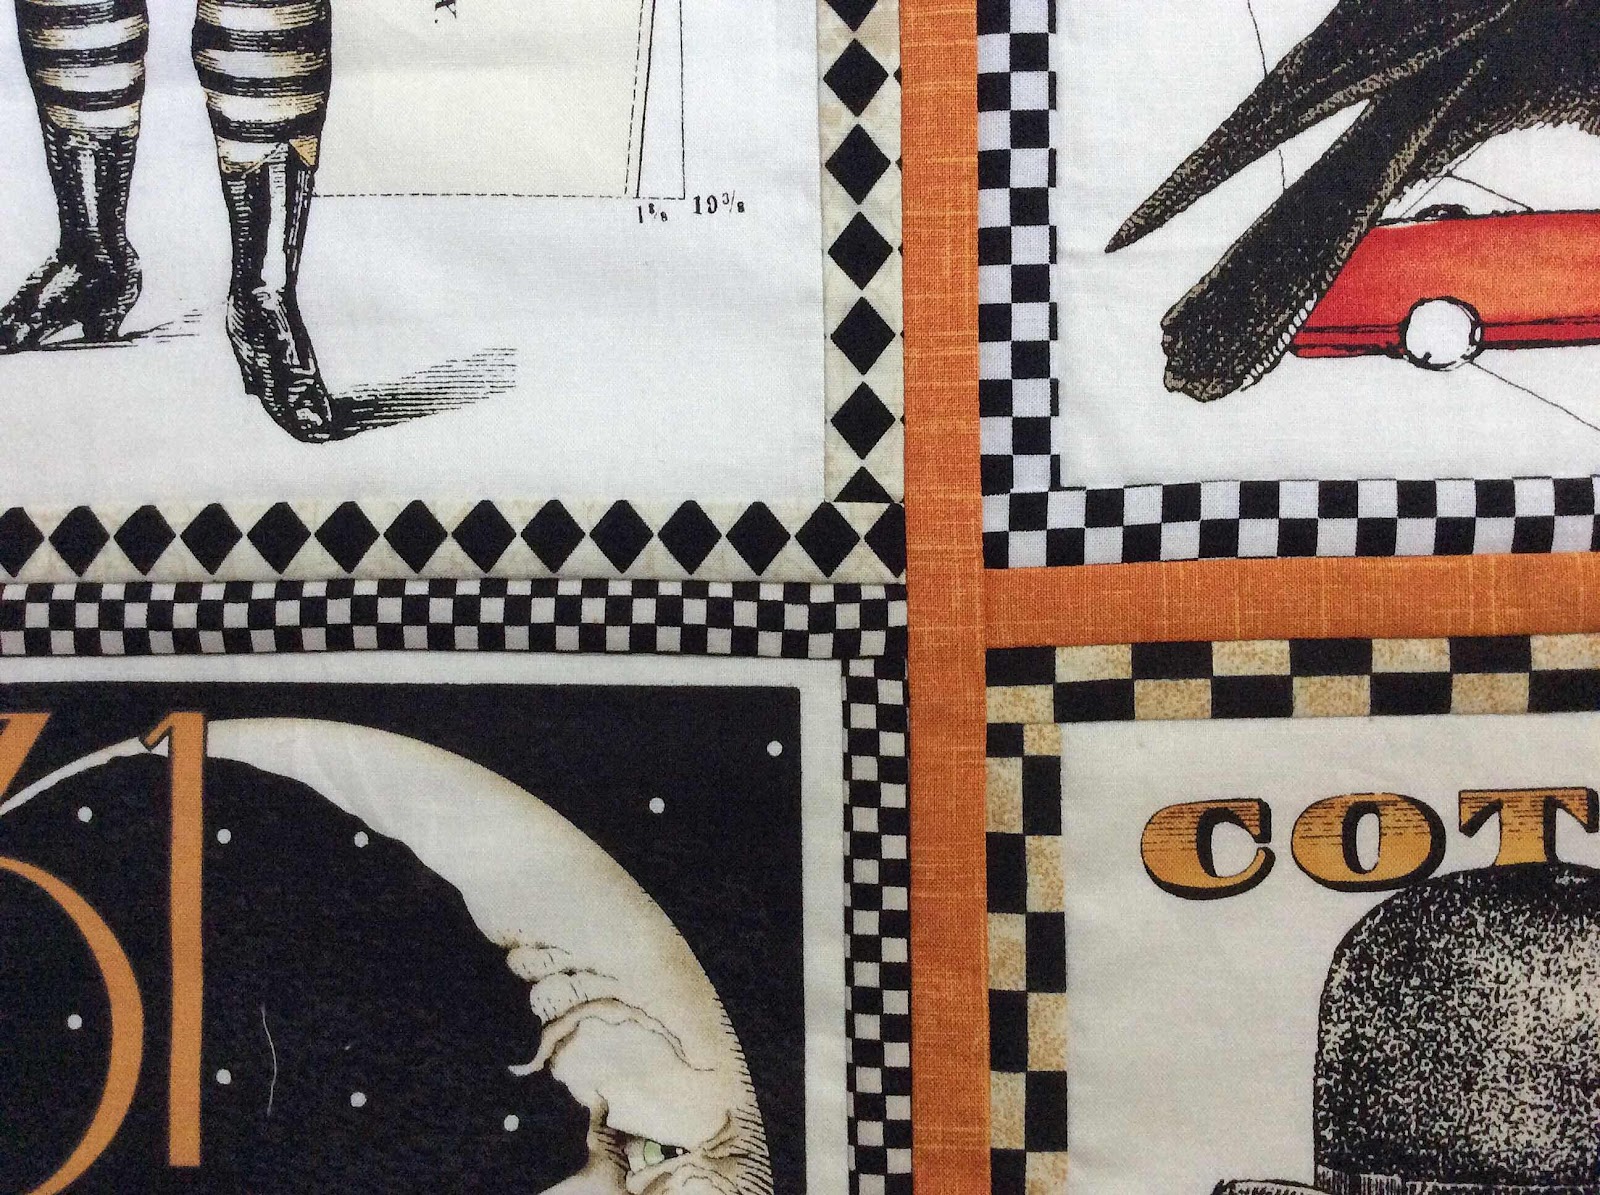
After getting the quilt body all sewn together, I added a narrow 1/2” purple border and a scrappy neutral border outside that border.
I almost forgot to get the selvedge into the quilt! My panel didn’t have any color dots (sad face). As the finished quilt top waited on the design wall for me to get a backing, I decided I didn’t like the narrow purple framing border.
I started thinking about how I could change that.
 A bit of a wild idea came to mind. So out came my overflowing storage box of selvedges.
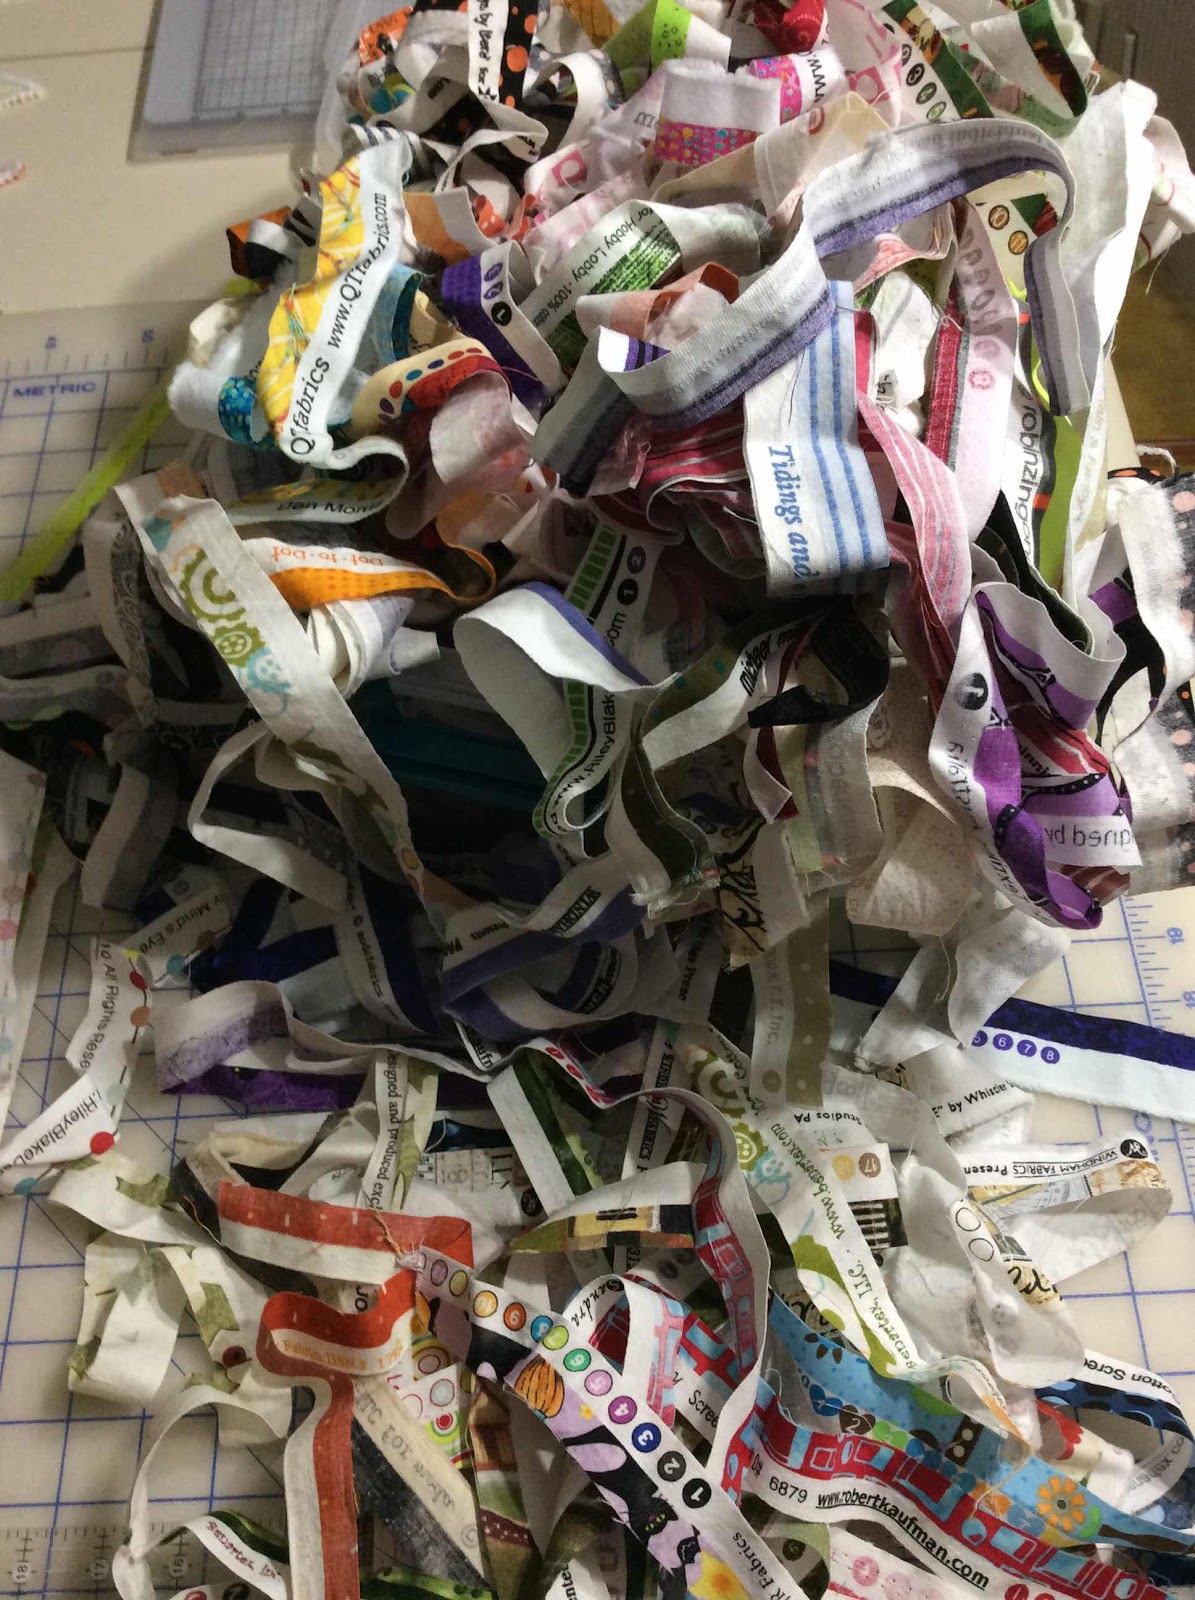
Continuing with the measured improv, I trimmed and stitched selvedges over the top of the purple border.
 I think I’m figuring out my style...eclectic.
When I pin baste my quilt layers together, I don’t leave much backing and batting extending past my quilt top.
 Quilting with a walking foot has proven that the backing and batting don’t pull inwards, so I stopped wasting extra fabric for the basting and quilting process. I mostly just quilt with straight lines as this look is my favorite.
 Now look at the fun mistake I made and discovered halfway through the quilting.
I set the Z block upside down.
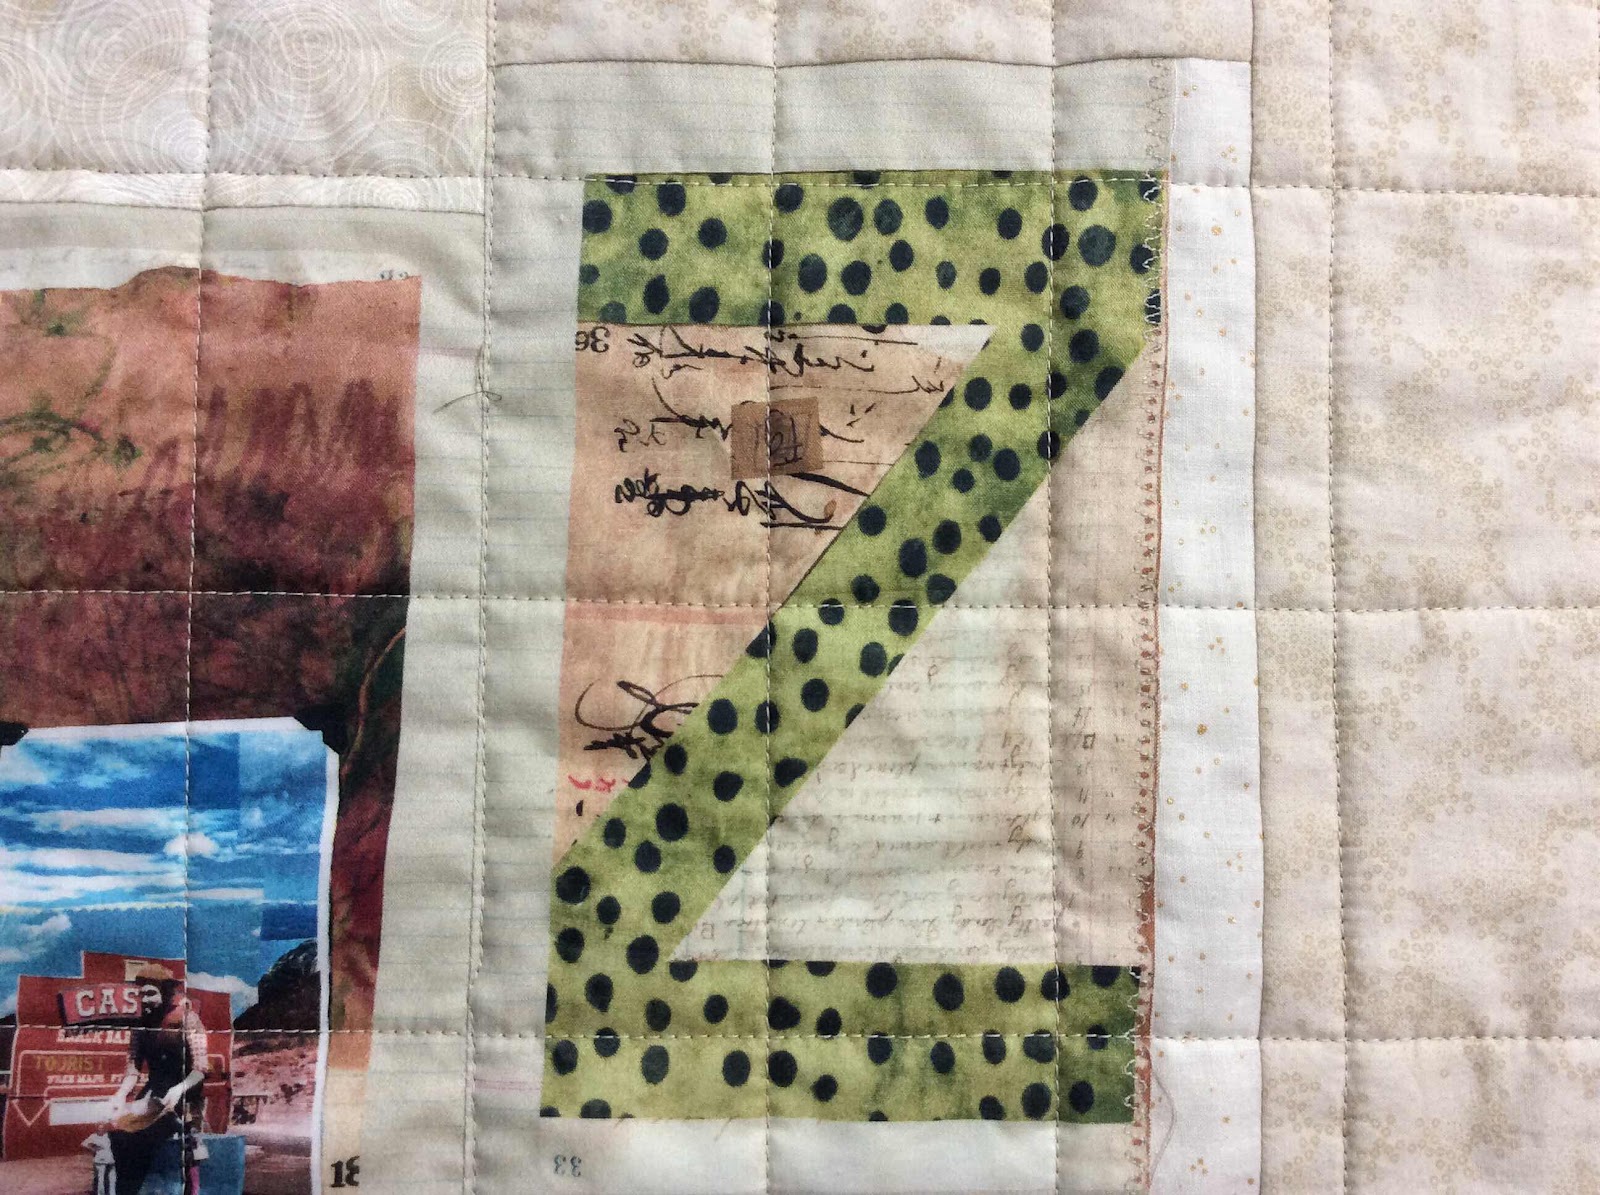 I began to panic! What about the H? What about the I? What about the N? What about the O? What about the S? All just fine. Then I got to the W and I noticed a portion of the map was upside down and I thought I used the M upside down! Then I remembered the m was lower case. Whew!!!
So just the Z is flipped. I decided it is a fun mistake and I’m embracing it.
 Now I know my ABCs ... and flipped Z!