
Annie's Christmas Tree Skirt

Christmas Tree Skirt
how to:
To make this very easy but 'complicated looking' tree skirt, you will need this wedge ruler and 140 charm squares.

This one is by Omnigrid and is a 9 degree Circle Wedge. I've had it forever.
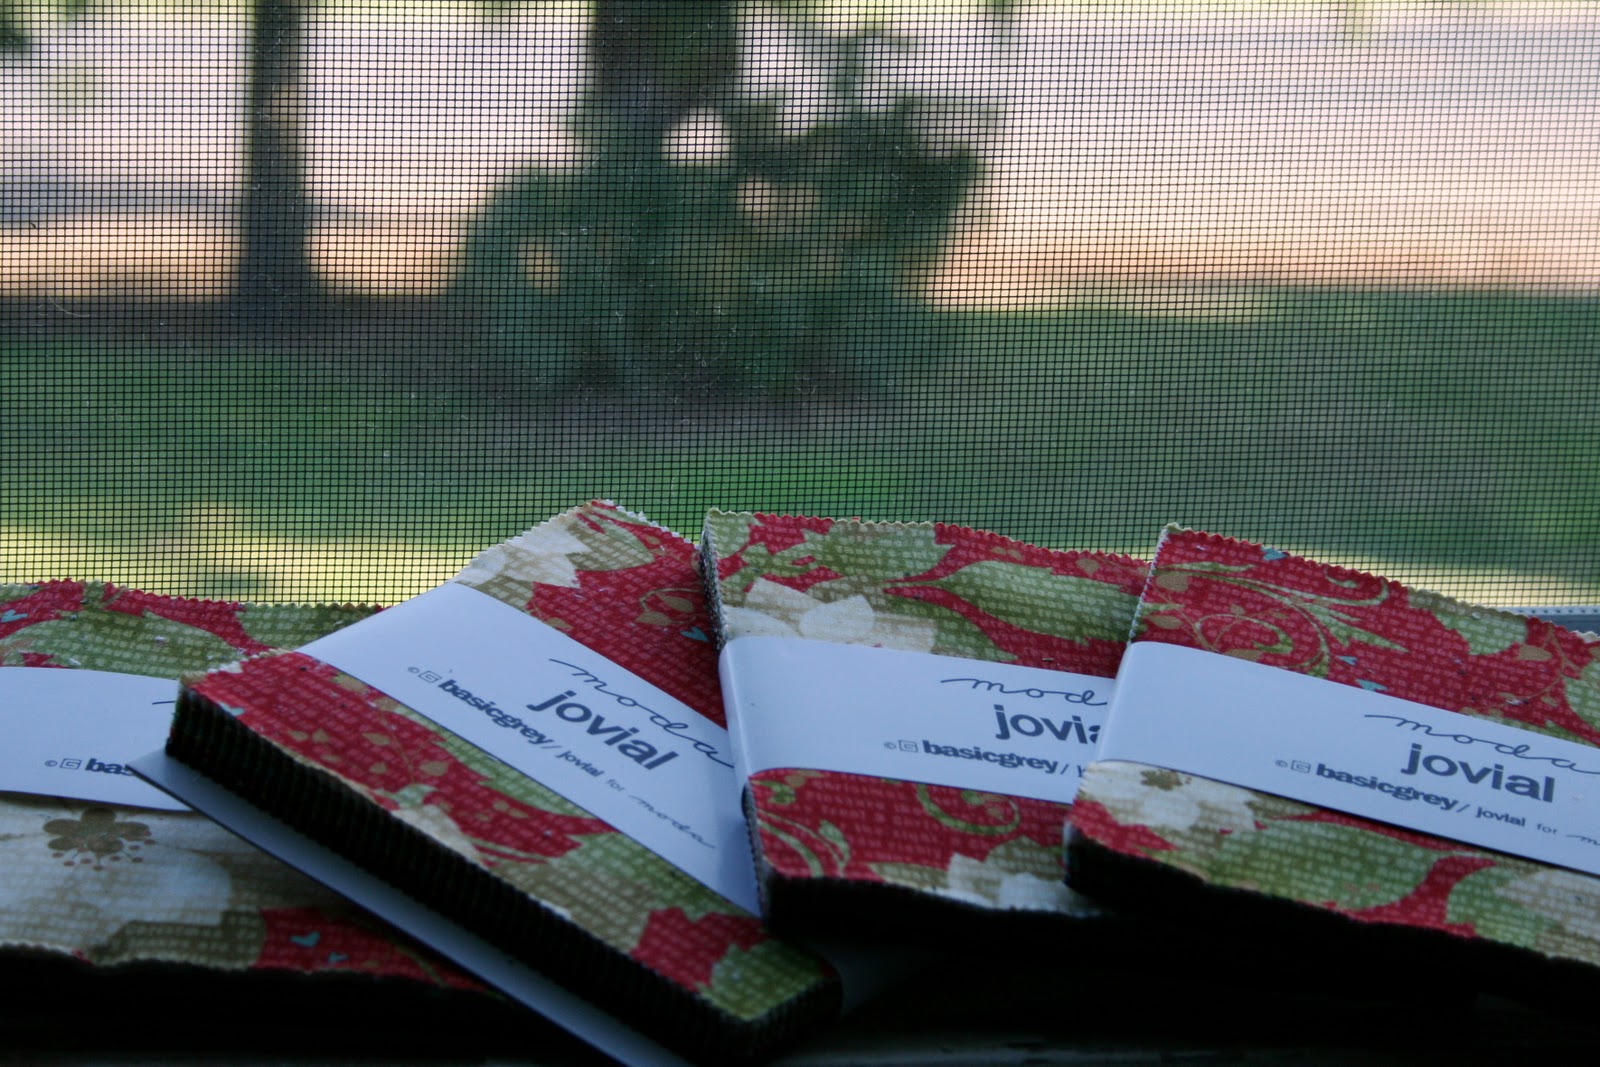
Charms packs come in a variety of counts, so that will determine the number of packs you will need.
Arrange your squares in columns of 5 squares each. You need a total of 28 columns. Play with them until you have an arrangement that is pleasing to your eye.

Stitch each of the 28 columns into strips of the 5 squares top to bottom. 1/4" seam allowances throughout. Press your seams all in the same direction for all strips. All pressed toward the top or all toward the bottom...it doesn't matter which direction you choose, just press them all the same direction. Keep them in your arranged order as you sew and press them. You just won't believe how quickly this will be completed.

Now for cutting. Take your first strip and place the wedge ruler aligned with the bottom of the strip ...
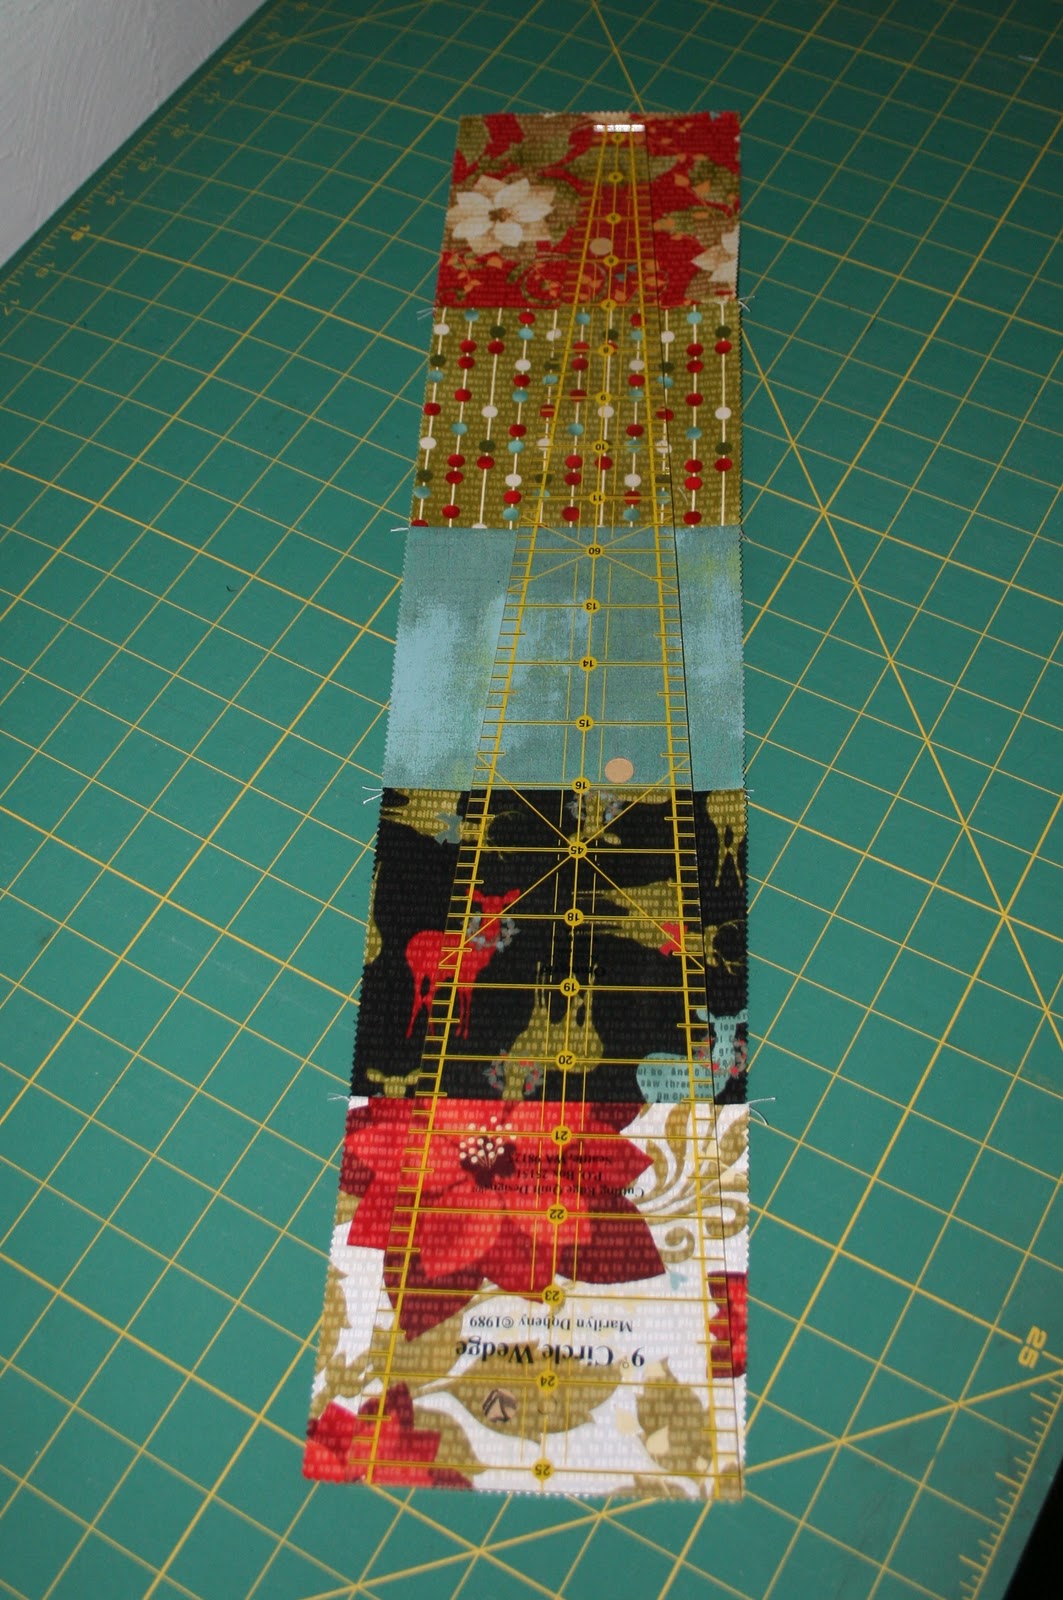
and aligned at the right hand edge of your strip.
Left handers can do the opposite, it won't matter, just cut them all the same way each time.

This wedge ruler will be about 3/4" shorter than your strip. When you rotary cut along the wedge just continue the cut to the edge of the strip without moving the ruler. It will work fine...it did for me every time. Don't stop at the end of the ruler to think about it, just continue the cut until you are off the fabric strip.
If possible, cut one side and walk around to cut the other side without moving the ruler. It's not necessary to cut the wedge this way, but it's quicker if you don't have to turn the fabric and re-align the ruler for the second cut. For the second cut you will be starting with the narrow end that doesn't reach the edge of your fabric. I aligned my cutter with the ruler about 3" from the end and cut pulling backwards to the end of the fabric. Then realign your cutter in that cut to cut the rest of the wedge as normal.
If you trim your strip at the end of the wedge ruler, nothing bad will happen. You will simply have a larger opening when your strips are all sewn together in a circle. In the end I trim my opening larger anyway, but it is quicker to do it in the end than it is to trim every single strip wedge as I go.
You will now have these slices from your strip.

You will discard the slice on the right (the one with the very pointy tip) to your scrap collection.
The slice on the left will be flipped so that both wide ends are adjacent as shown below. This is how they will be sewn together and you will note that every other wedge now has the seams pressed in opposite directions so they can be butted when the wedges are sewn together...cool, huh?

As you get the wedges cut, keep the wider wedges in the order you arranged them in. You'll need to find a layout that again is pleasing to your eye that includes the narrower wedges between the wider ones.
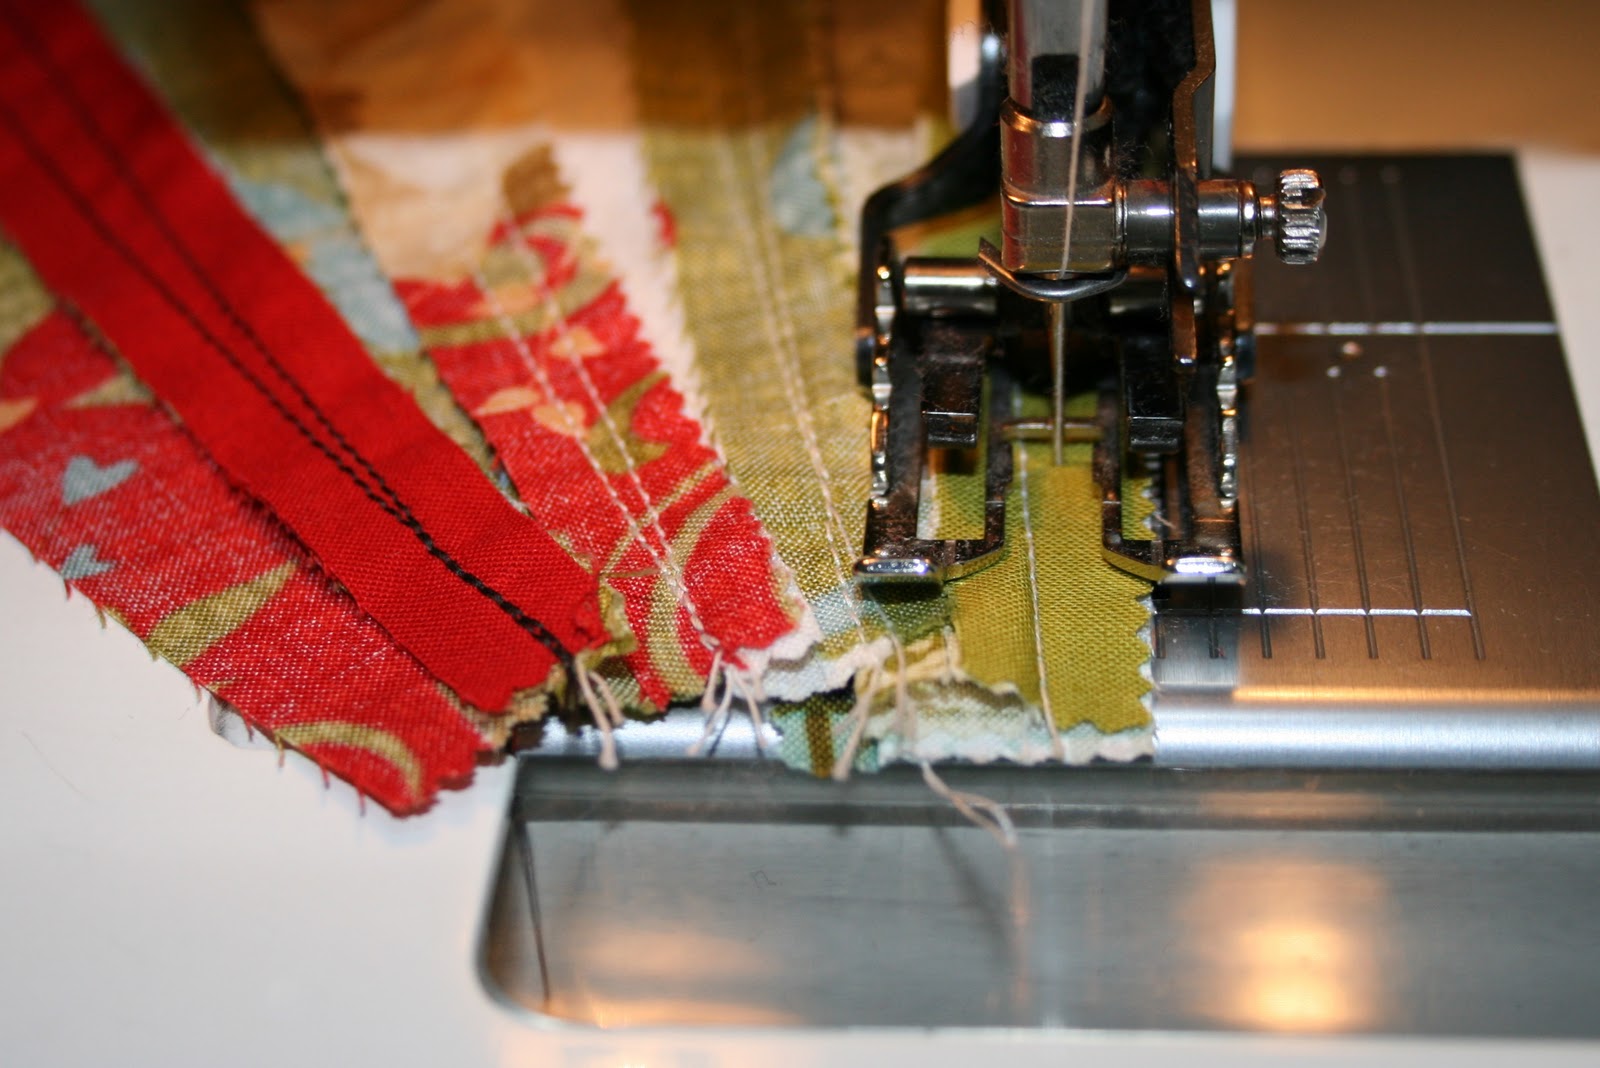
Begin sewing a wide wedge to a narrow wedge.

Press your seams toward the wide wedge. This will help avoid bulk in the center at the narrow tips, because the narrow tips will disappear to nothing.
Then sew all your wedges together.

Half way together...

Full circle...yeah! Do not sew the very last seam where the ends of your circle meet.

You will only use 27 of your 28 wide wedges, and you will use all 28 of your narrow wedges. Your tree skirt will meet at two narrow wedges which is where you will leave your opening. You probably started sewing your wedges together beginning with a wide wedge, so you will need to add your last narrow wedge to the beginning of your circle.

This tree skirt has no batting. I didn't really want the thickness nor stiffness of a batted quilt. I wanted a very drapable skirt. I considered adding a layer of muslin inside, but finally decided on just the pieced top and a backing.
You can purchase extra wide fabric for a whole un-pieced back. I just went with one and three quarters (1-3/4) yards of a 44-45" wide coordinating fabric and pieced the section that extended past the width of the skirt.

Just like you do with layering a quilt with batting, layer the fabrics with wrong sides together and pin baste. It doesn't really show in the photo but this tree skirt is loaded with safety pins. Cut a slit in the backing fabric where you have left the circle open. Then trim the excess backing fabric away following the outside edge of your pieced top. You can trim the inside circle as well or wait if you decide you want the center opening larger.
I did want the center opening larger so I traced around a whipped topping lid. It seems like a good size.

Because the skirt could now be 'stretchable' as you continue to work with it, I suggest that you stay-stitch the raw edges at about an 1/8 inch from the edge all the way around the skirt.

I didn't want the skirt to be like a bubble with the front and back floating separately. I did faux quilting with stitch in the ditch along the length of each wedge.

In the above photo you see horizontal top stitching. I removed that stitching...it didn't look good...and went with the stitch in the ditch along the lengths of the wedges instead.
Then I added a narrow binding.
The binding is cut on the straight of grain. It is NOT on the bias.

All done!

The binding is cut on the straight of grain. It is NOT on the bias.

All done!

This tree skirt is an early gift, so I stamped and stitched a tag for it.

Yeah! another gift crossed off the list!
Alternative finishing options:
You can easily add batting for a traditional quilted skirt. You could also lay the top and backing right sides together to stitch around the outside leaving an opening and turn the skirt right side out for enclosed seams. You wouldn't need all that pin basting for that. You could also add lace or a ruffle to the outer edge if you so desire.
As well, this tree skirt can be made for your smaller holiday trees...your Easter egg tree, your creepy Halloween tree, even that wedding money tree. Just cut your wedges from a shorter charm strip and using the narrower end of the wedge.
Design Disclosure Statement:
As far as I know this is my own design. I don't think anyone would publish a mathematically incorrect pattern design. Mathematically incorrect because the narrow wedge has one angled side while the other side is straight. I just hoped they would all go in a circle the way I wanted them to and I was so not disappointed.
As with any of my tutorials that you might give a try, if you have any questions at all, please do not hesitate to contact me. I'd be more than happy to help you.
There are so many possibilities for fabric arrangements for this skirt that I'd love to see yours when you have it together...seriously, I would.
Have fun, Annie
34 comments:
Oh my goodness....I just love this!~
This is NOT done with a bias binding. The binding is on the straight of grain just like on a square or rectangular quilt binding.
All my circular projects have straight grain bindings.
Genius!!! I just love this project! Thanks for sharing your tutorial.
This is just gorgeous, Annie, great tute, thanks so much!
I would love a table topper made like this, as I have no need for a tree skirt. LOVE THIS!
Awesome! I just ove this! Thanks for sharing.
Gracias por el tutorial, es precioso.
besos.
love it! thank you!
I love your Christmas Tree skirt tutorial. At first glance I would have said too many pieces but you have certainly simplified it! I love it and somebody is getting an amazing gift for Christmas!
I'm so glad I found this tut! I'm finishing my first one for one dnl, and now the other two also want one! What fun to make! Today I'm going to cut my backing and finish it up with the stitching on the wedges! Thanks a bunch!
Pretty fine article. I just stumbled upon this site and I'd like to tell you that I have really enjoyed reading your blog articles. I'll be subscribing to your feed anyway and I hope you'll post again soon. Big thanks for the good information.
How did I miss this?? This is such a great tree skirt! I think this will be made for 2013...thanks, Annie!!
I just found this tutorial and i think it is so awesome. My question is, that I am looking around for a 9 degree circle wedge that you are using, and i can't seem to find one. I found a 10 degree, 25" long circle wedge on amazon. Do you think that would work with your pattern? I haven't had a chance to look at my LQS but have only looked online so far.
I seem to be having the same problem that Natalie is. The only wedge I could find was 10 degrees and I cannot find those Jovial fabric squares at all! Just to double check, those squares were 5" correct? If I have to make my own I want to make sure I'm cutting them at the right length.
Amazing pattern! Hopefully I can get started on this soon!
I too have a 10 degree ruler. I am thinking as long as you cut the narrow wedge shapes all the same width you may work out ok? Anybody figured out the math yet?
I too have a 10 degree ruler. Has anyone figured out the math on that yet?
Sally - I can't seem to find an email for you. Yes, the charm squares are 5" squares. And as far as using a 10 degree ruler, I don't know why it wouldn't work. I did no math for the 9 degree ruler, just did the whole tree skirt on a hope and a prayer. Personally I would just use the 10 degree ruler and when you get to the end, just use whatever width wedge is needed to complete the circle. I doubt anyone would notice an odd width wedge at the back of the tree skirt. That was what my original plan included with the 9 degree ruler.
Thank you for sharing! Thankful for quilters who share! You have the heart of a teacher, who share everything!!! God bless!!! Carol Rollins
I an not a big quilter but I just finished this tree skirt, and it turned out beautifully! Thank you so very much for sharing this pattern, it was exactly what I was looking for!! It's a Christmas gift for my daughter and I'm sure she's going to love it.
Thanks for this awesome tutorial/pattern. I just finished mine. I quilted it with a thin batting and I like the way it came out. The binding was the tricky part lol. But it's great, and I love it. Thanks!
Amazon has the 9-inch wedge template by Marilyn Doherty - I bought it and it works great! It is a little spendy, though.
Hi Annie. Am contemplating making this. It looks like fun. I'm doing this with scraps of material that I have. How large are the squares that you sew together? I don't have the option of getting pre cut squares at this time. Thanks. Fran
Hi Annie. I see they are 5 inch squares. Thanks, Fran
Another question, sorry. I will make my own template. How long is it and what width at either end? Thanks, Fran
Hi Fran,
The narrow end of the ruler is 1” and the wide end of the ruler is 4.5” and the length down the center of the ruler is 22.5”. If you need any further help, you can contact me at freezeframe03@yahoo.com
Thanks Annie. Appreciate your help. Fran
I love the uneven wedges. Wonderful tree skirt!
Hello Annie! Thank you so, so much for sharing this tutorial!!
I am almost done making one for our tree and it's marvelous!!
The only thing I didnt have was the 6 degree wedge template, so I made one for myself with a piece of cardboard and it worked, lol!
Many many thanks to you and my wish of a blessed, Merry Christmas!
Juliana Reed
Merci Annie pour le tuto. J'adore et j'aimerais bien le faire pour le prochain Noël. J'ai beaucoup de chutes de tissus, ça fera une bonne occasion pour les utiliser. Quelle est la taille des petits carrés que vous utilisez ? Merci et à bientôt
Hello Annick. Thank you for your kind words. The fabric squares are 5 inches. The online conversion I used states 12.7cm. Enjoy your sewing!
Thank you, Juliana, for your generously kind words. I’m so glad your homemade wedge ruler worked for you.
Hi, my name is Donna. I searched high/low for a 9° 25 inch circle wedge, like everyone else could not find. So, my son made me (3D printed) an extension for my 18inch circle wedge! It’s perfect! Now, I have it all and ready to begin the cutting! So excited!
Hi Donna! That's genius to 3D print what you needed! So glad you figured out to do that. Can't wait to see your tree skirt.
Thank you for a great and easy to follow tutorial! Beautiful!
Post a Comment