Thursday, December 23, 2021

Christmas Decor Tags and Cards

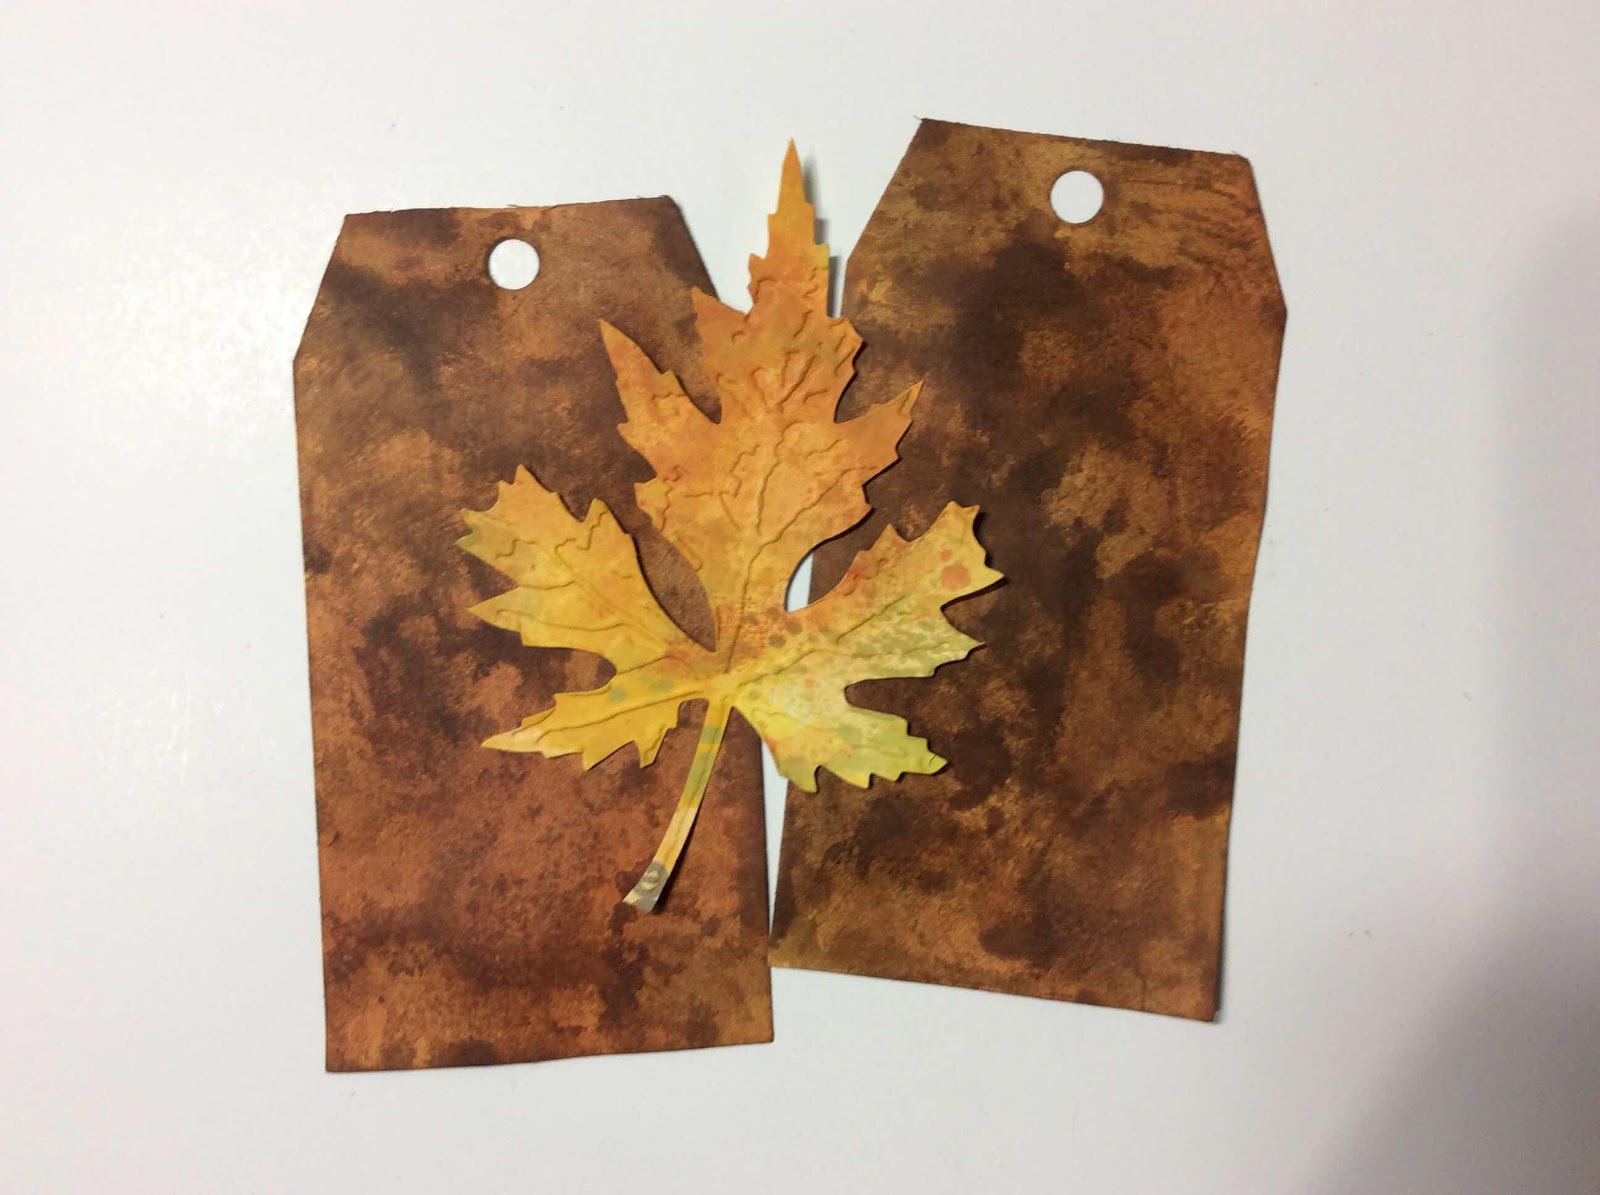
I love when there is time during the Christmas season to create with a Christmas theme.  I managed a couple of decor tags to add to my collection to hang around the house.

Front and back
      

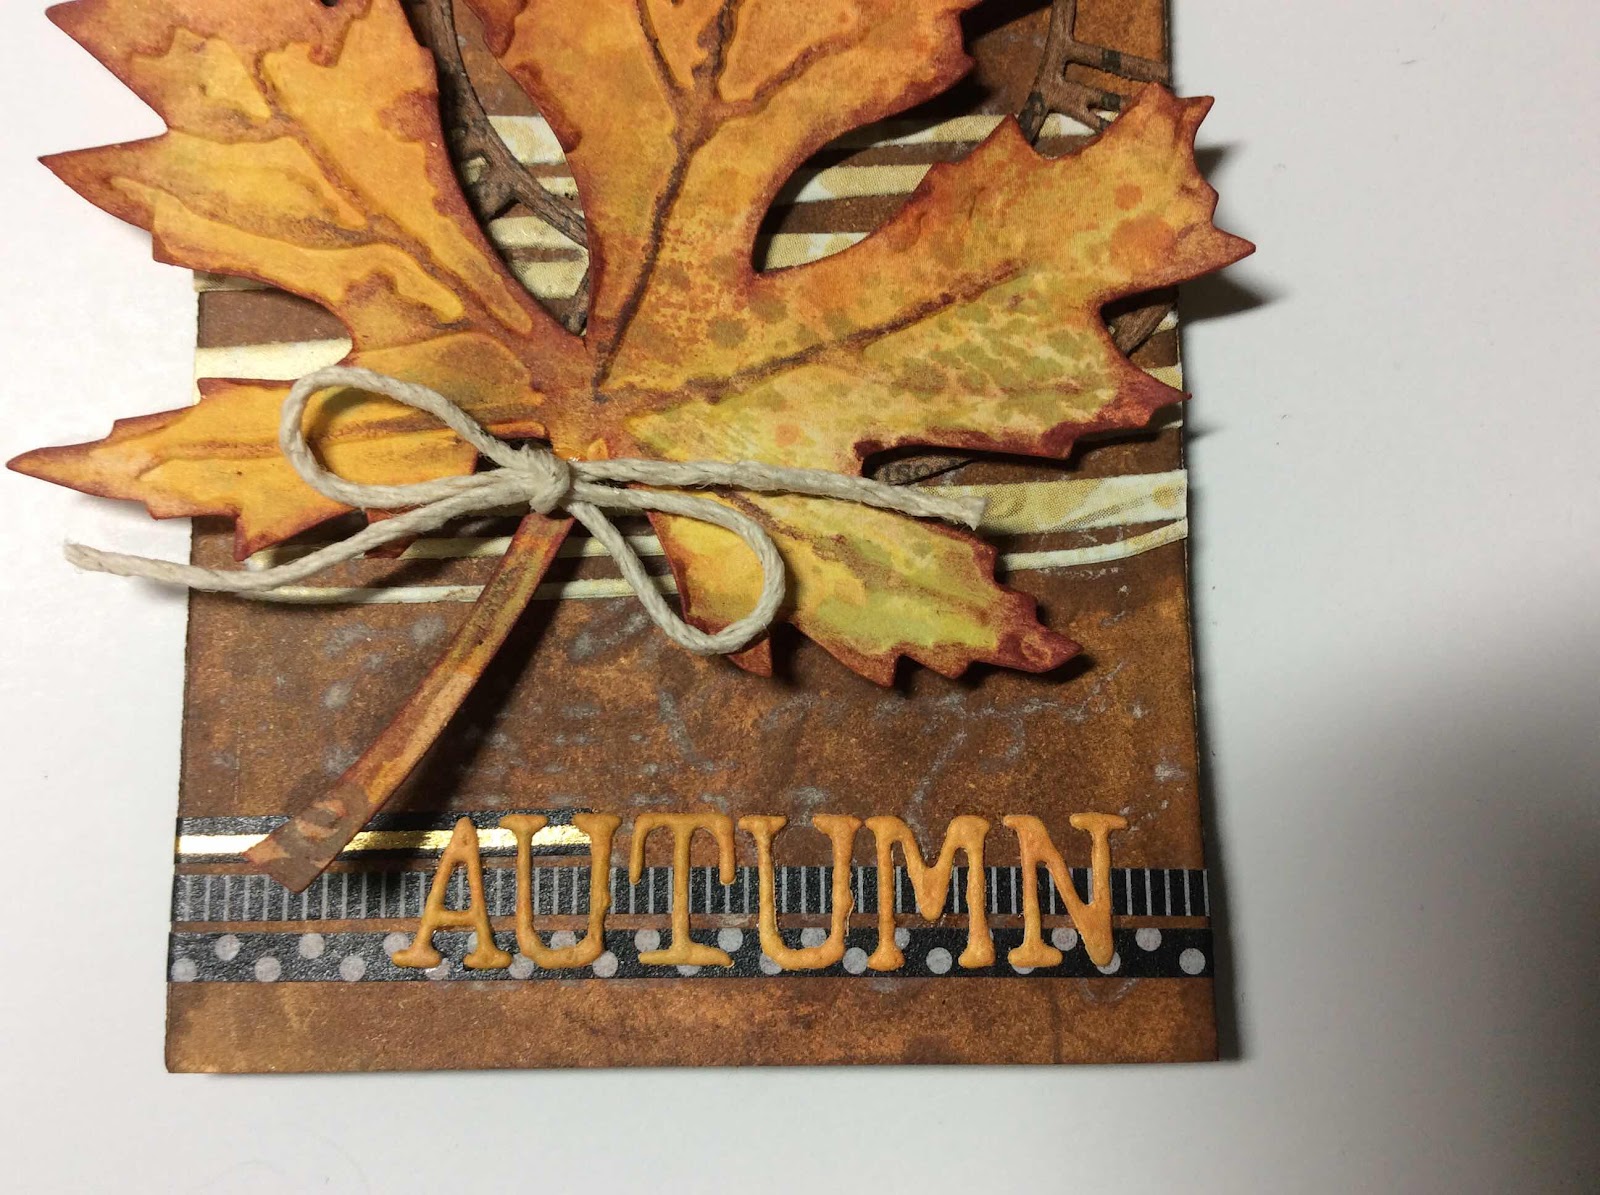
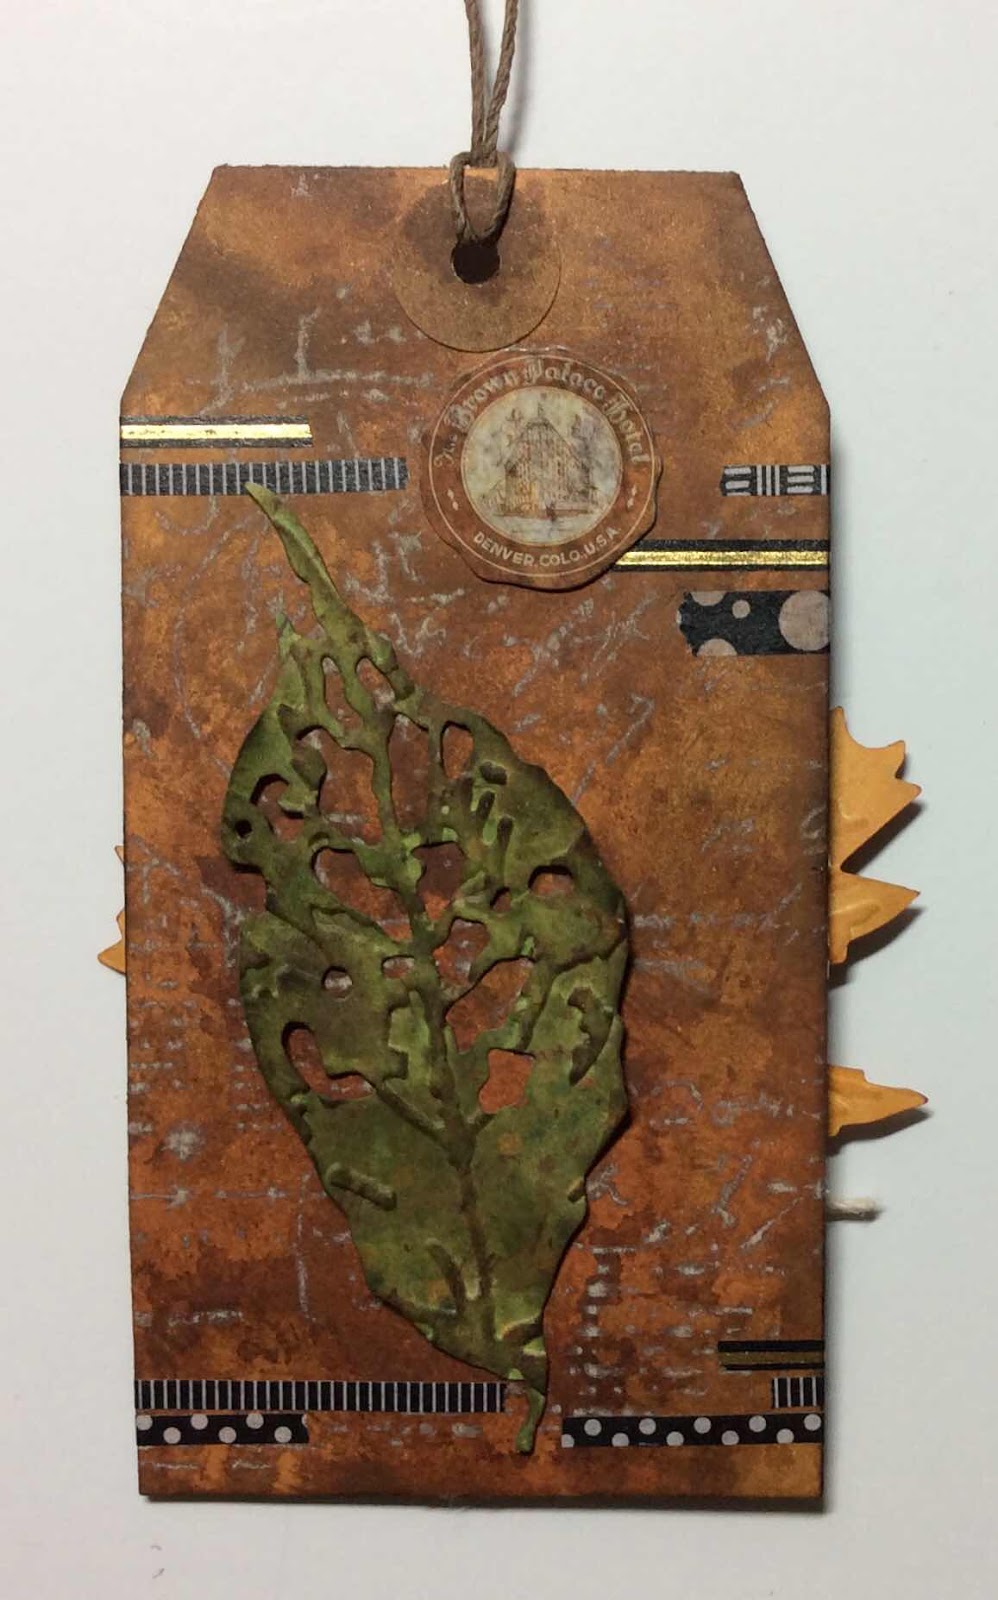
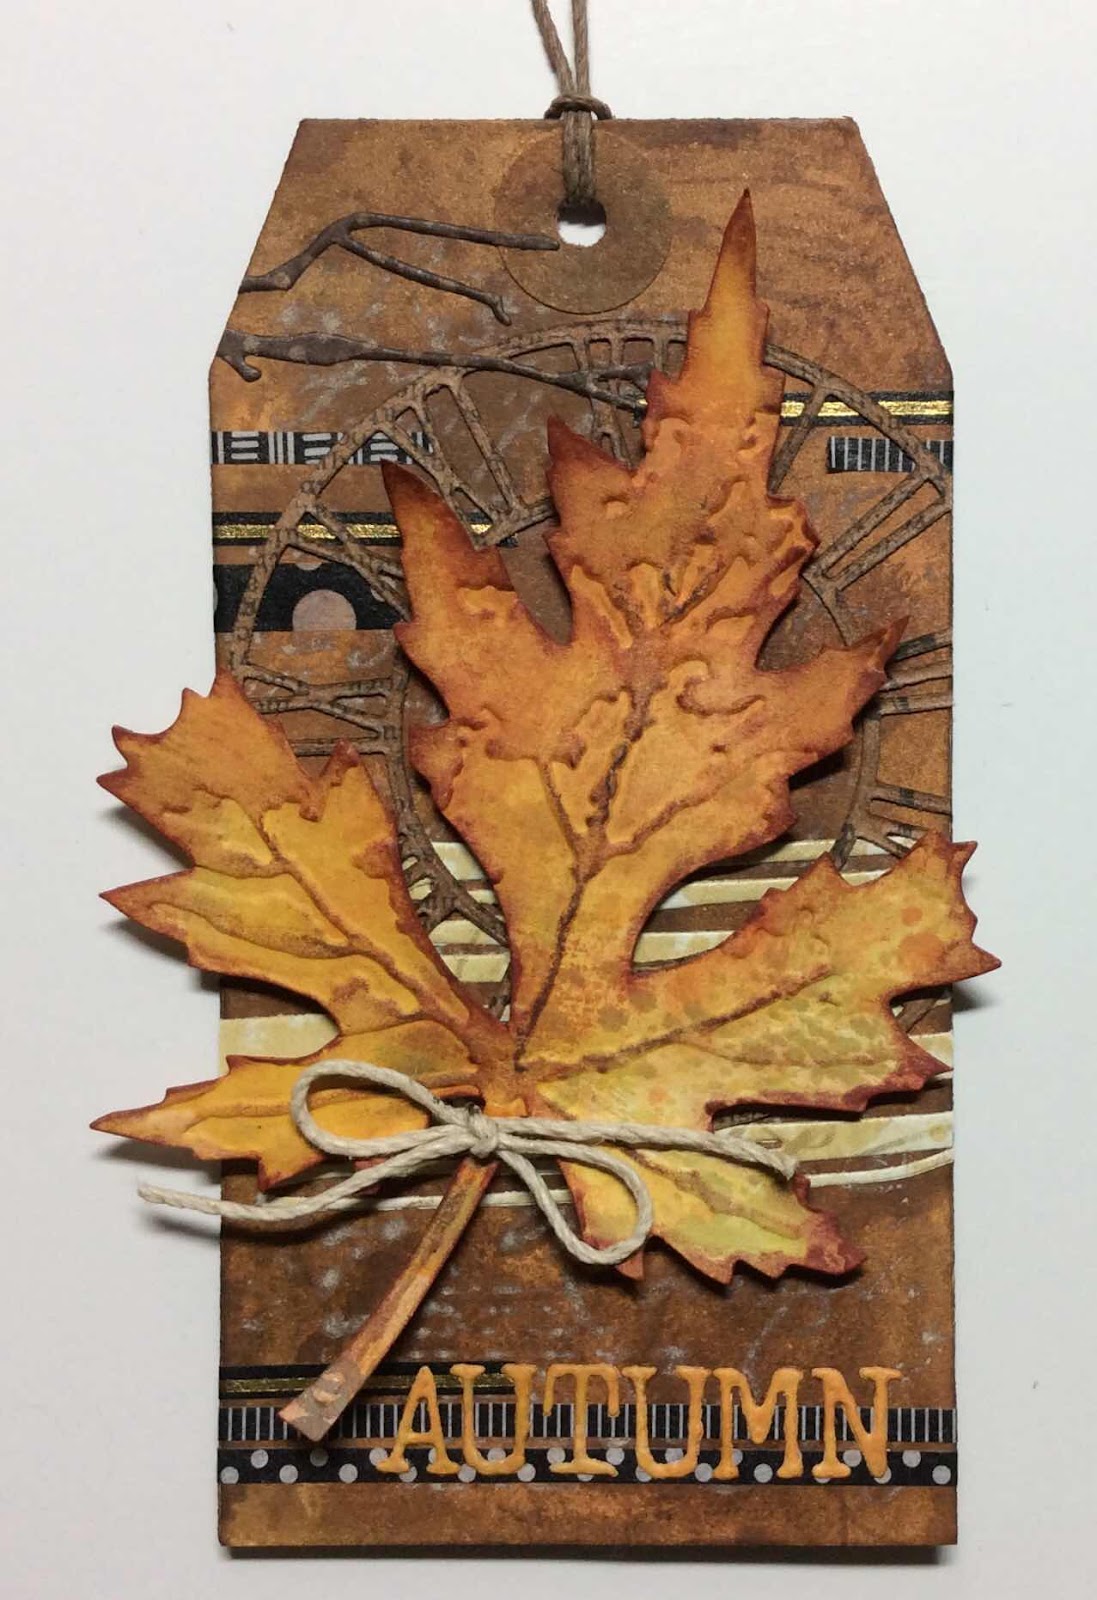
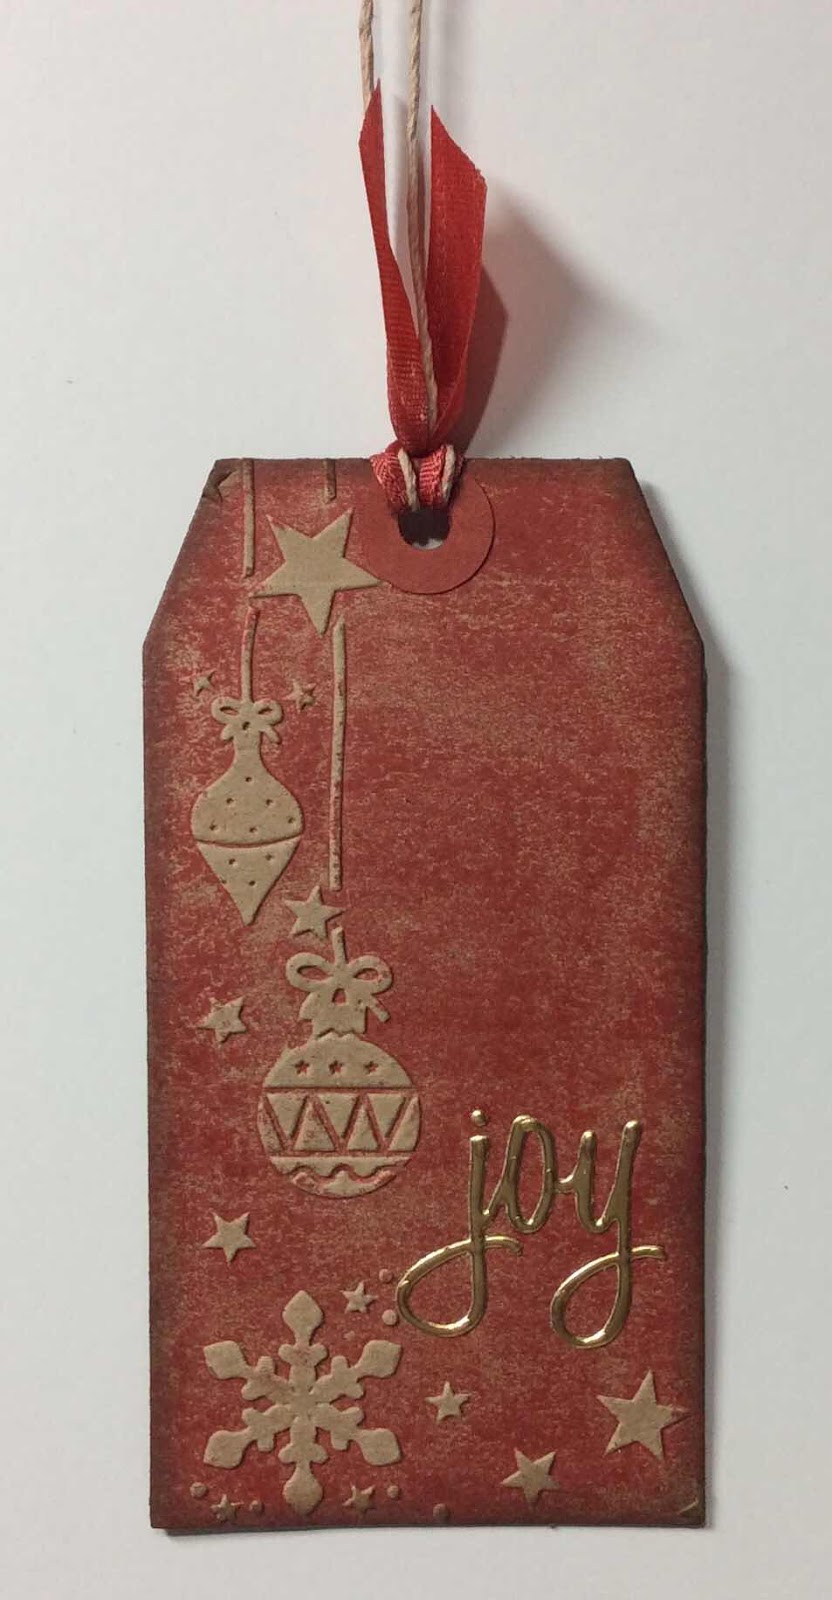
Both tags began on craft paper embossed with an embossing folder that I inked with red inks before running it through the embossing machine.  Then embellished with die cuts and stamping.

Front and back
    

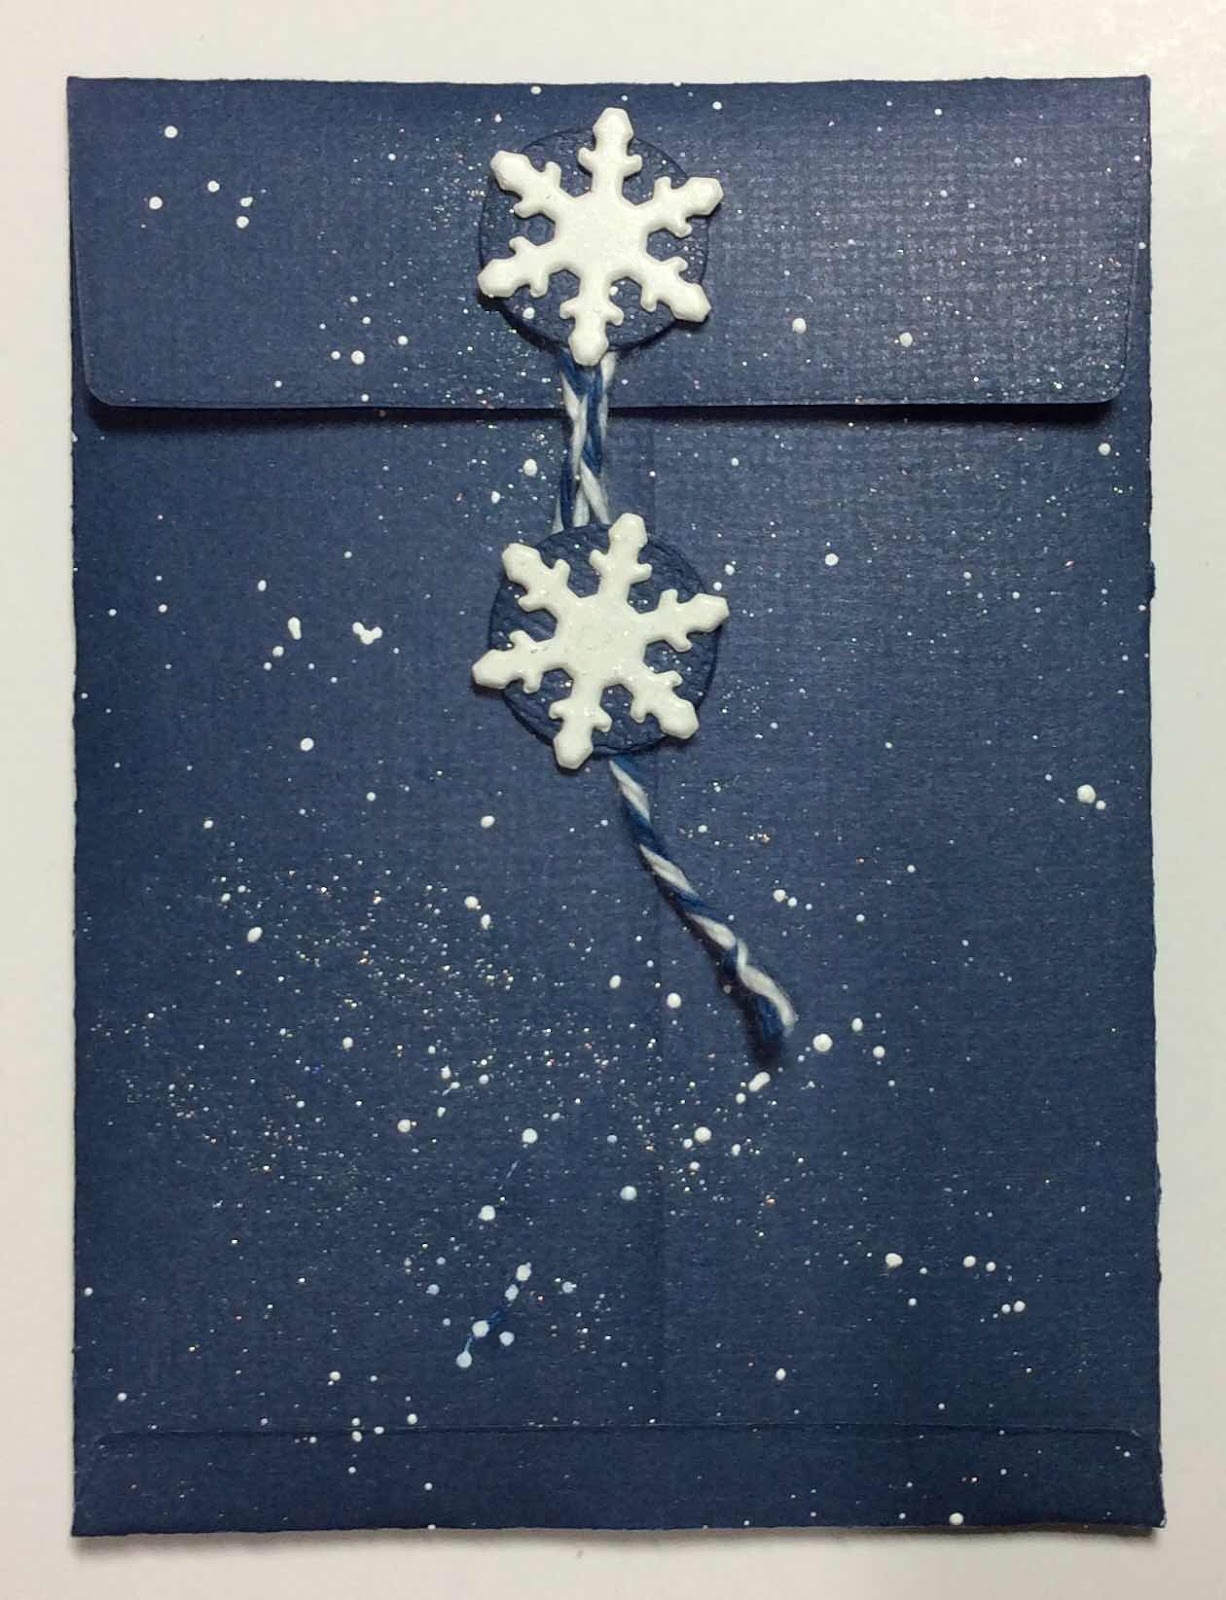
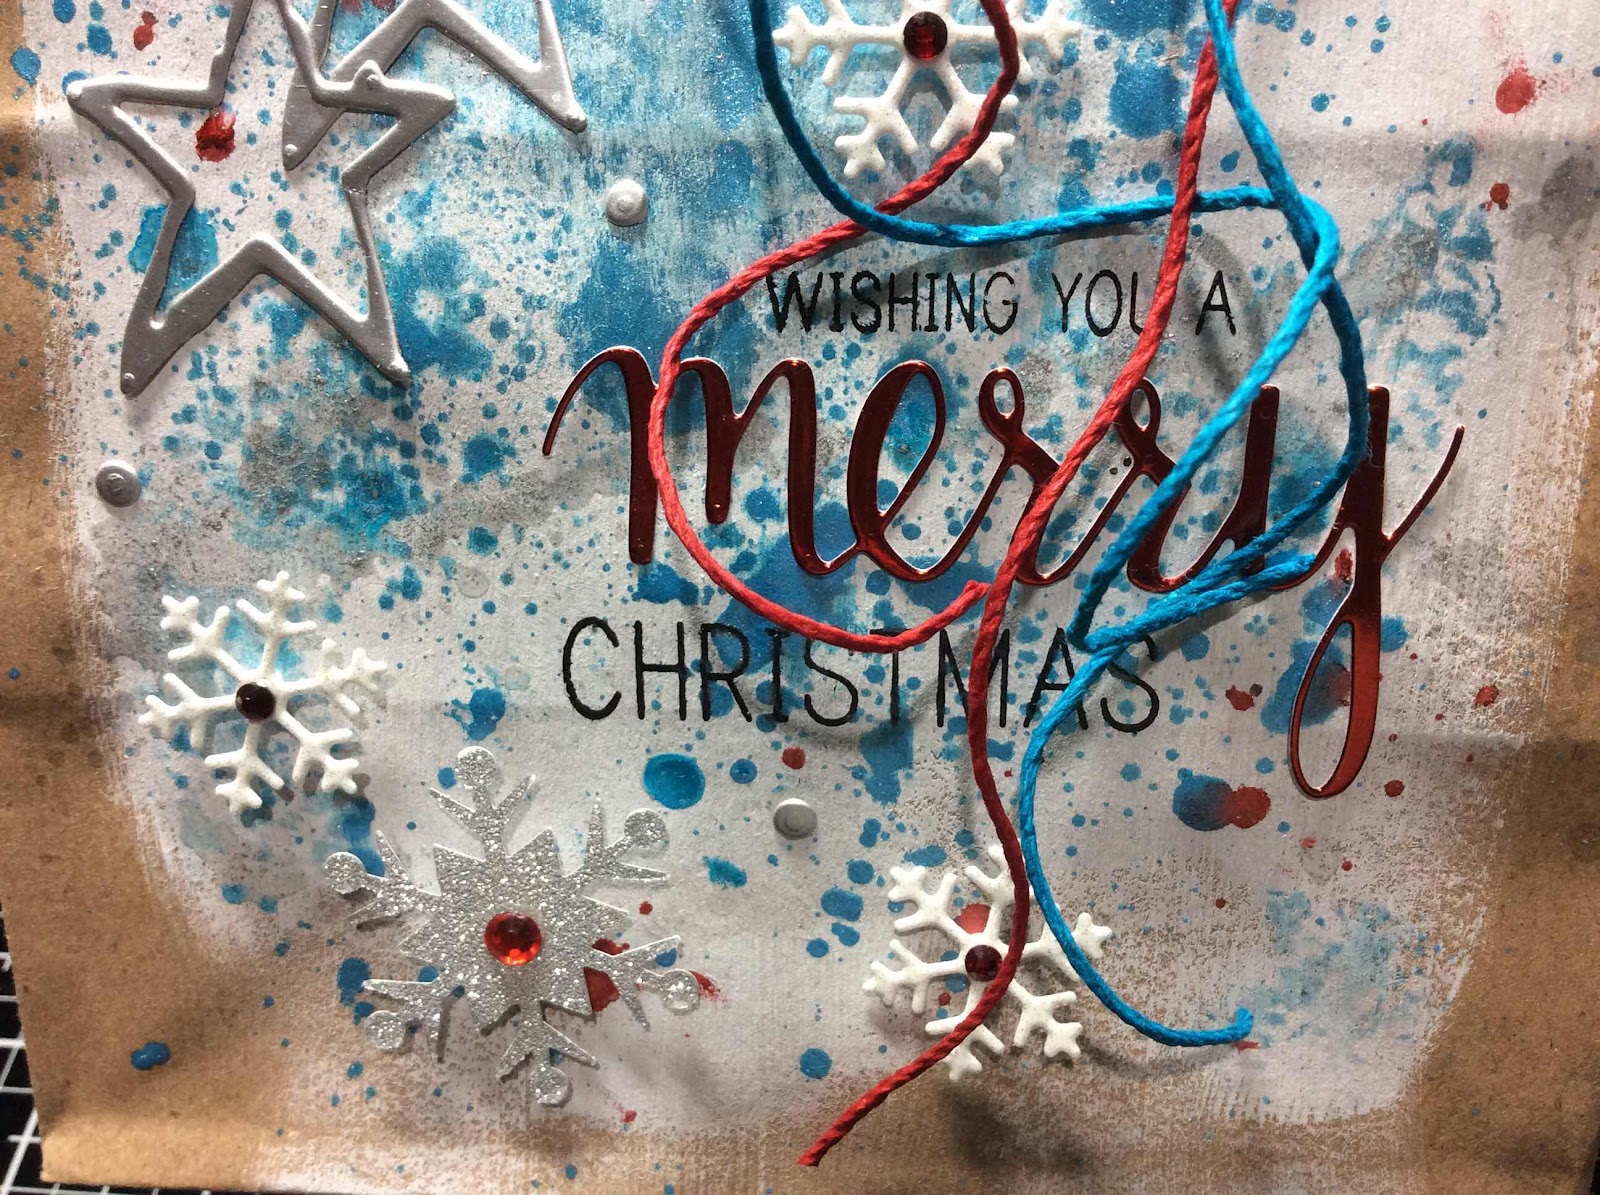
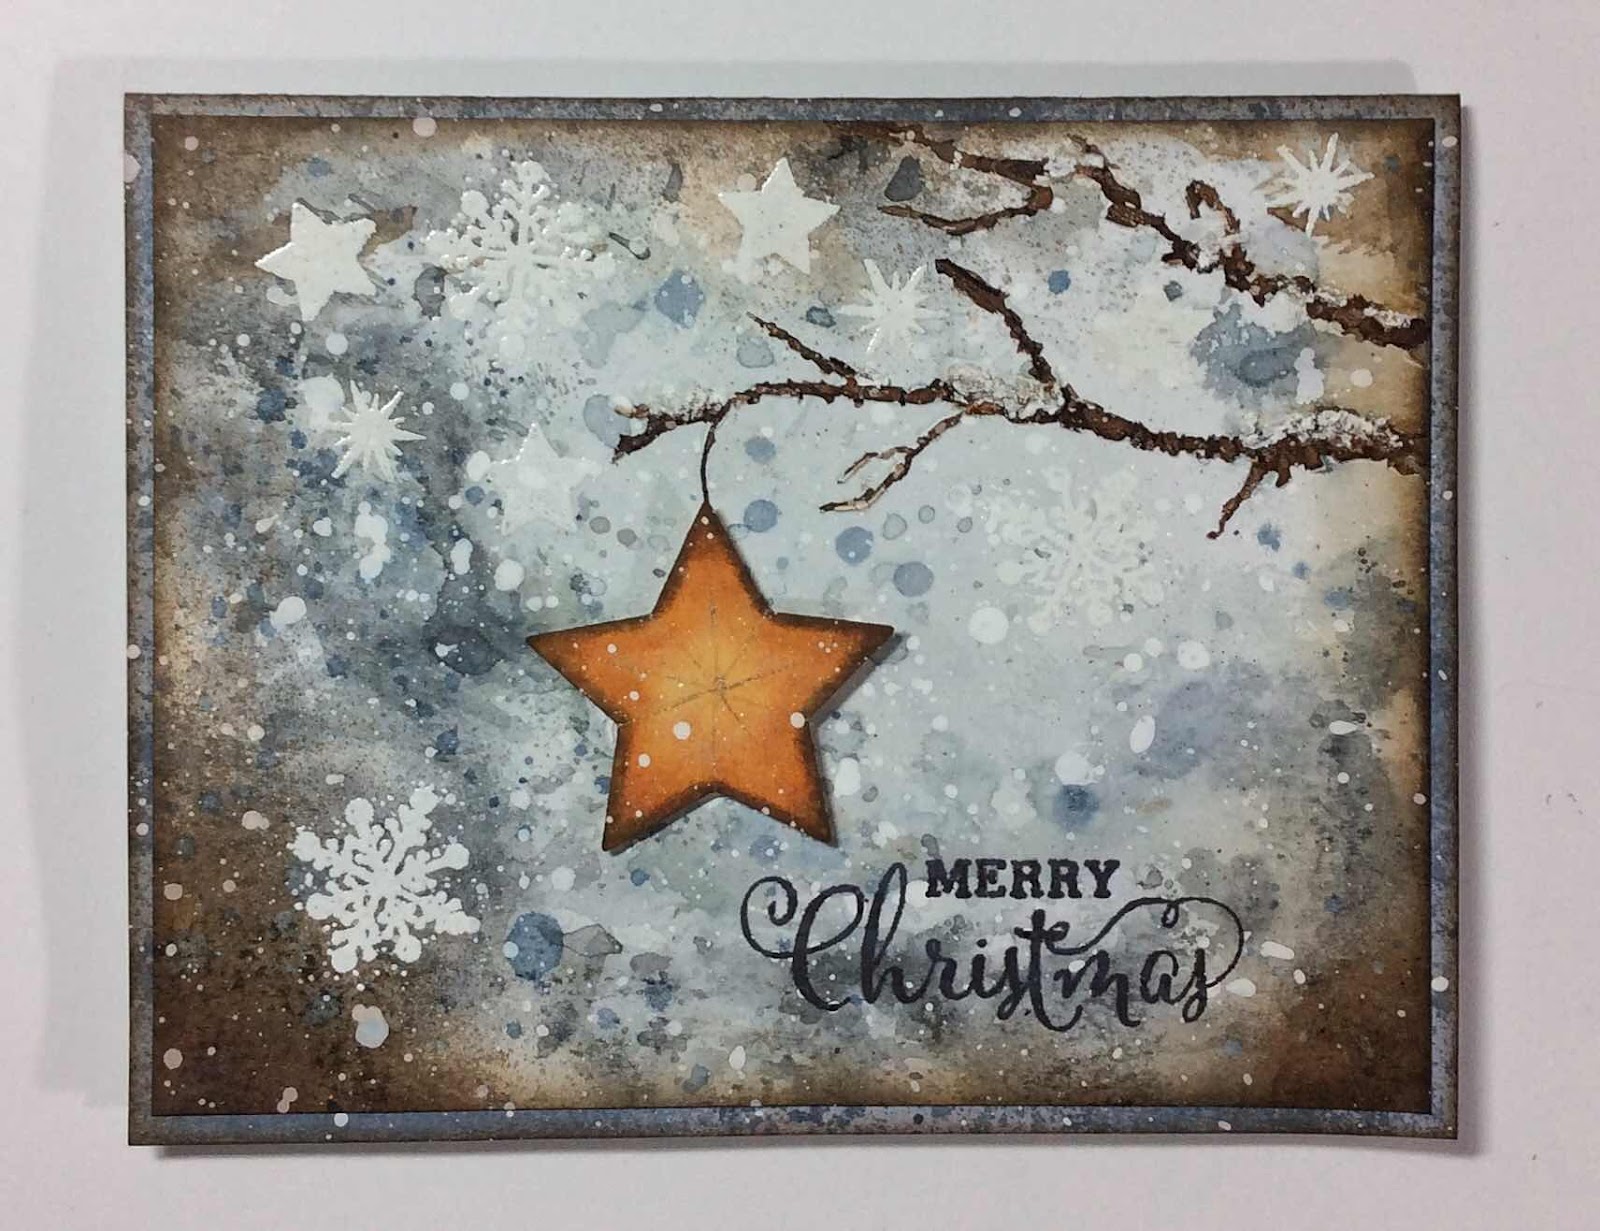
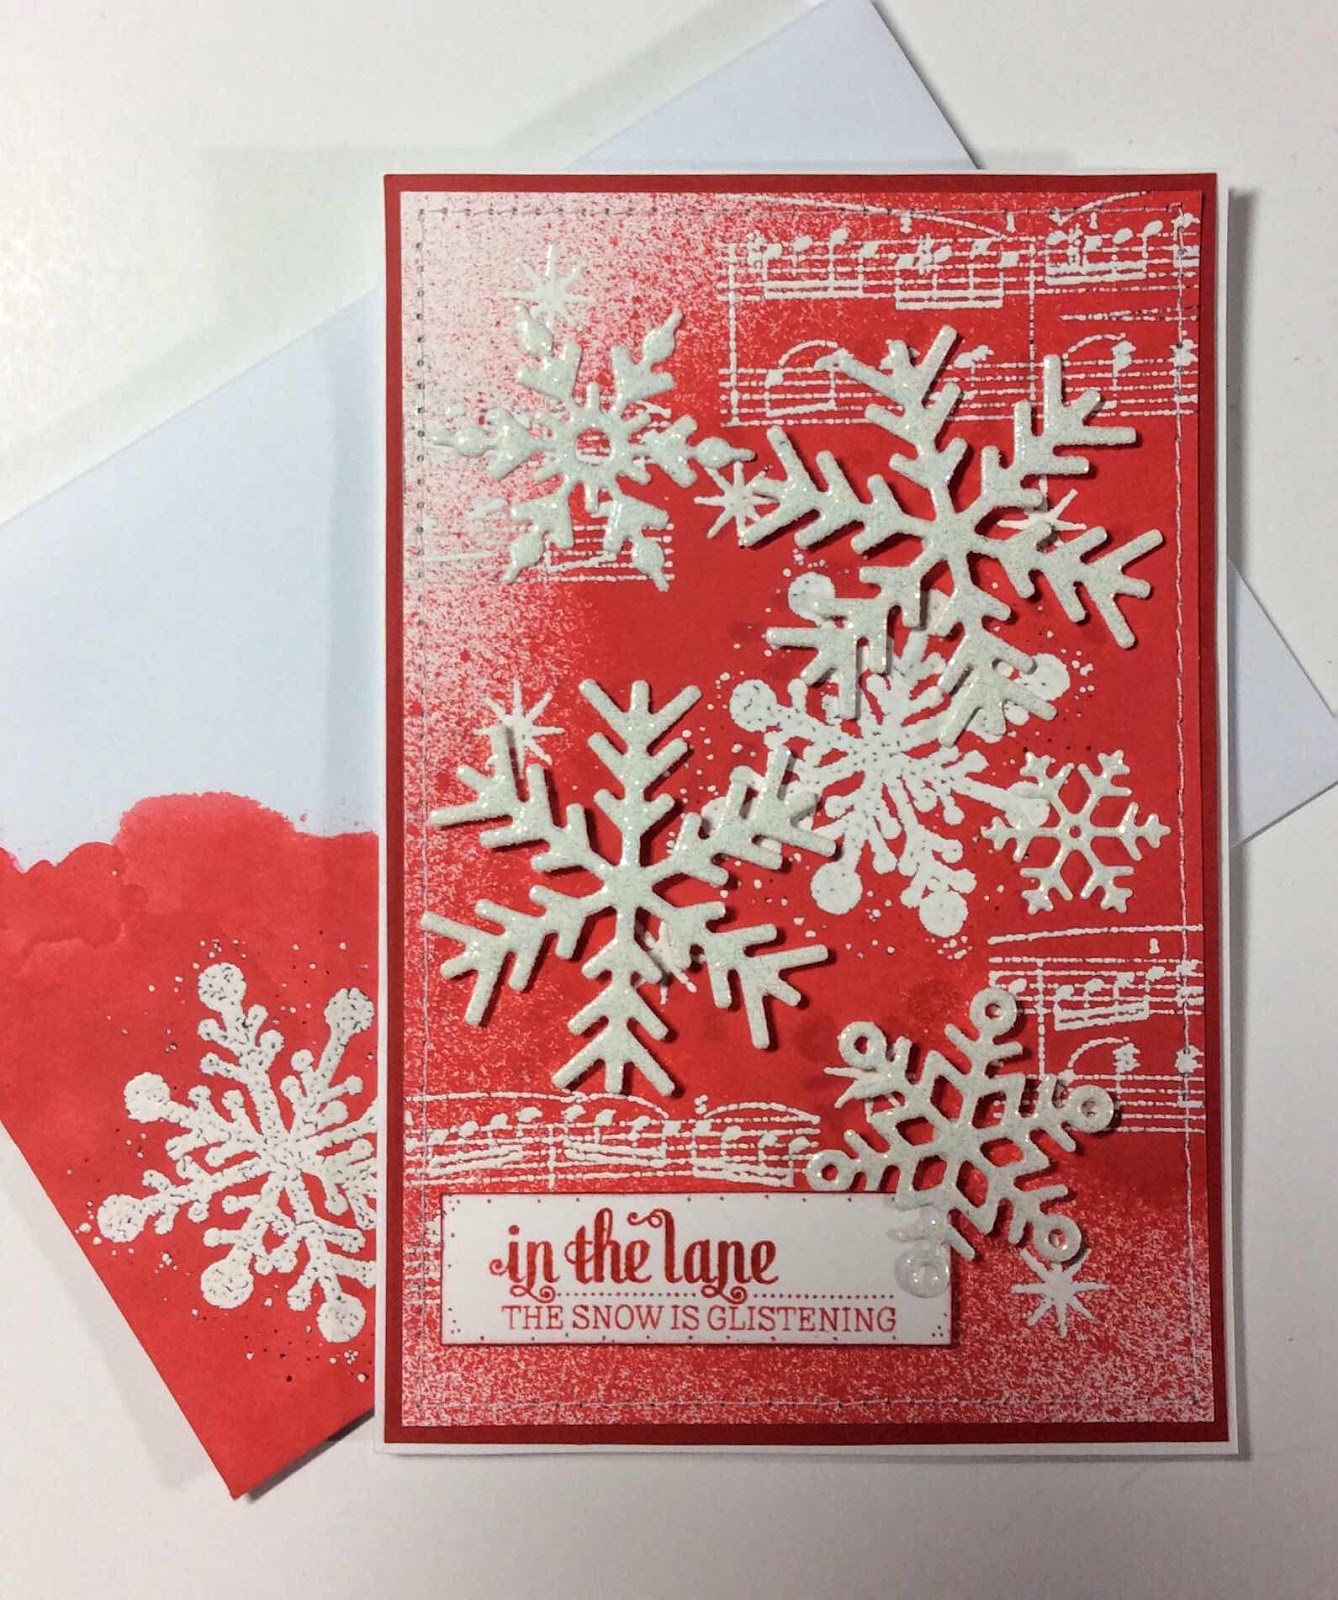
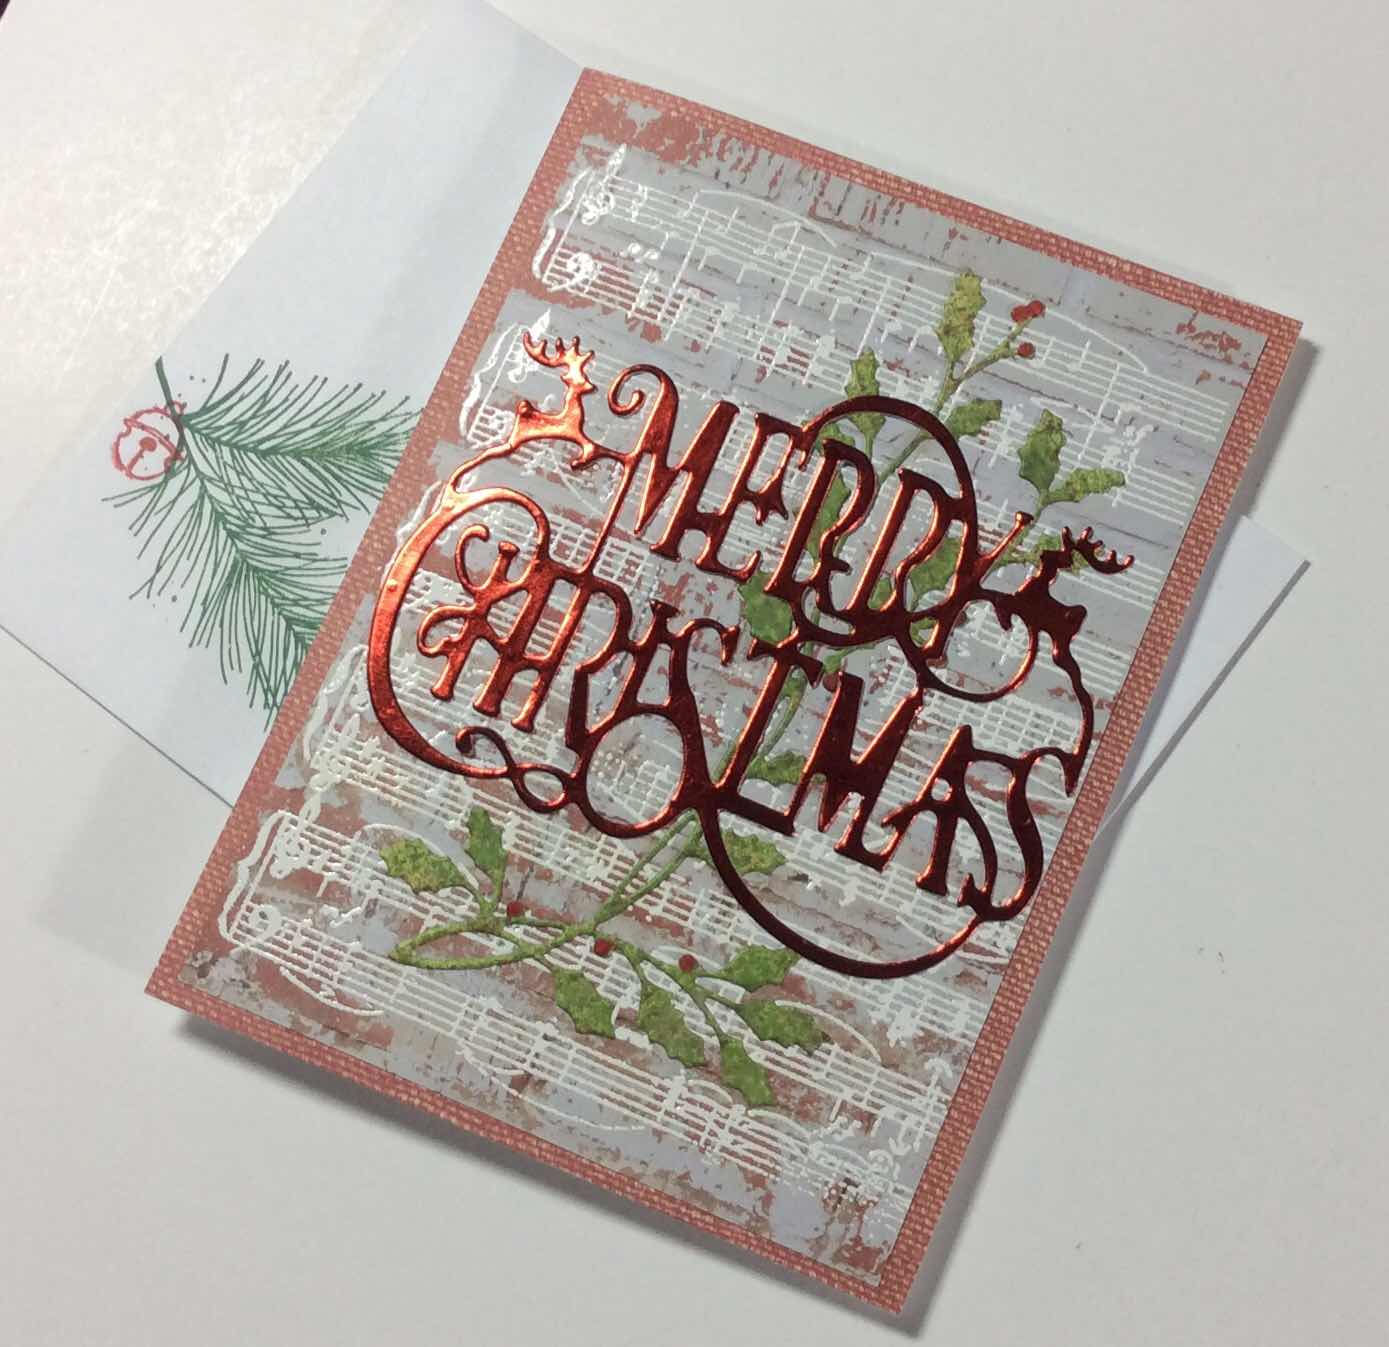
Following are Christmas cards I managed to get made this year.


I wish a very merry little Christmas to one and all!
Be safe and be happy.
May the world have the happiest New Year ever!

Thursday, December 16, 2021

Paper Pieced Trees Quilt

Oh but I CAN see the forest for the trees!


I’ve wanted to make a little forest of trees for some time now.  Checking that off my list.  And it is a ‘little’ forest.  


When all sewn together, each tree block measures just about 3.25” X 2.25”.
I wanted a selvedge border so I dug around in my selvedges tote for neutral selvedges.


Then the little wallhanging stalled while I figured out how to stitch the selvedges for an inner border.  Of course I eventually figured it out.


Simple in the ditch quilting.


It was finally finished.  I’m SO pleased.


I tried out a couple of tree sizes before deciding.  The tiniest one turned into a cutie pie of a pincushion.
The block was SO TINY it didn’t look fun to sew so I added a bit of a border.  It was still so little.  But so cute.


I now have a very small collection of four little pinnies in my pinnie jar.


I actually use the skeleton one so it doesn’t really live in the jar.


I like that the little trees quilt can be hung for me to enjoy at any time of the year.  Right now it might be a Christmas tree farm.  Later a forest.

Sunday, December 5, 2021

Money and Gift Card Wrapping

It gets a little harder every year to come up with a different money gift holder from the previous years.  But once again, I made it happen.


I used the 1-2-3 Punch Board to create these envelope style holders for money gifts.  I folded in three sides of the envelope and left one end open.


I then embossed the holders and used a variety of dies to cut the designs for the ornament embellishment.  I used Graphmaster Metallic Brush pens to color the holly leaves green and made the berries silver.  Letter dies to add names.


I embossed in red words from Tim Holtz Tidings Mini stamps then framed them using a cutting die.  I left them long enough to write personal messages on each.  Then I clipped the tag to the money.  A little wired and curled ribbon added to the top with a string to hang and DONE.


For a gift card, I used the Tim Holtz Pocket Envelope Bigz die.


Embellishing the envelope with snowflake dies, and a stamped and embossed Do Not Open tag.  The ties are attached with snowflake brads and tied with a soft blue and white cord.  I spattered white paint for a snowy appearance.  I needed to keep it rather flat to mail inside a card.


My November 2021 Calendar Journal


There are usually lots of things to do in December.
Be sure to take time to enjoy the Christmas season.

Friday, December 3, 2021

Christmas Gift Bag

For December I have the honor of being the guest designer on the


The monthly challenges are always ‘anything goes’.  You only need to use at least three different mediums for your project.

I’ve altered a craft bag into a Christmas gift bag.  It’s December, it’s Christmas time, my house is filled with Christmas music and I’m full of the Christmas spirit!


First I slopped white acrylic paint onto the front of the craft bag.  Let it dry then sprayed and dribbled some Distress Mica Stain, Snow Flurries (blue) and Peppermint Stick (red).


After that all the embellishing began.  Snow flakes cut from glitter paper with cutting dies.  Stars cut from silver metallic paper, including some dots from the cutting die.


‘Merry’ is cut from red metallic paper using a cutting die and the words were stamped with Archival Ink.


I glued rhinestones in the centers of the snow flakes and tied a bow around the handle with colored twine pieces.


I was finished with the bag until I saw the pinecone and berries wired pick that has been in my stash forever almost.  The bag looked okay but not satisfyingly so.  When I tied the wired pick to the bow, THEN it was finished!


And you know me, even the back has to exhibit a little interest.


Check out the Creative Artiste Challenge Blog for lots of great creative inspiration.

Tuesday, November 23, 2021

Cards and Calendars

The Fall colors are pure joy to craft and create with.


These leaves are die cuts using Sizzix Thinlit Die set, Leaf Fragments, by Tim Holtz.

I started with a scrapbook paper that was mostly yellow for the orange leaves and a green for the green leaves.  I used the dipping method to add more color to the paper using stamp pads and spritzing with water.


After cutting the leaves, I embossed them to give them veins.  I then used Distress Crayons to give them more color and depth.


I then used the leaves to make cards.


With two different sets of leaf dies I made the following card.


For this last card I used Distress Mica Stains on black cardstock.  The Mica Stains create a shiny or glittery appearance.  What fun they are to create with!  They are a limited supply item.  It is my hope that someday they will be reproduced as a regularly available item.


HAPPY THANKSGIVING to everyone!

And to catch up with my calendar journal....


Wednesday, November 3, 2021

Fall Leaf Tag

It’s been a beautiful Fall/Autumn.  Suddenly though, it’s feeling a little more like Winter.  But the calendar says Fall and many trees are still showing off their Fall colors.  I’ve preserved a Fall paper leaf to decorate with.


I made the tag and leaf using preprinted scrapbook paper for a base.  I added visual textures by spraying the papers with Distress Sprays and Oxide Sprays.  I die cut the leaf shape then embossed the veins.


I added more color to the leaf with Distress Inks.


The tag background consists of die cut pieces, washi tapes and very small die cut letters.


As always, the back of the tag is finished as well.  Just in case a breeze flips it over.


This leaf on the back of the tag is one of the new Tim Holtz Thinlit dies and I have added the vein embossing to these leaves as well.


Enjoy the Fall colors and weather.  The snow will fly soon enough.