Sunday, August 30, 2015

Calendar Journal

I keep saying this, but this time I think I've found the Calendar Journal system that will for sure work for me.  I found my inspiration on Pinterest.  The calendar is already made.  I just need to change it from a DayMinder into an AnnieMinder.


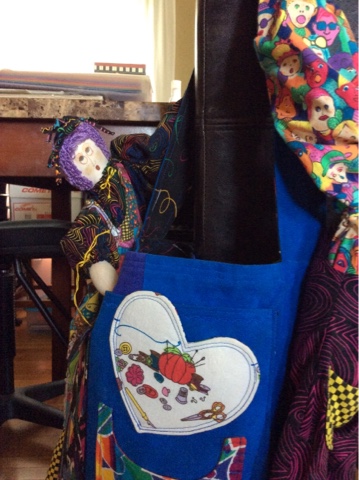
The cover is a work in progress still.


 Not just the outside but the inside too.


I, of course, couldn't wait to get started (especially since I'm spending these couple of months with my daughter) so I got a school year Minder.  The monthly pages are a work in progress as I think up ways to change it from a recognizable DayMinder to an AnnieMinder.

What I liked best about this idea was to just do an anything deco block on days where life is just ordinary.  I manage to mostly play a little bit artsy every day, but documenting it can become monotonous and boring.  


If you're doing some reading in the above photo, you might get confused.  I bought the minder but didn't actually work on/in it until the 27th.  From there I worked backward for the month of July.

Aren't the monthly tabys cute?  It's taken me almost 2 months, but I finally figured out how to Anniefy those ugly black tabs.


Just removing the pressure to document something worthwhile every single day has made this project so much more enjoyable.  And I even find myself looking to do something a little more worthwhile than ordinary life.  That, though, is easy with my daughter around.  I worry a little about a lot of blank squares once I return to Cali.  Will cross that bridge when I get to it.

Here's how August is going.


I can definitely see myself sticking with this calendar journal style.  Let's see how that goes for me. LoL

xxx
Annie

Tuesday, August 25, 2015

#2 Tag Challenge

This time it's all about the number 2 for the DragonsDream Tag It On challenge.


I set myself the challenge to actually use these large number foam stamps for this series of number challenges.  No easy task for me, that's for sure.

Nothing special for the back, just some scrapbook paper and the moth stamp again.


xxx
Annie

Tuesday, August 18, 2015

Crazy Fun Tote

I've done some tidying and purging lately and came across this crazy fun tote that I made so many years ago and it was a kick to make.  I don't think I have the pattern any longer and I don't remember the name of it either.  But if you're of a certain age, you may know or remember the pattern.  I thought it would be fun to share it with you.  It was always great fun using it.


The tote itself I made from Ultrasuede so it's quite durable and barely shows the use it's had.  There are all kinds of useful pockets inside as well.


The crazy legs on these dolls were really fun to make.


At the time I had a specialty sewing machine that stitched ribbons in a bunched up form.  I can't remember the name of it either.  I have enough trouble remembering the important stuff of today let alone what was 30 years ago.  Anyway, it was that machine that helped me create the doll's loopy hair. 


I hope you've enjoyed seeing this fun tote.  I don't think I've seen another tote pattern quite like this one since.  I think it would be hard to top.  I do wish I could remember the pattern name and creator so that I could give credit where credit is due.

Update: The pattern. 
xxx
Annie


Tuesday, August 11, 2015

#5 Tag Challenge

It seems the DragonsDream Tag It On is challenging us through the single digit numbers.  I jumped in on #5.


I had that cup and saucer stamp on my table, so take a 5 minute break was what came to mind.  Plus the use of new papers, new stencils, "new again" stamps and a new die cutting machine.  Any excuse to play is a good one....correct?!

The back has spilt coffee is all.


Take a break and enjoy!
xxx
Annie


Sunday, August 9, 2015

Crafty Christmas Tree

My daughter and I are spending lots of time being crafty together.  What a JOY to be able to have this time together.  She is working on catching up on her scrapbooking, while I am flittering from one thing to another.  On this particular evening, I was working on Christmas postcards and she was working on a Christmas layout.  She was inspired to create a Christmas Tree after seeing the pine needles branch punch I purchased to use on my postcards.  I have not seen this idea anywhere before and I think it is a brilliant idea!  I just have to share it.


And here is how she created this fabulous Christmas Tree...

You need a tree stamp, a green and light brown ink pad, and a pine needles branch punch.


This tree foam stamp is a 5" stamp.  Ink the trunk with brown and the tree with green and stamp it on white cardstock paper.  Cut out the tree.


Punch out a whole bunch of pine needle branches.  She spray glued the pine branches then began layering them on the tree until coverage was pleasing.


For the bark on the trunk, she covered the tree and applied spray glue to the trunk.  She then dipped the trunk in a small pile of tobacco.  (Find someone that smokes and ask them for one of their cigarettes).


This cute tree looks so fantastic on her scrapbook layout.  I think it is such a clever idea.

Merry Christmas!
xxx
Annie