Showing posts with label Tag. Show all posts

Wednesday, November 3, 2021

Fall Leaf Tag

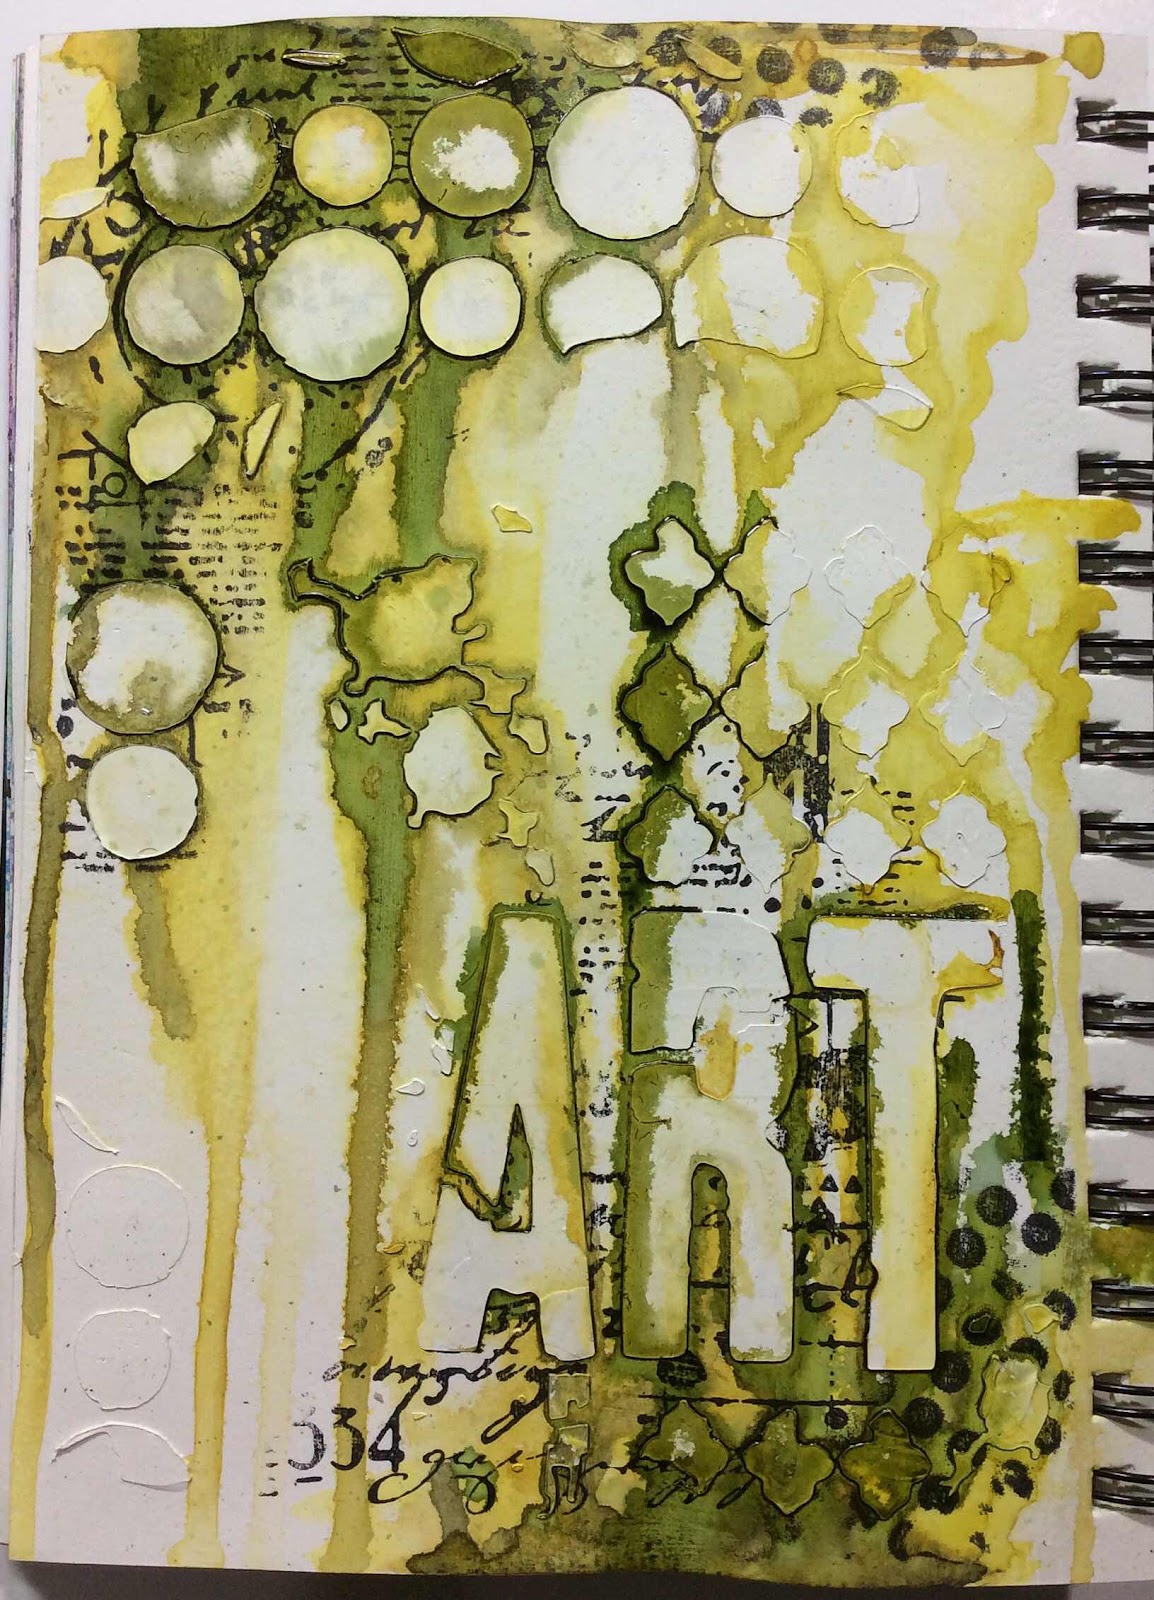
It’s been a beautiful Fall/Autumn.  Suddenly though, it’s feeling a little more like Winter.  But the calendar says Fall and many trees are still showing off their Fall colors.  I’ve preserved a Fall paper leaf to decorate with.


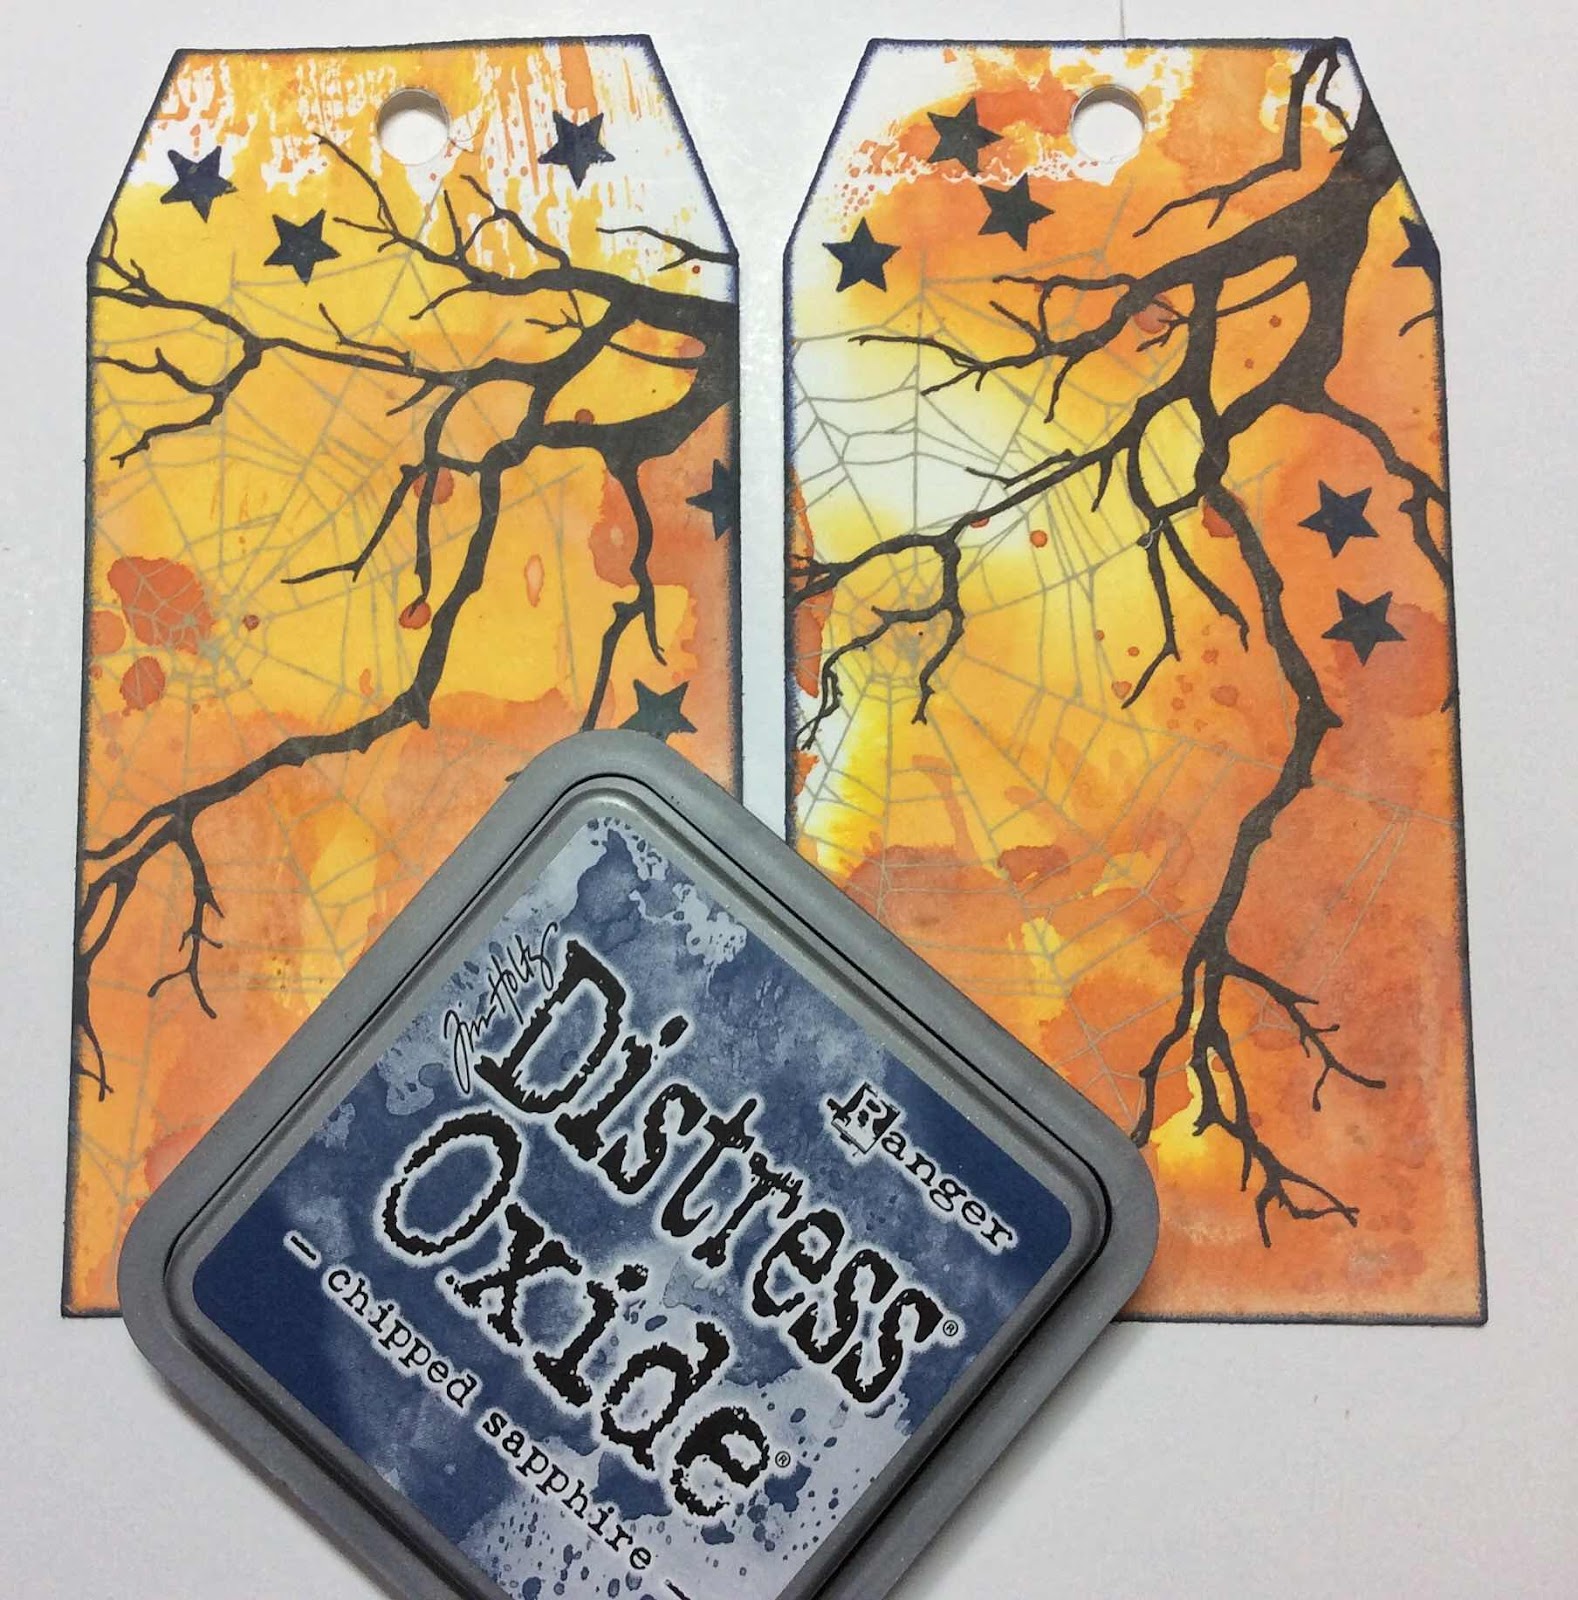
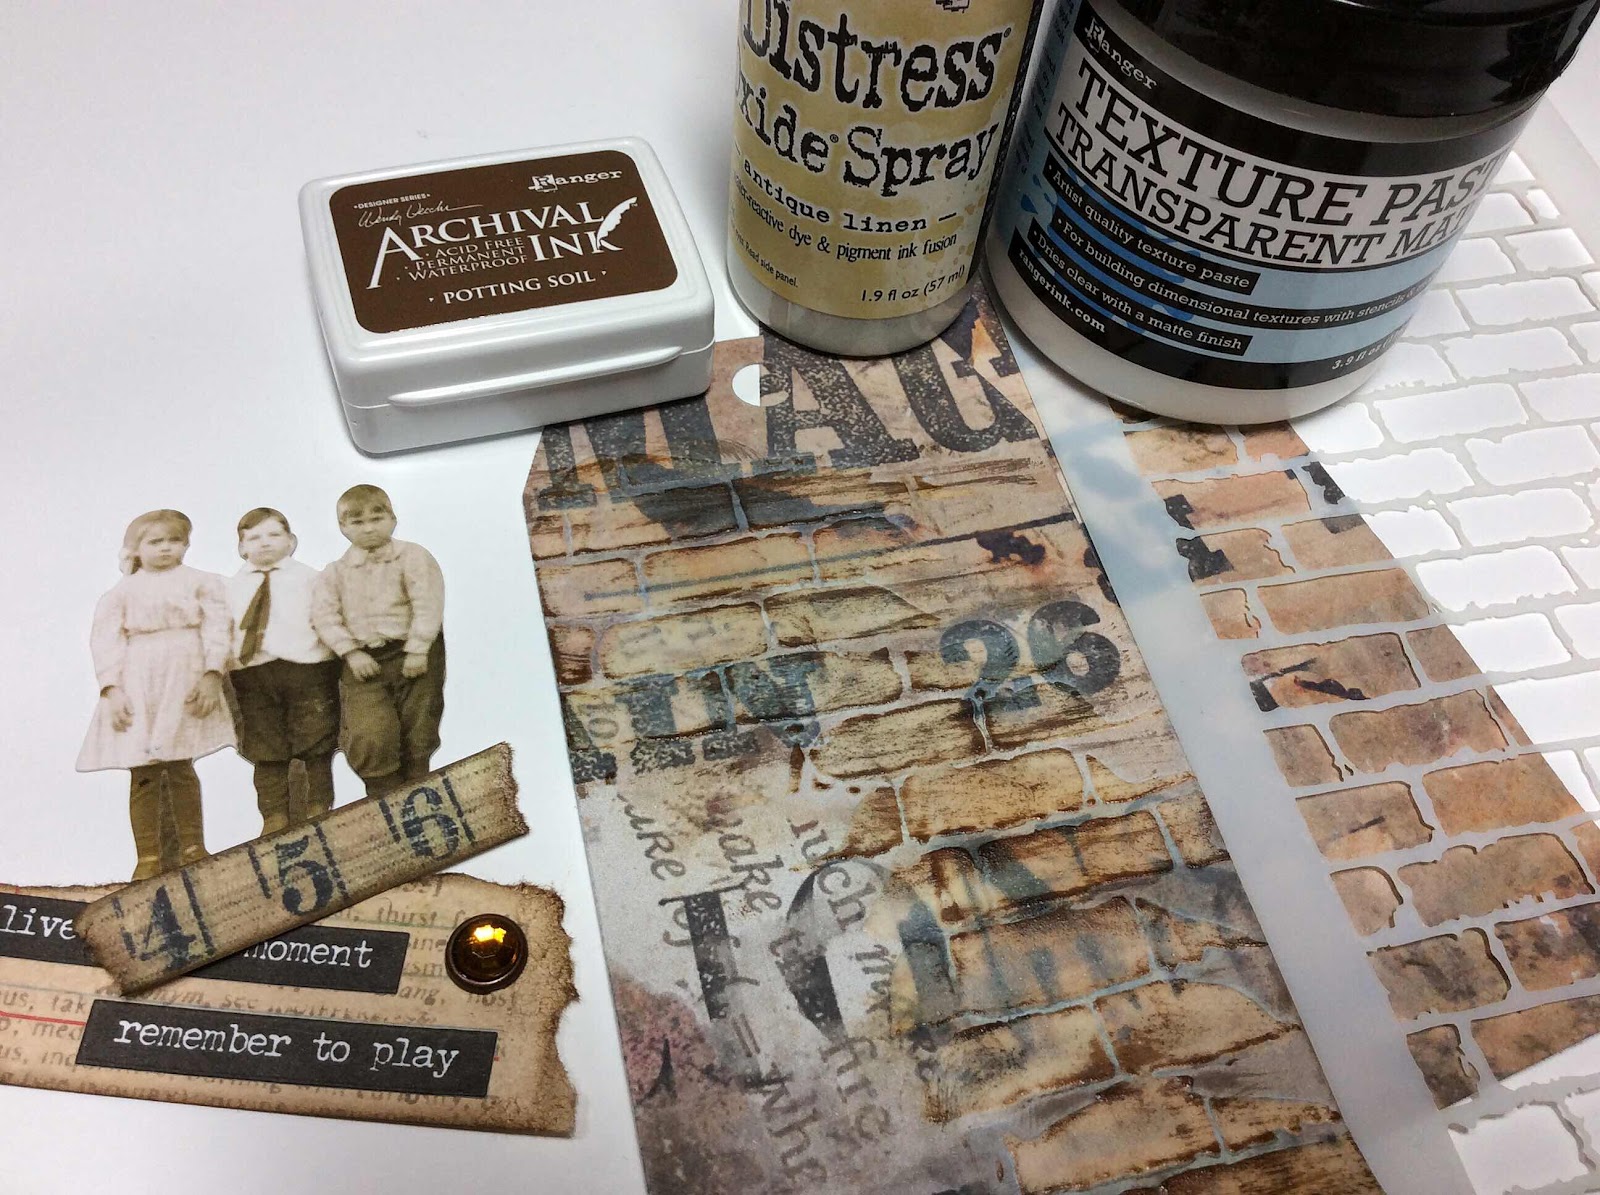
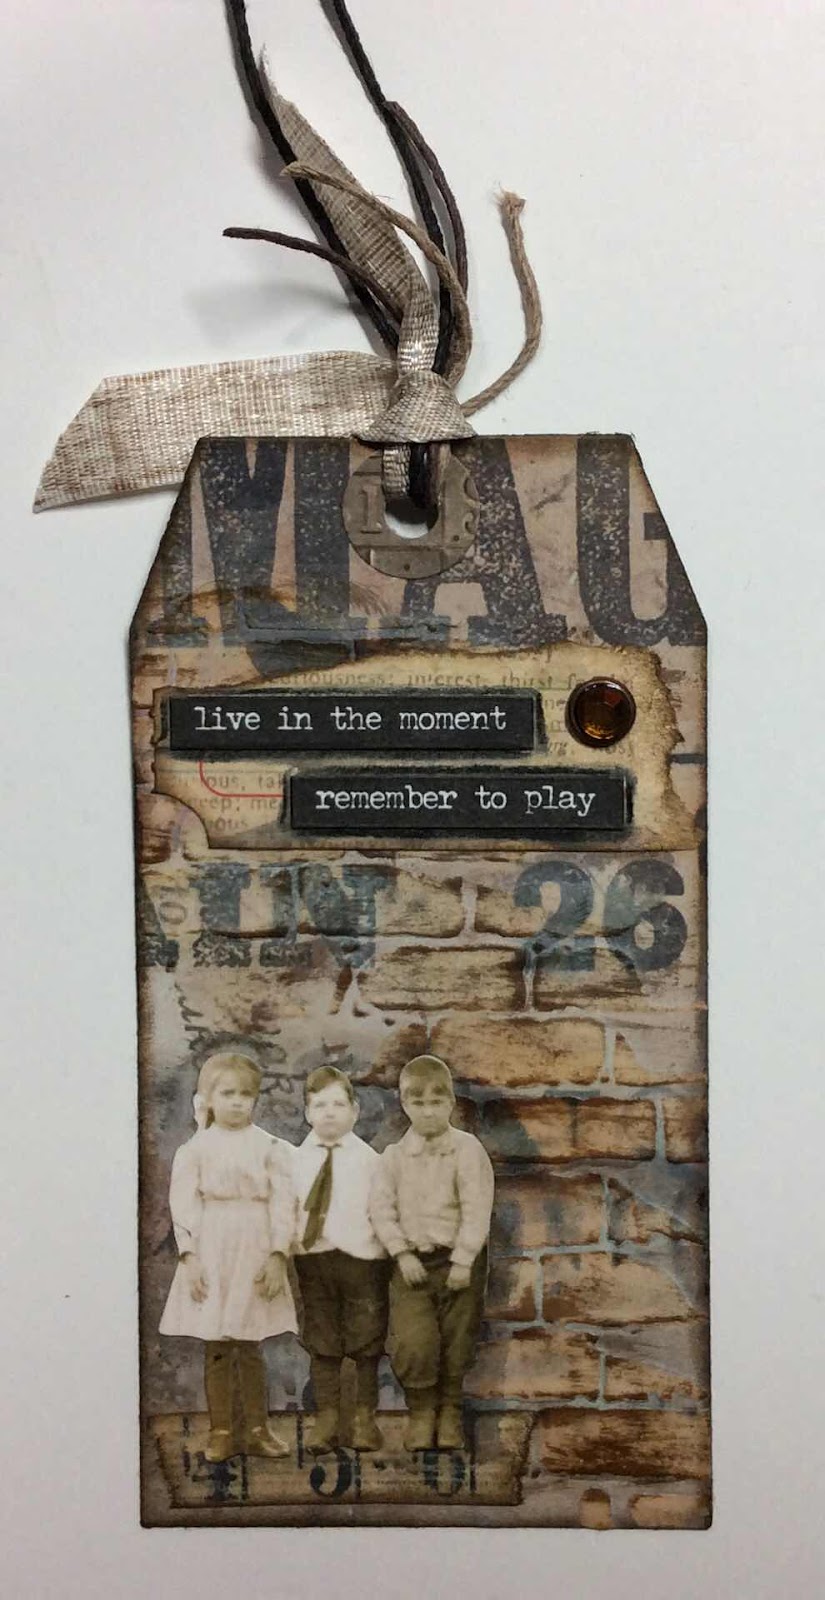
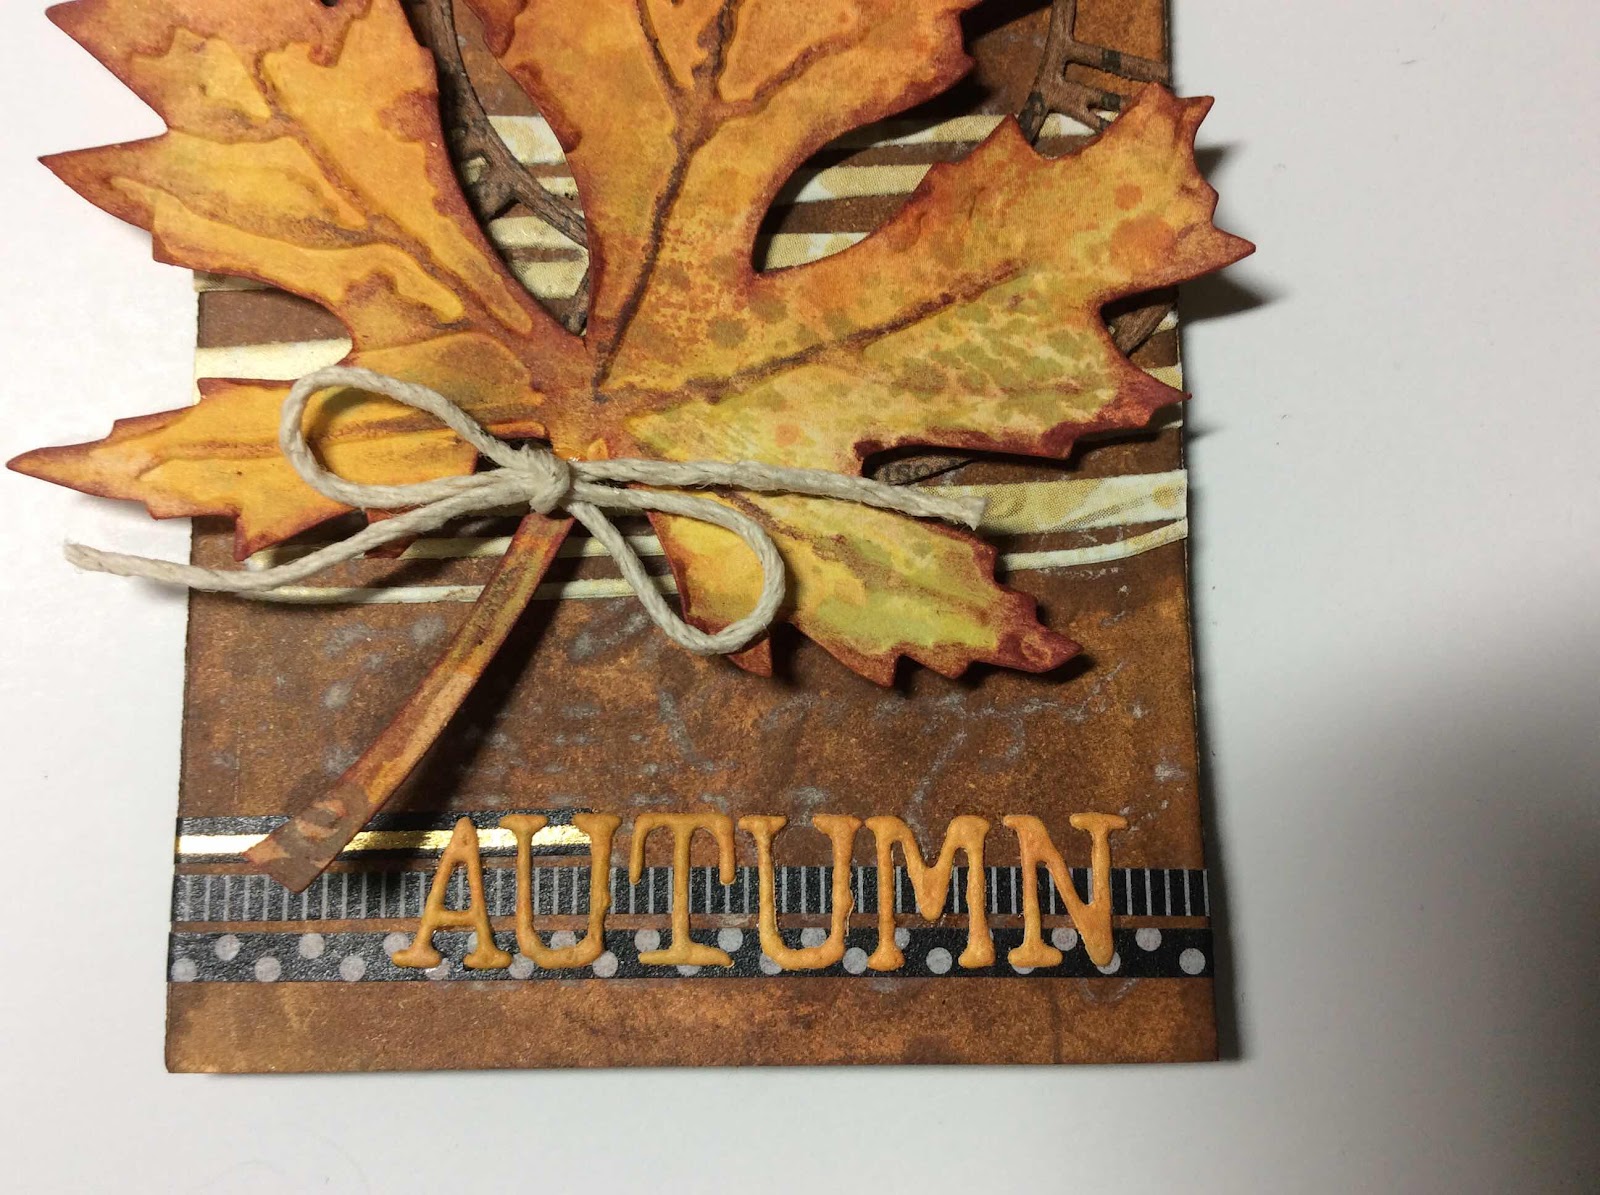
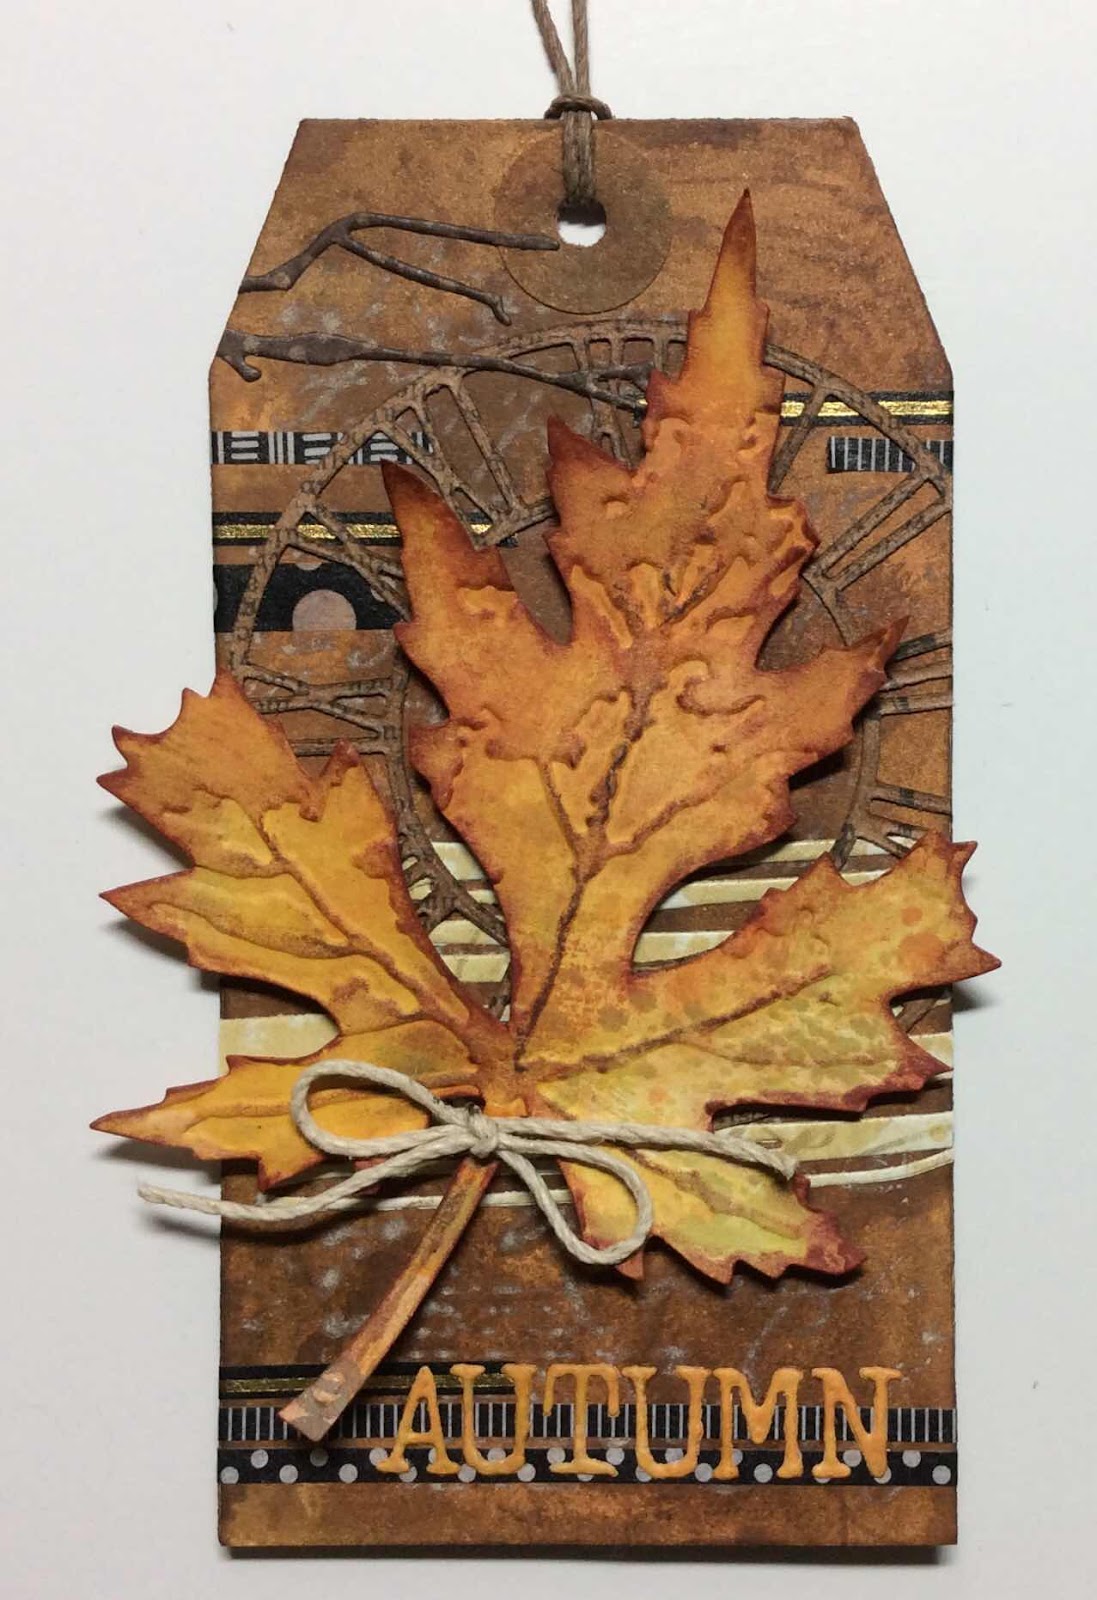
I made the tag and leaf using preprinted scrapbook paper for a base.  I added visual textures by spraying the papers with Distress Sprays and Oxide Sprays.  I die cut the leaf shape then embossed the veins.


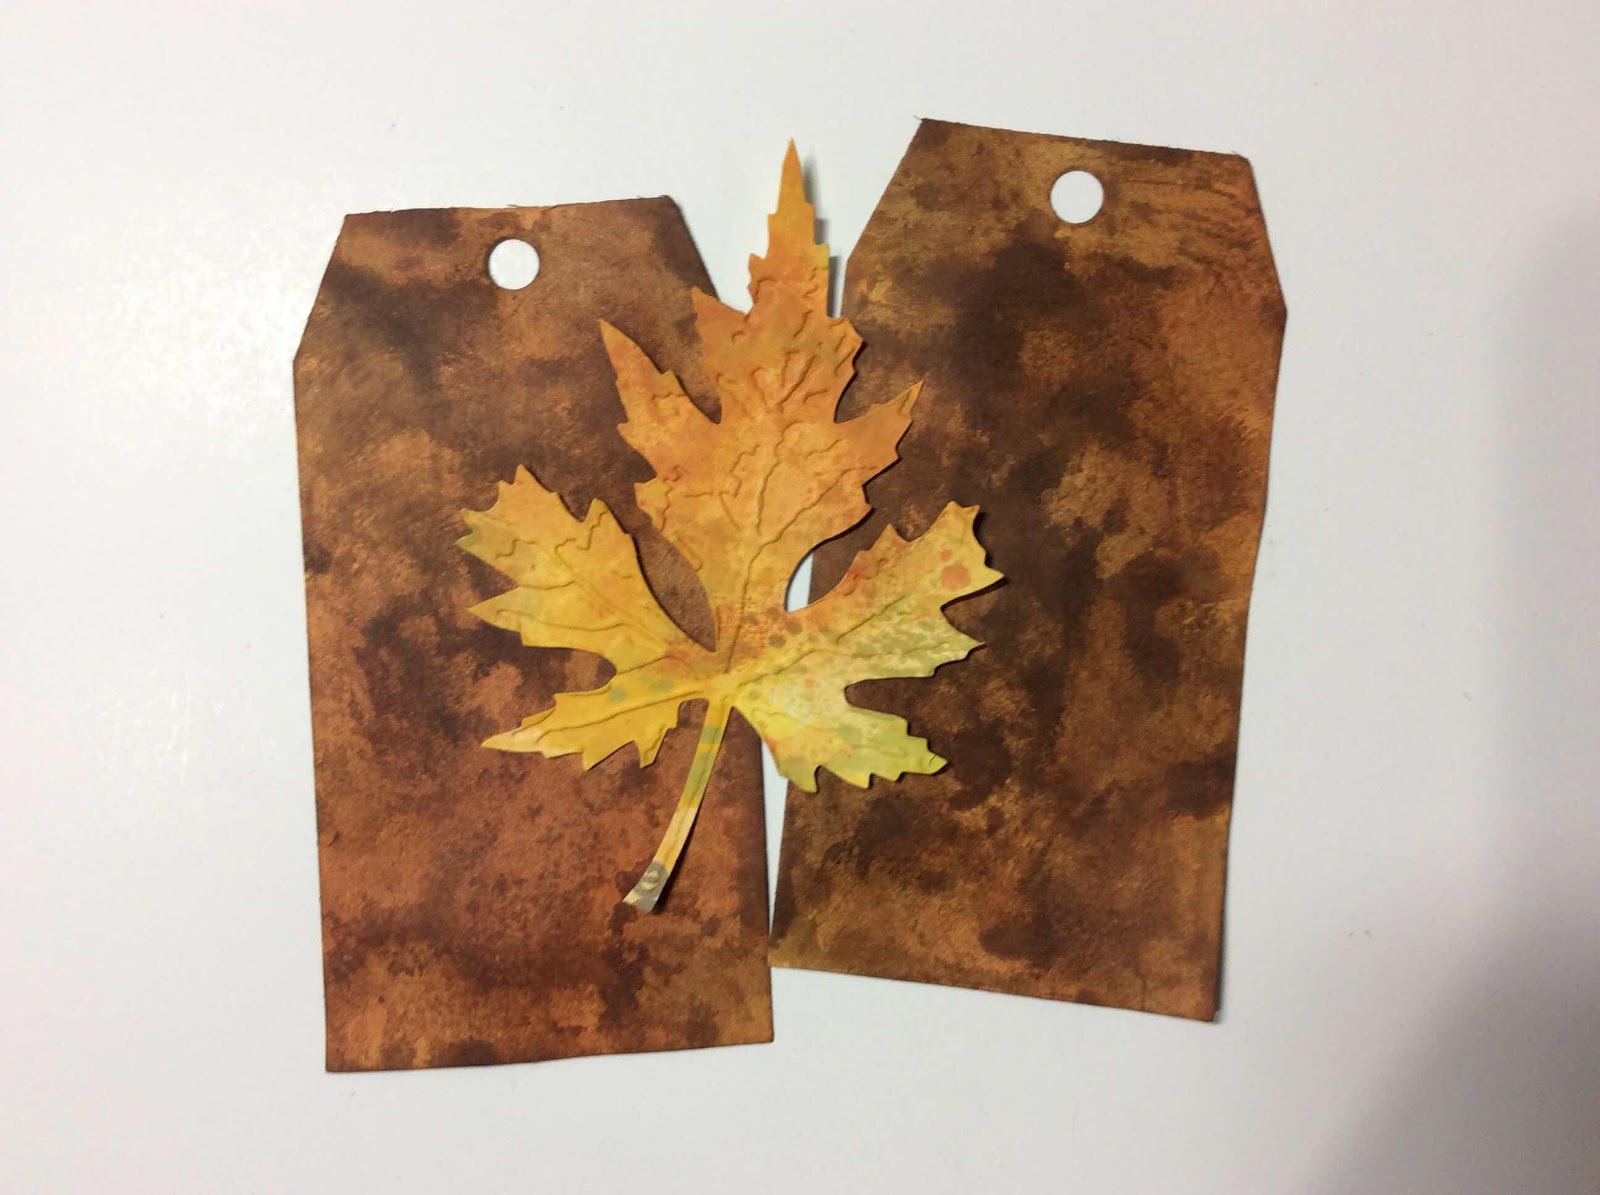
I added more color to the leaf with Distress Inks.


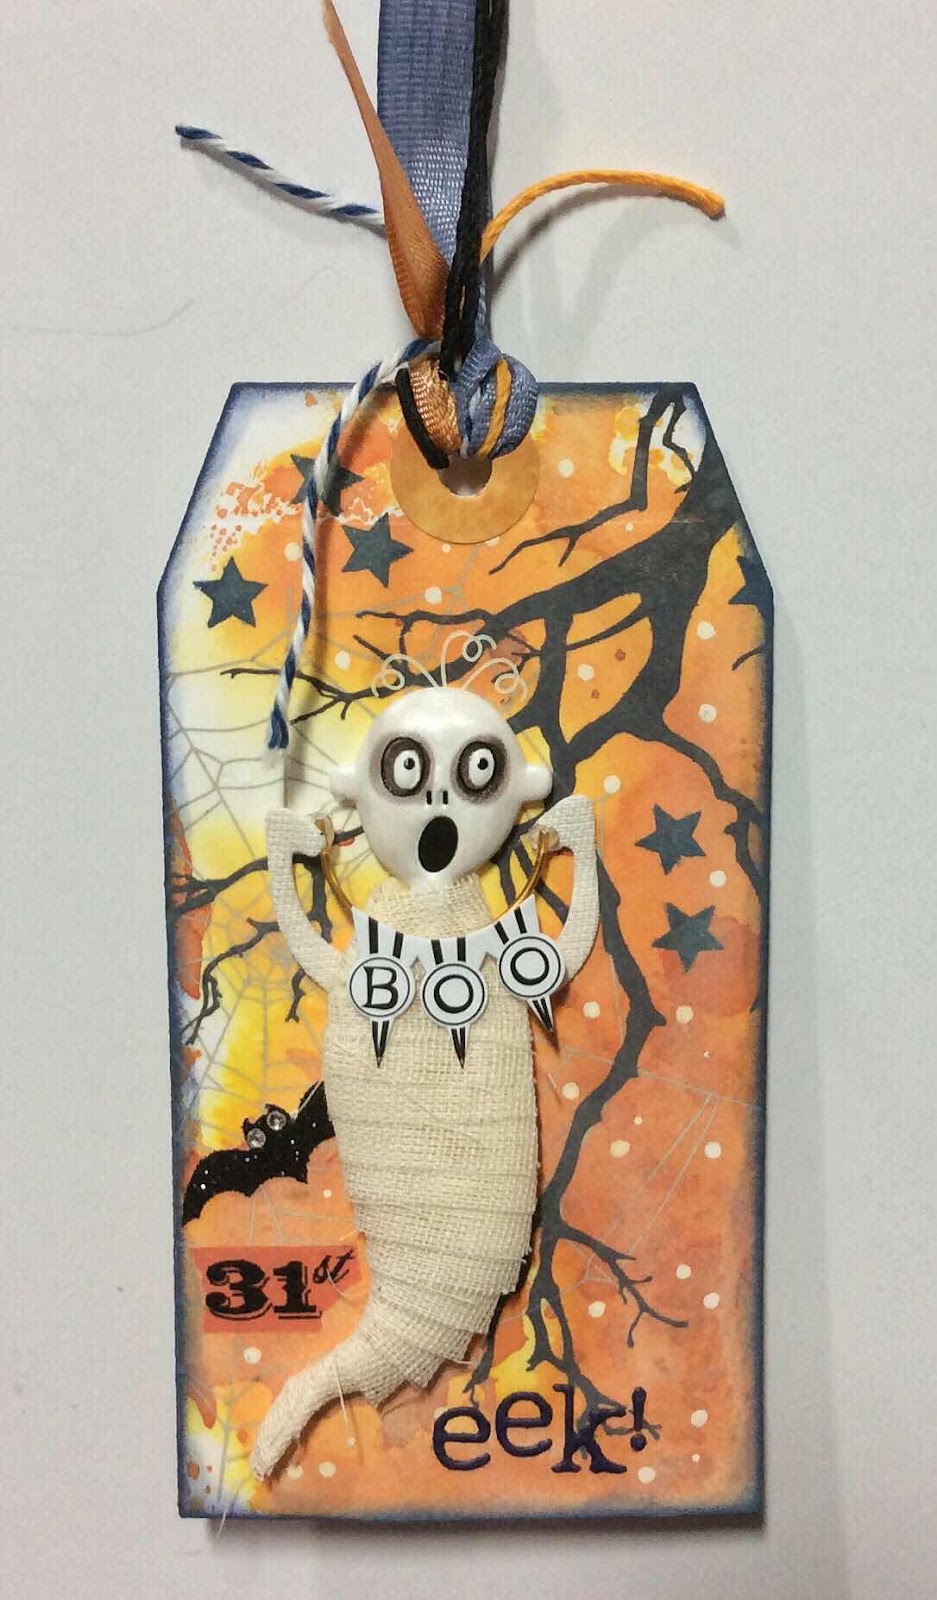
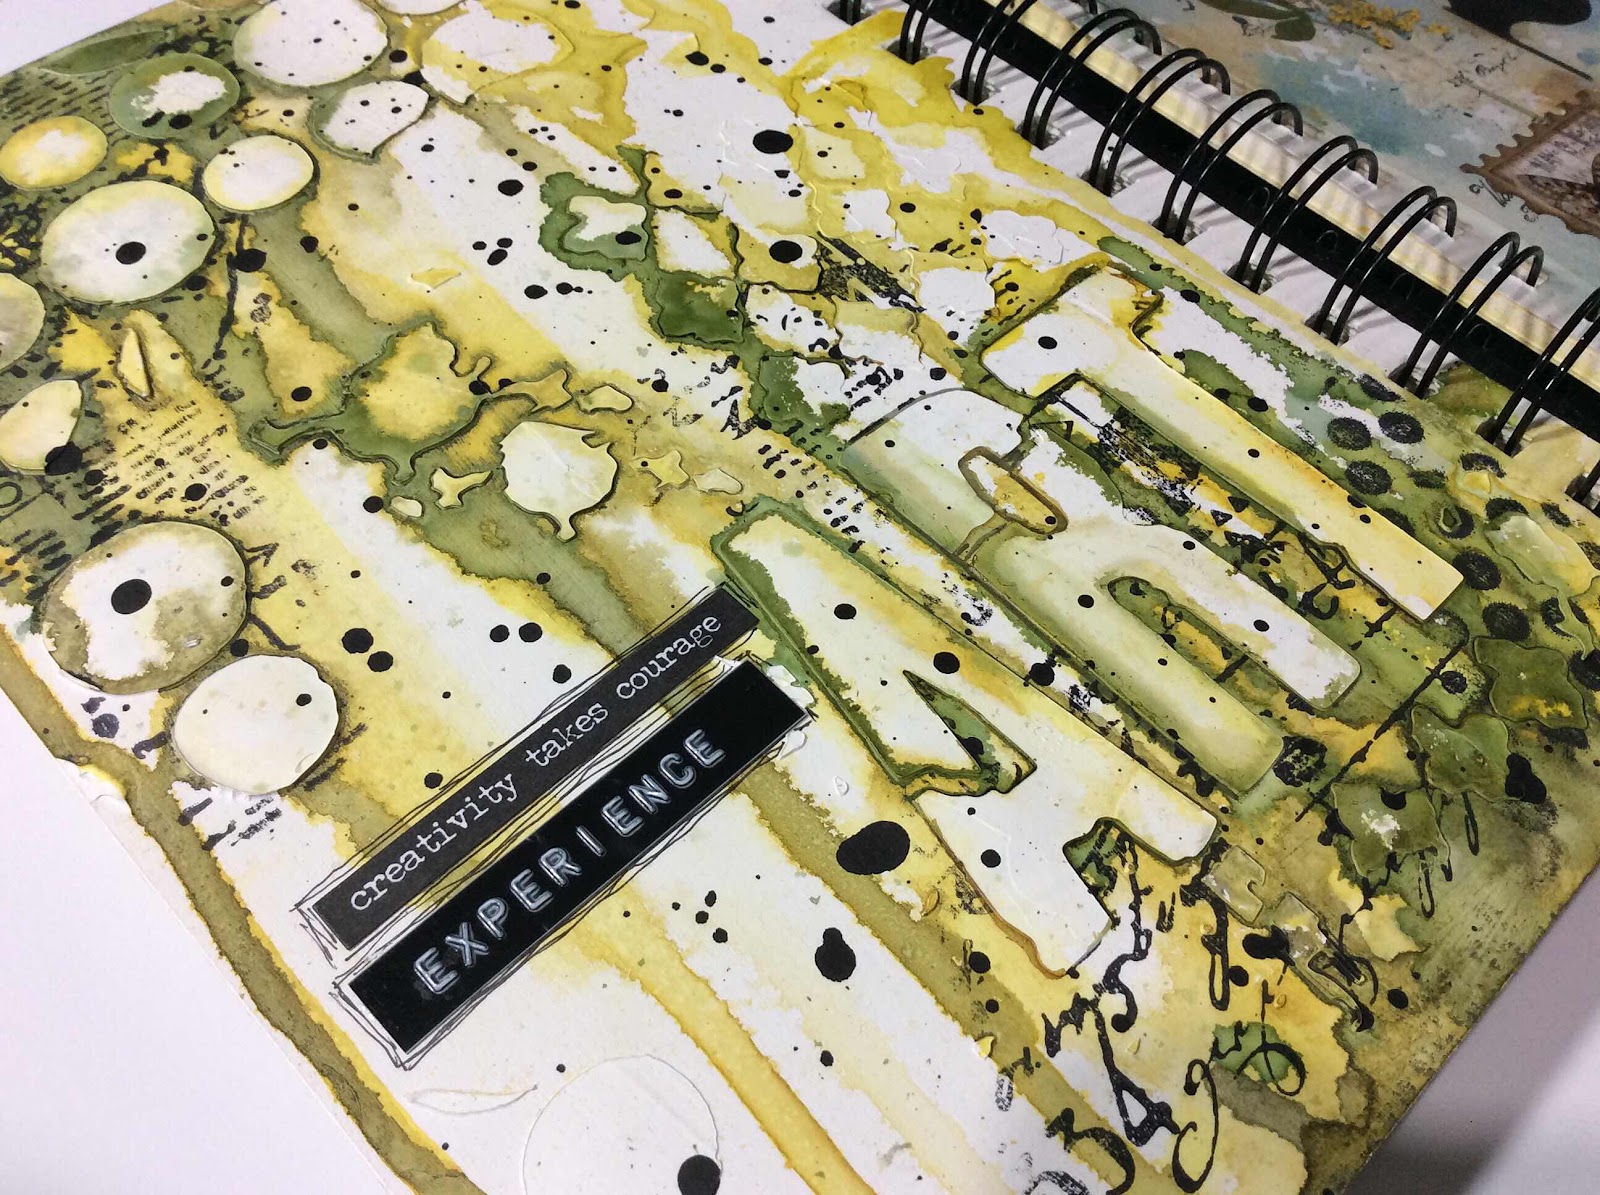
The tag background consists of die cut pieces, washi tapes and very small die cut letters.


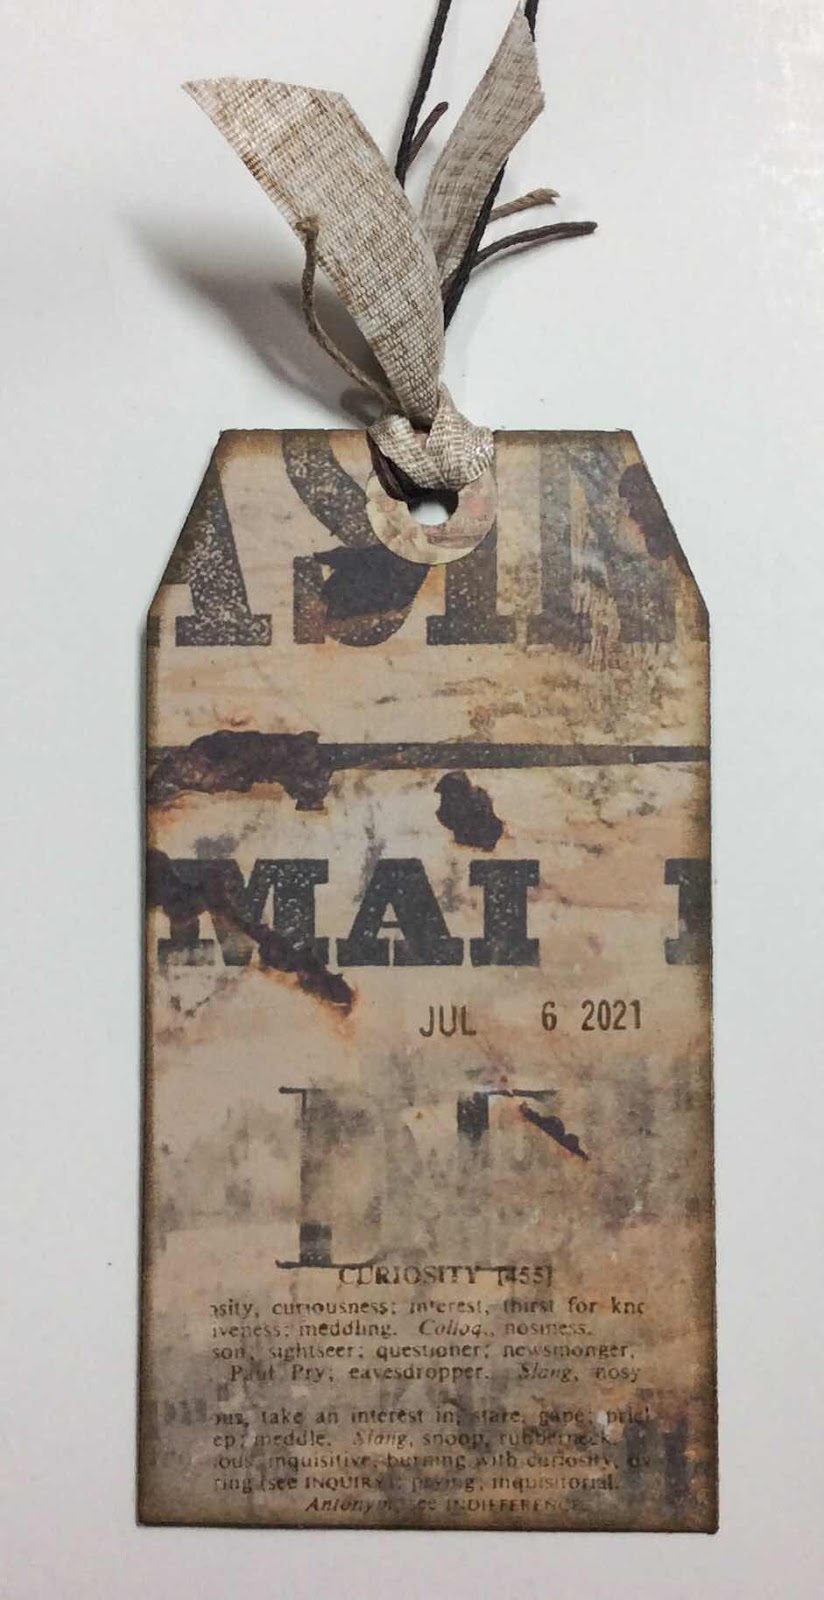
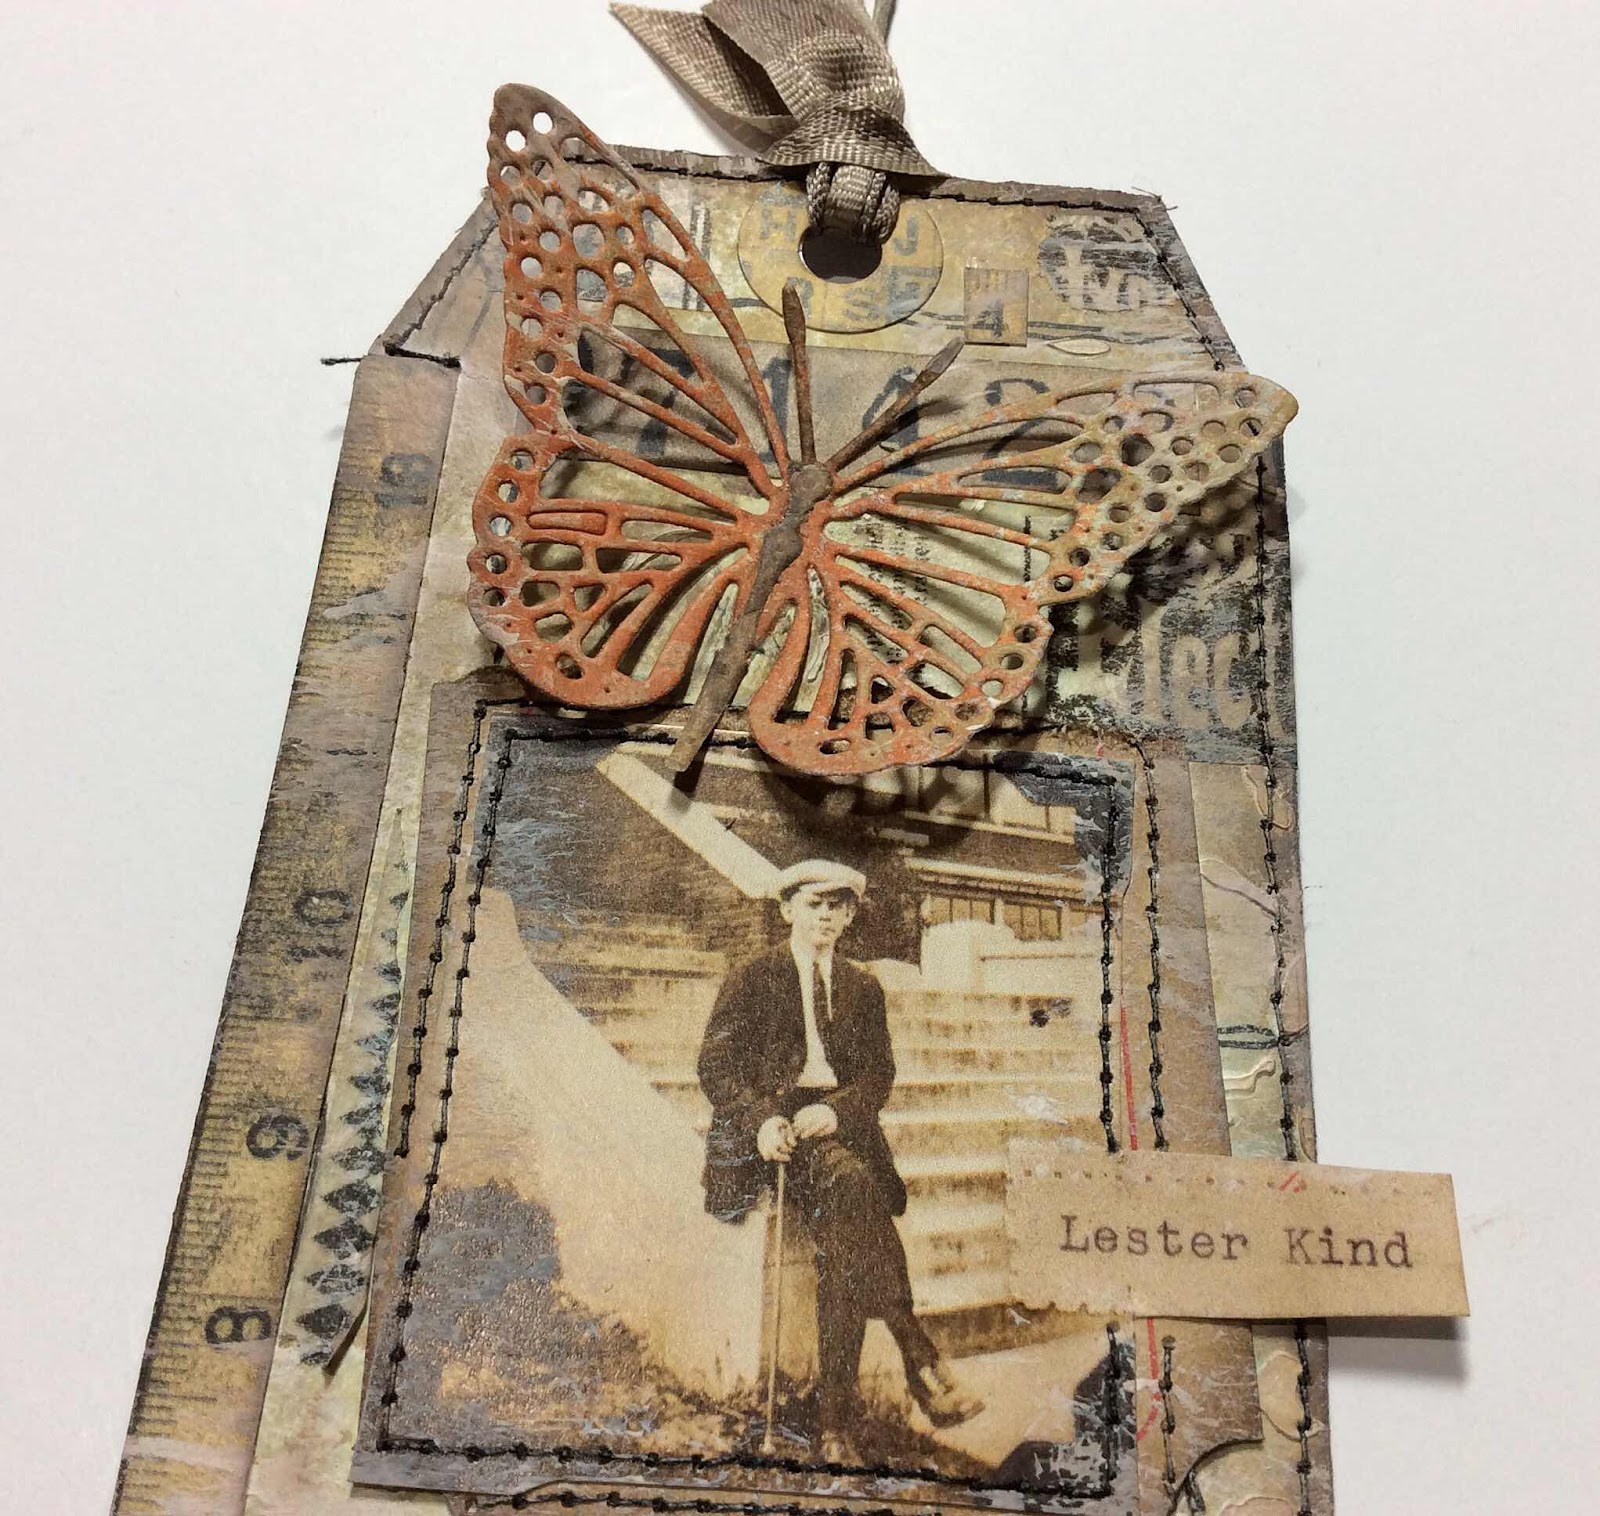
As always, the back of the tag is finished as well.  Just in case a breeze flips it over.


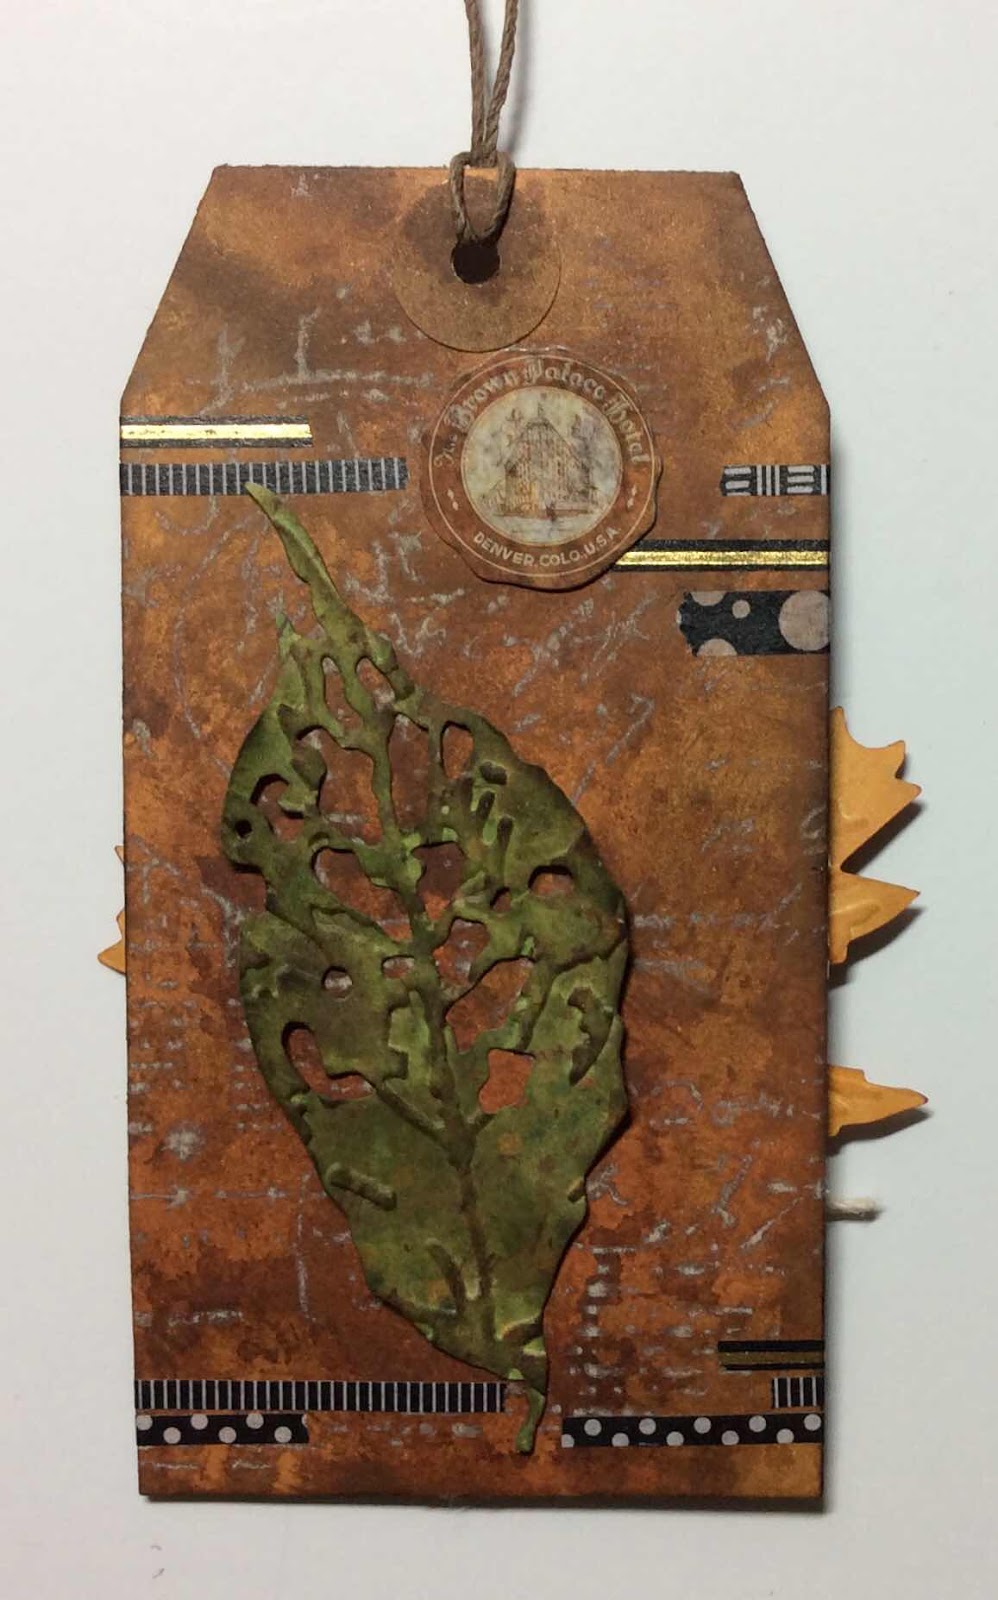
This leaf on the back of the tag is one of the new Tim Holtz Thinlit dies and I have added the vein embossing to these leaves as well.


Enjoy the Fall colors and weather.  The snow will fly soon enough.

Thursday, September 23, 2021

Long Tall Skeleton Tag

Another 3D sticker out of the stash ready to help celebrate Fall and Halloween.


I cut 2 pieces of Mixed Media paper 12” X 3.25” for a tag front and a back.  I sprayed both sides with various Distress Spray Stains and Distress Oxide Stains.  I liked the muted colors that the Oxide created.  But when I used transparent texture paste through a bricks stencil the colors brightened in intensity.


I then used a black Stabilo All Pencil to mark between the bricks then went over the pencil marks with a water brush then wiped over it with a wet wipe.  It took a little while but I love how the look turned out.


Using a piece of brown scrapbook paper, I sprayed it with three brown Distress Spray Stains.  I die cut branches from the paper.  The variations of the brown colors is not very noticeable after the branches are cut out.


Next it was time to add the long tall 3D skeleton sticker.  I had a few other leftover 3D stickers that I added to the scene.


I die cut his hat using a snowman hat die.


The tag front and back.

The spider web is a die cut and the bats are stickers.


I’ve never made such a long tag before.  It was a fun experience.

I’m a little behind in sharing my calendar journal.  This was August 2021.


Friday, August 13, 2021

Cute Ghosts Tag

On the challenge blog, Tag Tuesday , the challenge for this fortnight is to use the color combination of orange and blue.  I like this color combo.  I didn’t plan to go in the direction of Halloween, but that’s the direction it went in anyway.


I did the smooshing technique where you smear some ink from your ink pad on a non-stick surface, spritz it with water then drag or tap the tag into the inks.  Drying between drags and taps so that the colors layer.  I used these ink pad colors.  I then stamped the web with Pumice Stone Oxide.


I stamped the tree limb with Walnut Stain Oxide going over that color with Black Soot Oxide for a deep brown color result.


I then stamped stars with Chipped Sapphire Oxide as well as inking along the outside edges of the tag.


The word letters are die cut from blue card stock.


When the two tag sides were finished I glued them together back to back.  I like a sturdy tag finish.

I inked a length of white seam binding in Chipped Sapphire Oxide ink on half the length and Orange Marmalade Oxide ink on the other half.


I used posca pens to make white dots throughout the background.

This tag was specifically created to use a couple of 3D ghost stickers that have been in my stash for a several years.  As well as some bat stickers and of course Washi Tape.


I put a ghost on each side of the tag.


Because my tag went in the direction of Halloween, I kind of struggled with using blue ink instead of a brown or black.  But I like that this challenge took me a bit away from the standard.  I’m happy to have these guys out of storage and ready for October.

Thursday, July 8, 2021

Vintage Art Tag

The theme for the Tag Tuesday challenge blog is VINTAGE.


Vintage is easy when any of the Tim Holtz paper dolls are involved.

I started this tag by die cutting the tag shape from digital printable paper I purchased from Etsy.  I stenciled a brick wall with Transparent Texture paste tinted with Distress Oxide Spray Antique Linen.  It didn’t show as well as I hoped it would so I lightly blended over the bricks with Archival ink Potting Soil.  That was more the look I was after.


I then die cut another tag shape from a sturdier paper, 98lb Canson Mix Media to sandwich the printed papers onto.  I then added my ephemera pieces and inked around the outside edges.


I didn’t need to do much on the back as the paper was doing all the work for me.  I just added some text  with a favorite ‘Curiosity’ stamp and the date.  I also stamped the same text on the seam binding.


Vintage and grunge are a favorite style of tag for me.
This tag challenge runs through Monday the 12th of July.  Come join in the fun.

Thursday, June 10, 2021

Experience Art Journal Page and Tag

I am experiencing art techniques that I haven’t ever tried before.


First I painted the blank page with white Gesso.  I’m not sure why.  It’s just what I’ve seen other artists do.  Good reason, eh?


Then I stamped with Archival black ink with a large rubber stamp.  Next I scraped white modeling paste through a couple of stencils.  When the modeling paste dried, I used watercolors very wet and pigment applied to the top of the page.  I spritzed the paint with water to help the color drip down the page.  Then some black splatters with black acrylic paint watered down some.

I turned my journal upside down and did the same from the bottom.  Let me tell you...that is fun as well as rather unpredictable.


It all looks like a mess and almost ugly and I love it!


I used a Tim Holtz Small Talk sticker for the phrase and a label maker for the word experience.


This is a technique that I need to practice and fine tune.

Today I wanted to make a tag.
I’m linking my tag to Tag Tuesday where the theme this fortnight is FACES.


I’ve joined a free week long daily video demonstration at Willa Workshops called Fodder Challenge.  This particular day was Workbench Remnants by DeeDee Catron.  She made the chevron fodder.  I had the same stamp and wanted to make one too.  Then I needed something to put it on.  A tag was born.

I love these scribbly, sketchy line drawn ladies by Clearly Impressed, The Unruly Girls Club.  I’ve had these stamps forever and they’ve hardly been stamped on anything.  But they are going to make appearances on tags at least.  Because they’re fun.


Girls just wanna have fun...and I am!

Sunday, May 2, 2021

Lady Butterfly Tag

The theme is still Anything Goes at Tag Tuesday

I was inspired by Sandra’s Tag to pull out a couple of face stamps to try her background technique.  Which for me, eliminates the need to paint the image.  I am pretty pleased with the front of this tag.


Both stamps are by Stampington & Company

On the back.  I failed at choosing colors for the backside as well as bad placement for the face (which I tried to correct with Gesso).  This entire tag was a learning experience anyway, so I kept it.


I used my Neocolor II crayons.  I scribbled across the tag with the crayon then wet my fingertip and rubbed it over the colors.  I did the same technique with the seam binding.


I wanted to tone down the colors around the images so I brushed some Gesso around the image with kind of a dry brush technique.  I hoped the Gesso would take up the color underneath.  I stamped some IndigoBlu images around the outside edges.  To finish I tinted the edges with Walnut Stain Distress Ink and Black Archival Ink.


April 2021 is already over!  It was another month full of fun and art.


I’m hoping May will be full of the same.

Sunday, April 25, 2021

Lester Kind Tag

I’m joining a new-to-me blog challenge today at Tag Tuesday
I love making tags and I hang them around the house swapping them out during the year.  I’m also trying to make greeting “tags” for gifts rather than a traditional greeting card.

This tag started with a test paper used for creating my most recent art journal page.  Not much of the test paper is even visible anymore.  It just happens that way sometimes.

In my paper stash I found a sheet of vintage photos that came in a magazine.  Somerset Studio, I think is the one that includes papers.  This is where I found Lester Kind.  He does look like a kind gentleman, does he.  I’ve never heard that he’s ever whacked anyone with his cane.  And everyone knows how much he loves butterflies.


I pulled out bits and bobs from my rejects box to glue on the tag.  I stitched the photo to the portion of the ticket that I tore away from the numbers.  I added some bits of Washi tape and stitched around the outside of the tag.  The butterfly had been die cut from a light blue/purple paper (little wonder it was in the reject box) so I sprayed it with a couple of Distress Spray Stain colors.  Over the butterflies’ existing body I glued a die cut clock hand.  


The backside of the tag was also cut from the test paper.  I added pieces of Washi tape.  Over both sides I did a light brushing of Gesso here and there and everywhere.  I inked some seam binding with a Distress ink and attached it along with a hang string.


Tag Tuesday posts a new theme every two weeks.  The current theme is Anything Goes and runs for another week.  If you like making tags, come join in the challenge.

Monday, February 15, 2021

Have A Heart

I finished just barely in time for Valentine’s Day, this year!

This Have A Heart wall hanging finished a bit larger than I had in mind, but that’s how it goes when I make it up as I go along.  23.5” X 23.5”


I have seen many similar hangings on Pinterest and wanted to try one myself.  I’m not thrilled with it, but it will do.

I pulled fabrics from my stash.


I cut 4.5” squares and 3.5” squares.  The small squares were backed with Wonder Under.


I used my paper crafting BigKick to cut the hearts.


25 quickly cut hearts.


I arranged the blocks and stitched them together.  Then fused the hearts in place.


I raw edge appliquéd the hearts with black thread for an outlined look.  Then quilted around each square.


I then couched two strands of Perle Coton 8 around the outside edge of the hearts.  


This was all finished on the 13th.

On the 14th I made a tag to attach to the wall hanging for a stab at added detail interest.


I might try this again someday in hopes of getting it more to my liking.