Updated Fabric Postcard Tutorial
You can see all the fabric postcards I’ve made over the years in my Flickr album here.
There are many ways to make a fabric postcard. I’ve made this updated tutorial to show how I make them. They are a lot simpler to make than you might think.
 The supplies you will need are as follows:
4”X6” front base fabric
Fabric scraps for your postcard front design
4”X6” piece of stiff Peltex
4”X6” light to medium wight fusible interfacing
4”X6” piece of paper or cardstock (not too thin) for the address and message side
You can also use a tightly woven fabric for your message side, but I find it easier and more fun to use paper that can be decorated also.
You will also need a bit of Transfer Webbing if you decide on a pictorial design. There are a variety of transfer webbing available, I use the light weight Wonder Under.
Trace your design on the paper side of the transfer webbing. Loosely cut outside your traced lines.
(Your design will be backwards from the way you trace it, so be sure to trace any alphabets backwards to begin with.)

Fuse your traced designs to your fabric choices.
Then cut them out on the lines. Allow the pieces to cool until they will release from the paper easily.
I press my design base fabric to the Peltex. It is not fused, but the layers will stay together better until you begin sewing on them.
Trim the interfacing a smidge before fusing it to one side of your paper. You don’t want any hanging over, it will fuse to your ironing surface. Set the paper message side aside until needed.
 With the paper removed from the back of your cutout pieces, arrange them on the base fabric and Peltex where you want them and fuse them to the base fabric.
 Be sure to leave 3/8” around all sides as that is the space the binding will cover.
 Now you will stitch around your design as desired. You can fuse all of your design at once or you can fuse the pieces as you are ready to sew them.
This method is raw edge appliqué. It is my favorite to use on postcards. Pull your thread tails to the back on the Peltex side and tie them off.

My next pieces on this postcard I fused the webbing to the back of fabric scraps, then cut them with a cutting die through a cutting machine.
When the papers were ready to release, I fused the flowers where I wanted them on the base fabric. I then stitched the stems and the flowers.
Once you are finished with your postcard design, align the front and back and stitch them together roughly around the very outside edge. This will hold the loose fabric edges in place while adding the binding. It will be covered later by the binding.
Most people will just zigzag (satin stitch) around the outside of their postcard to finish it. You can do that now, or follow my binding method that I show following.
I like my binding method as it finishes the edges as well as giving the design a framing.
Choose your binding fabric and cut a 3/4” strip long enough for all four sides of your postcard.

Press this strip in half lengthwise.
I measure and cut the side lengths first then the top and bottom. I do this no matter whether my postcard is landscape or portrait mode.
With a glue stick, run the glue along the edge of the paper side of the postcard. You don’t need a lot of glue, just enough to hold the binding until you sew it down permanently.

Lay that paper side down on one side of the binding. Just a tad away from the fold. Each end of the binding should meet each edge of the postcard.

Now run the glue along the front edge of the postcard.
 With your fingers, wrap and press the binding to the front.
Repeat these binding steps for the other side and then the top and bottom.
Your front will look like this.

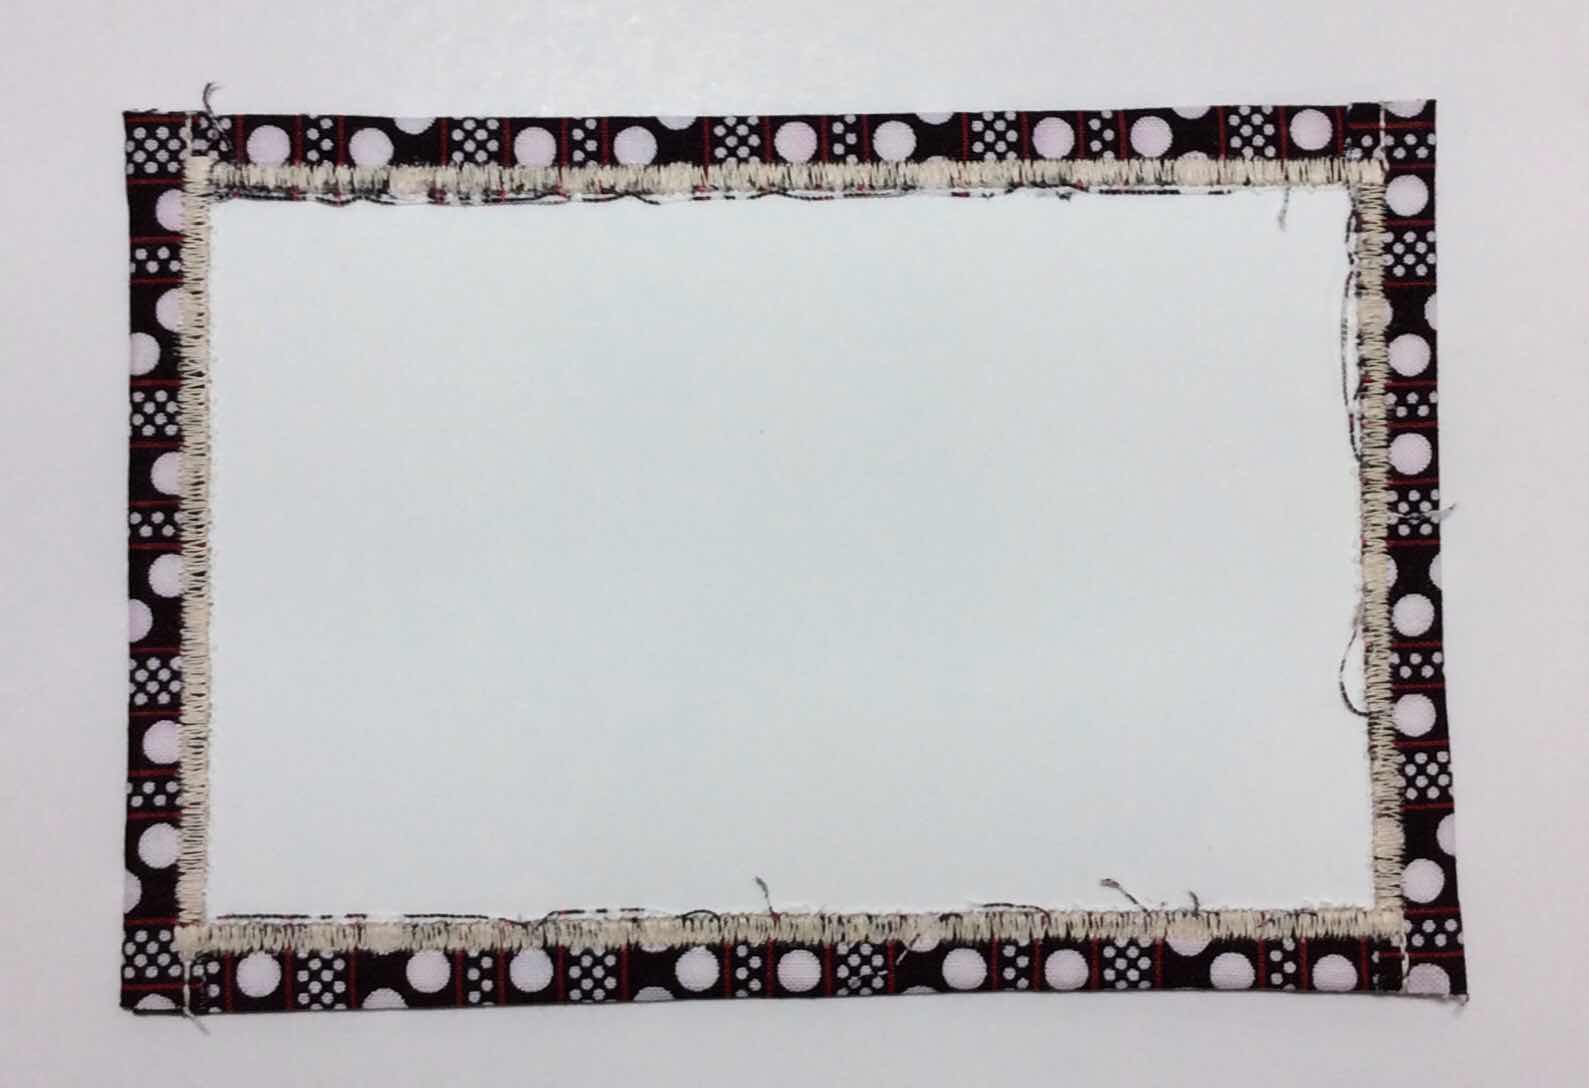
The back will look like this.

Choose a thread color to stitch your binding. I have started choosing a color that blends with my base fabric...but not always. It is a personal choice.
I’m sure you are thinking the glue will gum up your needle, but it will not. I sew through this glue and paper and then with the same needle I will sew a quilt.
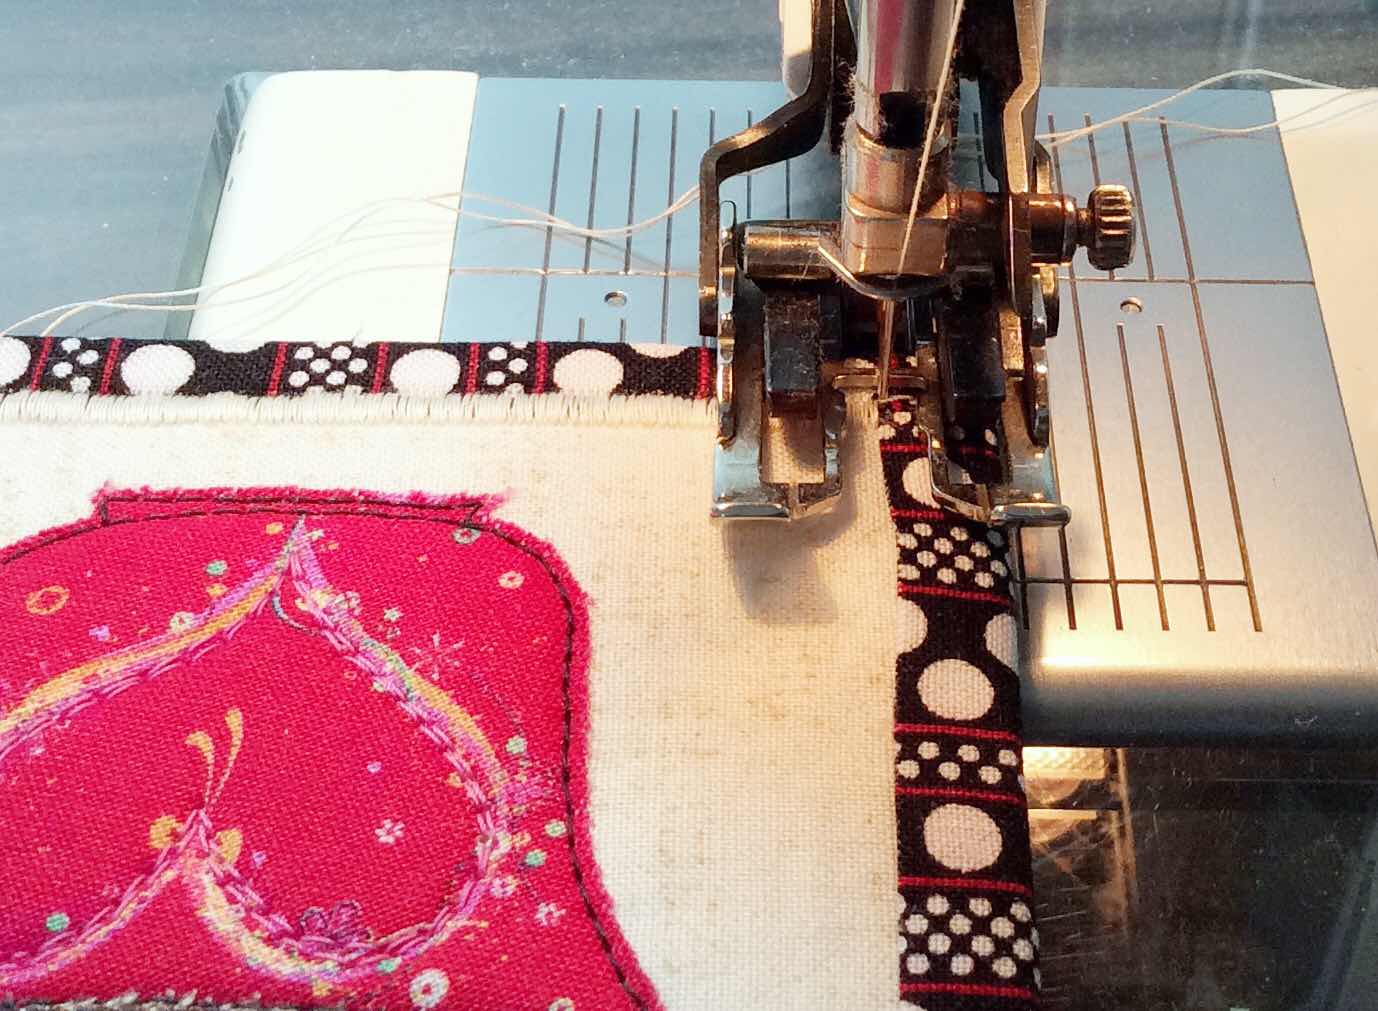
Begin with a straight stitch sewing backwards on the overlapping binding to just off the edge then forward to the inside edge of the binding. With your needle up, switch to a zigzag satin stitch. I choose a medium stitch width and a length that makes the stitches sit nearly side by side. Use a scrap of the Peltex to decide on your satin stitch length. No two machines are alike.
Pull your thread tails forward and slightly to the left so that they will get caught inside the satin stitching.
This now is the reason I fuse interfacing to the back of the paper backing. The satin stitch will perforate the paper. The interfacing assures you that your backing will continue to remain connected to the postcard.

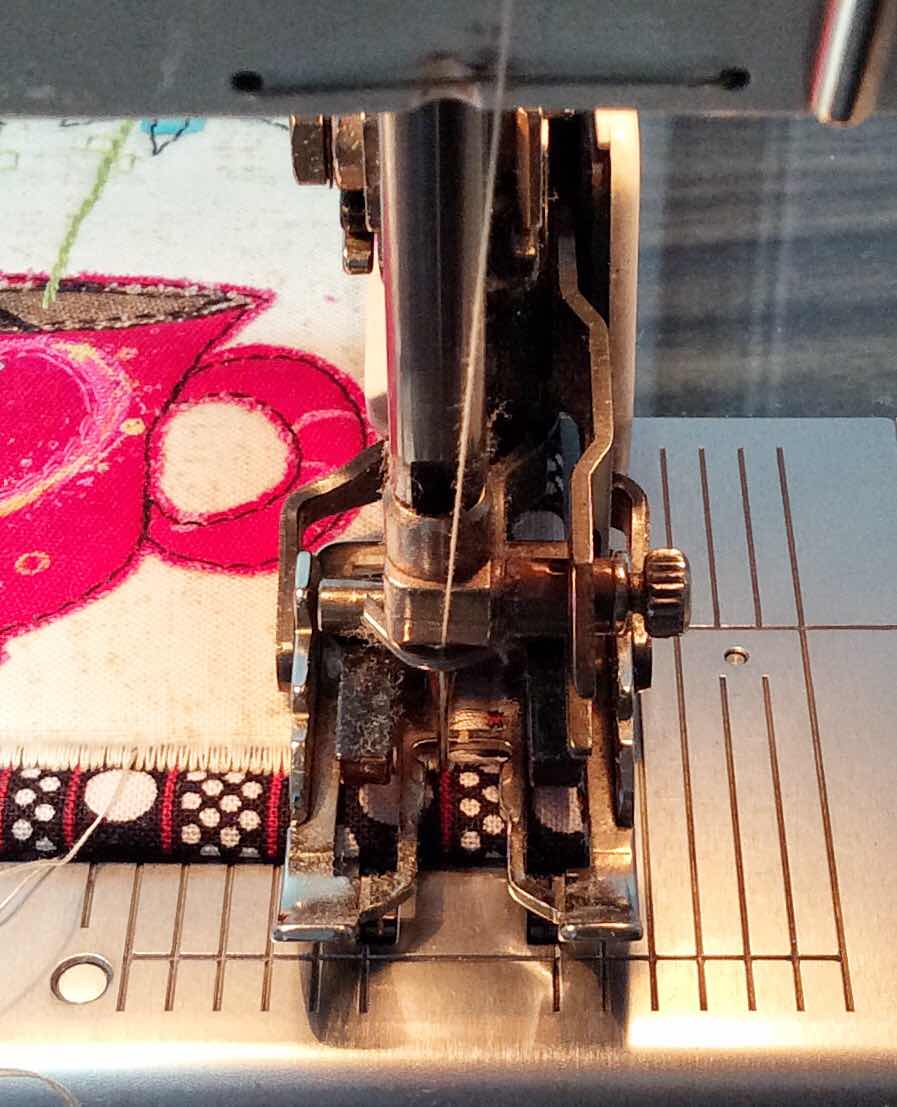
Secret to your binding looking straight: Rather than following the inside edge of the binding that you are sewing down, find a spot on the outside edge of the postcard to follow. This will keep your binding looking straight. Sometimes the satin stitch will catch a lot of the binding and sometimes just a bit of it. But if you use the outside edge as a guide, the binding will look even and straight all the way around.
Once you catch the thread tails in the satin stitch, hold them straight across the edge of the binding.
Satin stitch for a couple of inches, stop with your needle down on the inside, lift your presser foot and move the thread tails to the right side out of the way to trim later.

Continue stitching across to where the binding meets again. Switch to a straight stitch and stitch to just off the edge then backwards to where you stopped where the bindings meet.

Turn your postcard, set your machine to the zigzag again.

Align your needle at the back edge of your previous satin stitch to stitch over the top of it. Don’t forget to find your outside edge guide to follow as you stitch. Sew the remaining sides in this same way.

When you reach the beginning, satin stitch to the outside edge of your first satin stitching.
 One last time, turn your postcard, change your stitch to a straight stitch, align your needle just inside the first row of satin stitching, change the needle length on your machine to a very close stitch length and stitch several stitches along the edge. This will keep your stitches from coming loose.
Trim all the thread tails from the front and back close to the stitching.

The back sometimes looks like this. That means there is a little bit more binding to the back than to the front. It’s difficult to get it exact, but it does happen occasionally.

With very pointed tip scissors, pull up on the thread ravels and trim them close to the backing.

All nice and neat now. Sometimes there is a thread or so on the front that might also need trimming.
I use Fray Check for the postcard corners, but a thin, very small amount of glue can work also.
And actually, you really don’t need to do this last step if you don’t want to.

I will put a very tiny amount of Fray Check on the binding ends to keep them from raveling. Put a bit on then wipe it with your finger. You don’t want too much, it will make the corners hard.
 And, DONE!
 With a paper backing, adding some extra fun on the address side of the card is simple.
Fabric postcards can be mailed at the rate of a first class stamp (not a postcard stamp). If extra doodads are added to the design, an additional 20cent stamp is required for non-machinable.
Most of my postcards arrive to their destination as if they were hand delivered. Other times they occasionally arrive with the usual postal marks.
I am more than happy to answer any questions you may still have or help out with any fine tuning details you have questions about.
Happy Mail Day!
Annie
