Showing posts with label Paper Piecing. Show all posts

Friday, September 4, 2020

Paper Piecing Fun

I couldn’t seem to get enough of paper piecing with my Chillingsworth quilts.  So I kept on sewing neutral strips.


I have a love for grunge.  But sometimes I don’t like the design of the grunge.  Like on this table top.


I set out to cover it with the paper pieced strips and text sashing.


I love all those precise seams!


I don’t save my empty thread spools these days.  


SO much is plastic in this modern life.

(That is my portable design wall behind this little table)

This mat is very busy for this use and doesn’t make me love it.  At least not for this purpose.  But it will do until I decide on something else.


July’s calendar journal also is not a favorite to look at.  But there’s always next month for aesthetic improvement.


Saturday, August 29, 2020

He’s called Chillingsworth

I’ve had a tiny scrap of Chillingsworth on my small design board since finishing my last Halloween quilt last year.  Suddenly while sewing I felt I needed a handy tiny pin cushion.


His severed head was perfect for that!

The next waiting project I pulled from the stash drawers were two Chillingsworth panels.  They’ve been languishing for a couple of years while I collected more Halloween fabrics in anticipation of a clear idea of how to use this panel.


I knew I did not want a throw quilt.  But all plans kept leading to a quite large wall hanging also.  I spent 4 days looking through Pinterest for inspiration.  I finally came across 1” Scrappy Strips by Leila Gardunia.  They are paper piecing strips.  Now, I could have sat and drawn them myself, but for $10 I could just photocopy what I needed and get started sewing right now.

Anyone familiar with these Chillingsworth panels might notice that I cut down the sides of the panel.  I worried about doing that not being sure those top and bottom corner designs would look too odd.  It just had too much blank space around him for me.  So I cut anyway.  The corners don’t look odd to me.  OR if they do, they just add to the already oddity of Chillingsworth wearing only a top hat.


I started with this strip design but it looked too ... something.  I didn’t like it for a border for him.  So I chose the straight piecing design strip.


Here is where that awesome little plastic steam(less) roller became my best ever buddy.  It made pressing those hundreds of strips quick and easy.


The paper is so quick to pull off of these simple strips.


The trash is proof of the fun I had making these strips.


While I was making the borders I wondered how to quilt him without having to freemotion quilt around him and without having straight rows of quilting going through him.  So I drew my quilting lines.  (Forgot to take a photo).


I finish the back of my hanging quilts with strips to run a flat stick through.

Each of my kids will get one of these Chillingsworth guys.  I think the cream color one can be left out all year for creep-loving people...like my kids.


Stash busting!  It’s so awesome to get some of these older purchases made into “things”. 

An early-ish Happy Halloween!

Thursday, October 18, 2018

Be My Valentine Quilt

My third unfinished quilt is FINISHED!

Be My Valentine


This quilt got its start in 2016.


I paper pieced the hearts from a pattern I drew myself.  A heart paper piece pattern is not hard to draw at all.


I lay thin sheet boards on my bed for pin basting.  I have one full size sheet that is 4’ X 80” (because I have low ceilings upstairs).  I have an extension sheet that is 30” X 80”.  I used the smaller one for drawing my quilting lines.


When a fabric has a wide flat selvage with printing info on it, I like to make it a part of my quilts.  Just for fun.


This is a smaller quilt that measures 58” X 76”.


I used two of the fabrics for the binding.  They are pretty close in looks, so it isn’t easily noticed.  But I like it.


It feels so good to have all of my unfinished quilts finished.  


I couldn’t wait to start on the next quilt.  I meant to start and finish one.  But I’ve got two new ones going at the same time.  I planned one.  The second came as a request that I don’t want to put off too long.  So I’m just working them both at once.  What a happy quilter I am! :-)

Wednesday, February 8, 2012

Pillow #3
My personal Pillow A Month Challenge
Flower Collage


One of my Flickr contacts, Krista Withers, lolablueocean, does a lot of free piecing and improv stitching.  She created wonderful flowers that I immediately fell in love with.  You can see her flowers and improv here .

I just had to make some for myself.  I can't even imagine free piecing them, so I drew up a paper piecing pattern for mine.

I ran a test as a postcard before starting in on the pillow top.


I've mentioned before that my process of a creation is starting with an idea and from there, making it up as I go along. Very seldom do I start out with an entire plan.

It turned out that the piecing process I used to make the flowers allowed me to create a bit of a different look for each one. That was a fun surprise.  The background for the flowers actually is free pieced and improv as well as some applique.  Doing the background this way was a big challenge for me.  This was my first time playing around with that.  Some of the background fabrics I made myself (you can see how I made the fabrics here)  and others are purchased fabrics.

I quilted with meandering straight line angles (for lack of a better description).  I'm 50/50 on whether it's over quilted or not.  I like it to look quilted but I do not like it when the quilting over powers the fabrics and design.


This pillow front sat for more than a week before I finally decided on the binding and the back.  I'm very stingy with my text fabrics and didn't want to "waste" a big chunk on that back side.  Feeling wild I decided to include the zipper as part of the design.


Me and my seam ripper became more than just good friends during this pillow creation, but I'm real happy with the way it turned out. 
It's my fave so far!


Thanks Krista for your awesome inspirational improv!

Annie
 
This pillow project is linked to Fabric Fascination's 12-Months Linking Party Check out all the fab creations!


Thursday, September 29, 2011

Crème Glacée

The one and only, Madame Samm, designed this oh-so-me blog.  She designed it, she organized it and then she spent the time to teach me how to use it.  I just love what she came up with and I'm mystified that she saw me so clearly!

In return she asked for ice cream.


I don't blog so good yet, but I definitely can do ice cream!

Originally I designed this cone pattern for a table mat for my daughter for her birthday and it eventually evolved into this end result.


I don't really enjoy mass production or even duplication when a creation is intended for a specific reason.  So, I really needed Samm's ice cream to be different.  Immediately I was in a rough patch to come up with a different design.  It didn't really work, I still only liked the same color cones, hard as I tried to change them, and I still only liked the same center arrangement.

Then I got stuck again for a border.  This I had to muse on for a couple of weeks before I finally thought about my recent thin paper pieced stripe design.  I think it will work...


I moved on to the quilting letting the cones dictate where the quilting went.

I'm pretty pleased with this new Crème Glacée table mat.  French is Samm's first language so I thought a french title was fitting for her.  Not to mention that the words ice cream in french just look as delicious as the cones don't you agree?


When I added the little cone dot just inside the binding, I didn't cut the fabric thinking about where the dots would fall.  They show only in sections...I immediately thought I have to take those off and fussy cut the dotted strips...then I took another look...I think it adds visual interest the way it is.  so, it stays put.


Gosh darn it!  Another little quiltie that was so hard to let drop into that big blue postal box.  I hope you like it too Samm.

Enjoy a lovely end of summer ice cream social!
Annie

Wednesday, September 14, 2011

The Dressmaker Collage is Framed!


I am so pleased with how the entire final project turned out.
My Dad does nice woodworking don't you think?

My creative process is rather unorthodox.  At least I've never read or heard of anyone else that goes through my same process.  I  hardly ever have a finished product in mind.  My process goes like this:

I see an object that I want to put into fabric.  In this case it's a dressmaker form...and I want it to be paper pieced.  So I trace a form shape I like, then change it into a paper piecing pattern, then give it a test run with fabric and sewing machine.


Ah, I like how it turned out! Ok, so that's the end of the plan.  It gets laid aside with other project beginnings and I wait until it speaks to me or until I get inspired in some other way of what I'd like to do with it.  

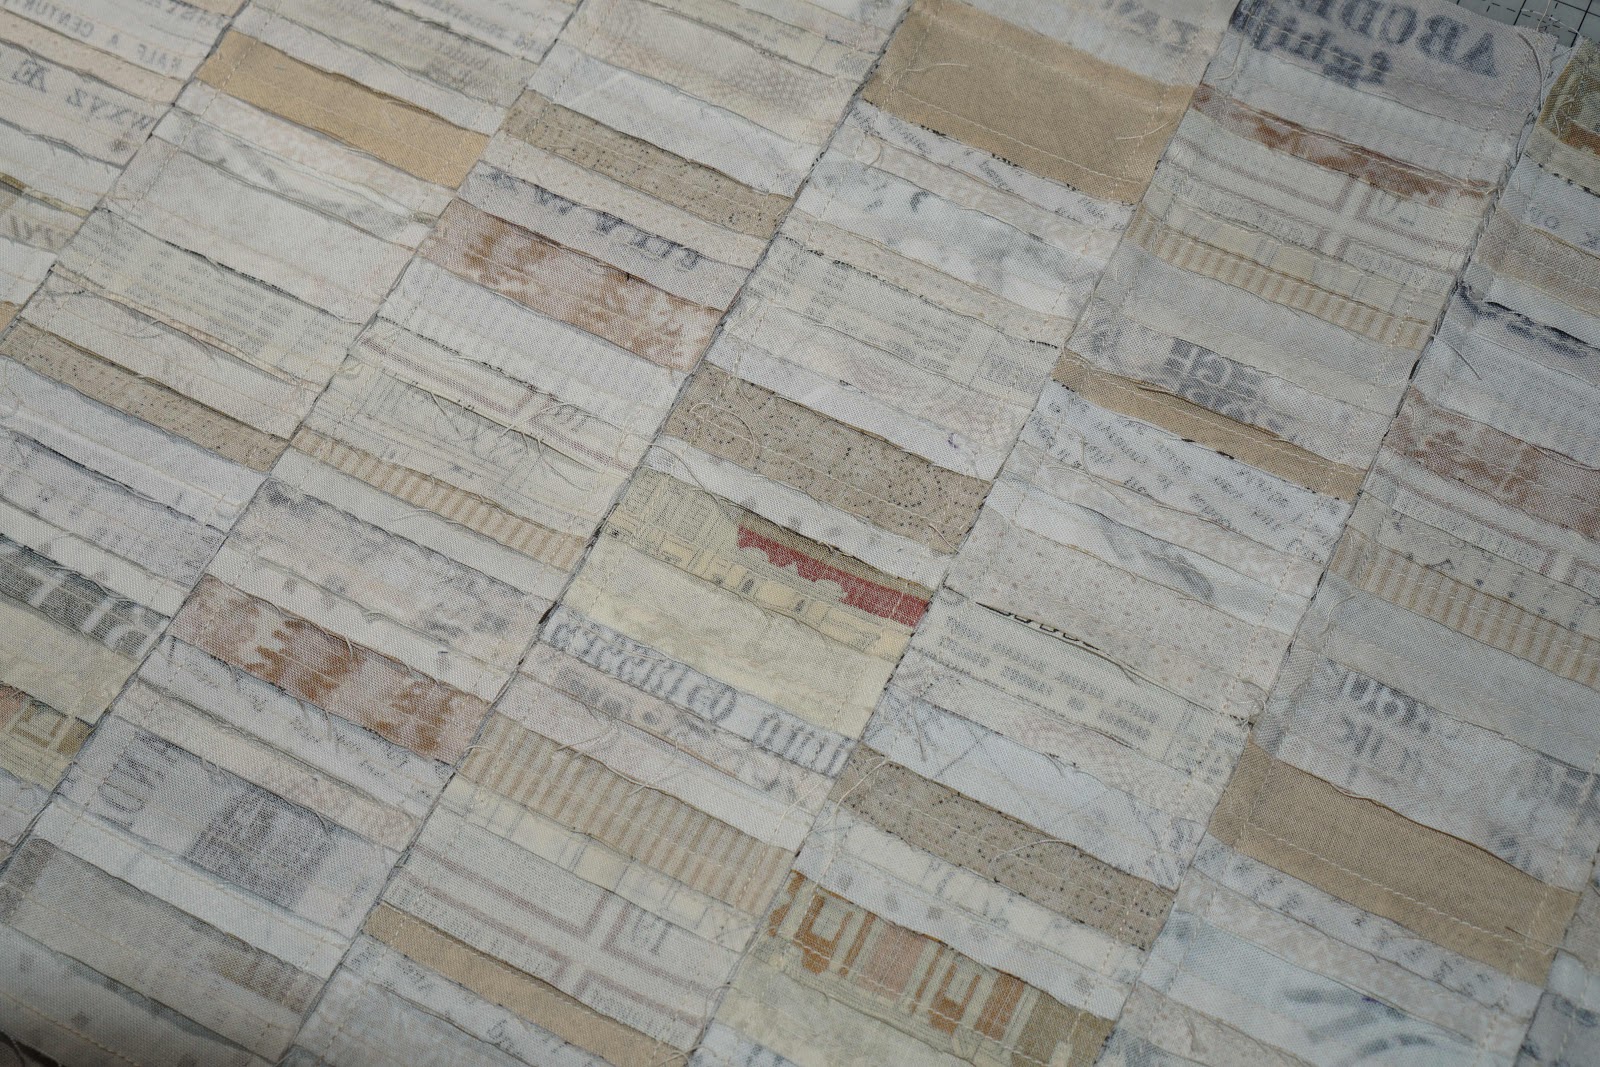
In this case, I was looking through some ephemera and collage downloads I have purchased and came across the assorted measuring tapes and the sheet of advertisements.  I thought somehow I could work them into whatever it was going to be with the dressmakers form.  I printed them to fabric, cut some out, and started arranging them around the dress form. 


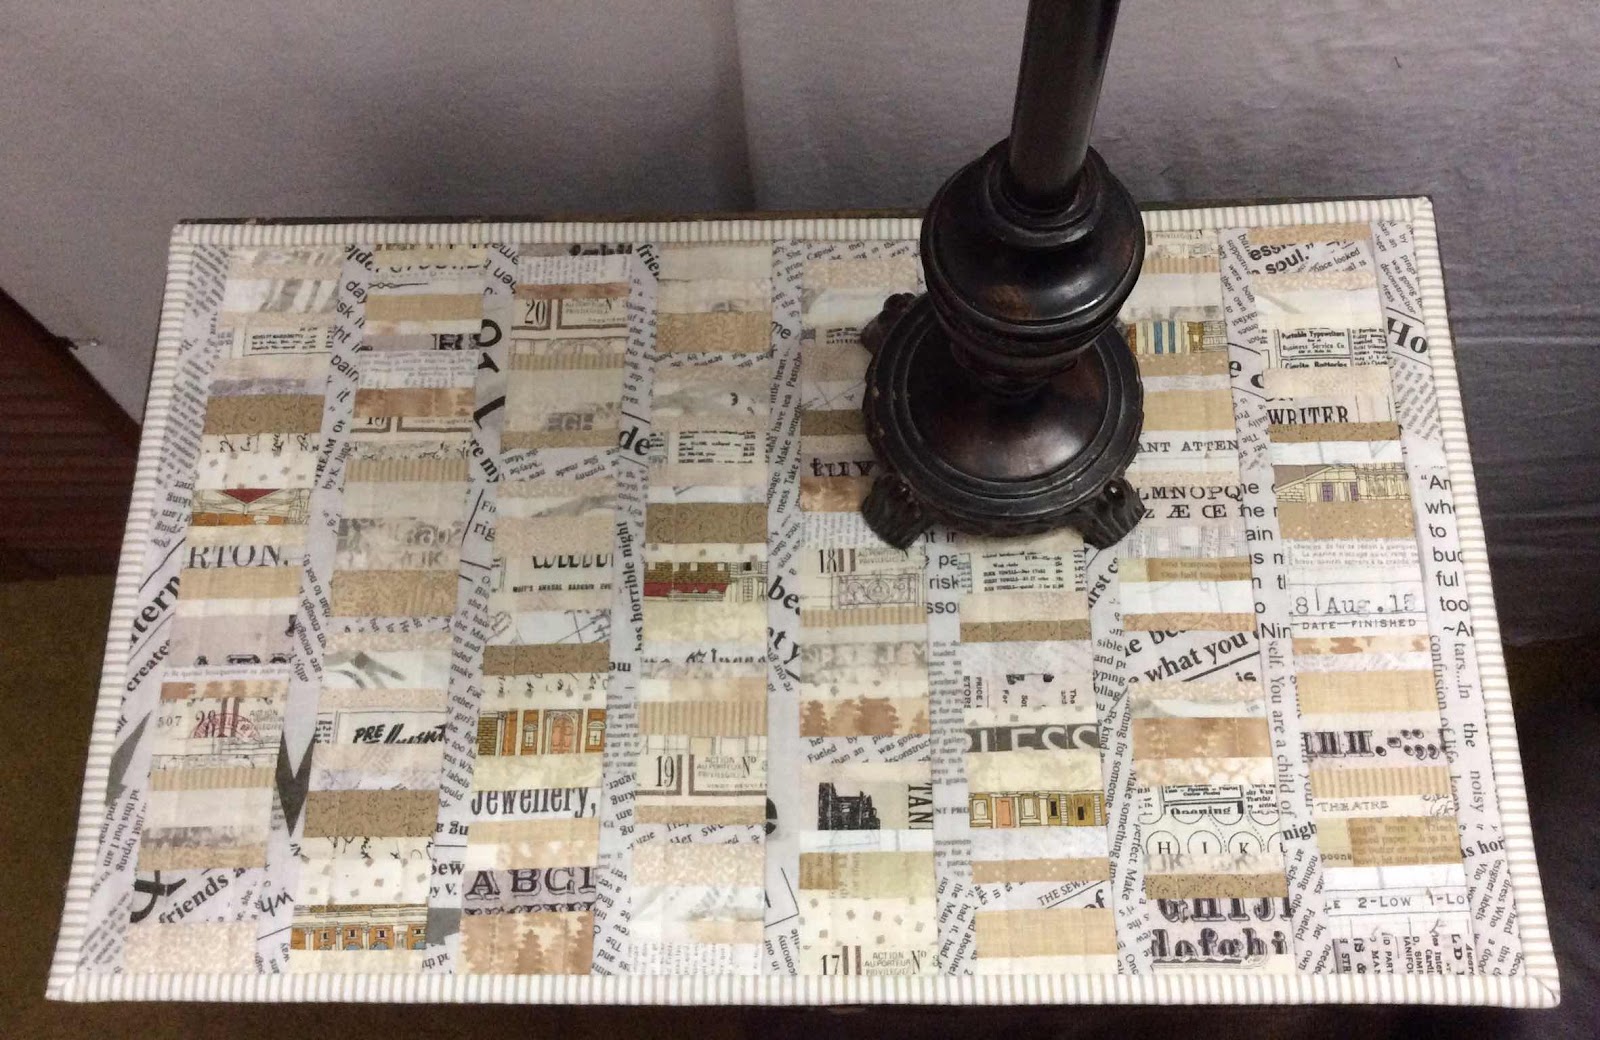
Then I started thinking about all the sewing notions I'm surrounded with that go back as far as my grandmother.  Now we're talking antiques!  And since everything else began looking aged, a collage of antique sewing emerged into this piece that was so fun to create.


I knew right away that I wanted to frame it.  My 84 year old father likes to dabble with wood.  I gave him the inside opening measurement, said not too ornate or busy design-wise because the collage was already very busy.  This is what he came up with and I think it works perfectly!


Crazy process, eh?  But it works for me and always has.  Lots of flickr contacts said to frame it in an antique frame.   But, Dad's frame means so much more to me...especially with the other small connections to my mother and grandmother within the collage.

Thanks so much for spending some of your day with me today!
Annie