Showing posts with label Postcard. Show all posts

Tuesday, May 25, 2021

Quiet Music

Music can be seen as well as heard.

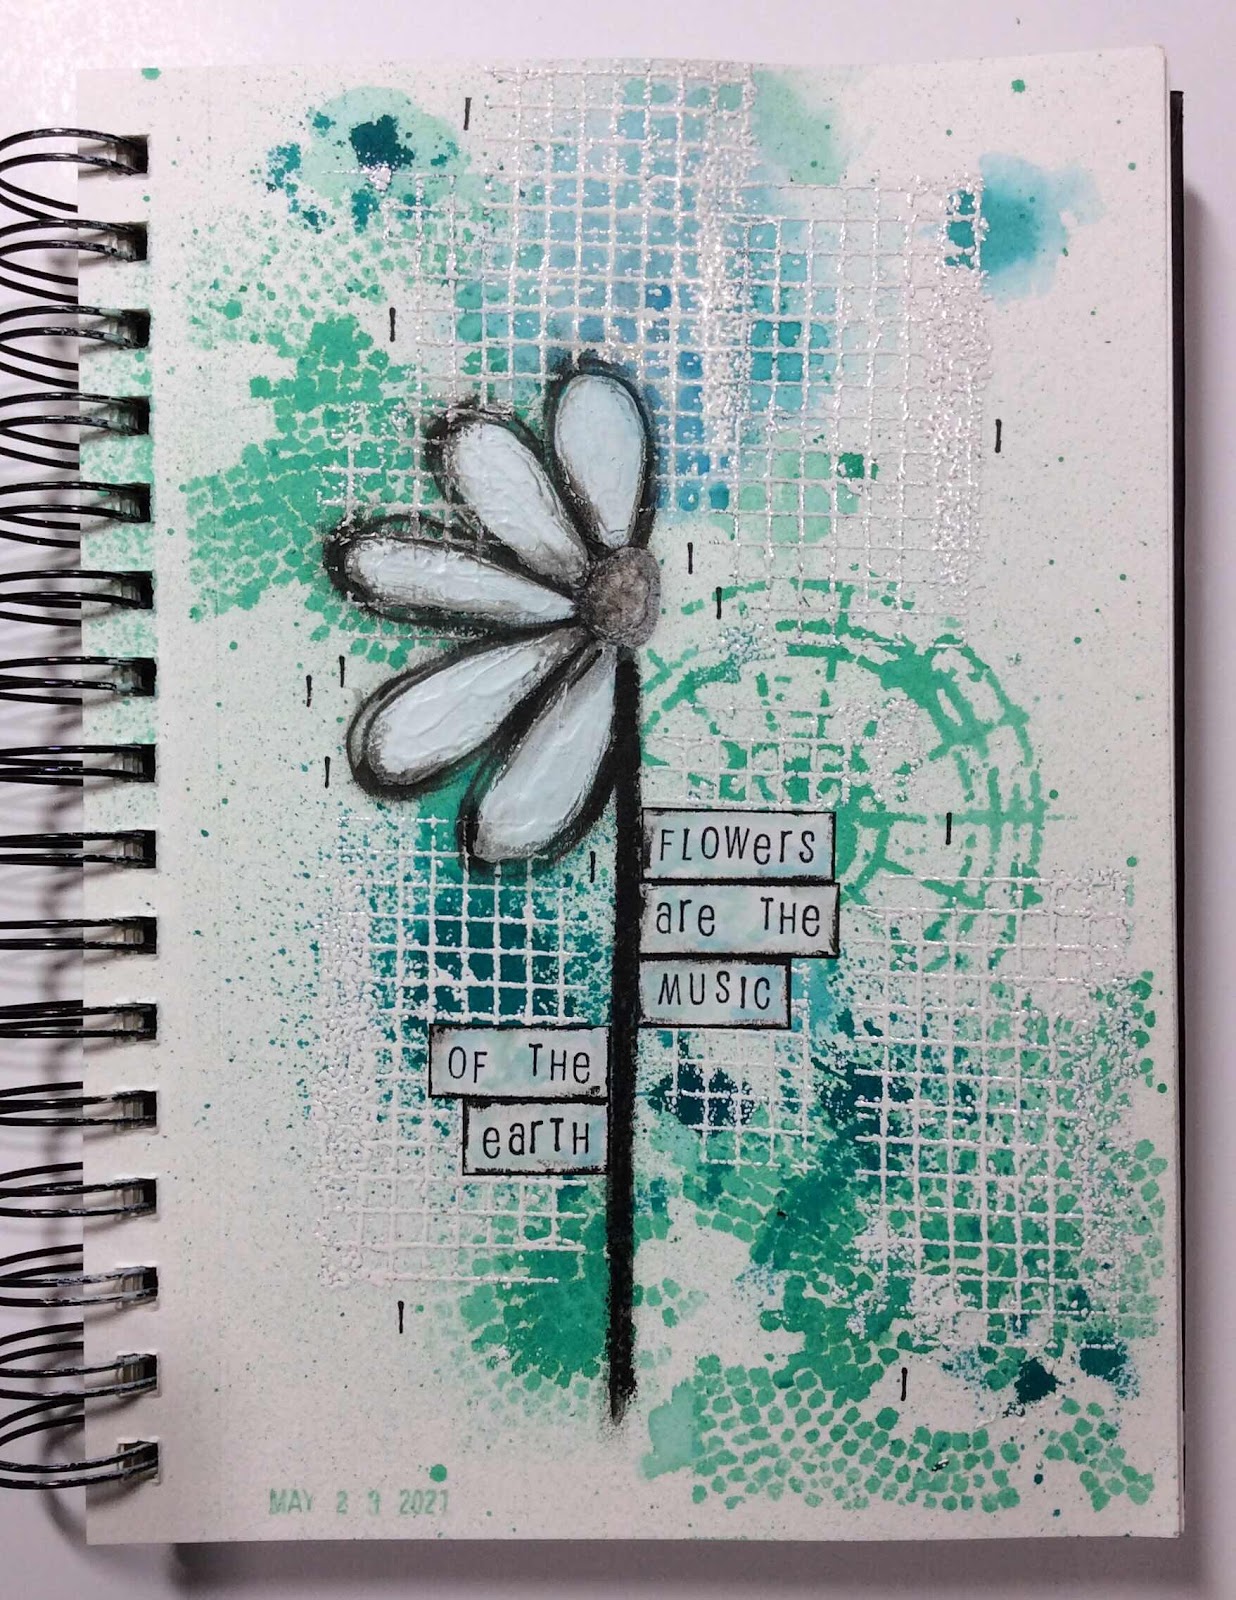
Flowers are the music...


I’ve made another art journal page inspired by the theme LANGUAGE at Art Journal Journey .
Also inspired by this Pinterest pin https://pin.it/73QjtTc

To get some color speckles all over my page, I placed my journal inside my spray painting box and lightly spritzed Cracked Pistachio Distress Spray Stain holding the bottle about 18” above the page.


I then used some stencils to direct intense color through the designs.


After the stencils I sprayed very close to the page to get spots of intense color over the page with Cracked Pistachio and Peacock Feathers Spray Stains.


I then embossed the grid stamp with white embossing powder.  That made the ink blobs blend into the background.
(I’ve been using black archival ink to emboss over. I really should get a clear embossing pad.)


I don’t draw well or easily, so I traced a portion of a flower cutting die with pencil then went over the pencil lines with an 8B graphite pencil.


The flower petals were painted with a white heavy-bodied acrylic to give the petals some texture.  It was here the top ink blob looked quite out of place.  I worked at it for awhile using a variety of ways to get it blend into the background.  It refused.


My final attempt before trashing the page was to just add more embossing.  Although I now had more embossing than I wanted, it did save the page well enough.


I wet the graphite pencil with a water brush to outline the flower petals, but it just wasn’t bold enough.  I am new to Distress Crayons.  But they’ve done the job.  And we all know how I love a bit of grunge.


I stamped the words on white cardstock, added hints of the colors and grunged the edges.  I placed them as leaves for the flower.  The original quote says “ Flowers are the music of the ground...”. But I liked the word earth better than ground.


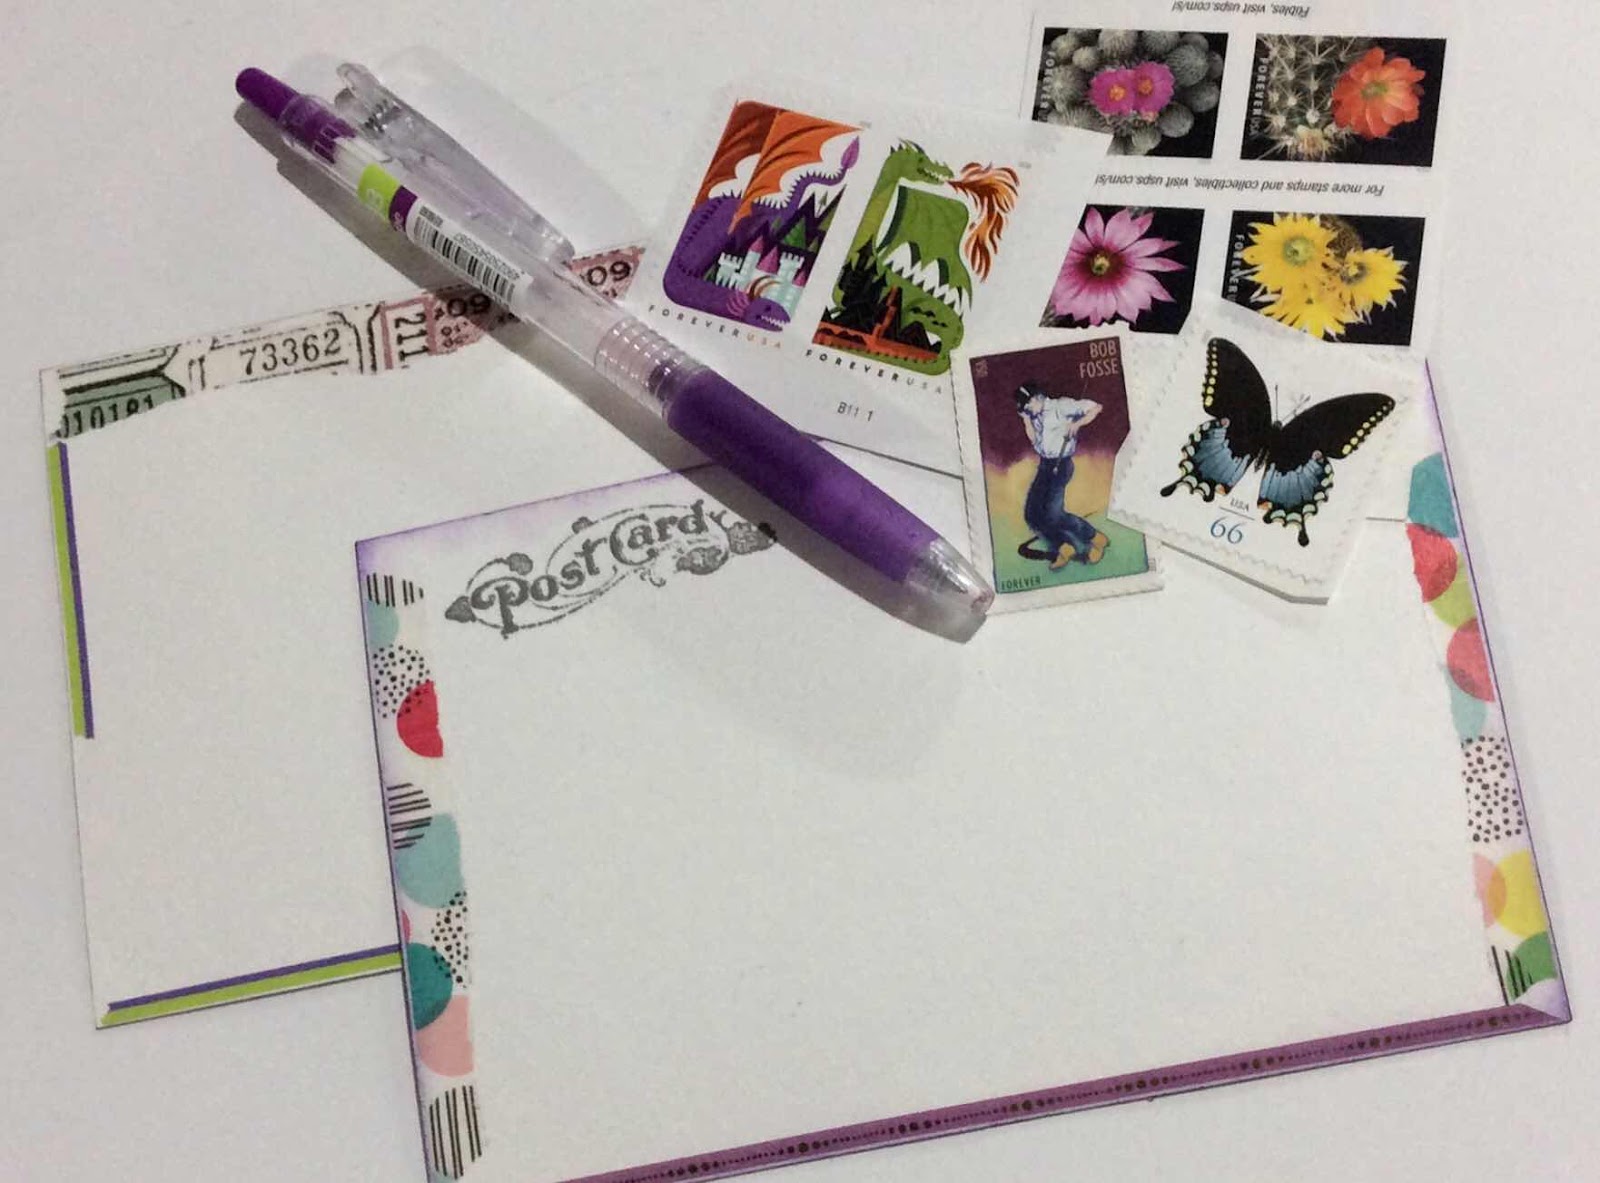
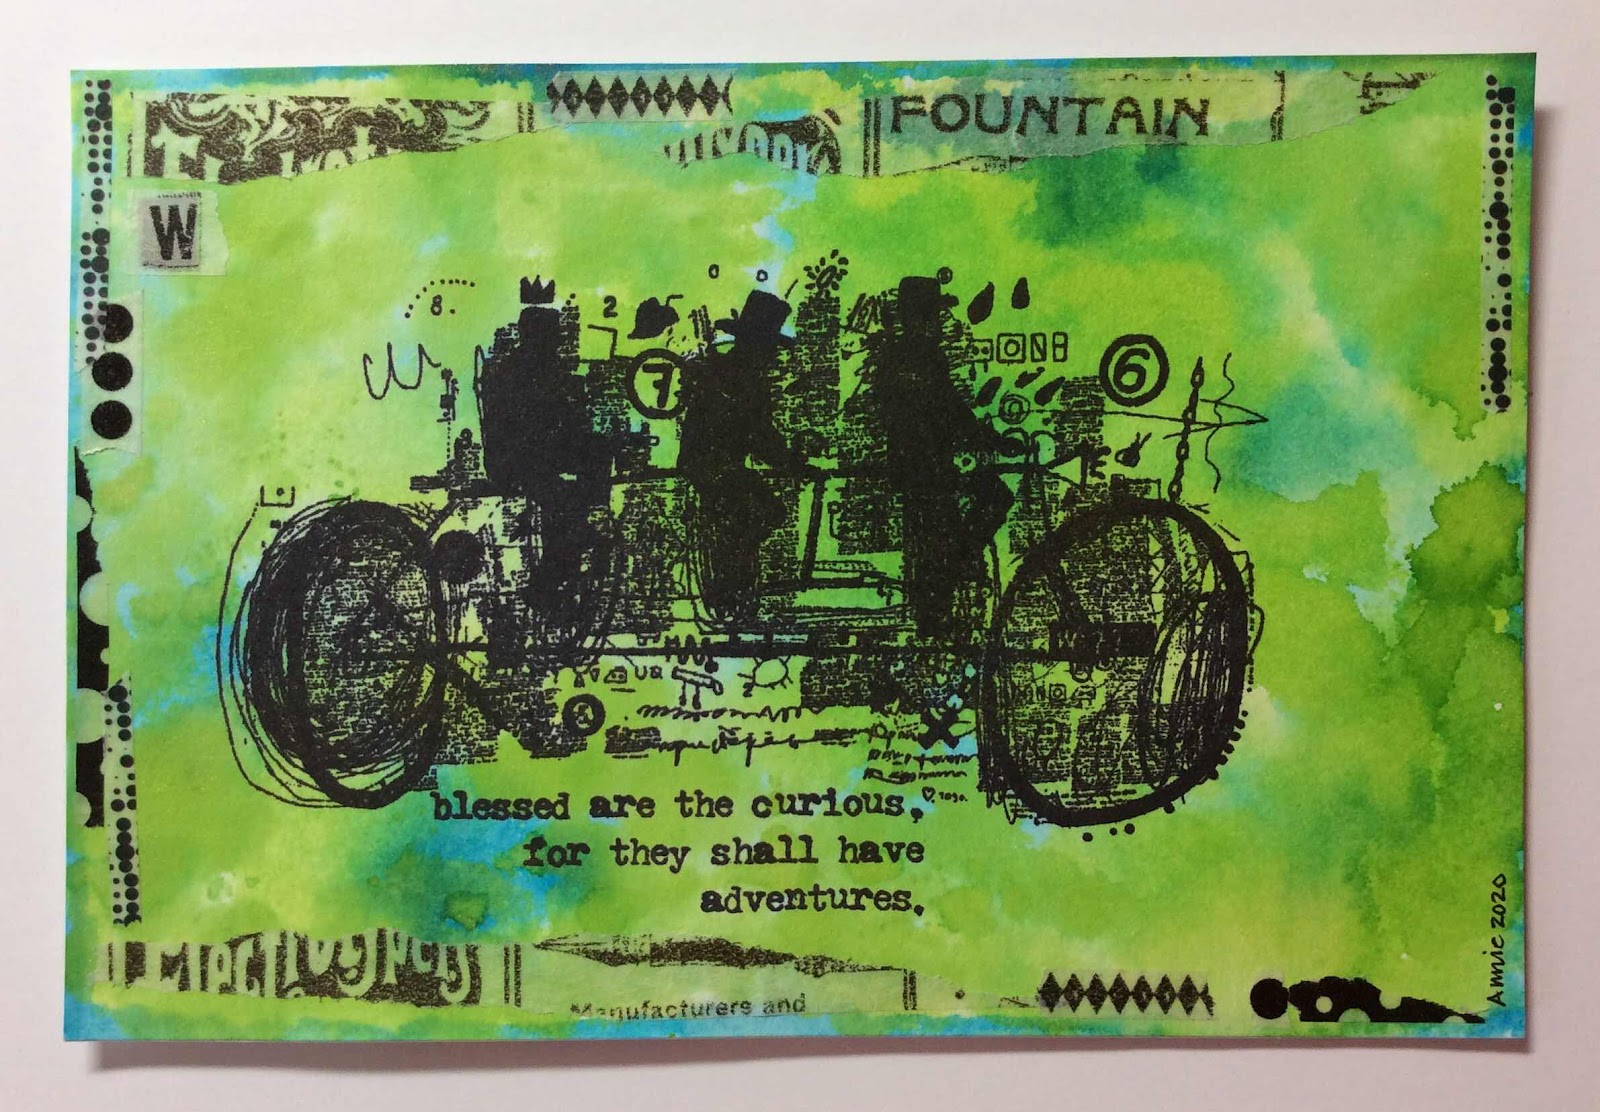
I love these colors.  I attempted to make a postcard in a similar fashion but I ended up with color all over.  That worked out fine to white emboss, add modeling paste through a stencil and a white die cut  to decorate all the color.
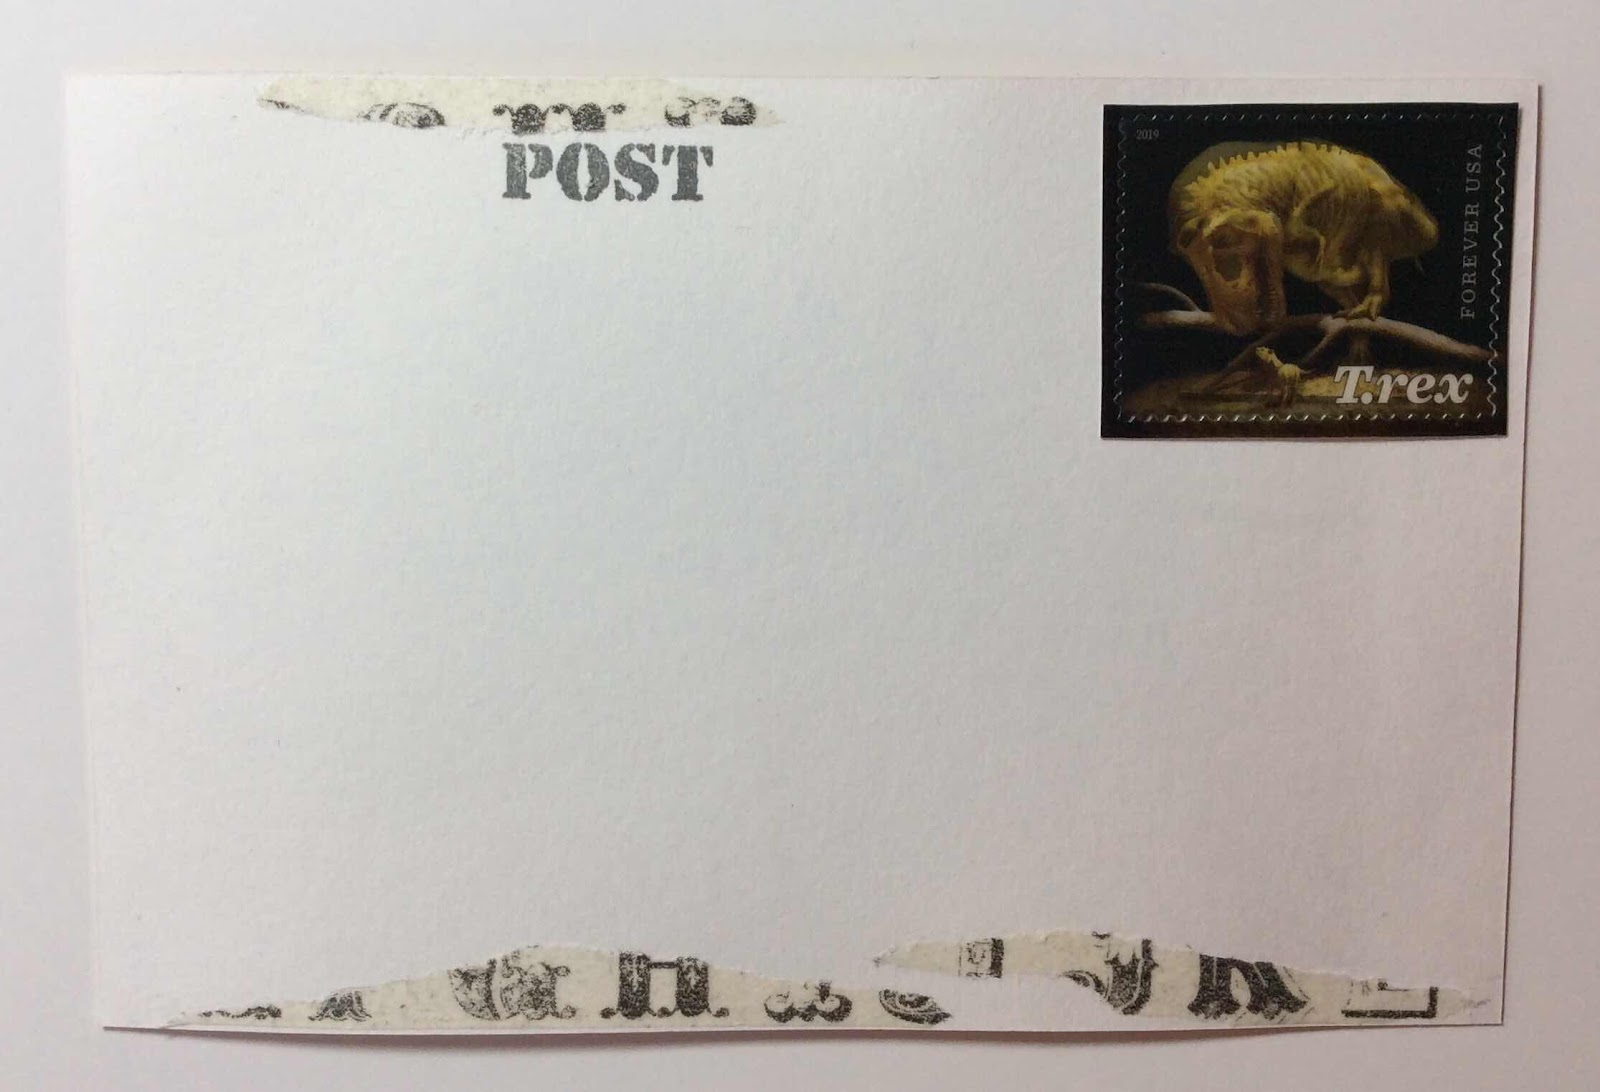
If you’d like to receive this postcard in the mail, let me know in a comment.


When I see the beauty of flowers, I can’t help but feel happy.

Saturday, April 3, 2021

Easter Postcard

HAPPY EASTER!

The theme this week at Sunday Postcard Art is Easter.
Which reminded me that I needed an Easter card to mail out.


I started with spraying a piece of heavy sketch paper with Shabby Shutters Distress Oxide Spray.  I layered it with a piece of design paper purchased on Etsy.  I cut a scrapbook paper shape with a die.


I mixed some of the Shabby Shutters Distress Oxide Spray into white modeling paste to tint the paste and pressed it through some stencil designs.


(I changed my mind for the die cut paper)... I glued everything down, stamped and embossed the bunny and greeting, inked the edges of the postcard with Peeled Paint Distress Ink with a final darker edge using Walnut Stain Distress Ink.


When my postcard was finished, I glued it to a heavier 98lb mix media paper.

A mysterious dark blotch appeared that I tried to fix but did not work well.  The 93 year old eyes of my recipient are not even going to see that.  That’s what I’m telling myself.


Normally our Easter weather is snow or rain or howling wind.  But this year here in Wisconsin in the USA, we are being promised gloriously nice weather for the Easter weekend.  What a wonderful Easter gift.

March 2021 Calendar Journal


That was a whole month of fun!

Sunday, March 28, 2021

Lavender Postcards

Lavender is the theme this week at Sunday Postcard Art


I’ve made two postcards for this theme.
The first is for the color and shades of Lavender.


I used Distress Oxide Spray on 70lb heavy sketch paper.  Then a rubber stamped image, a die cut alphabet, modeling paste through a stencil, the “hello” die cut, distress inks to darken the edges and Washi tape to trim.

My second postcard is my attempt at Lavender, the plant.


Again I used Oxide Spray on heavy sketch paper and again through a stencil.  Die cuts are the plants cut from the heavy sketch paper and painted with watercolors.  The bee is a rubber stamp and a strip of Washi tape at the bottom for ground.  

Both cards were then glued to a 90lb mixed media paper for mailing stability.

These are the address side of these postcards.


If you would like a chance at finding one of these postcards in your mailbox, let me know which would be your choice in your comment.  I will contact the winners for mailing info.

Happy Mail Day!

Saturday, March 13, 2021

Patriotic Sewing

It has been a week of patriotic sewing.

The theme this week at Sunday Postcard Art is using the first letter of your name.
Annie - A
Since I was already working on a patriotic piece, America came to mind immediately.  I’ve stitched a postcard of our American symbol, our Flag.


This small 12” X 12” craft storage box contains odd sewn pieces or blocks.  It is all that remains of unfinished items.  I’m keeping these pieces in mind, waiting for inspiration to sew them into something...other than potholders.


These three paper pieced blocks were in that box.  I think they were originally intended to be potholders.  But now, years later, I’ve changed my mind.


I decided that they would become a table runner.  I have had zero patriotic home decor items and it is time that I did.


I went through my stash of blue fabrics hoping for a piece that would blend well enough to put these blocks together.  I got lucky.


Then I went through my stash of red fabrics hoping for a binding piece.  I got lucky again.  I really love how the staggered stars in the fabric show up at odd intervals when used for a binding.


I normally mail the postcards I make, but I’ll keep this one for decor.

Sunday, February 28, 2021

Bloom Fabric Postcard

The theme this week at Sunday Postcard Art is “Bloom”.

I get so excited when their themes can be worked into a fabric postcard and I have the time to play along.

I am not a Winter girl, so I’m looking forward to Spring and Summer!


Now to fill in the backside and get it in the mail.


Happy Mail Day!

Thursday, June 4, 2020

An Owl’s Nest

June weather is finally here!  June is when we finally get nice weather for the outdoor activities...like cycling!

But today I’m talking about May.

I made an art postcard for an artist friend’s birthday.  Similar to one I’ve made before but in different color inks.


My May calendar journal.  Sorry, lots of personal stuff I don’t care to share.


On May 1st we took a walk to see the owls that are again nesting in a old building inside a boarded up vent that leaves an outside cubby at the upper portion of the building.


Mama Owl and her two babies.  Bunch of sleepy heads!


The next visit we made to observe the owls, the babies were out exploring the world while Mama was napping...again.  I was surprised at how large the “baby” was.

Sadly, the babies were found dead a couple of weeks later.  It is believed they were electrocuted.  Must have been a power surge through the lines.  I hope Mama will return again next year.

May 31st was my first bicycle ride of 2020.  I’m so excited!


Be safe and stay healthy.

Tuesday, March 10, 2020

Shimmering Postcard

I’ve had another morning of play with my writing inks for another postcard.


They aren’t really just writing inks.  People paint with them also and that’s what I’ve sort of been testing.  I let the inks do the painting for me.

This time you can see the shimmering gold how it settles to the bottom of the bottle 


This purple ink really shows the gold shimmer very well.  It even comes through the rubber stamping ink.


These fish postage stamps are not all that new anymore, but they glow as well.


The rubber stamps I’ve been using are the
Tim Holtz collection, Theories CMS329

Saturday, March 7, 2020

Writing Inks In Art

I’m experimenting with my writing inks and adding them to an art postcard.


I first made a full sheet masterboard on a mixed media paper just sprayed with Ranger Distress Oxide Spray (mustard seed).  When that was dry I cut a postcard size from the master board.  I put some orange ink on an acrylic platform, spritzed it with water and set the postcard face down on top of the inked acrylic.  Ran my fingers over it then removed it and let it dry.


This ink has gold shimmery something in it.  It settles to the bottom.  I tried showing that here, but I couldn’t find a good way to catch it on camera.

You can see it best near the left side and the bottom edge on the postcard.


I stamped the images with Black Soot Archival Ink and added some washi tapes around the edges.

On the address side, I added torn strips of washi tape.  I have a roll that really just wants to stick to itself.  So it tears off kind of artsy all by itself.


I always glue down the ends of my washi tapes so that they don’t get caught in the postal servicing system.


If you haven’t seen the new T-Rex postage stamps, let me share one here.
They are a lenticular image (I think).


When the stamp is looked at from another angle it changes to the skeletal version.  Pretty fun, huh!


I’m looking forward to more art with my writing inks.

Thursday, December 19, 2019

It’s Christmas Time!

At the end of last year I found a facebook group challenge to work on and post a Christmas gift every week.  And magically by December you would be well on your way to be ready for Christmas.

So I challenged myself to work on “something” for Christmas each week of the year.  It could be cards, gift tags, gifts, decorations.  I couldn’t be limited to just a gift as I certainly don’t need that many gifts.

I made a few Christmas cards.


Paper cards and fabric postcards.  I saw the washi tape tree idea on Pinterest.  What a fun card that was to make.


I wondered how the lettering would come out by cutting it with die cutting letters.  Worked great.  They are pretty narrow.


Also a die cut “jingle all the way”.  Embossed stamping for the paper cards.


I managed to create a few gift tags.


If my local kids don’t take them for keepsakes, I take them back and use them again the next year(s).  After all the tedious work, it’s great to see them again and tie them to a gift the next year.  


I also made four very cute money gift envelopes.  But they were sealed in their shipping boxes before I remembered to take a photo of them.

I turned the challenge to a personal challenge as I can’t post stuff on facebook that I don’t want people to see ahead of time.  I managed to make something for Christmas during 26 weeks out of the 52 week year.

Here’s how November went for my friends who enjoy seeing my journaling calendars.


I wish all my friends and followers a very Merry Christmas
and a best ever New Year!