Showing posts with label Quilt. Show all posts

Thursday, August 18, 2022

Pink Stash Quilt

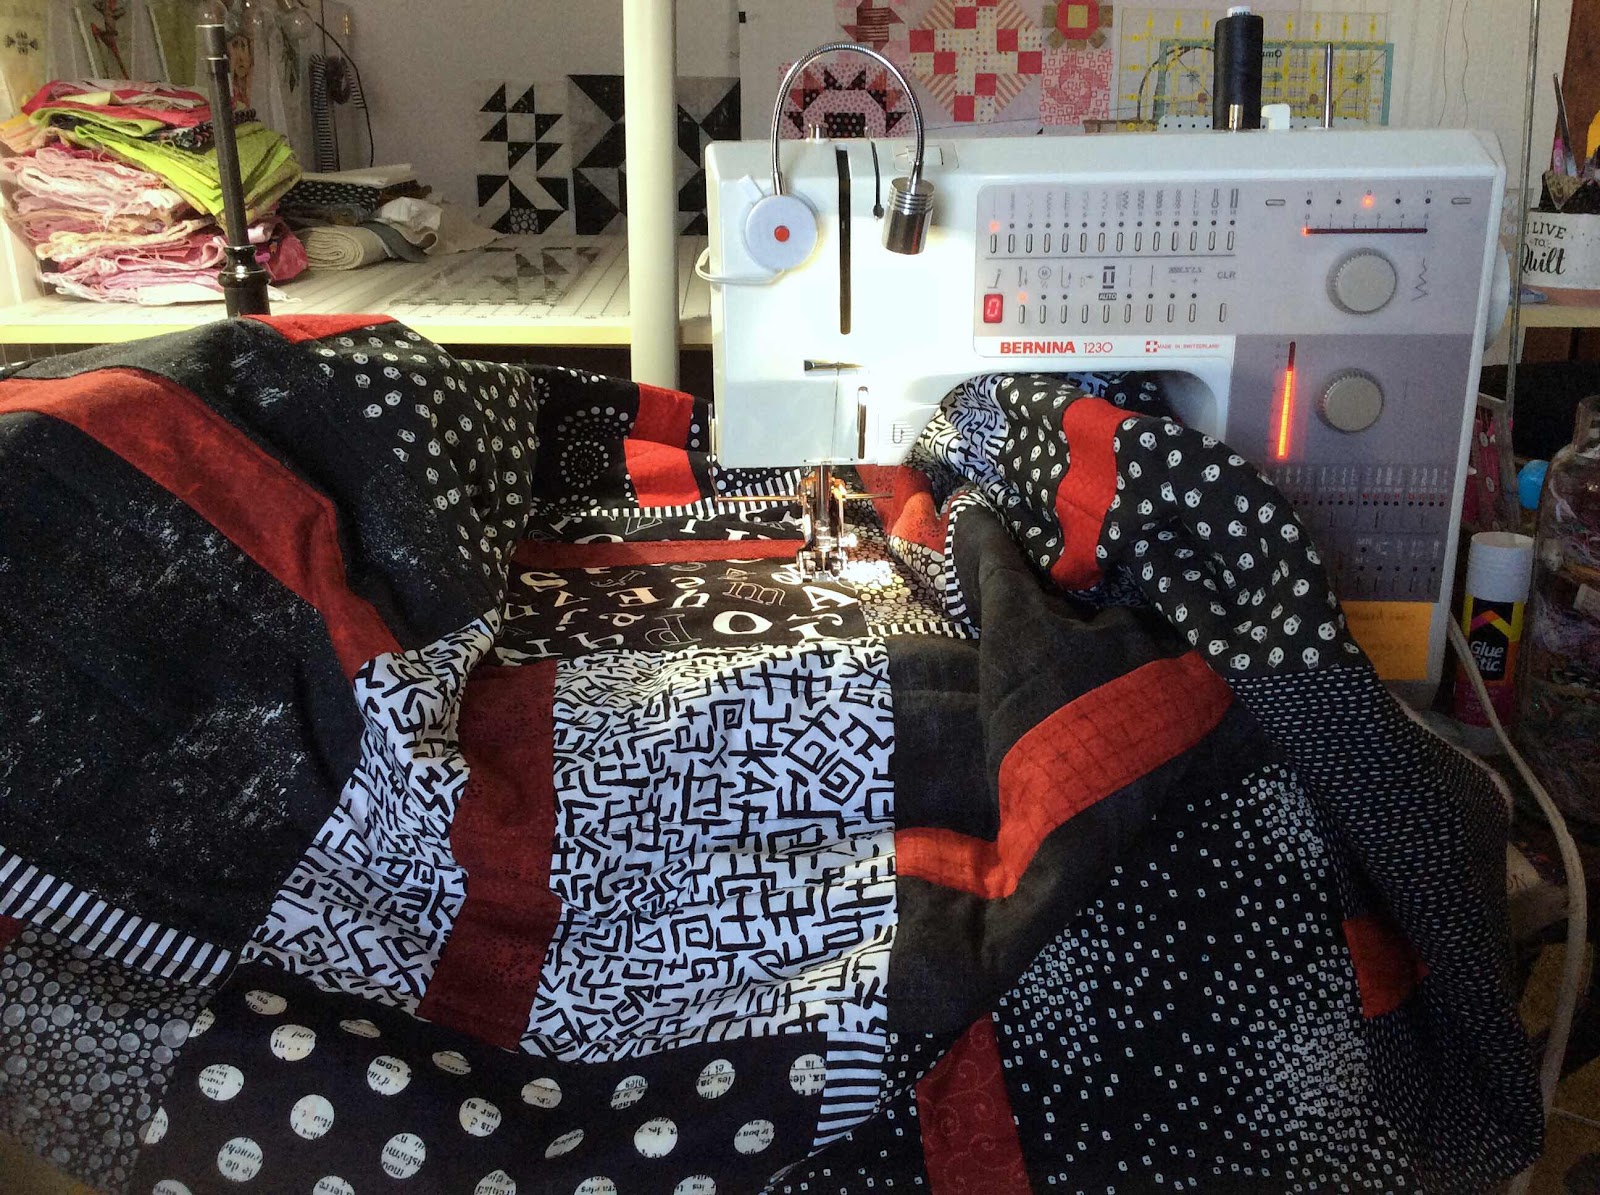
During a moment of nothing to sew because every project was waiting for something to come in the mail or for me to drive to the quilt shop to get what was needed, I joined the Moda Fabric’s Blockheads 4, 28 week quilt along.  I intended to sew the blocks from my stash of pink fabrics.  I quickly added in some greens.  (Neither stash color is any less from this effort.)


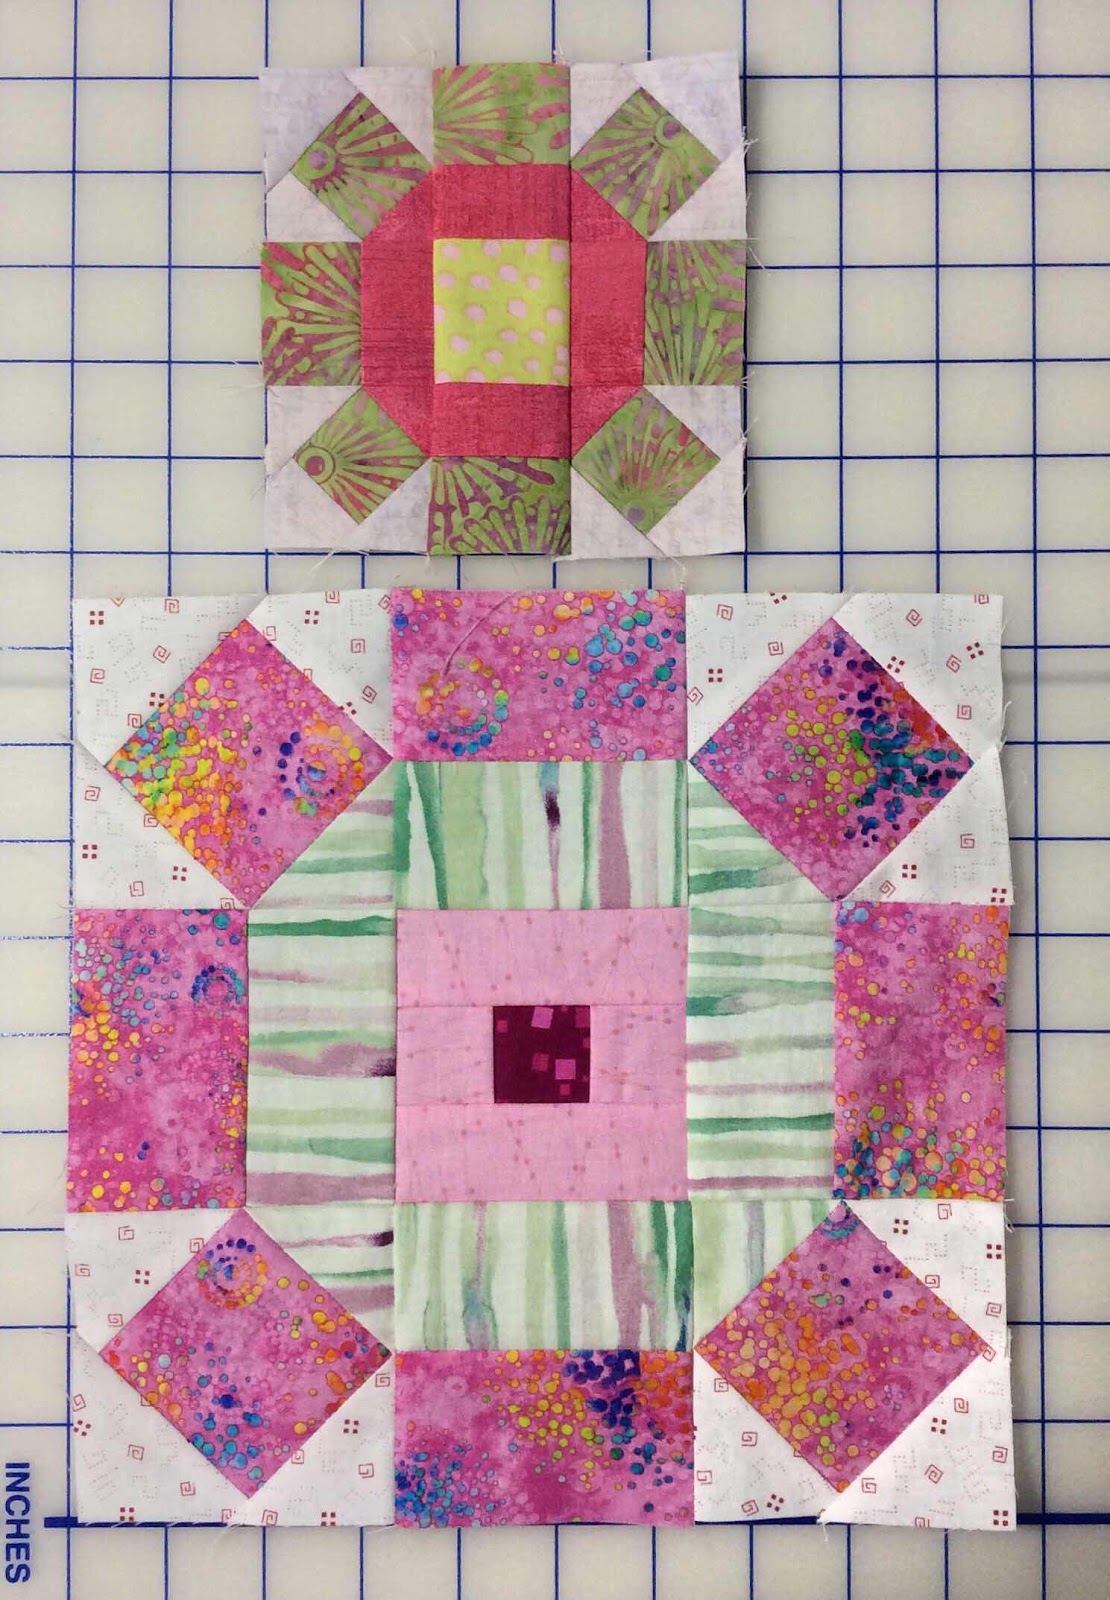
Instructions were included for both 9” and 4.5” quilt blocks each week.  They also threw in some bonus blocks every couple of weeks or so.  I managed to keep up for several weeks before deciding that sewing traditional quilt blocks and cutting the menagerie of little pieces was really not my thing.


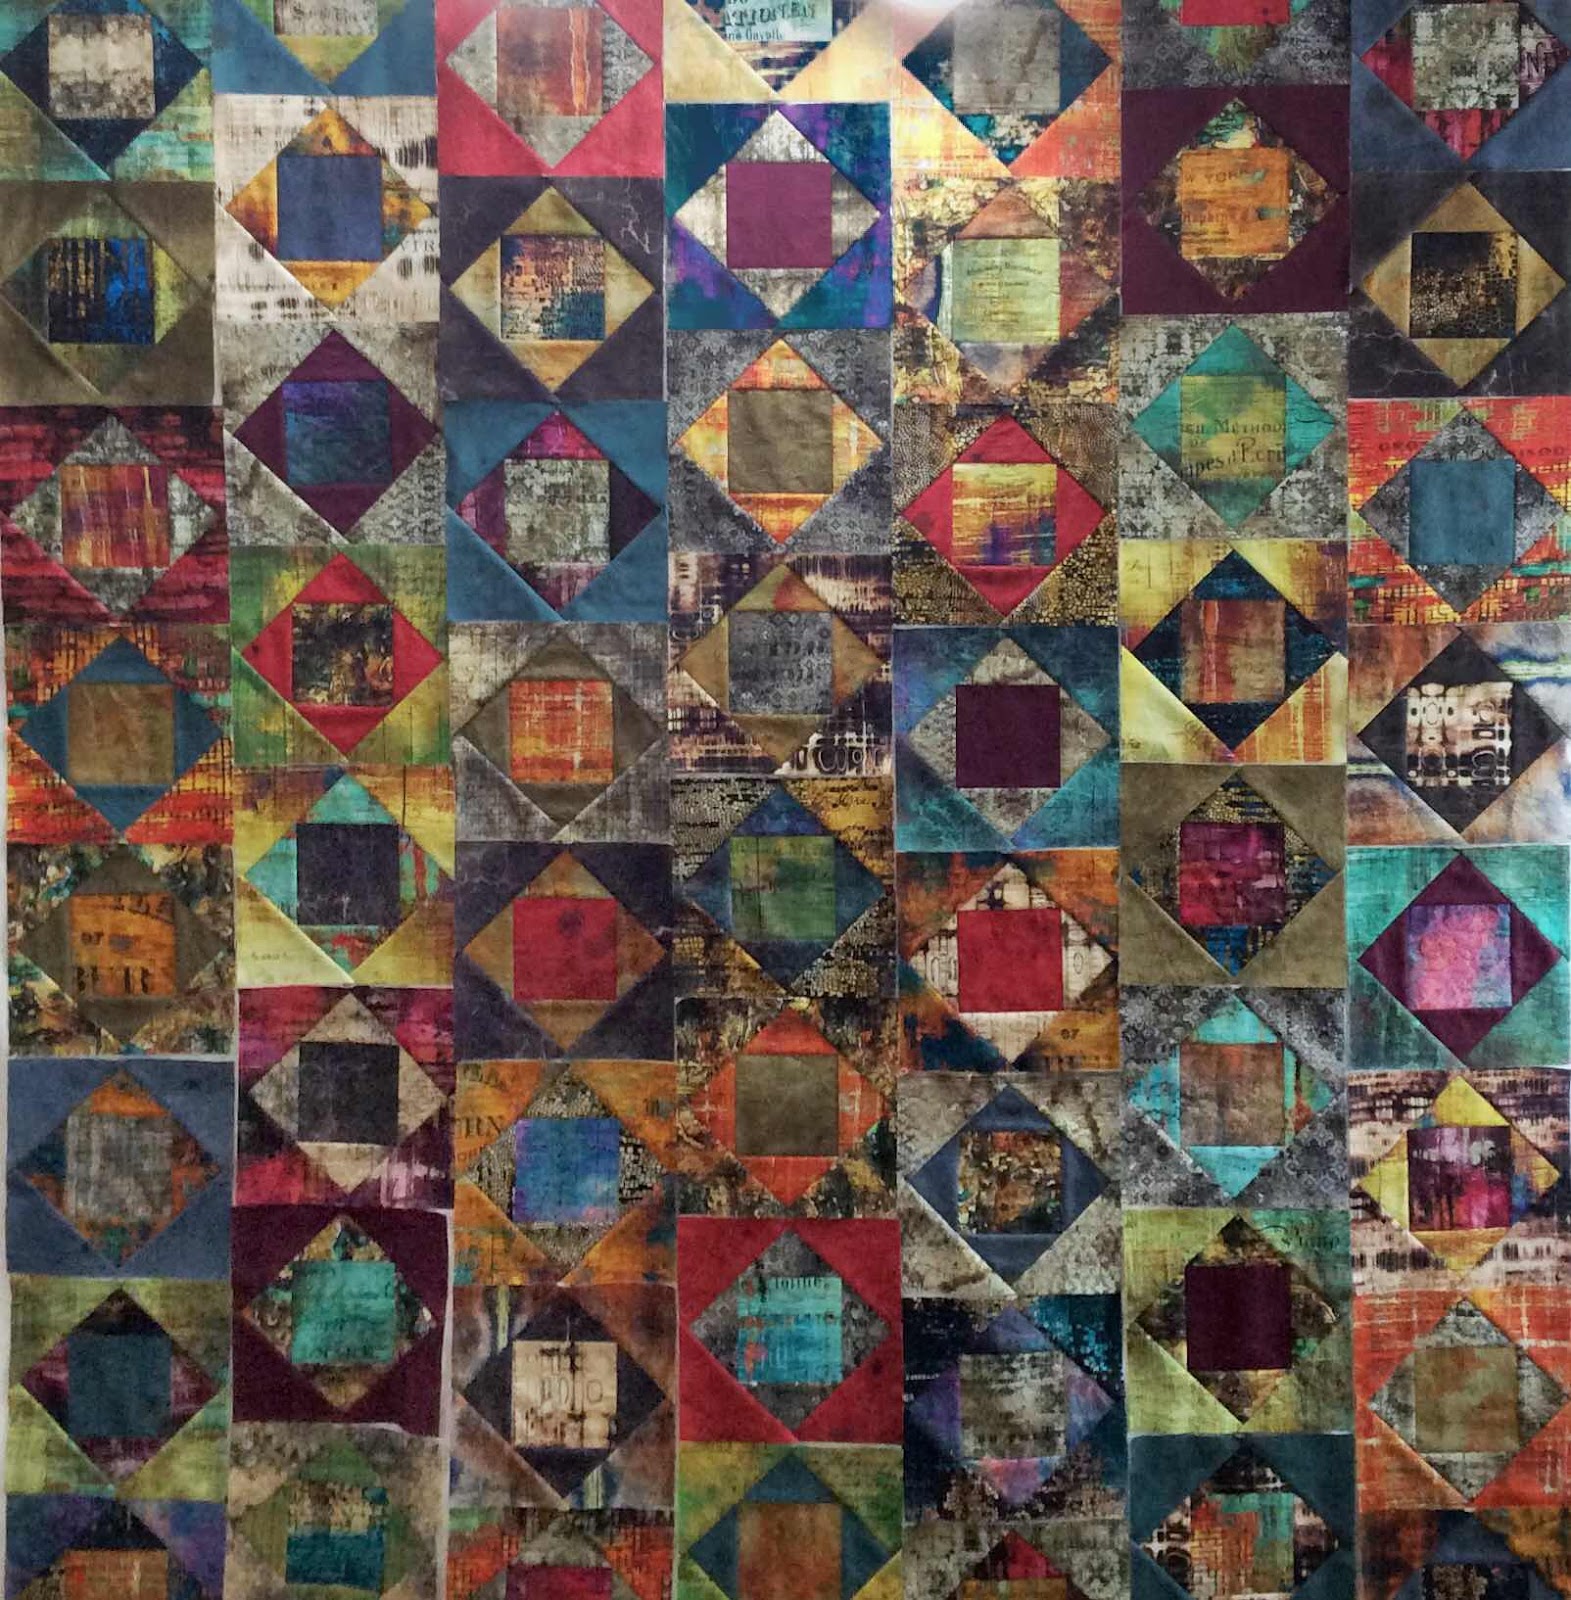
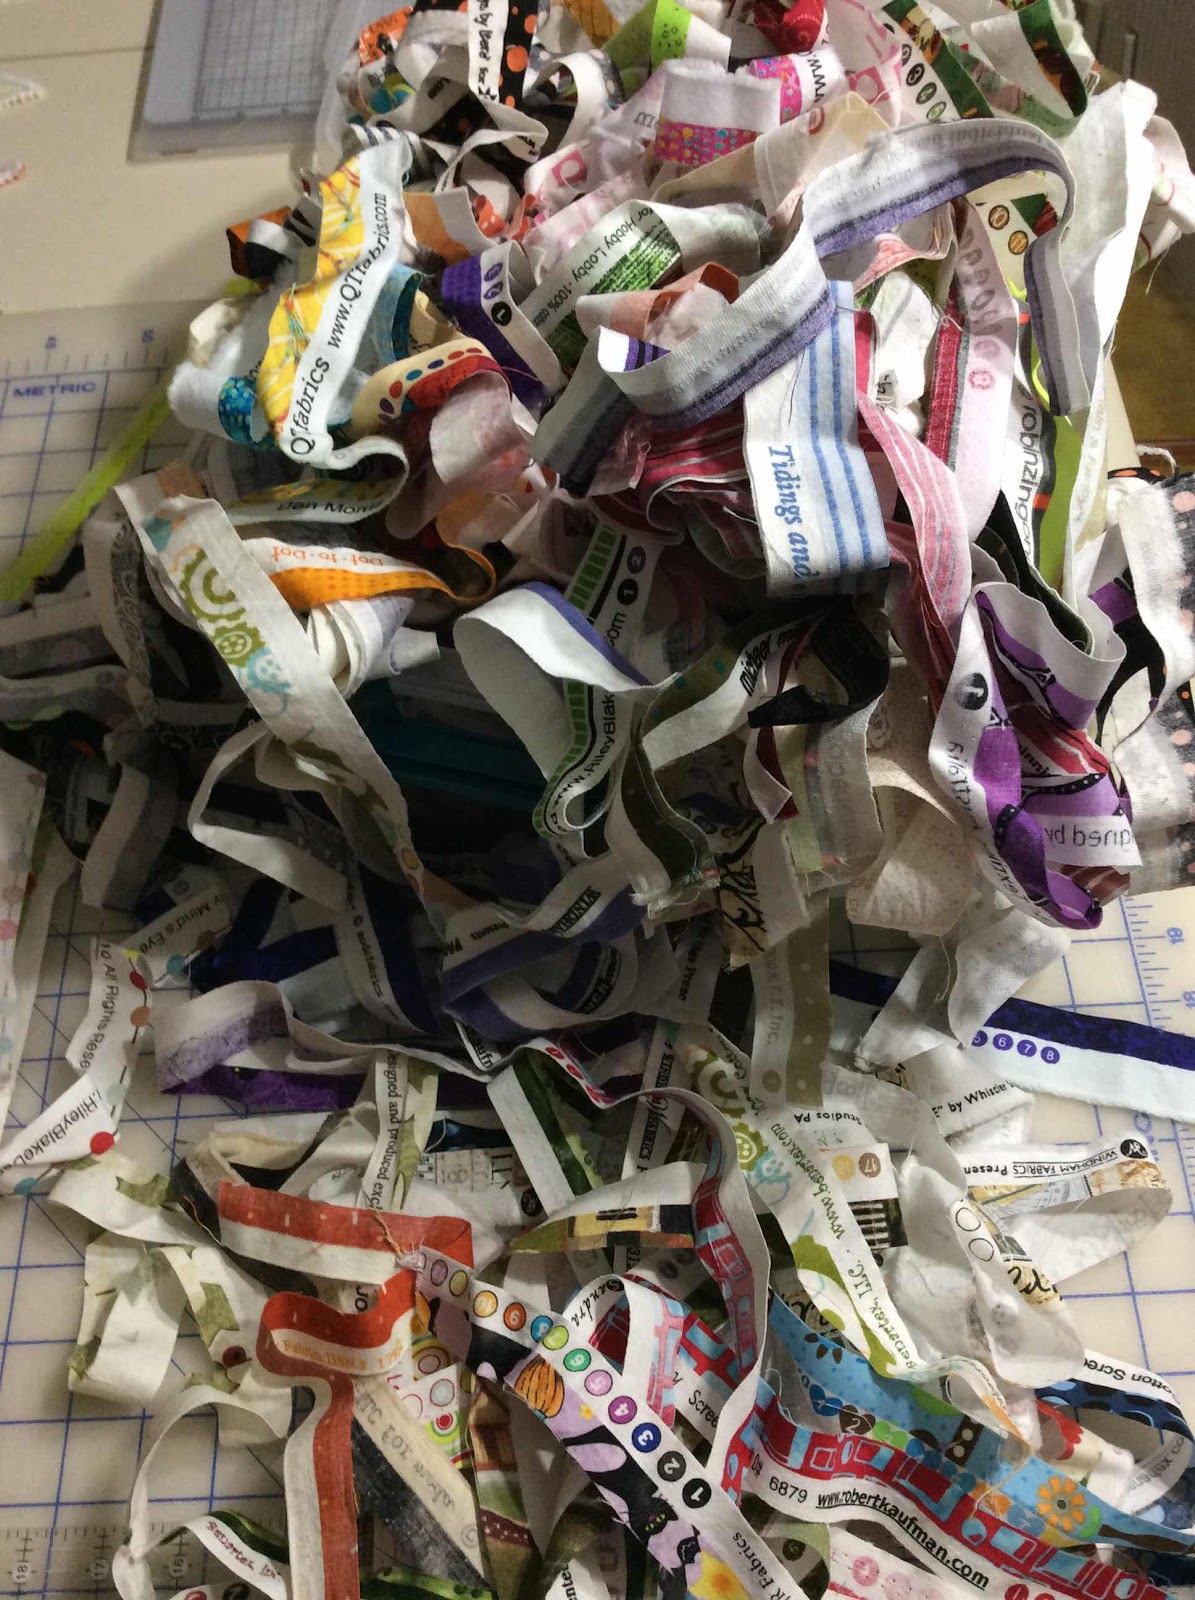
I had this many blocks by that time.


I decided it could be a baby quilt...until I thought it might make a baby crazy looking at that wild mess.  So maybe it would be a small lap quilt (for my old age).

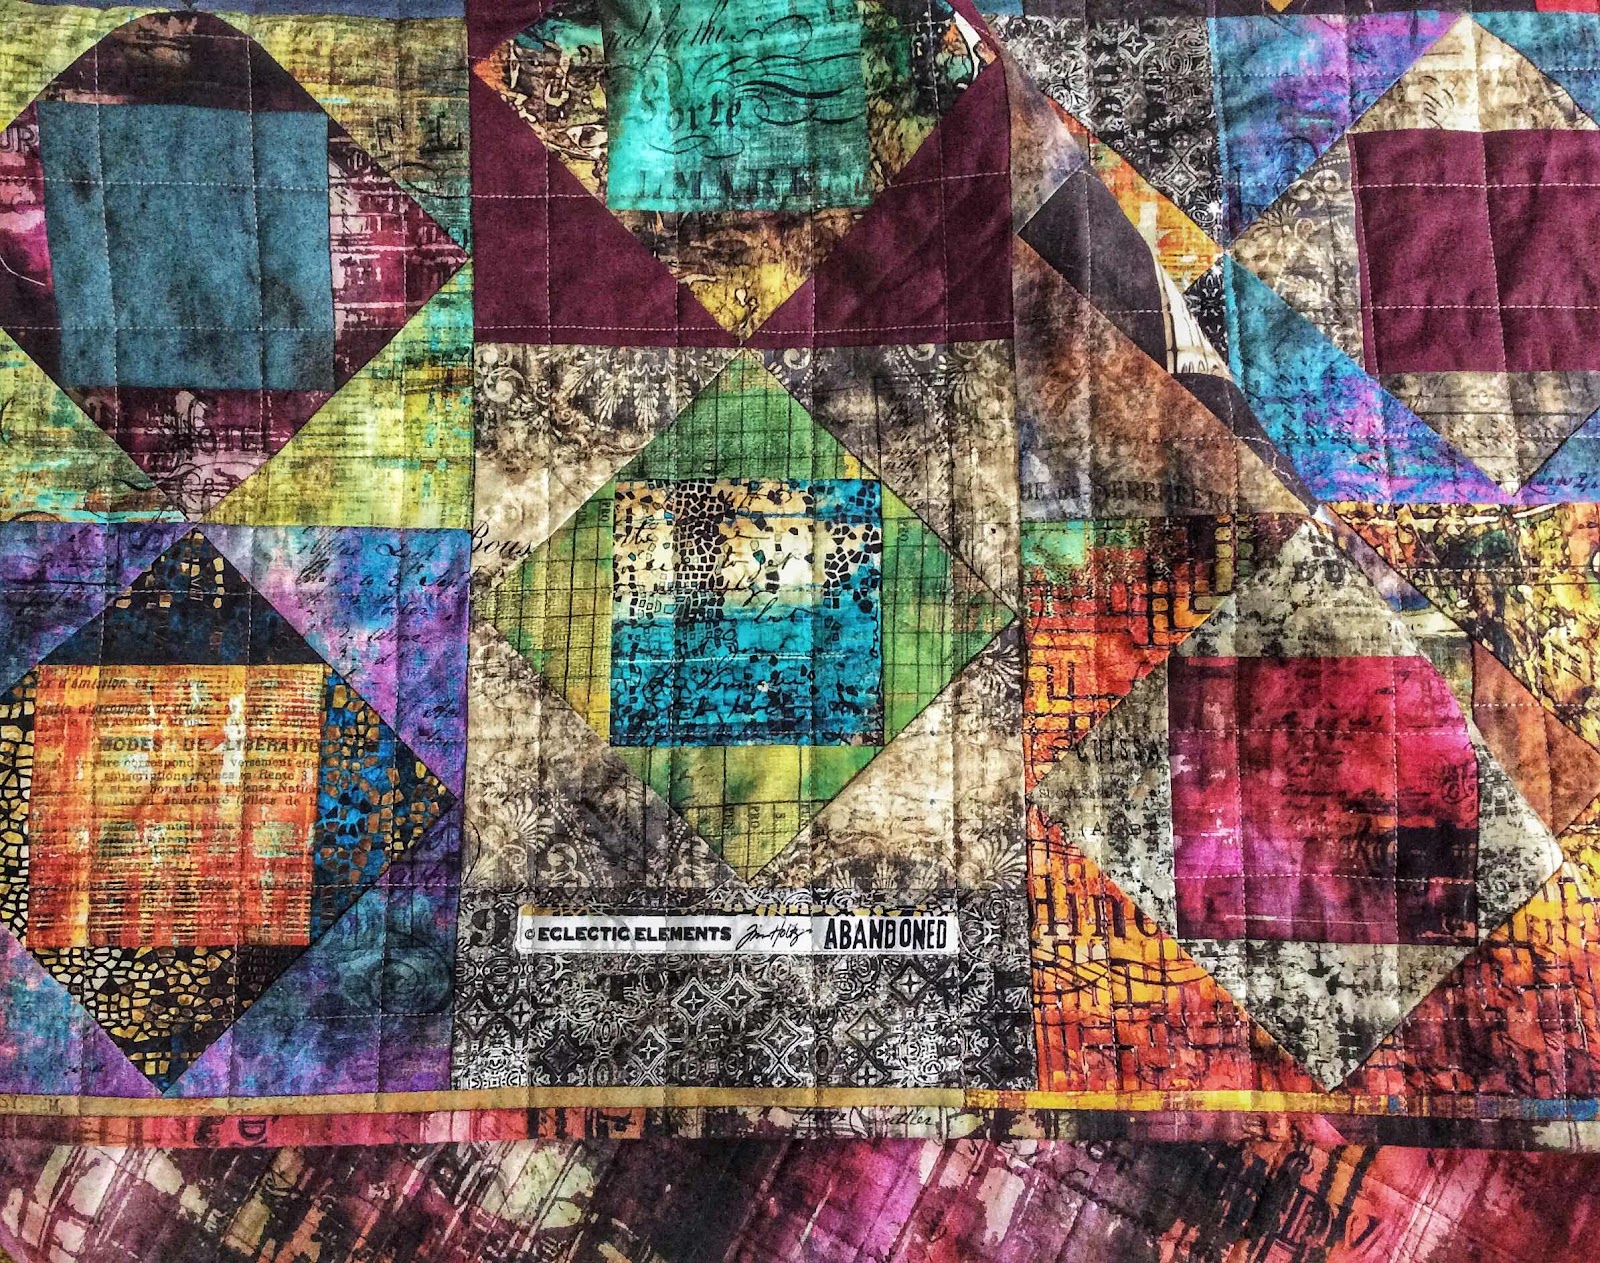
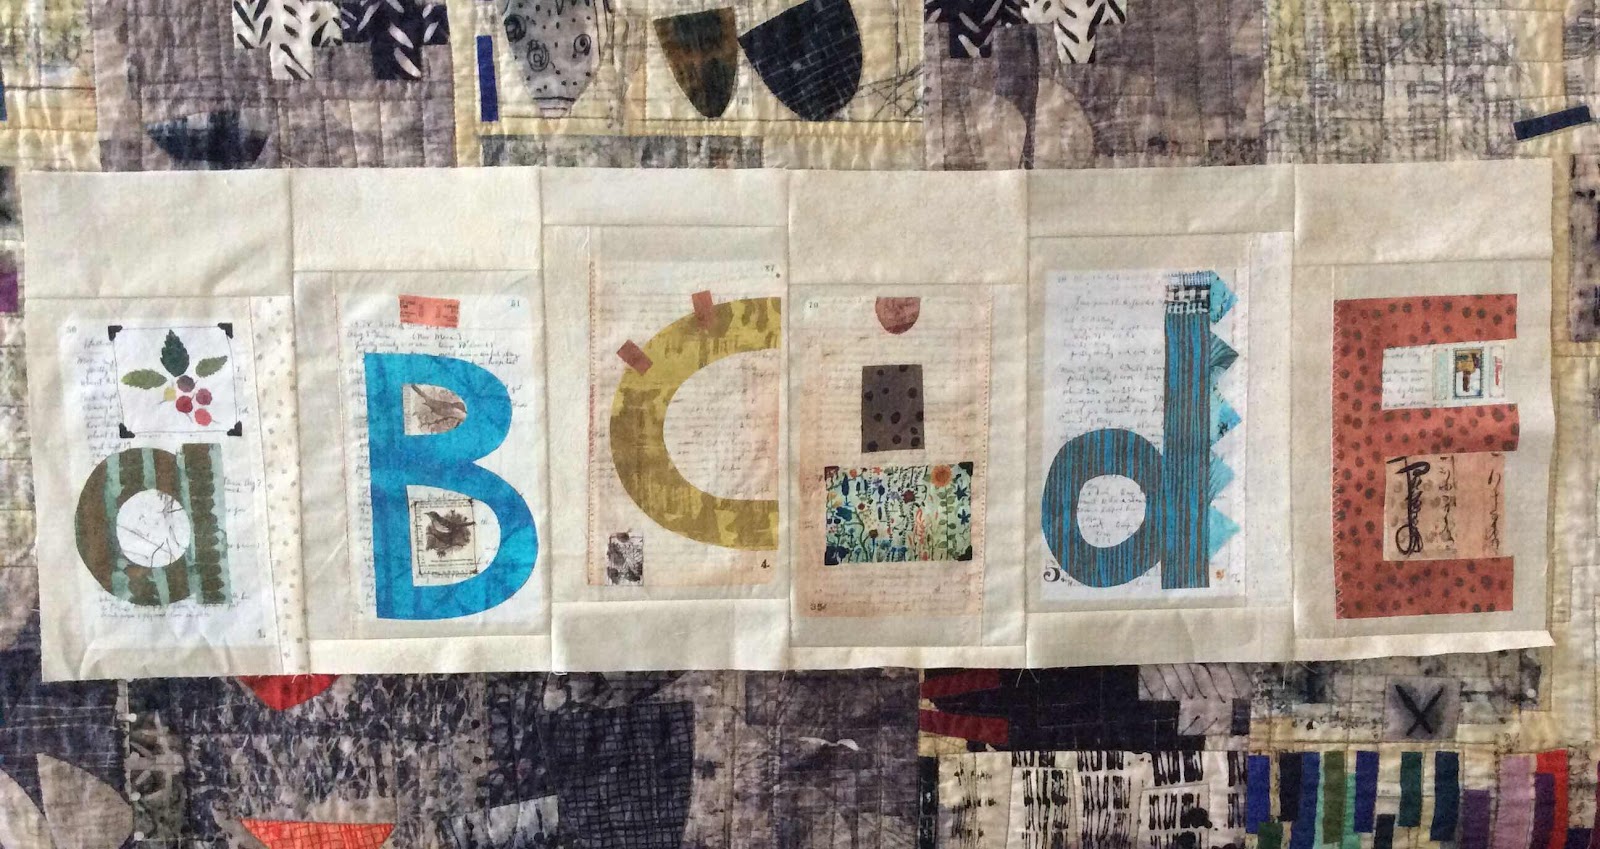
I needed five more small blocks.  It was depressing to think about making them from the quilt along’s block designs.  So, in true Annie fashion, I went my own direction and made five paper pieced hexie flowers from a pattern by CenterStreetQuilts on Etsy.


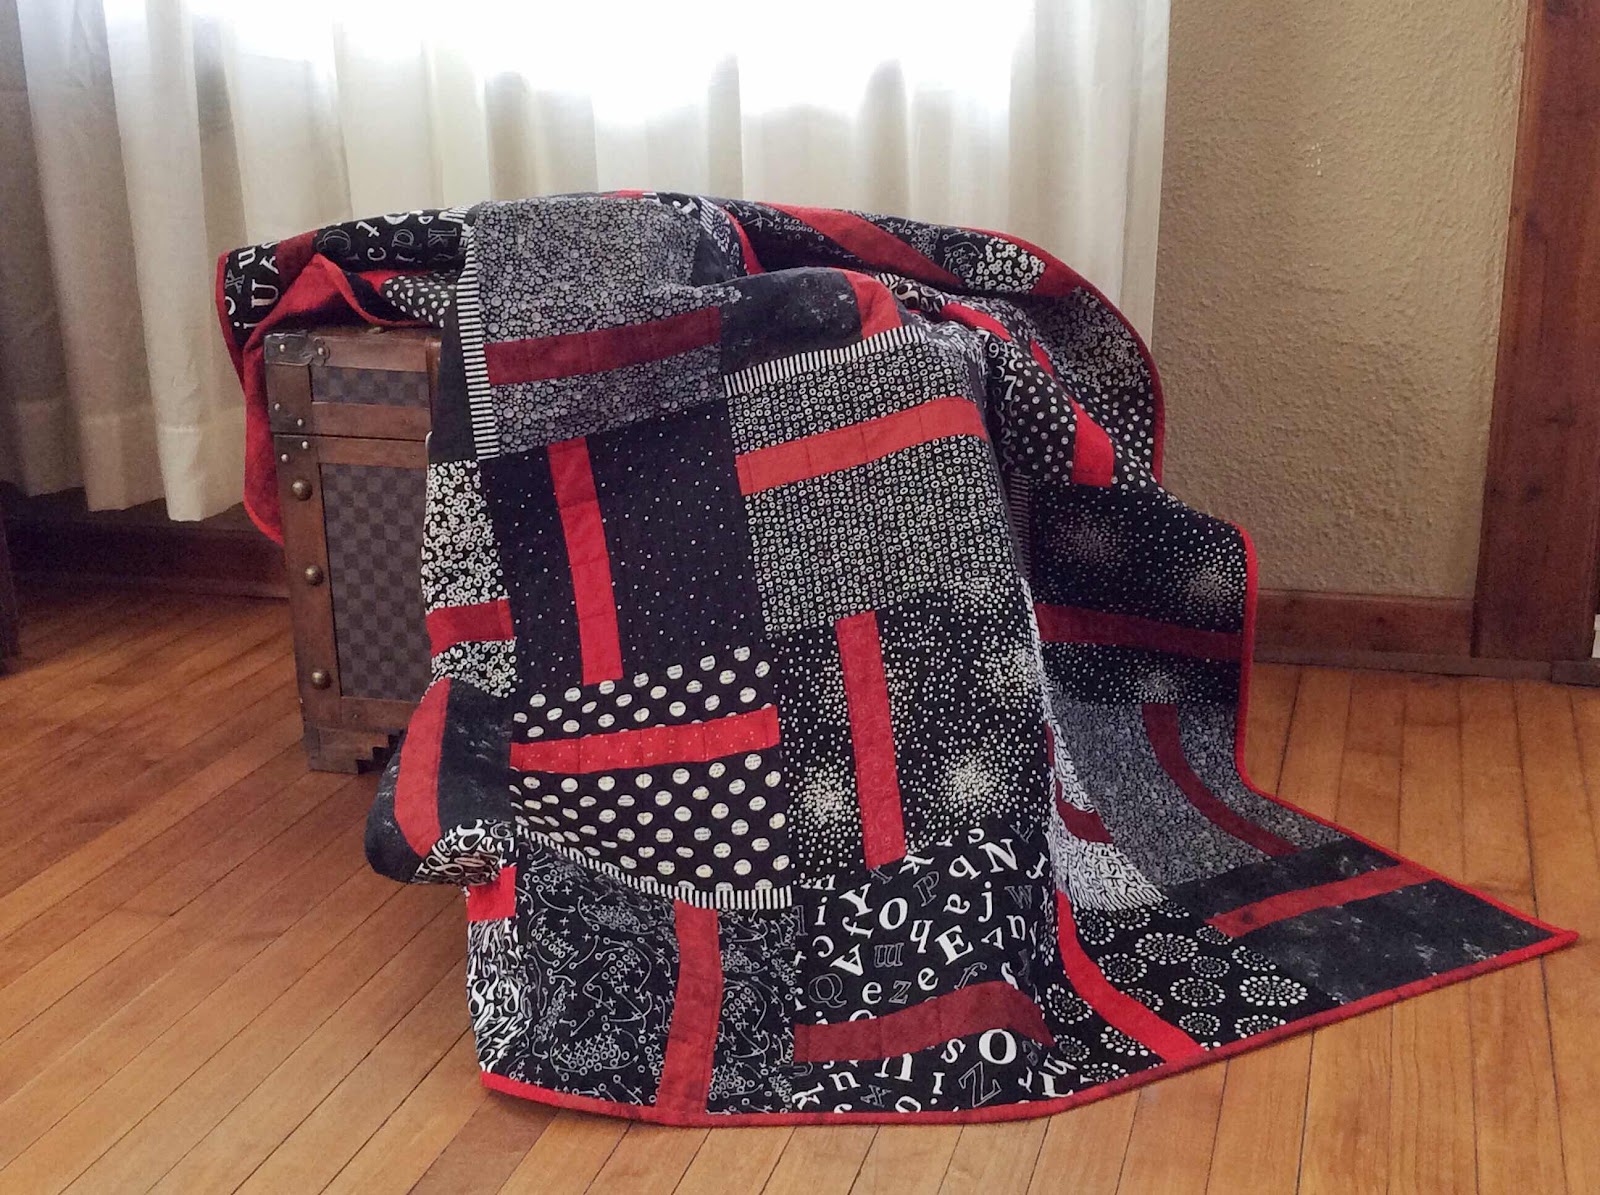
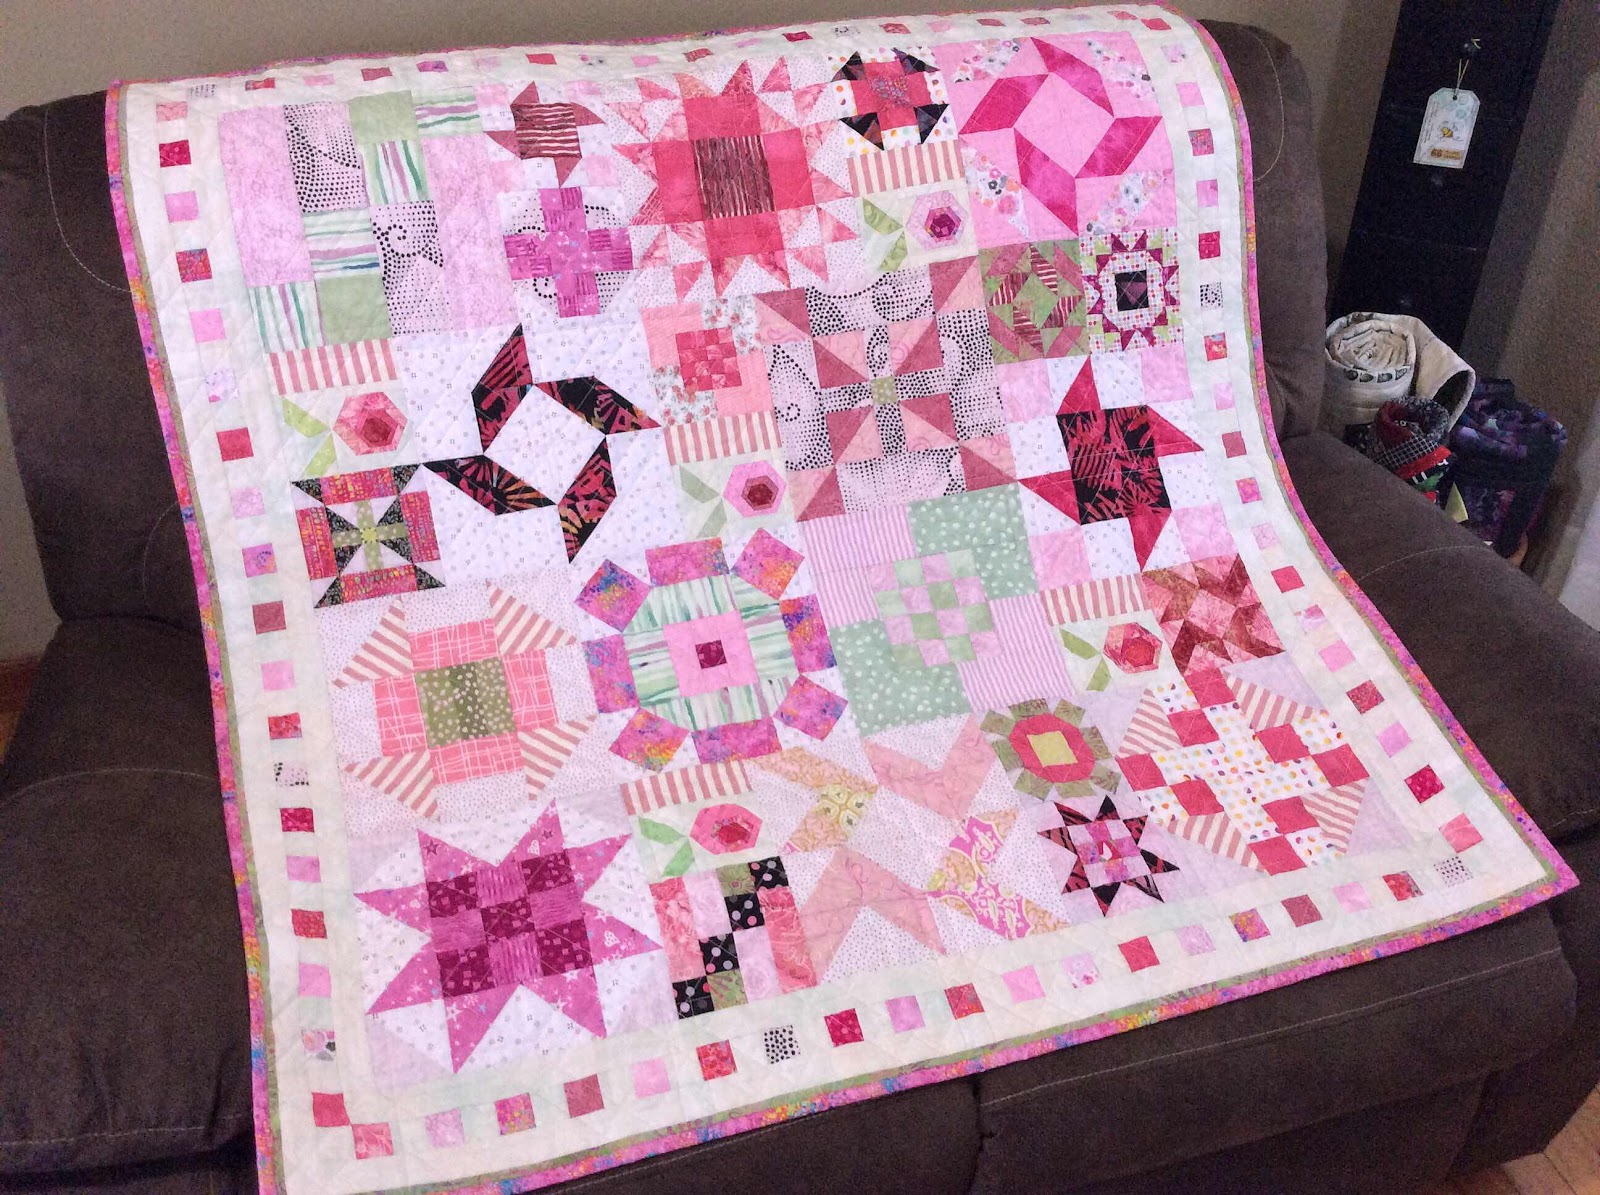
I laid out the blocks, added a border, pin based the layers and made it a quilt.


Layout was a struggle and in the end, as I was trying to scatter the hexie flowers, I forgot about other appearances of block placements.  Other than that miner offense, I’m liking this wild mess of a little quilt.


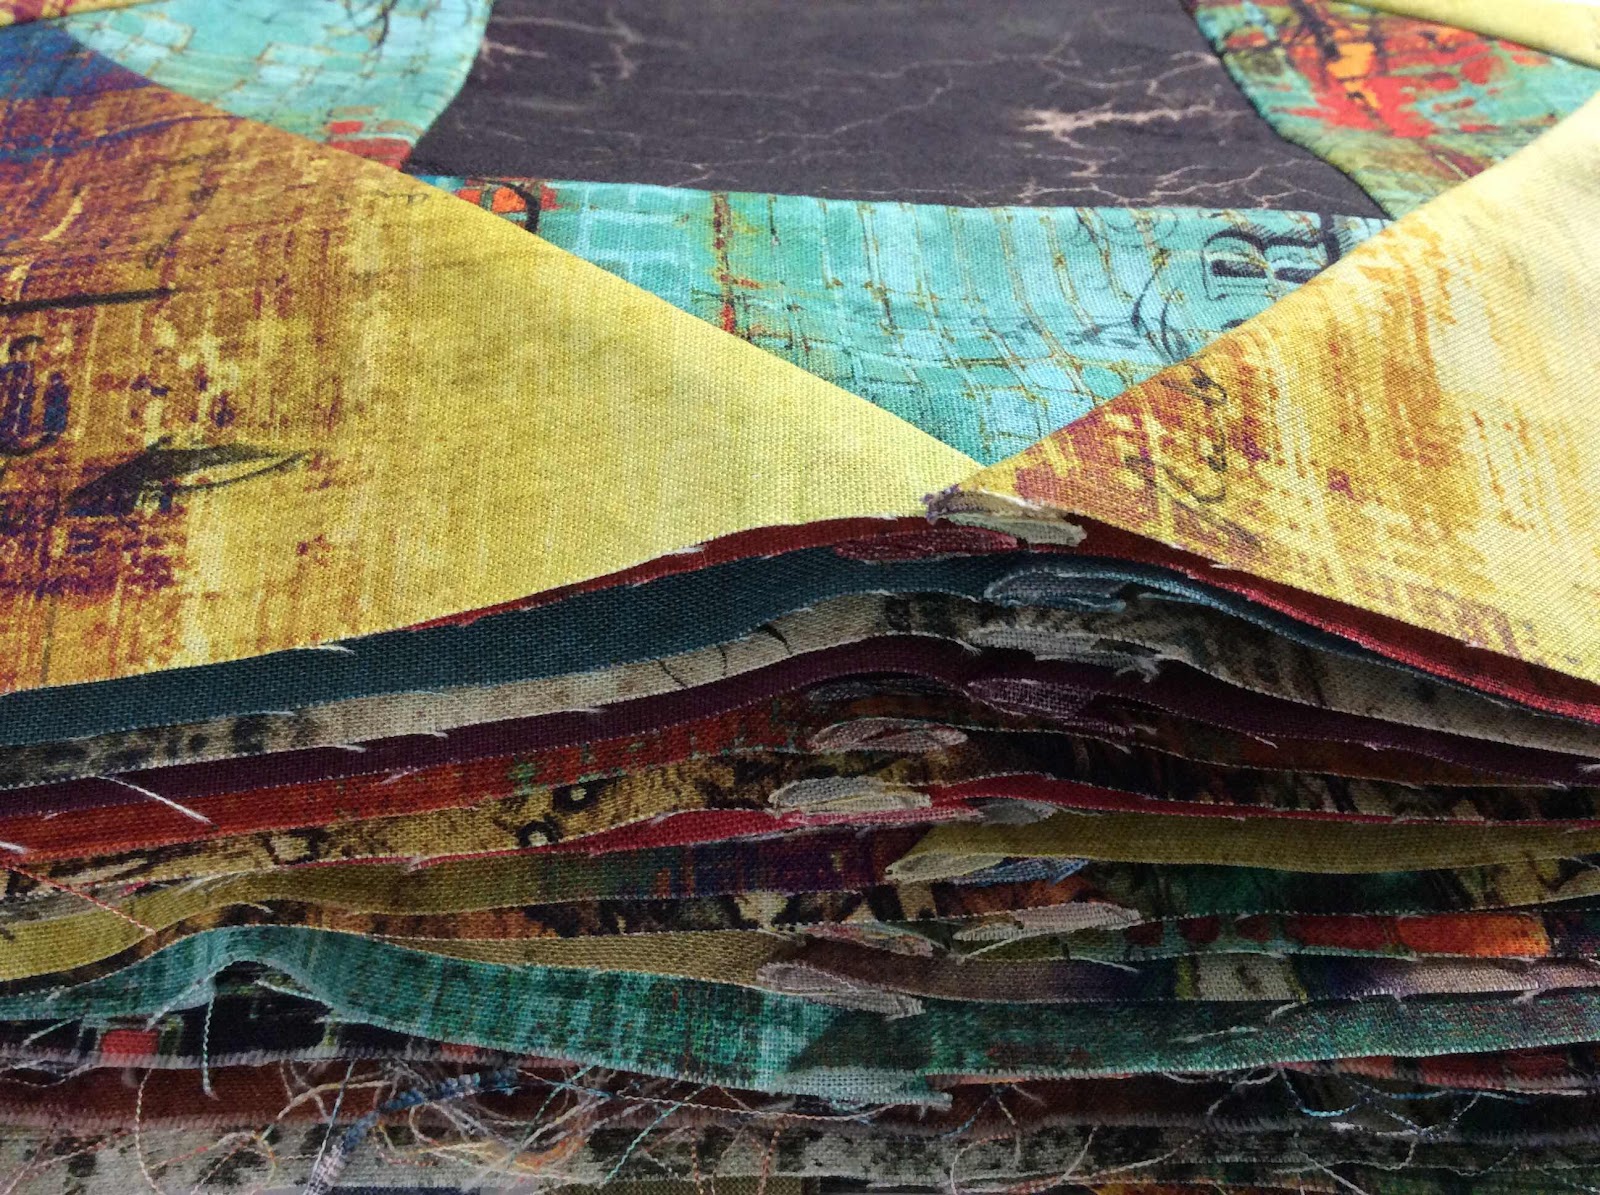
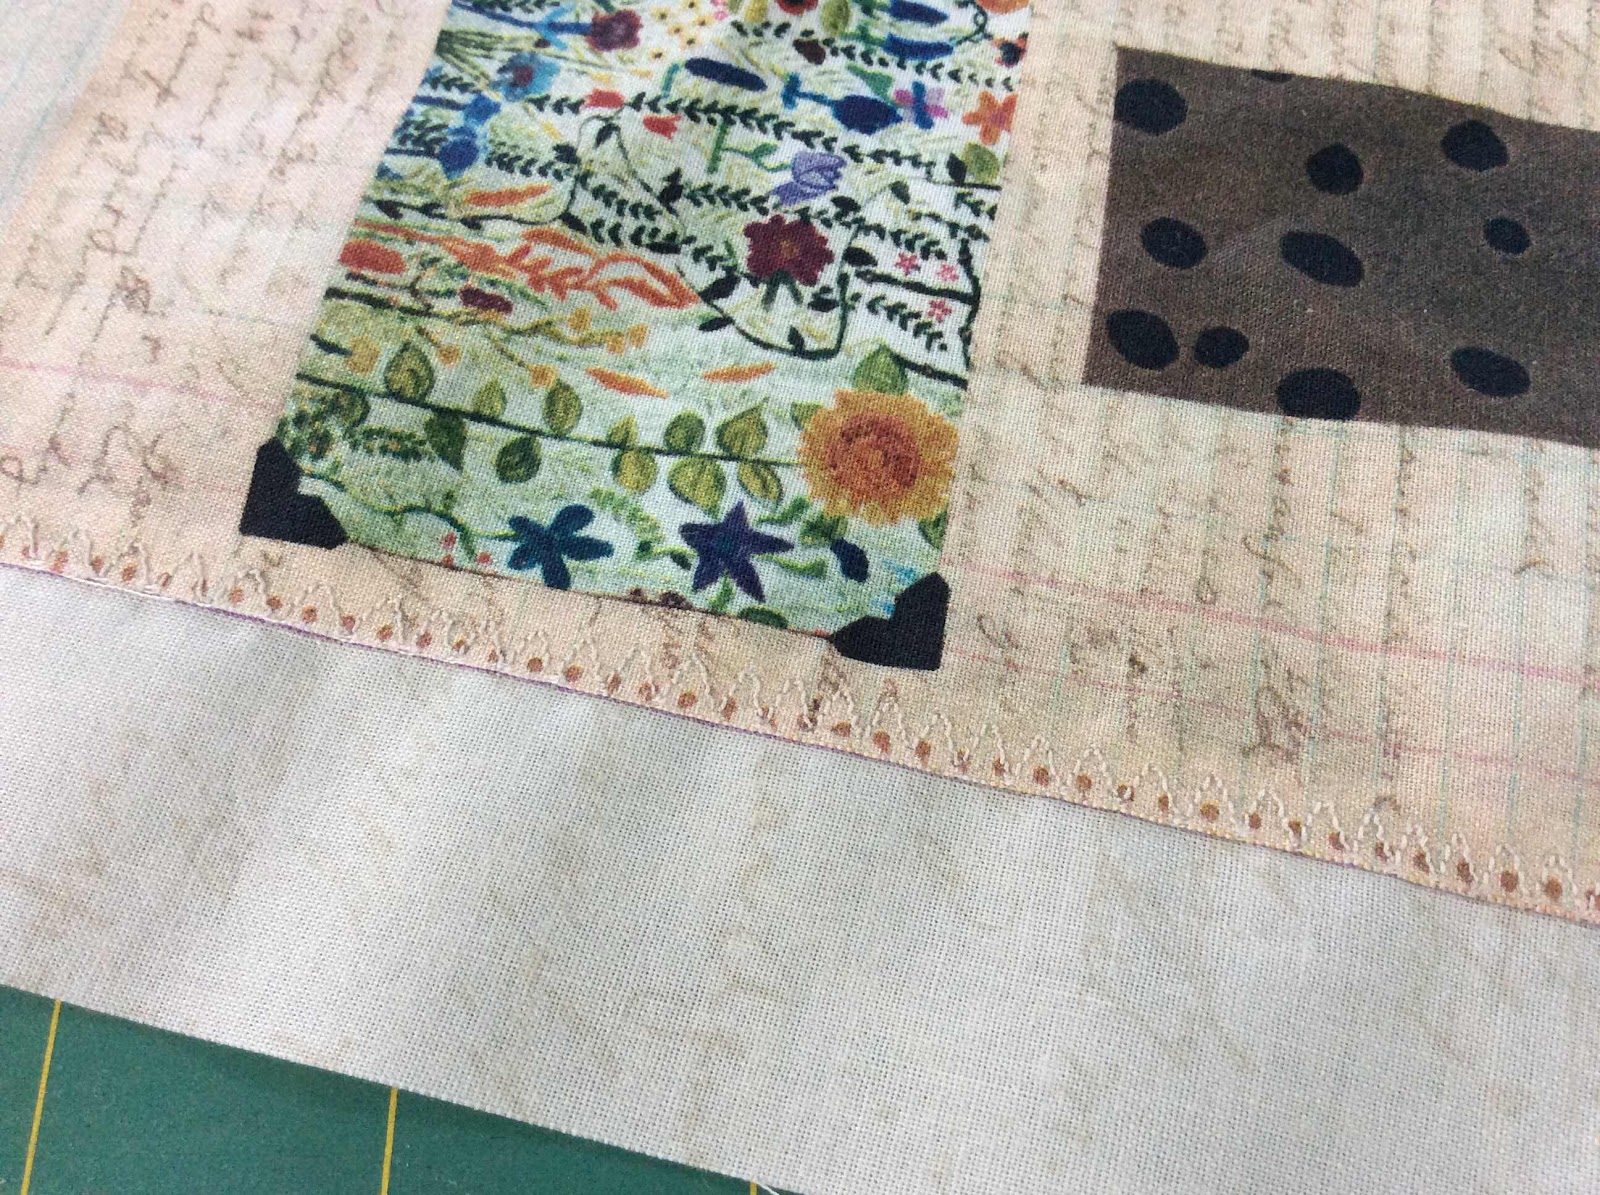
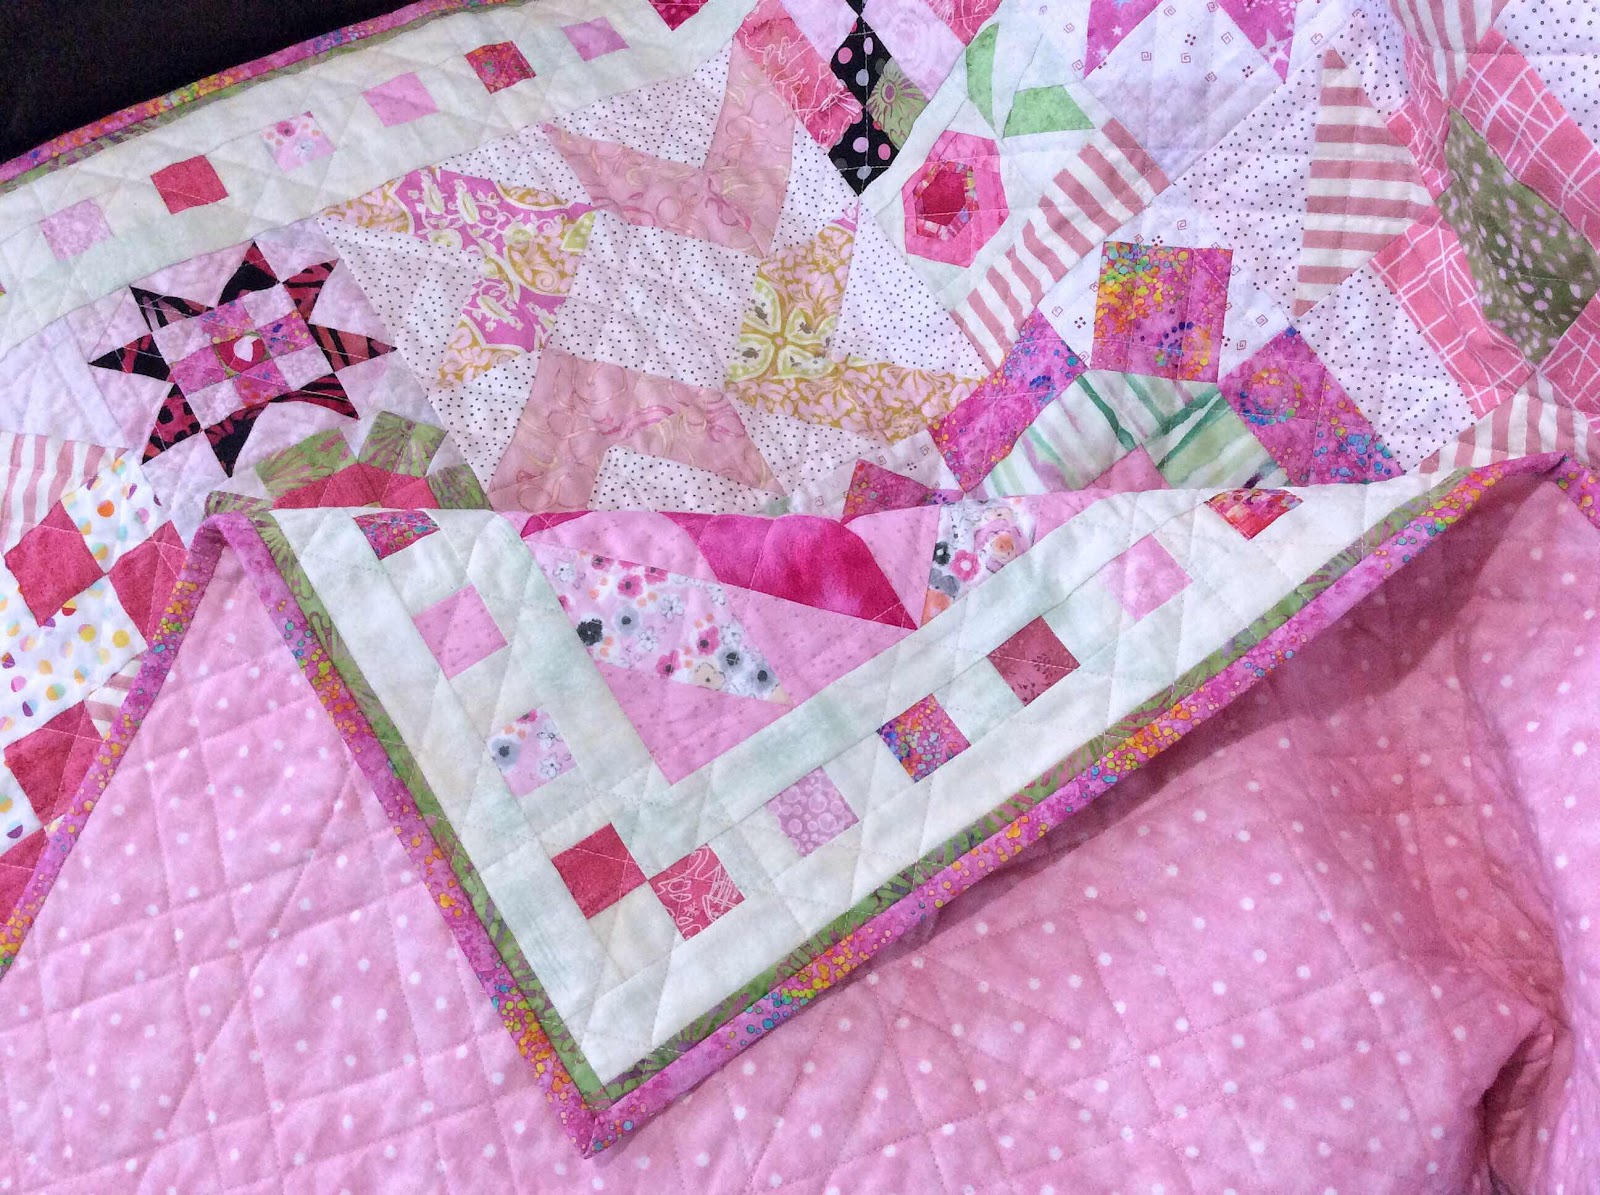
I did that border/binding thing again that I found I liked in my previous quilt.  Now I’m finding it hard to get away from it in other items I’m working on.  I really like the way that looks.


This little gem measures 43” square.


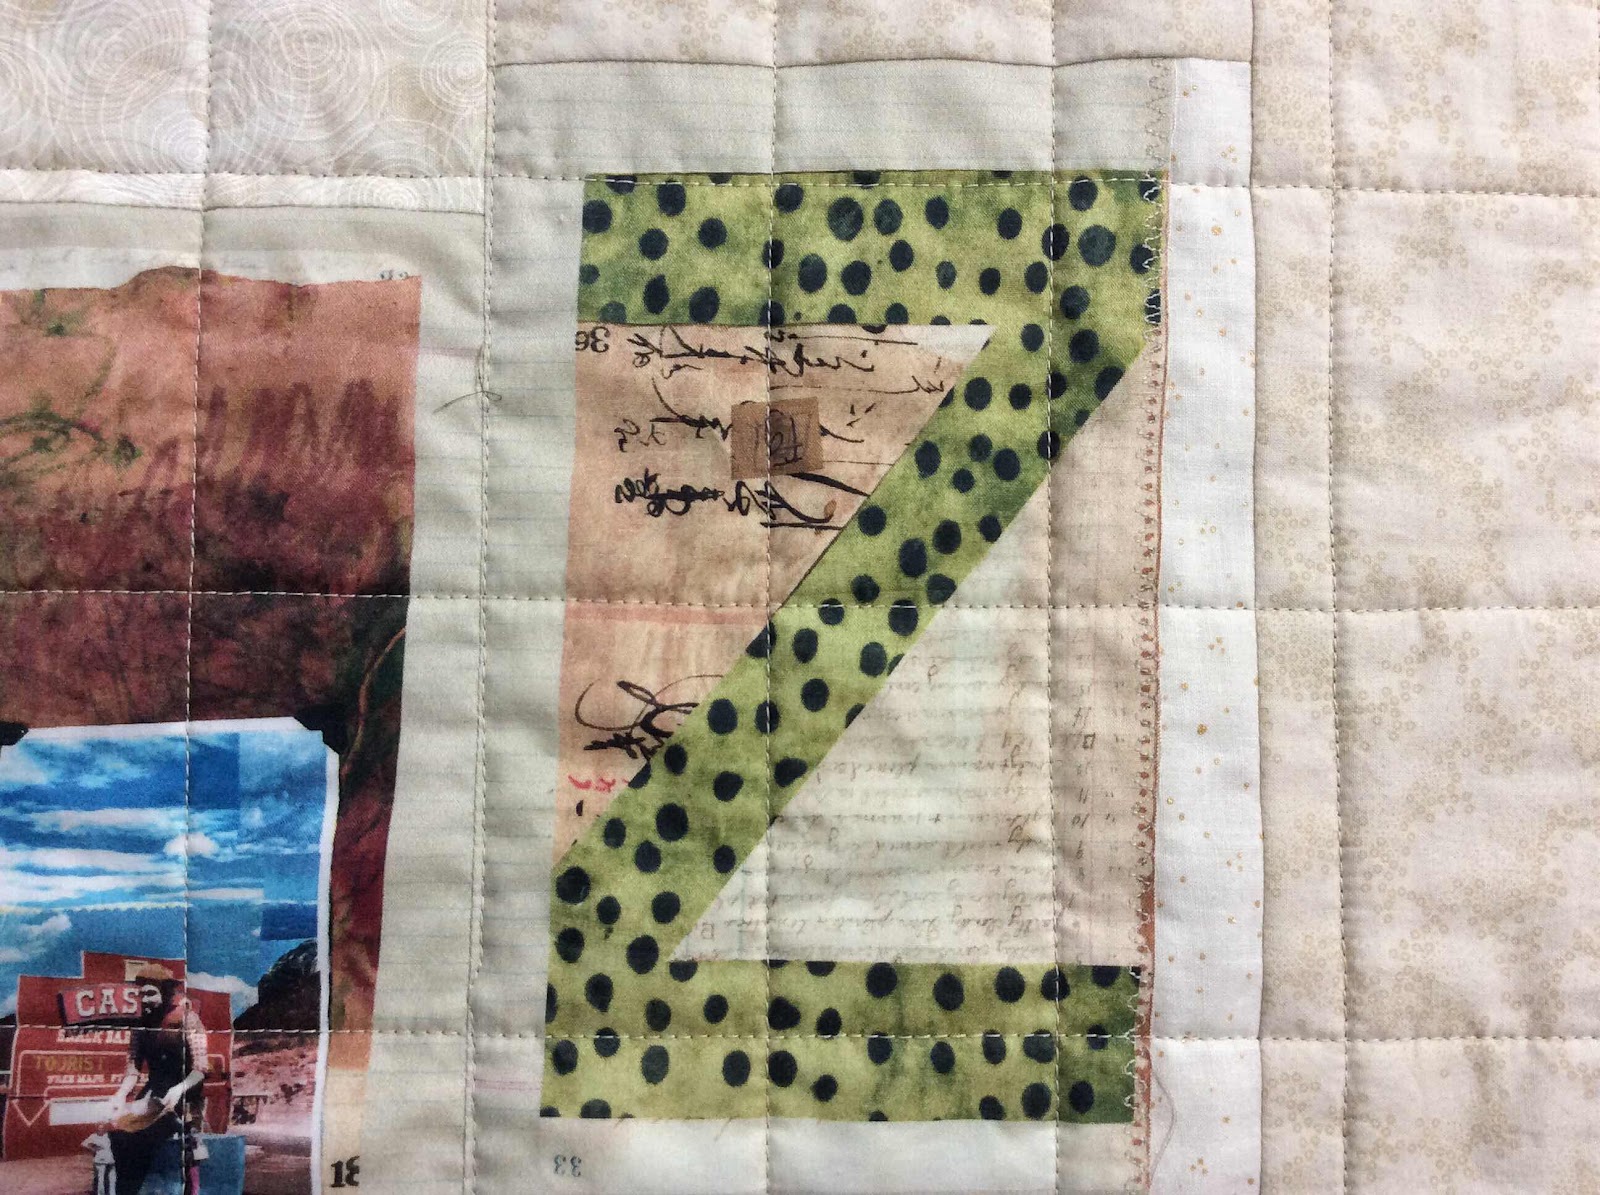
This hexie flower was a bit too light for the quilt but was perfect for making a postcard with.


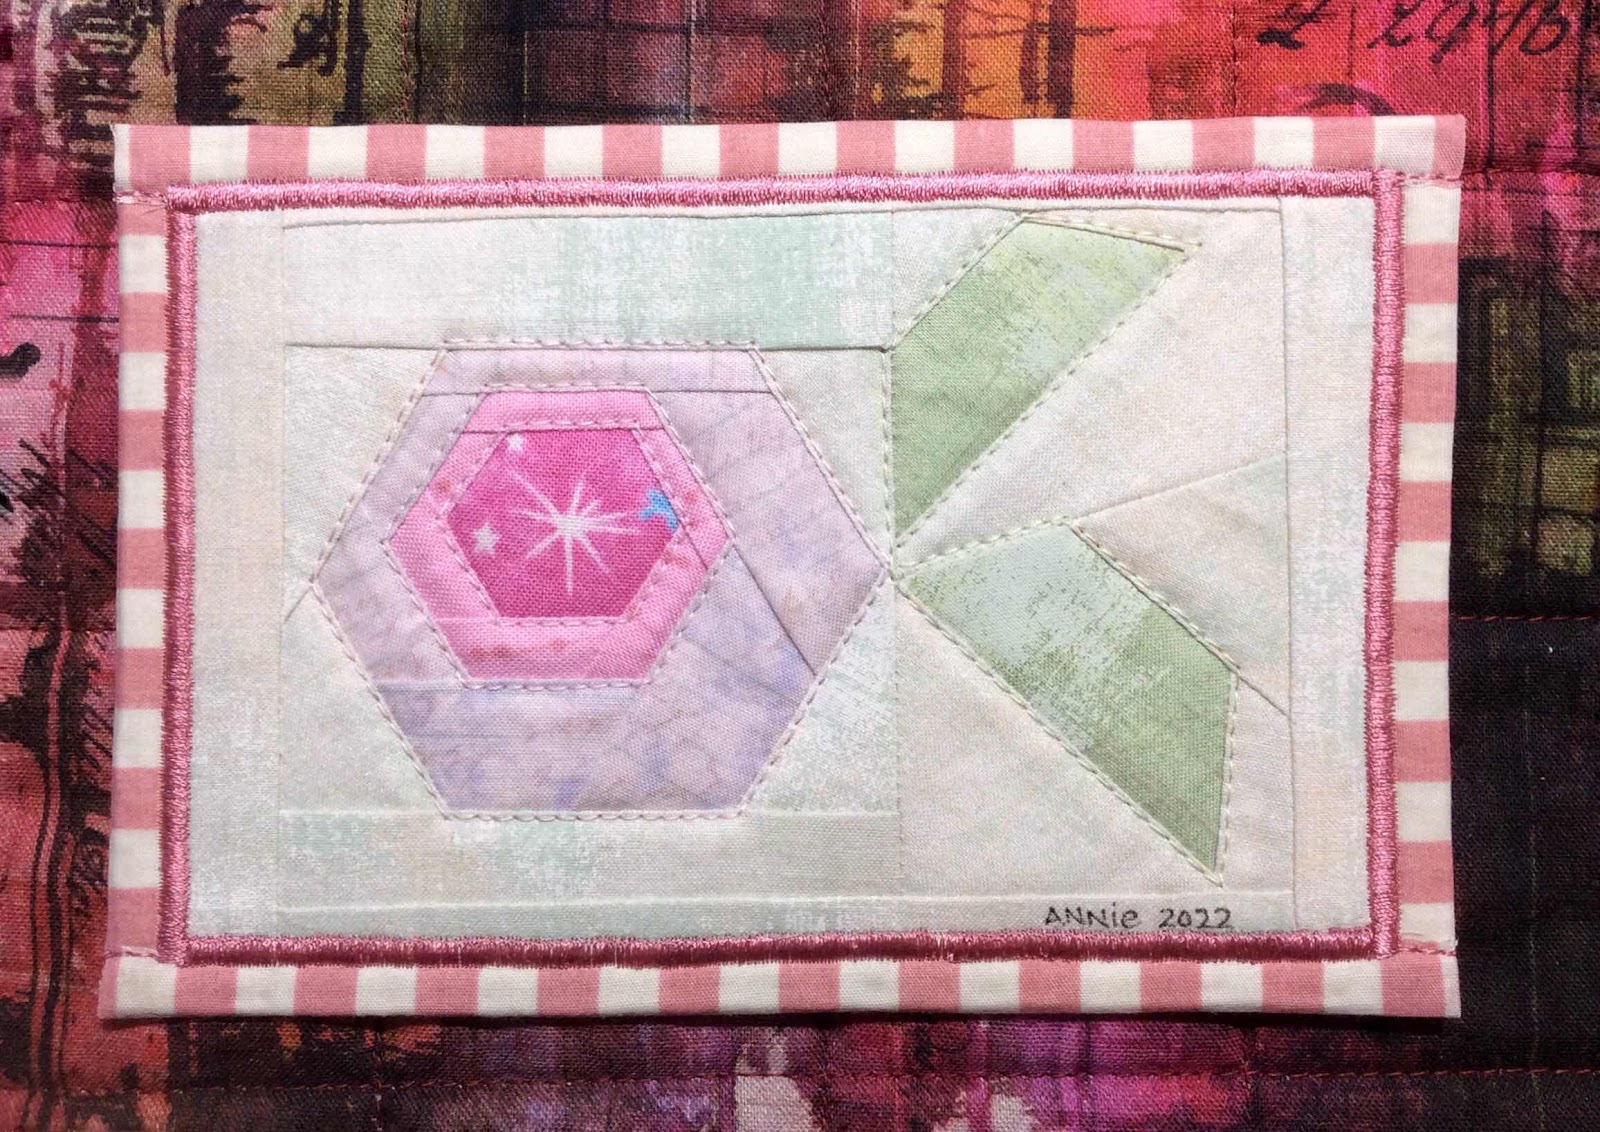
For me, a postcard is always a happy ending to a project.

Friday, August 5, 2022

Abandoned2 Quilt

I could not resist this Tim Holtz, Eclectic Elements Abandoned2 fat quarter bundle.  As soon as it arrived I prewashed the fabrics and began cutting into it and sewing.


To really get the fabrics all mixed together I decided on the Economy Block for this quilt.  I staggered the blocks slightly.


Of course I needed some of the selvedge included in the quilt design.


The quilt measures 57” X 68”


I just love all the colors and the grunge.


The back and the binding are the same fabric.


I did not want a border, but I needed a border or I would loose all the points of the economy blocks around the edges when I added the binding.  I sewed a scrappy border of many of the prints.  I cut strips 1.25” wide.  After the quilting was finished, I trimmed the quilt so that the borders were 5/8”.  That left a thin 1/4” border before the 3/8” binding.  I really like the look of it.  I will definitely do this again and probably again and again....


It was somewhat frustrating and disappointing working with this bundle.  When there is text on a print, it seems to be a crap shoot whether they will be printed straight on the fabrics.  Most of these were wonky.  Some more so than others.  I could have trimmed the pieces to be straight but I would have lost a lot of useable fabric that I needed (and paid for).  All together they make a pretty busy quilt and are hopefully just not that noticeable.


My July 2022 calendar journal.


Friday, July 29, 2022

Skeleton Collars & Cuffs

Skeleton Collars & Cuffs is the third of four gifted panels.


I gave him a border of black, orange and brown fabrics.  My original plan was for the wider strips, but for a wall hanging, it was going to get too large and out of proportion.  So I simply cut the original strips in half.


I staggered the strip lengths.


Of course the selvedge had to remain as part of the finished panel.  


There was a lot of blank space in this panel.  Since he’s sewing, I gave him some fabric scraps scattered around him.  Stitched down with raw edge applique.  They also provided more color for the panel.


To finish, I just did some echo quilting and then some straight lines here and there to fill in.


Quite a dapper fellow, wouldn’t you say?

Monday, May 16, 2022

A Table Quilt

The leftover blocks from my grandson’s quilt became my first table quilt.
I was lazy with the math figuring but that turned out to be a happy okay.
I laid out the blocks to allow for sashing to help get it to the size I need.


I then cut sashing pieces to sew between the blocks.


I then measured and cut incorrectly for the outside border.  But that was good because I like the additional red border.  Time to get it quilted.


The red outside border mean’t that I could use up some more scraps by making a scrappy binding from the black and white fabrics.

(Chain piecing the binding)


This is NOT a table quilt that I would have chosen to make and it’s rather an odd duck color choice as well.  But as an everyday table protection, it works.  I only cover the table when we use it for a meal anyway.


To make this table quilt reversible, I used a green print with gold metallic splatters that can be used at Christmas time or St. Patrick’s Day.


Now I’m looking forward to making more table quilts.

April went along like so...


Tuesday, May 10, 2022

Black and Red Quilt

A black and red quilt with white thrown in for good measure.  For a man, so no froofroo stuff.


The no froofroo is not quite as easy as it might seem.  For me that meant no flowery prints.

The design is an easy one to cut and sew.


I sewed long strips then cut them into 10” squares.


Arranging the squares with the red strips in alternating positions.


It felt as though it was missing something that would give it some pizzaz.
My favorite black and white stripe to the rescue!  I just trimmed a strip off the edge of random blocks to add the stripe and still keep the block the same 10” size.


Just what it needed.


So on to the quilting.


I pulled the red fabrics back out to cut and sew a scrappy binding.  

(I have a small, silly collection of dog ears)


It looks good and was a great way to use up the small pieces of yardage that were left after cutting the block strips.


And it’s a quilt!
Measuring 57” X 76”
The backing is a red grunge fabric (forgot to get that photo).


It’s fun when the breeze sneaks up to give a quilt a little flight.


I have some squares leftover.
They are not going into the scrap bin, they will become the next project...

Saturday, April 2, 2022

Alphabet Quilt

This is the panel that drew me away from paper crafting and back into my sewing space.


For a long time I’ve wanted to make an alphabet quilt.  But I didn’t want to make the letters and I wanted them to look artsy.  When I bought this panel, I didn’t know it was a Marcia Derse design.  No wonder I love this panel.

(Not to worry, all those prewash wrinkles will disappear as I work with the panel)


I didn’t need to worry about wonky with this panel.  The alphabet is intentionally somewhat wonky so any further wonky added during printing the panel would not be an issue.  Looking closely at the panel, the letters are collaged on notebook pages.  First thing I did was cut the notebook pages apart. 


I wanted the letters to be separated from each other, so I cut them apart.  That left raw edges very close to most of the letters.  I cut 1/4” strips of Wonder Under and fused it to that raw edge on the wrong side.


I then fused that raw edge to a strip of another fabric and stitched a zig zag to applique the two pieces together.  That would allow me to have a seam allowance for piecing.


I arranged the letters in rows, staggering them somewhat.  I then began a rather measured improv piecing to make them into uniform length blocks.  But within each block itself, if it was wonky, I left it that way.  You can see what I mean in the closeup below. (The a, B and C are the most obvious).


A close up of the first row.


After getting the quilt body all sewn together, I added a narrow 1/2” purple border and a scrappy neutral border outside that border.


I almost forgot to get the selvedge into the quilt!  My panel didn’t have any color dots (sad face).  As the finished quilt top waited on the design wall for me to get a backing, I decided I didn’t like the narrow purple framing border.


I started thinking about how I could change that.


A bit of a wild idea came to mind.  So out came my overflowing storage box of selvedges.


Continuing with the measured improv, I trimmed and stitched selvedges over the top of the purple border.


I think I’m figuring out my style...eclectic.

When I pin baste my quilt layers together, I don’t leave much backing and batting extending past my quilt top.


Quilting with a walking foot has proven that the backing and batting don’t pull inwards, so I stopped wasting extra fabric for the basting and quilting process.  I mostly just quilt with straight lines as this look is my favorite.  


Now look at the fun mistake I made and discovered halfway through the quilting.
I set the Z block upside down.


I began to panic!  What about the H?  What about the I?  What about the N?  What about the O?  What about the S?  All just fine.  Then I got to the W and I noticed a portion of the map was upside down and I thought I used the M upside down!  Then I remembered the m was lower case.  Whew!!!
So just the Z is flipped.  I decided it is a fun mistake and I’m embracing it.


Now I know my ABCs ... and flipped Z!