Saturday, March 13, 2021

Patriotic Sewing

It has been a week of patriotic sewing.

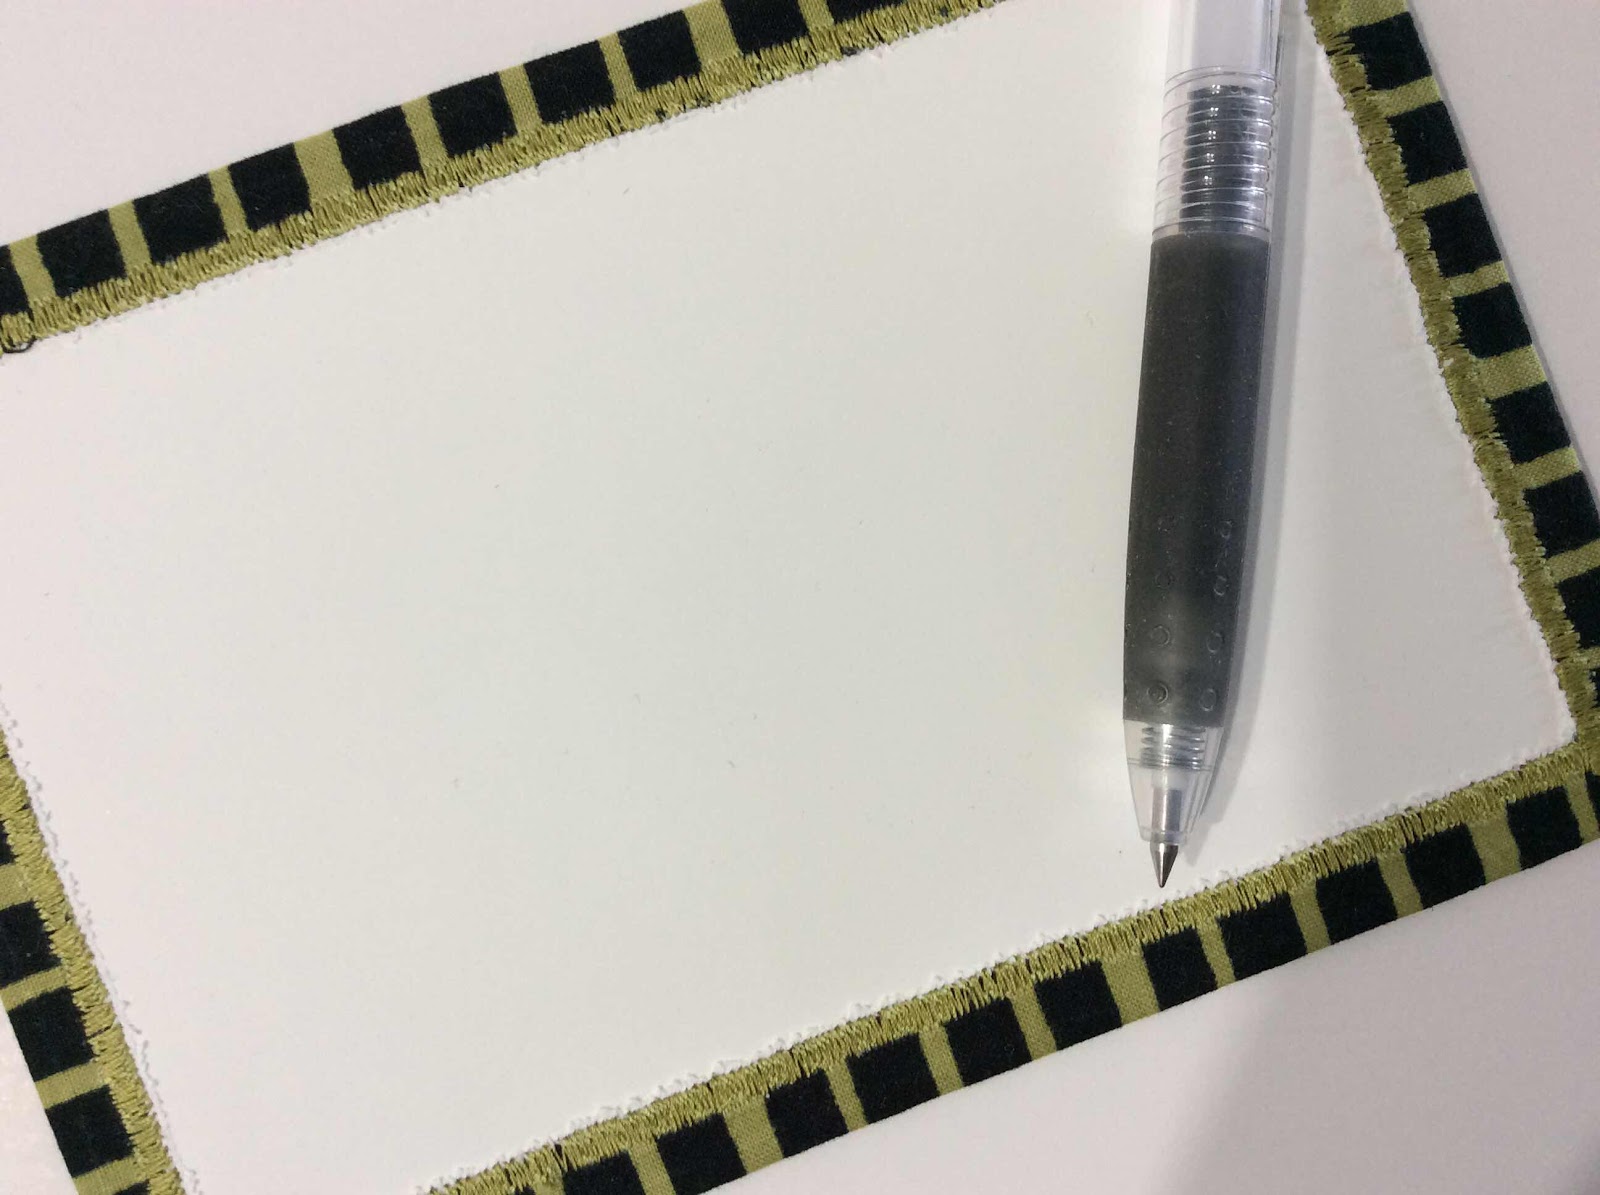
The theme this week at Sunday Postcard Art is using the first letter of your name.
Annie - A
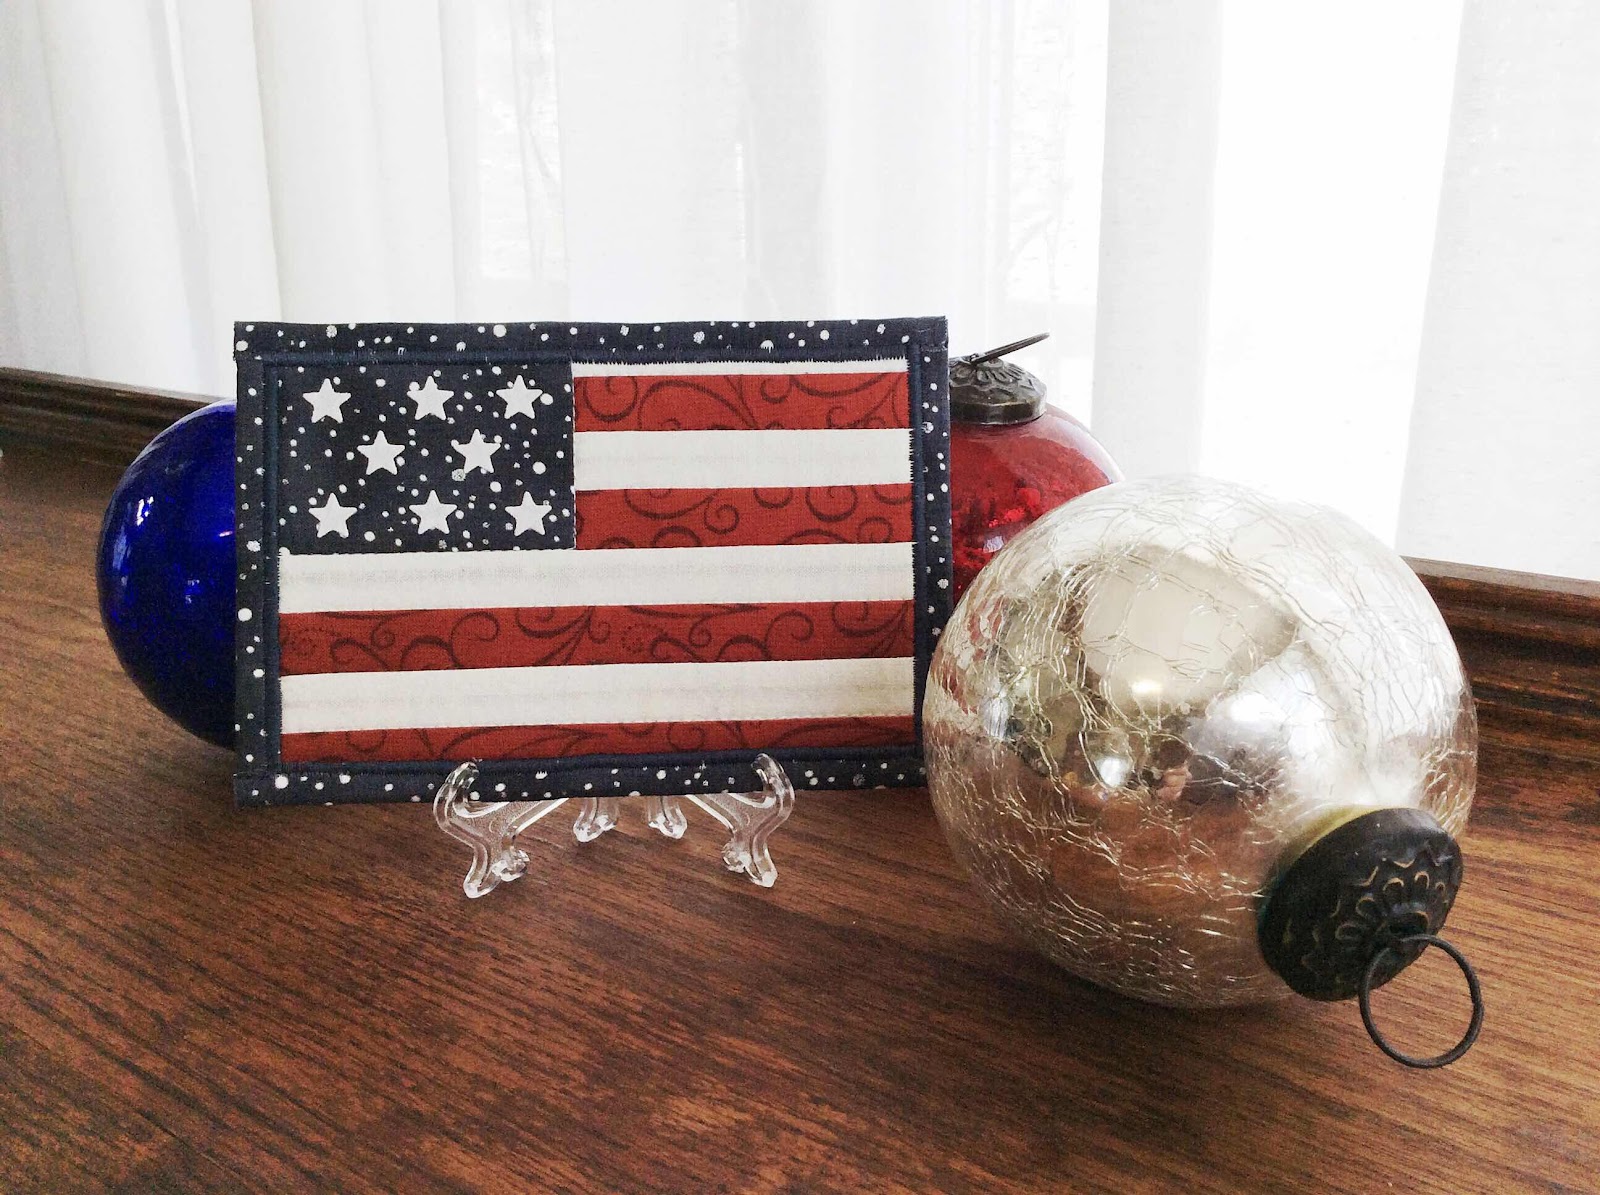
Since I was already working on a patriotic piece, America came to mind immediately.  I’ve stitched a postcard of our American symbol, our Flag.


This small 12” X 12” craft storage box contains odd sewn pieces or blocks.  It is all that remains of unfinished items.  I’m keeping these pieces in mind, waiting for inspiration to sew them into something...other than potholders.


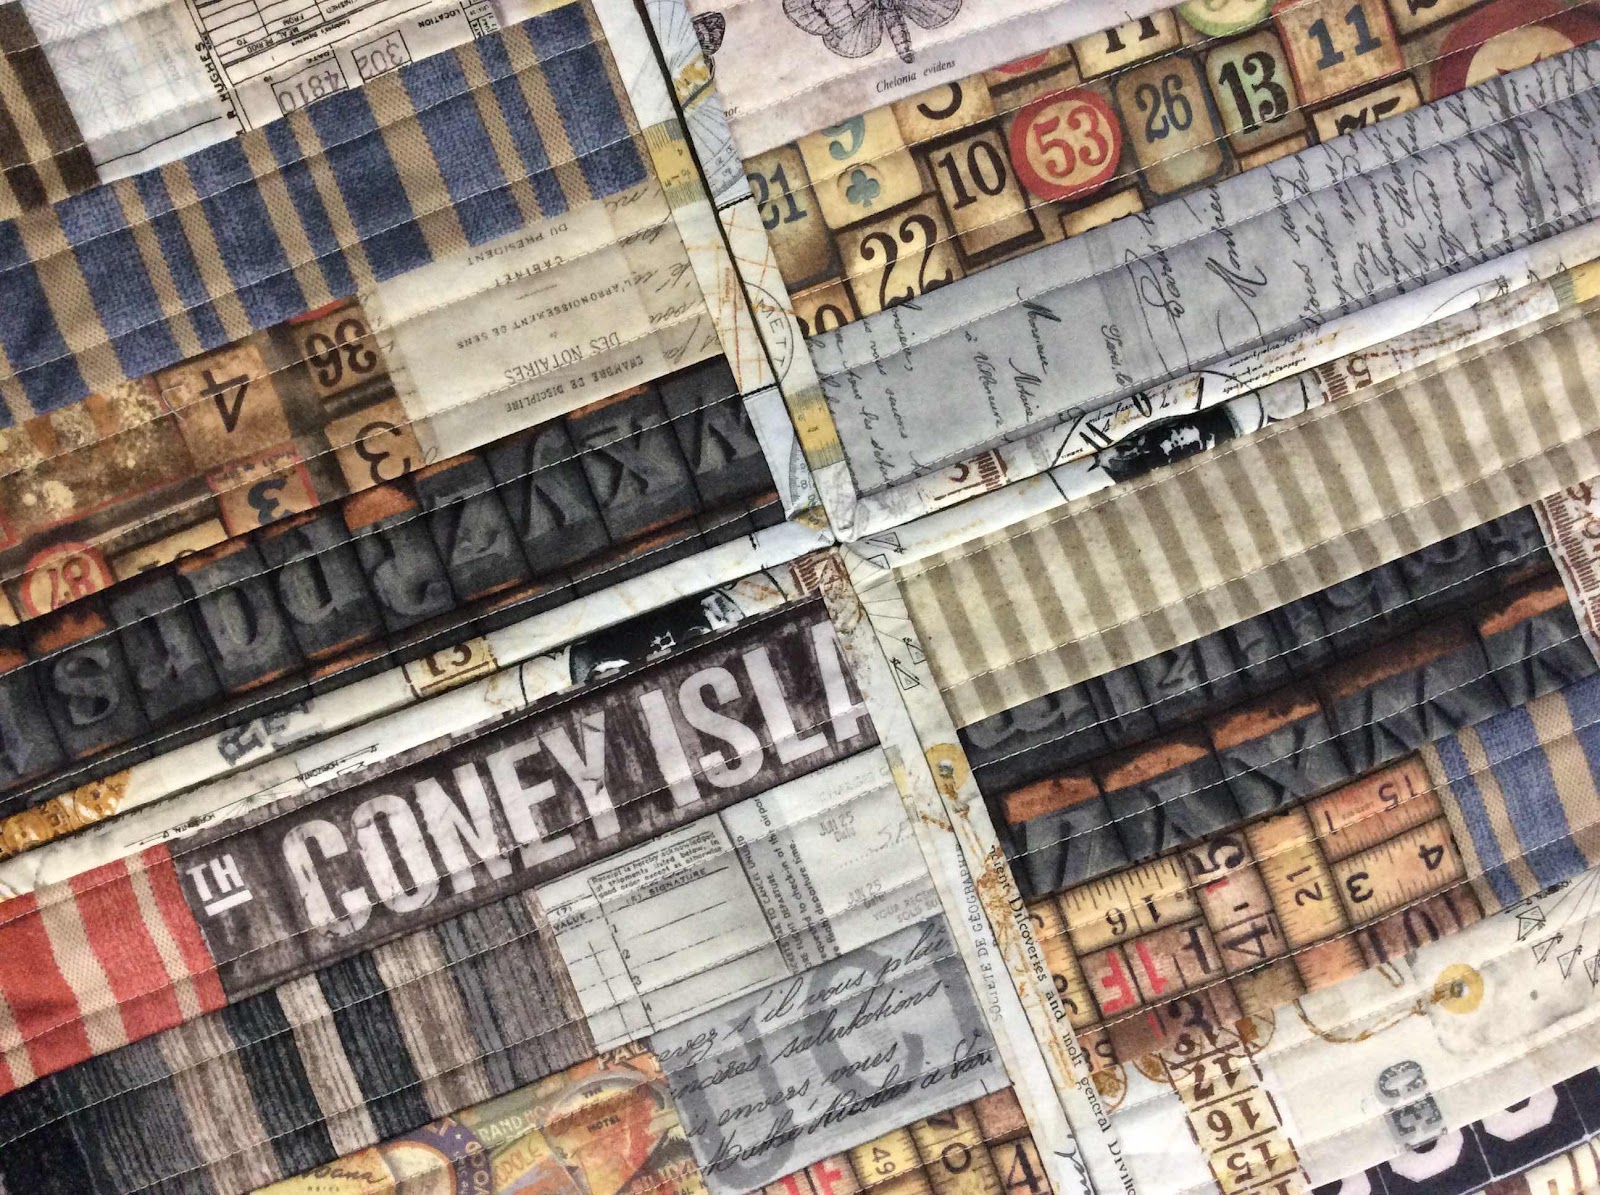
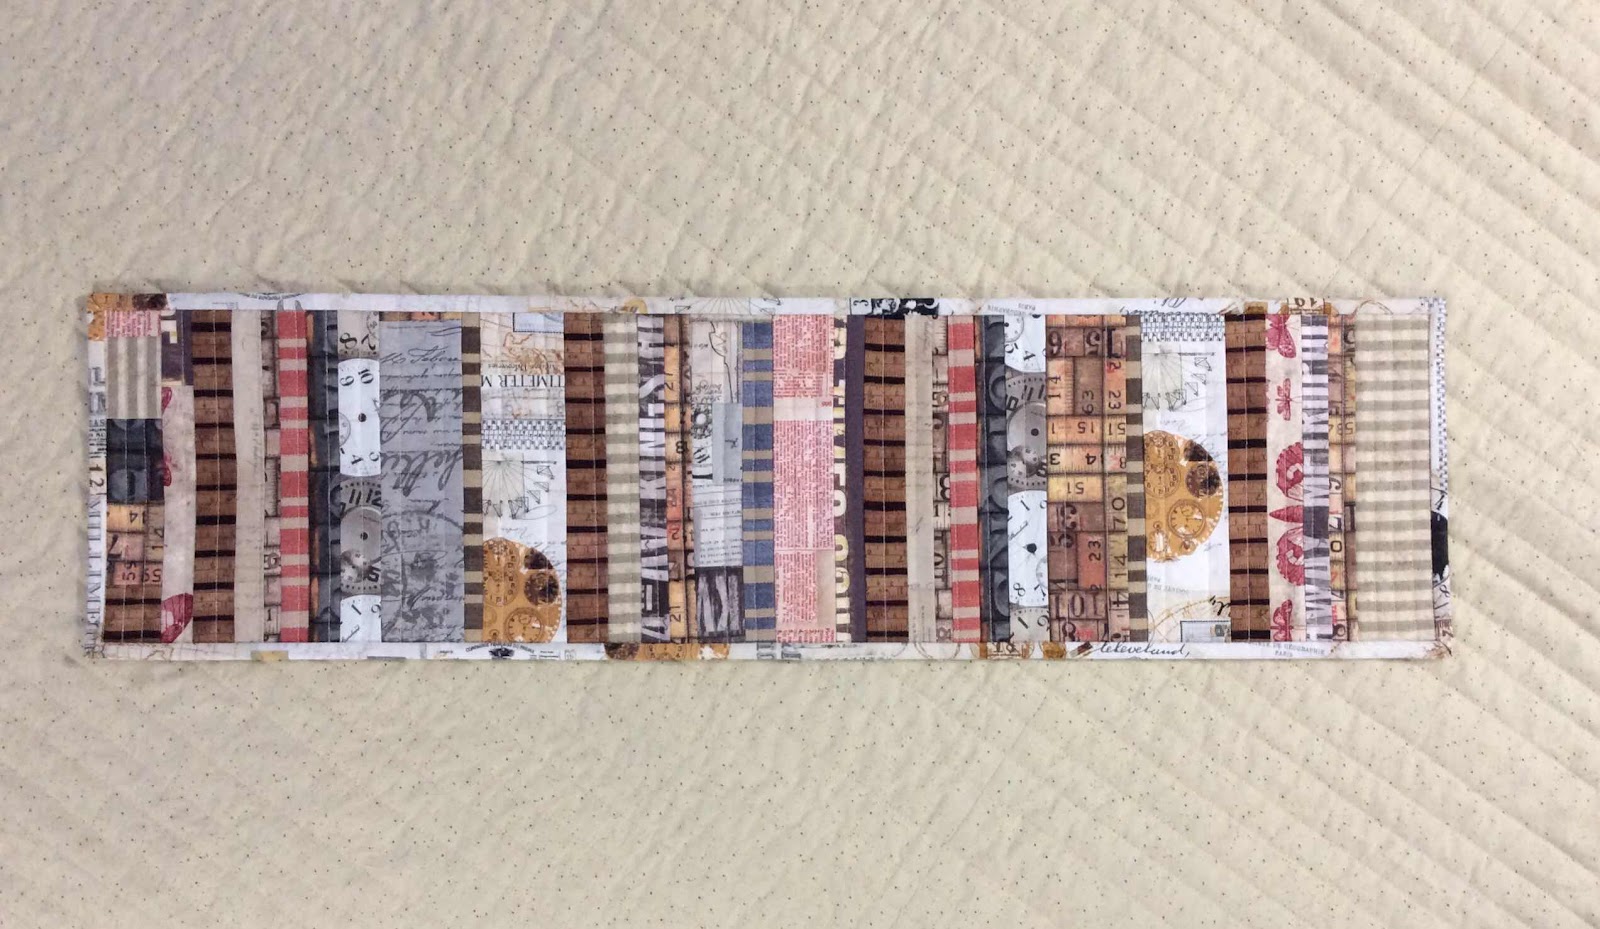
These three paper pieced blocks were in that box.  I think they were originally intended to be potholders.  But now, years later, I’ve changed my mind.


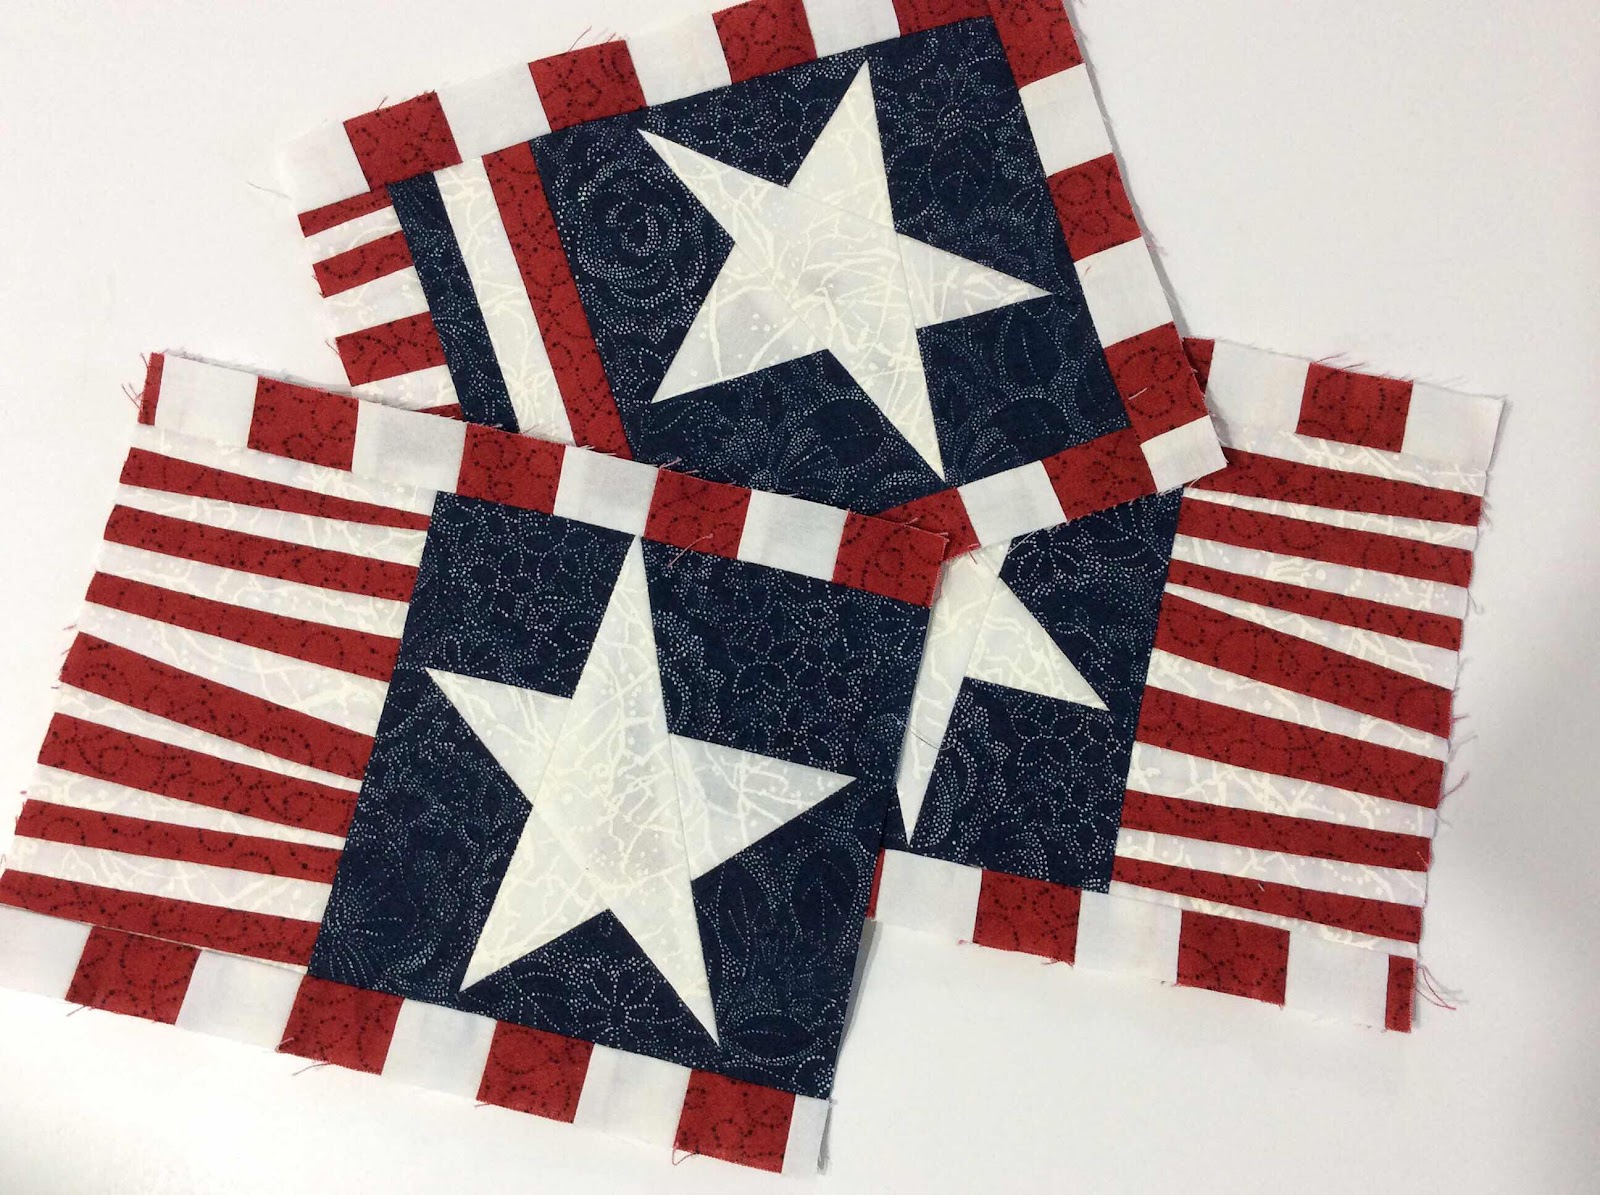
I decided that they would become a table runner.  I have had zero patriotic home decor items and it is time that I did.


I went through my stash of blue fabrics hoping for a piece that would blend well enough to put these blocks together.  I got lucky.


Then I went through my stash of red fabrics hoping for a binding piece.  I got lucky again.  I really love how the staggered stars in the fabric show up at odd intervals when used for a binding.


I normally mail the postcards I make, but I’ll keep this one for decor.

Thursday, March 4, 2021

A Mini Pincushion

I have had a tiny paper pieced dress form lying around for some years.  I have been seeing quite a few mini pincushions of late and decided to stitch the dress form into a pincushion.  It measures 1” X 3.25”.


I don’t need another pincushion to use when sewing.  Turid, at densyendehimmel , makes lots of adorable mini pincushions and collects them in a jar.  I thought that makes a creative sewing space decor.  So that is what I plan to do with this mini and others that “might” follow.  Now I just need the perfect jar.


Isn’t this bathing beauty a delight!  She steals the show from the pincushion.
I drew the paper piecing pattern myself and have enlarged and reduced it for intended uses.

The backside.


February 2021 Calendar Journal
I considered not bothering to share it with so much of it in hiding, but what the heck, why not


This new format is no fancy keepsake book or artsy pages.  But they’re simple and quick to gussy up with Washi Tapes, of which I have a large collection of.

Sunday, February 28, 2021

Bloom Fabric Postcard

The theme this week at Sunday Postcard Art is “Bloom”.

I get so excited when their themes can be worked into a fabric postcard and I have the time to play along.

I am not a Winter girl, so I’m looking forward to Spring and Summer!


Now to fill in the backside and get it in the mail.


Happy Mail Day!

Monday, February 22, 2021

Eclectic Quilt and Giveaway


I’ve joined in with the “Show Your Stripes” blog hop.  Many thanks to Carla of 
Creatin’ In The Sticks for allowing me to join and all her hard work of organizing a successful blog hop.

My stripes project began with a smallish quilt.  55” X 60”
Using a bundle of Tim Holtz fabric fat eighths that I have had stashed for a few years.
I pulled out the bundle, plus considered a few extra pieces to add to it.


I cut the pieces into 2.5” strips.


I arranged a line-up and stitched the strips together end to end.  I made the top using the jelly roll race technique except in a controlled manner.


Because I’m terrible at accepting the unknown.  I had to have some control.


I squared it up and quilted it.


Added the binding.  I know, shocking that it isn’t a striped binding!  Who would’ve guessed for a stripes blog hop that I wouldn’t use a stripe for the binding.


Hand stitching the binding to the back is my favorite part of quilting.


And DONE!


I love including selvedges in my quilts.  I stitched the few selvedge strips end to end for a fun narrow row.


That’s another stored project OUT of storage.  It is my last long stored project.  What a super feeling to have ZERO planned projects in storage.

I also don’t want to keep making scraps to store.  I had some strips leftover.  They became a pillow.


But there are STILL some strips and pieces of strips!


Too hard to just toss them out.  And I can’t just keep keeping them. Too many scraps become too chaotic for me.  So I stitched them all together.


Then cut that slab in half, stitched it end to end and I now have a long hot pad for the table.


That’s it.  I always find it amazing how far a fat eighth collection will go.

The Giveaway...


I have a striped fabric postcard that I will send to one of my followers.  Simply include in your comment that you’d like to receive this postcard in your mail.  I will contact the winner for mailing info.

Check out my fellow bloggers sharing their striped projects today to inspire your sewing creativity.

Monday, February 15, 2021

Have A Heart

I finished just barely in time for Valentine’s Day, this year!

This Have A Heart wall hanging finished a bit larger than I had in mind, but that’s how it goes when I make it up as I go along.  23.5” X 23.5”


I have seen many similar hangings on Pinterest and wanted to try one myself.  I’m not thrilled with it, but it will do.

I pulled fabrics from my stash.


I cut 4.5” squares and 3.5” squares.  The small squares were backed with Wonder Under.


I used my paper crafting BigKick to cut the hearts.


25 quickly cut hearts.


I arranged the blocks and stitched them together.  Then fused the hearts in place.


I raw edge appliquéd the hearts with black thread for an outlined look.  Then quilted around each square.


I then couched two strands of Perle Coton 8 around the outside edge of the hearts.  


This was all finished on the 13th.

On the 14th I made a tag to attach to the wall hanging for a stab at added detail interest.


I might try this again someday in hopes of getting it more to my liking. 

Monday, February 8, 2021

The Month of Hearts and Flowers

A small old piece that has been languishing, awaiting inspiration for a finish.  

It was planned to be a pillow.


It was too small as is.  But it would be too large if I added to it.  So it sat.  Stored for quite a long time.

The flower is a rubber stamp image that I enlarged for applique.  The rest of it is paper pieced.


I suddenly realized it was a perfect size as is for the little 12” table top display frame I recently purchased for a cross stitch piece.


I recently made a birthday tag for a small gift.  And that inspired me to do a little more paper crafting with tags.  On Pinterest I found a tutorial for a window technique using acetate.

It started out as a future need of a birthday tag instead of a card.  As I worked on it, it was soon apparent to me that it intended to be a Valentine tag.


It’s a bit of a struggle to keep the acetate clean while working with it, but a not too close look doesn’t reveal that.


I always do a little on the back of my tags.

This prompted me to pull out the heart themed tags I had done in previous years.


Now they all hang out around the house on available knobs.


Or just tucked into a drawer.


I think it’s a fun idea to enjoy them.  I’ll be switching them out throughout the year as I’ve got quite a few tags that have been in hiding for much too long.

My Calendar Journal format has changed once again!  I most likely will be sticking with this easy format for now on.  I’ve printed off the months and am just decorating the blank spacing simply with washi tapes.


Happy Valentine’s Day!

Wednesday, January 27, 2021

Mixer Mat

My new mixer arrived earlier than expected.  It’s always a pleasant surprise to receive something sooner than expected.  These KitchenAid mixers are heavy!  It was suggested to place a towel under the mixer so that it can be moved around on the counter easier.  Well, a towel is fine for those who don’t sew.  But I had to have a quilted mat, don’tcha know.


I had a couple of quilted scrap fabric pieces that had been my sewing machine cover.  After I made the cover, I got an acrylic extension table for my machine.  The cover no longer fit well.  So I took it apart.  There were two pieces.  The smaller piece was a perfect size for a mat under the mixer.  I just needed to bind the edges.


I was glad to be able to use one of the pieces.  It can barely even be seen under the mixer.  Which is kind of a shame, but it’s out of the way of ingredient messes and makes it much easier for me to pull the mixer out for use.


       These Chocolate Chip Cookie Bars are SO delicious!  I hope the link works.  Tip:  They take a long time to set to be able to cut them cleanly.  Several hours.  I decided next time I make them I would cut them the next day.  Also, the recipe suggests a 12 bar servings.  For us that is too large of a serving.  I cut them much smaller.  Although it was very hard to walk by them without just sitting down to eat them all!  YUM!

We’re getting plenty of snow this month with more to come shortly!


I love when the snow sticks to the trees.  So beautiful!


Its piling up weekly!


And it’s gotten down right cold too.  I’m staying inside sewing and baking.