Showing posts with label Mail Art. Show all posts

Sunday, March 28, 2021

Lavender Postcards

Lavender is the theme this week at Sunday Postcard Art


I’ve made two postcards for this theme.
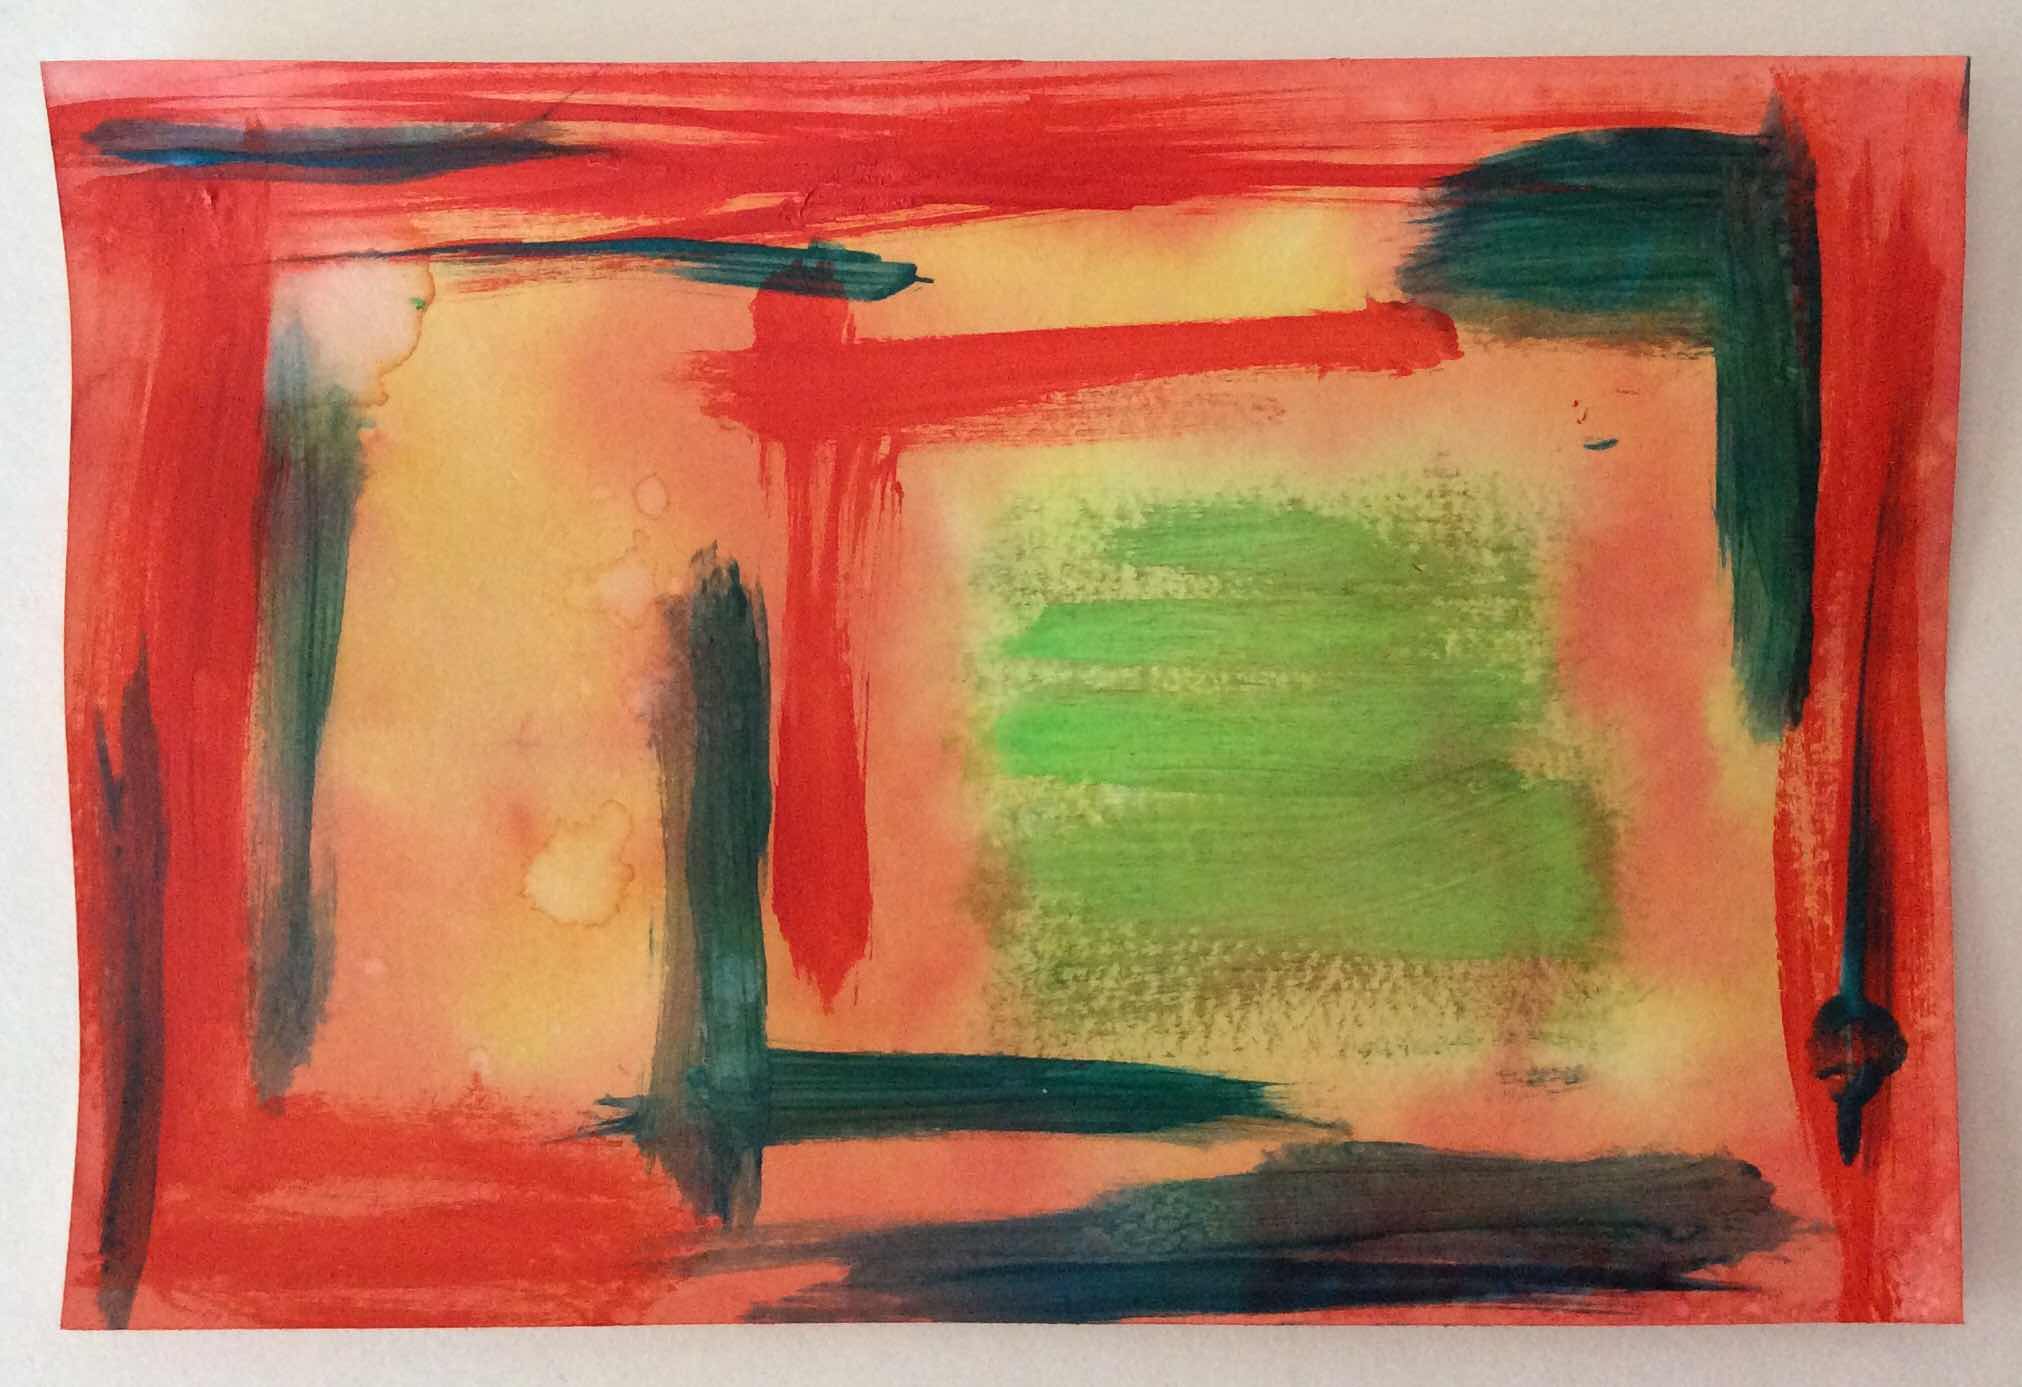
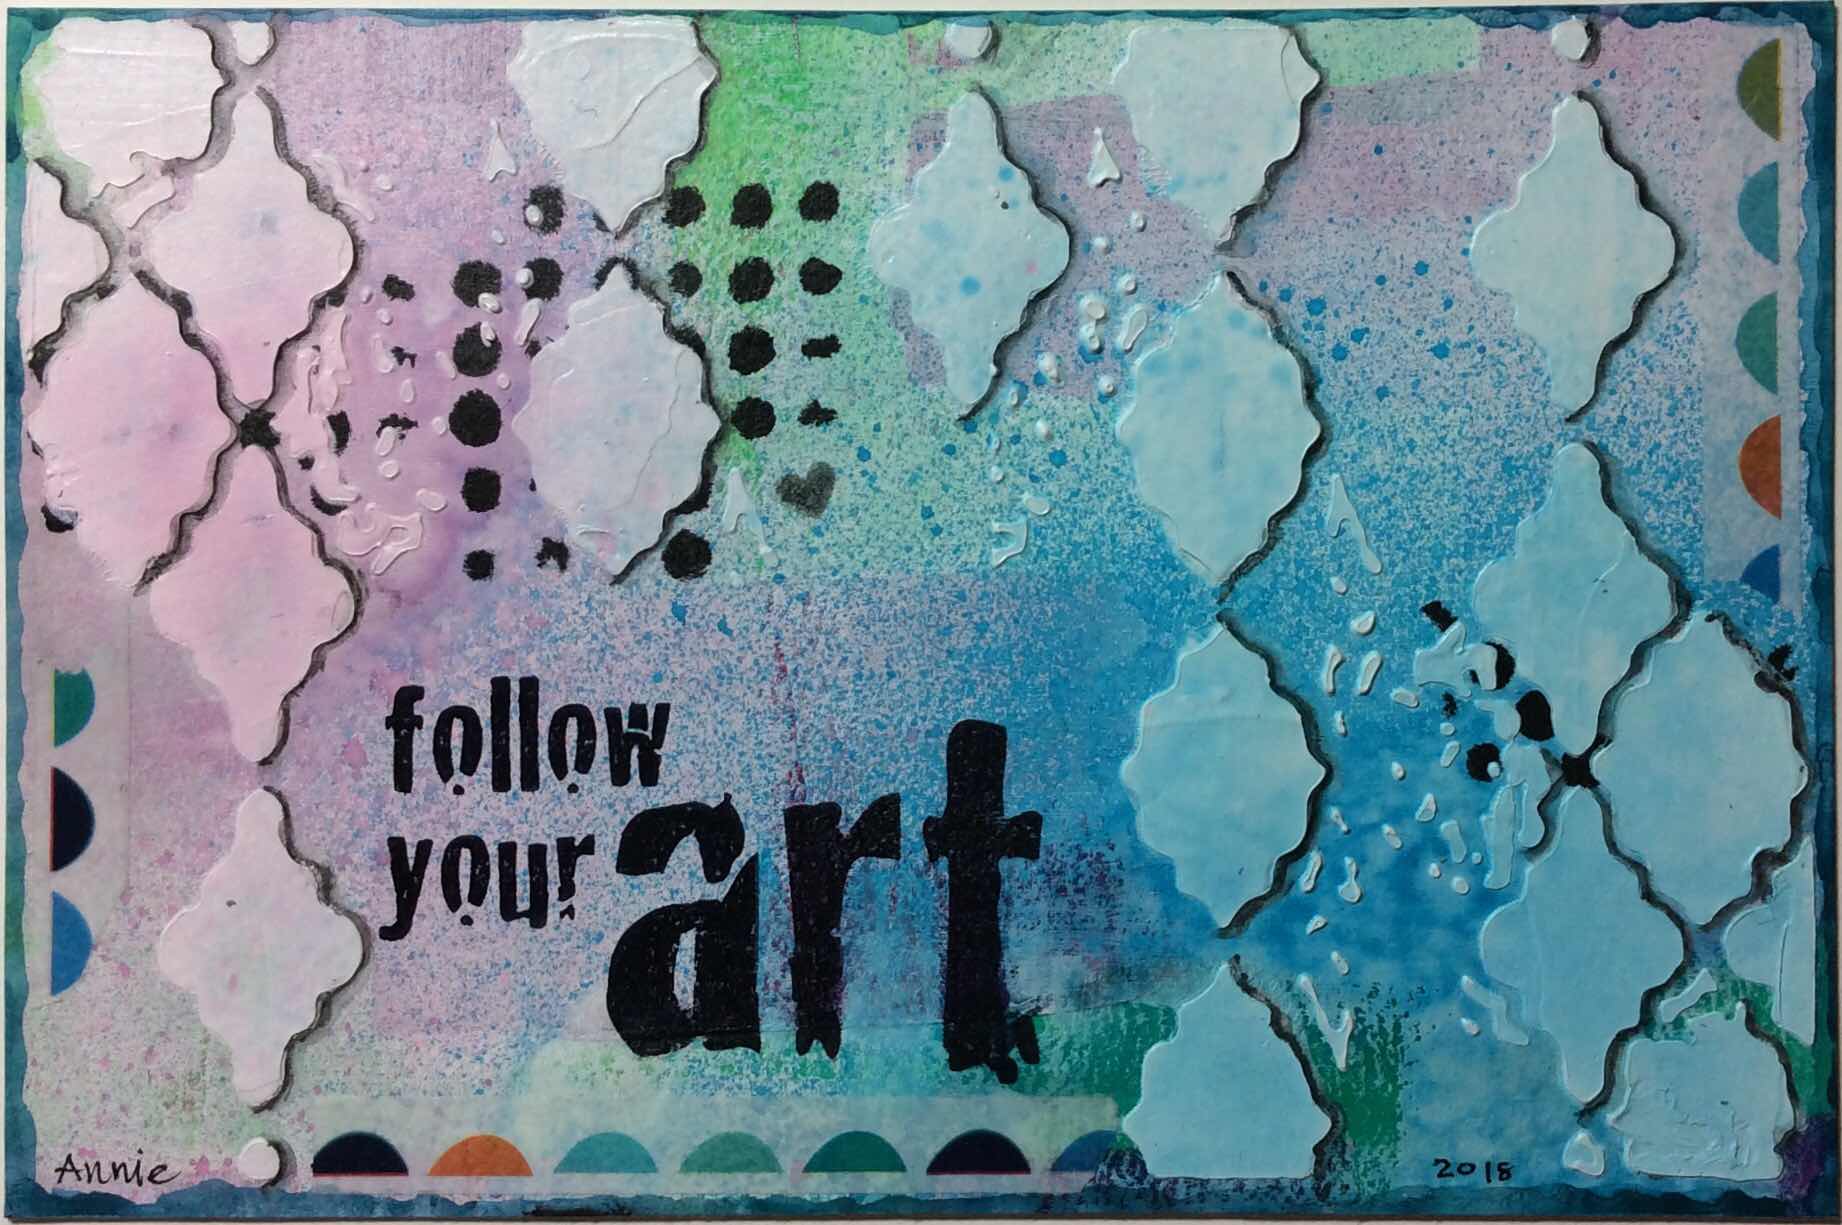
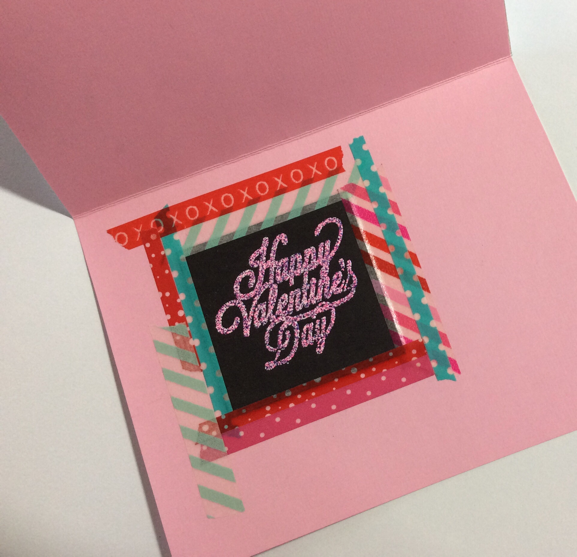
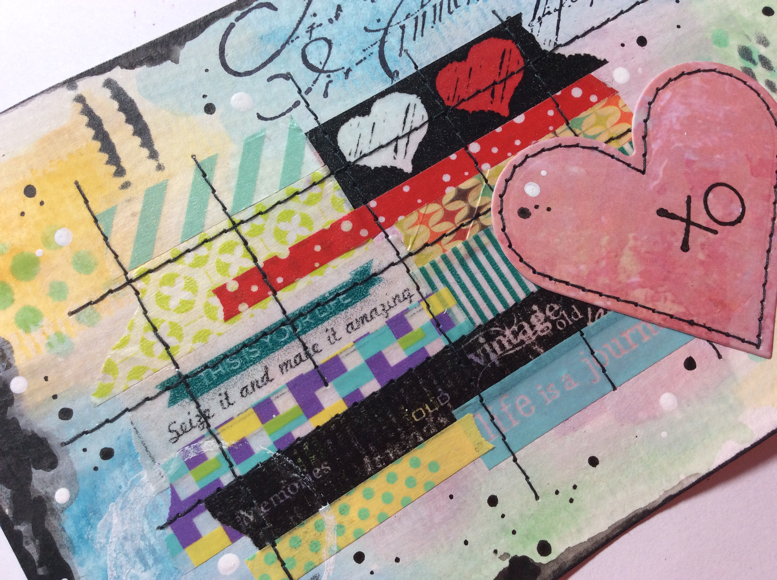
The first is for the color and shades of Lavender.


I used Distress Oxide Spray on 70lb heavy sketch paper.  Then a rubber stamped image, a die cut alphabet, modeling paste through a stencil, the “hello” die cut, distress inks to darken the edges and Washi tape to trim.

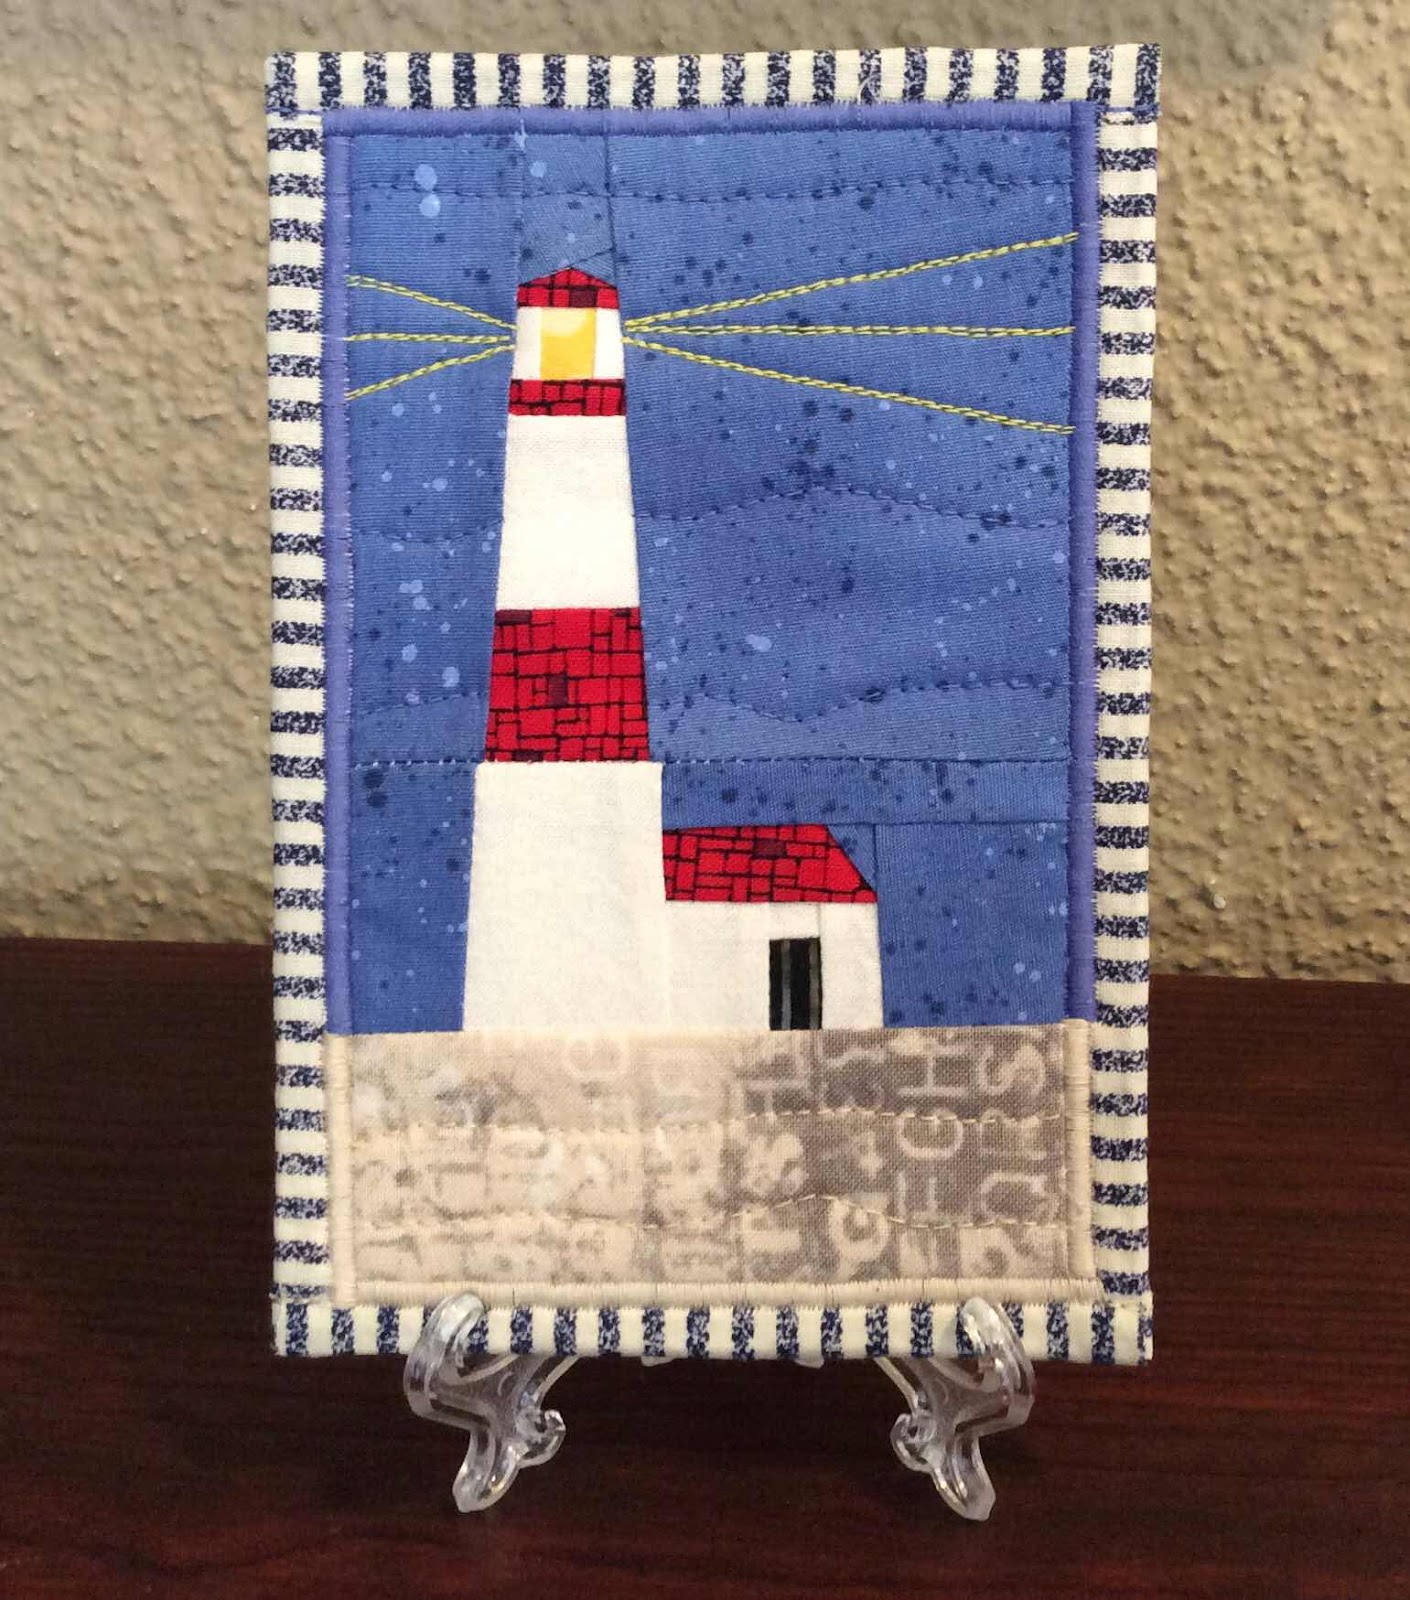
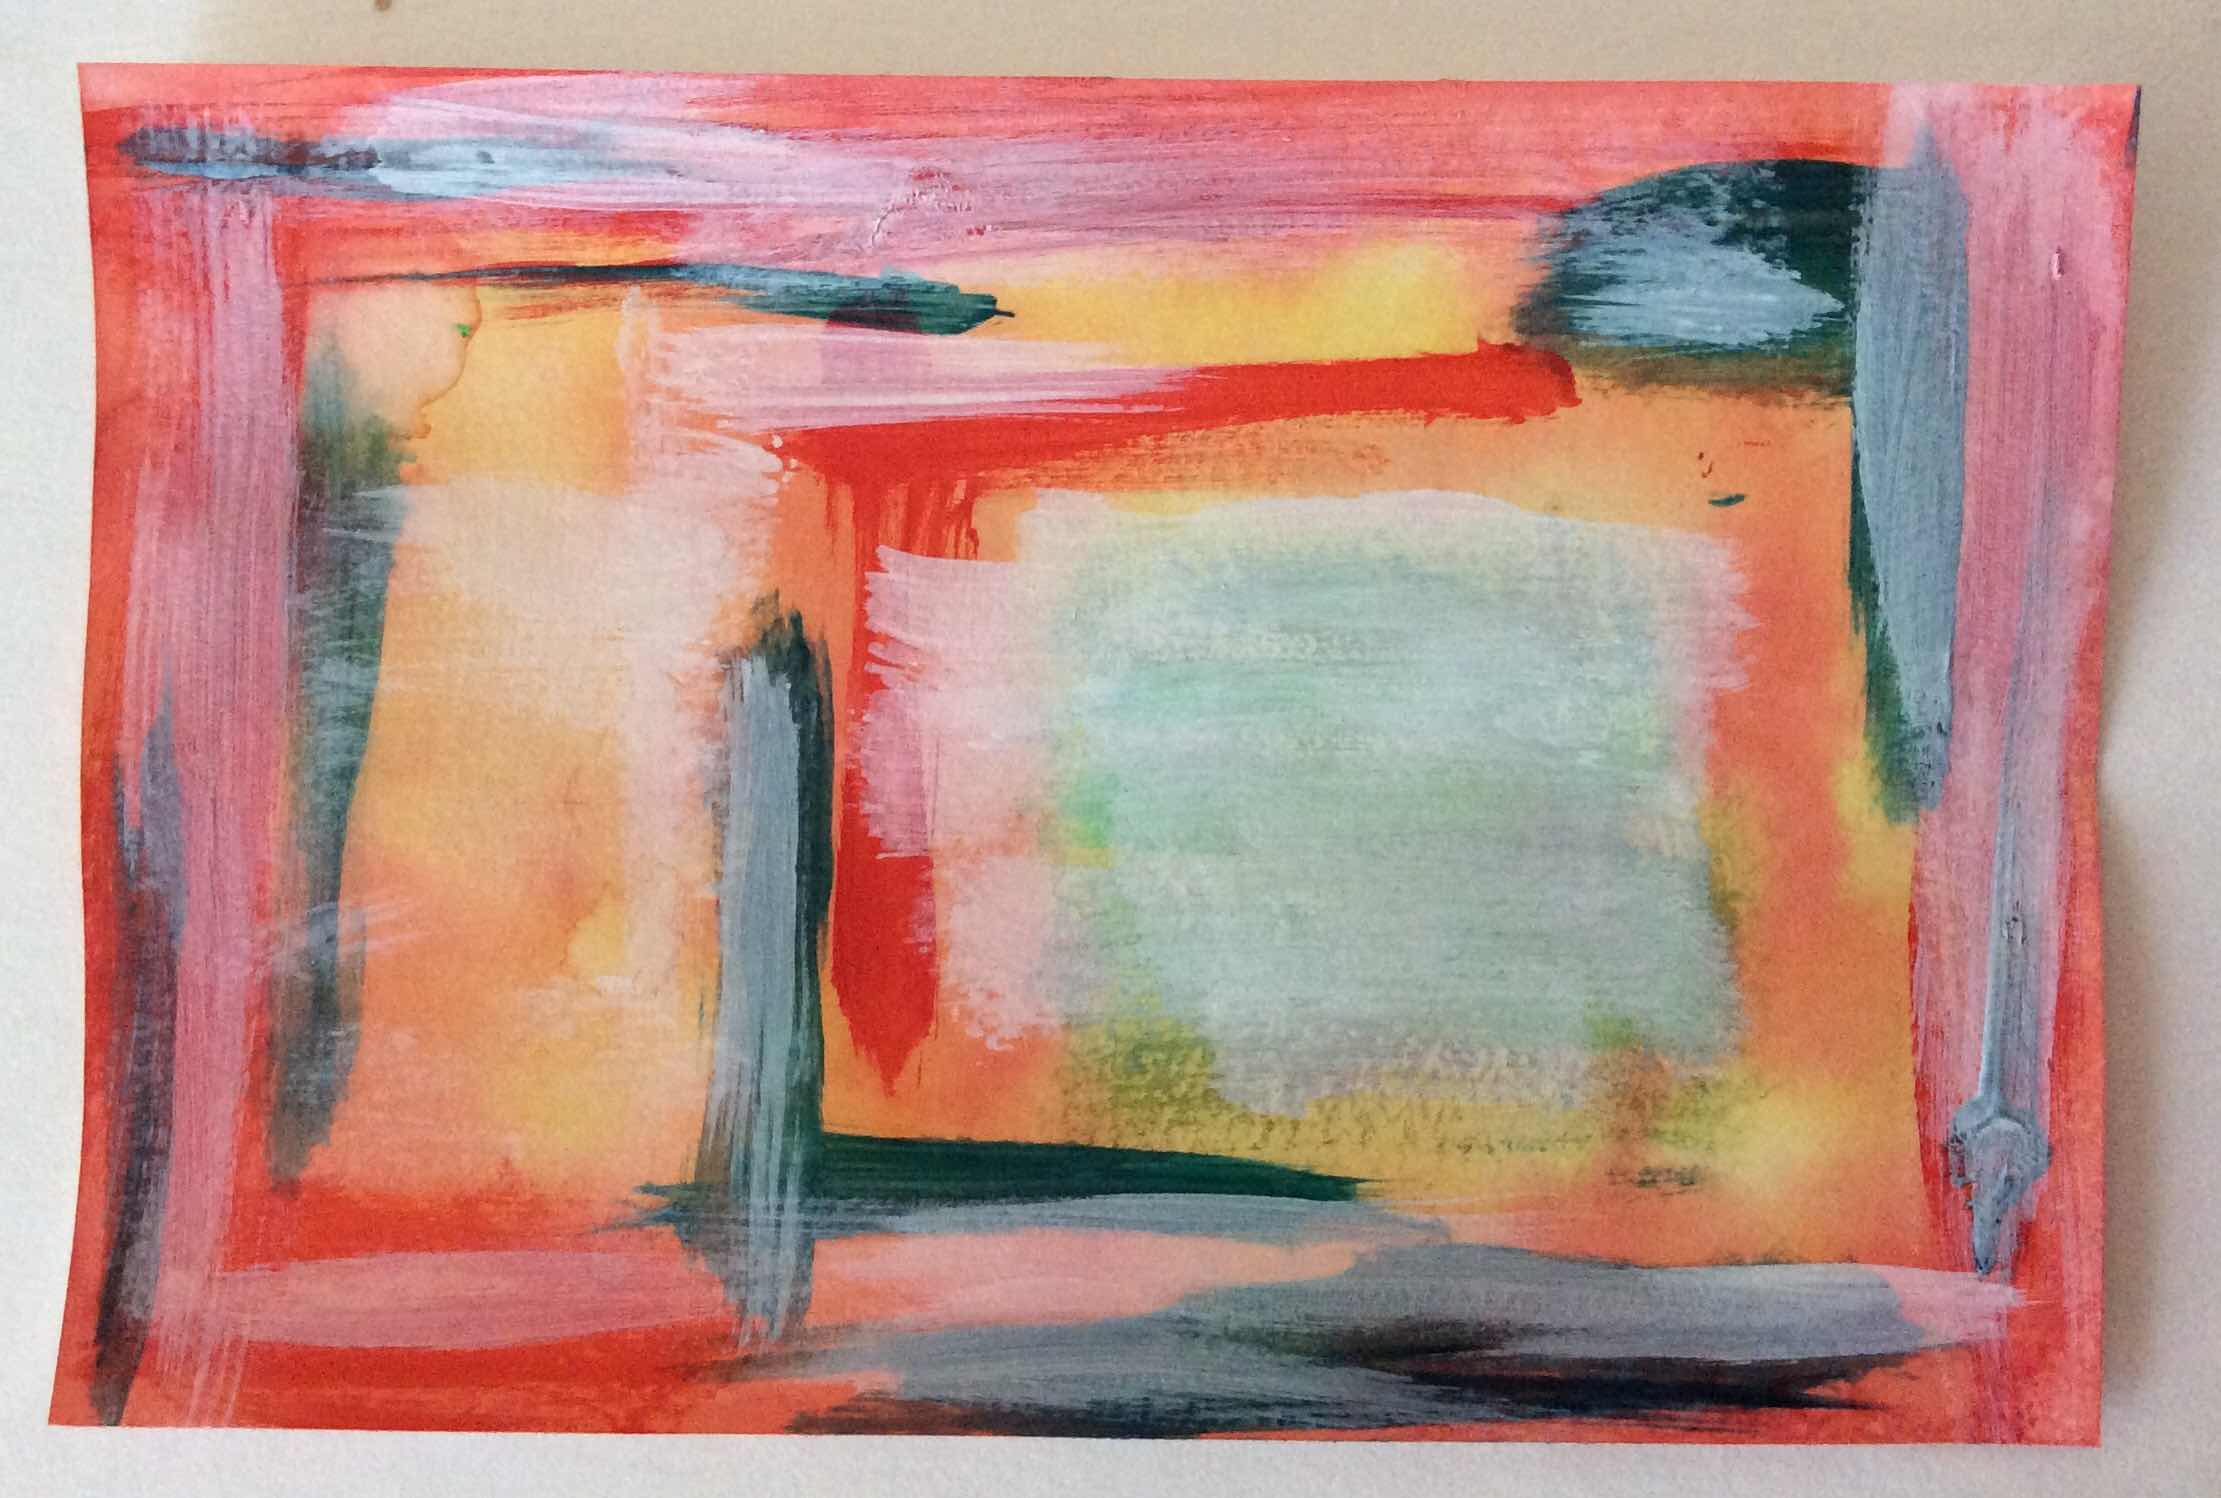
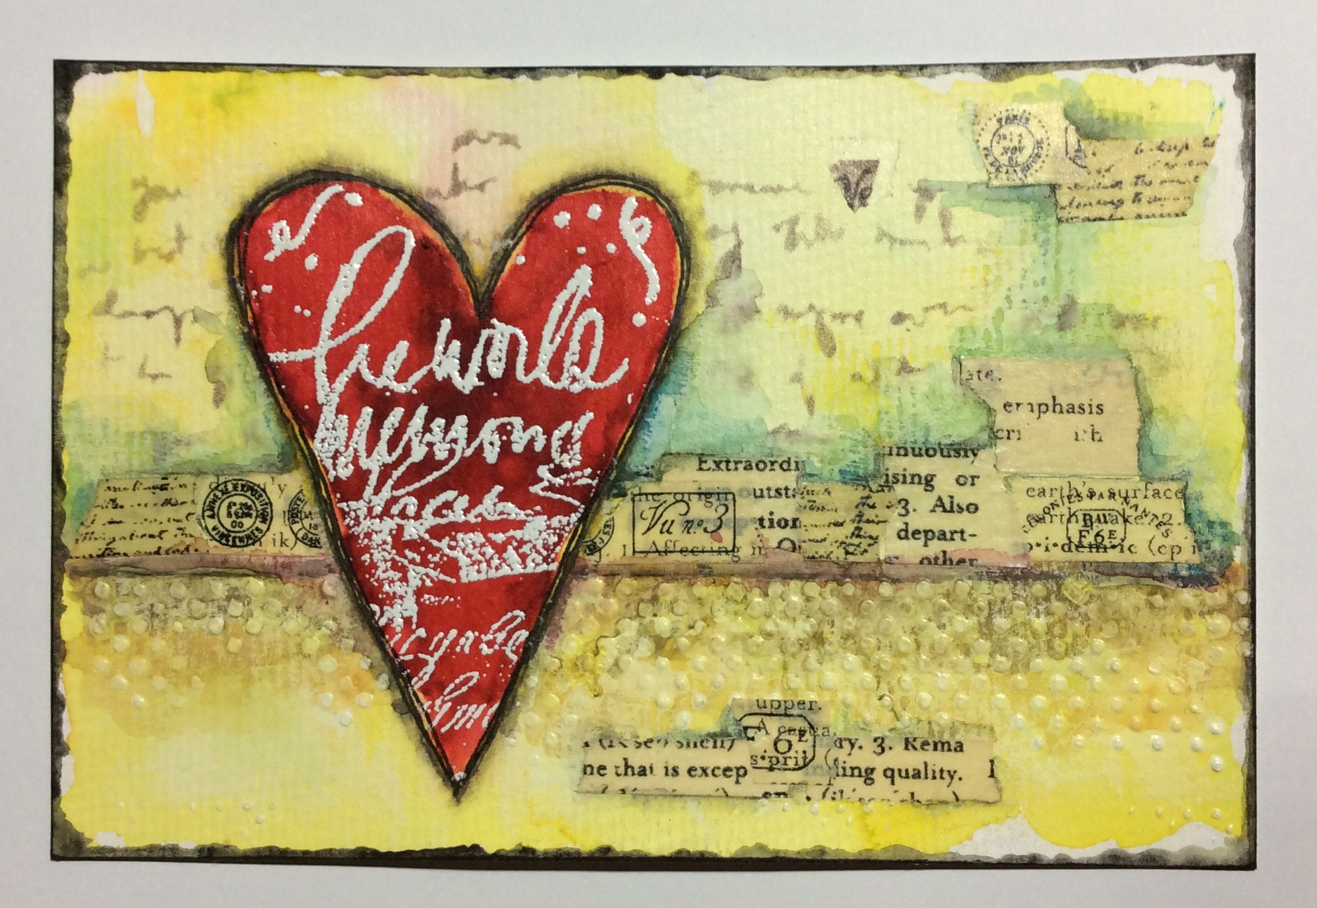
My second postcard is my attempt at Lavender, the plant.


Again I used Oxide Spray on heavy sketch paper and again through a stencil.  Die cuts are the plants cut from the heavy sketch paper and painted with watercolors.  The bee is a rubber stamp and a strip of Washi tape at the bottom for ground.  

Both cards were then glued to a 90lb mixed media paper for mailing stability.

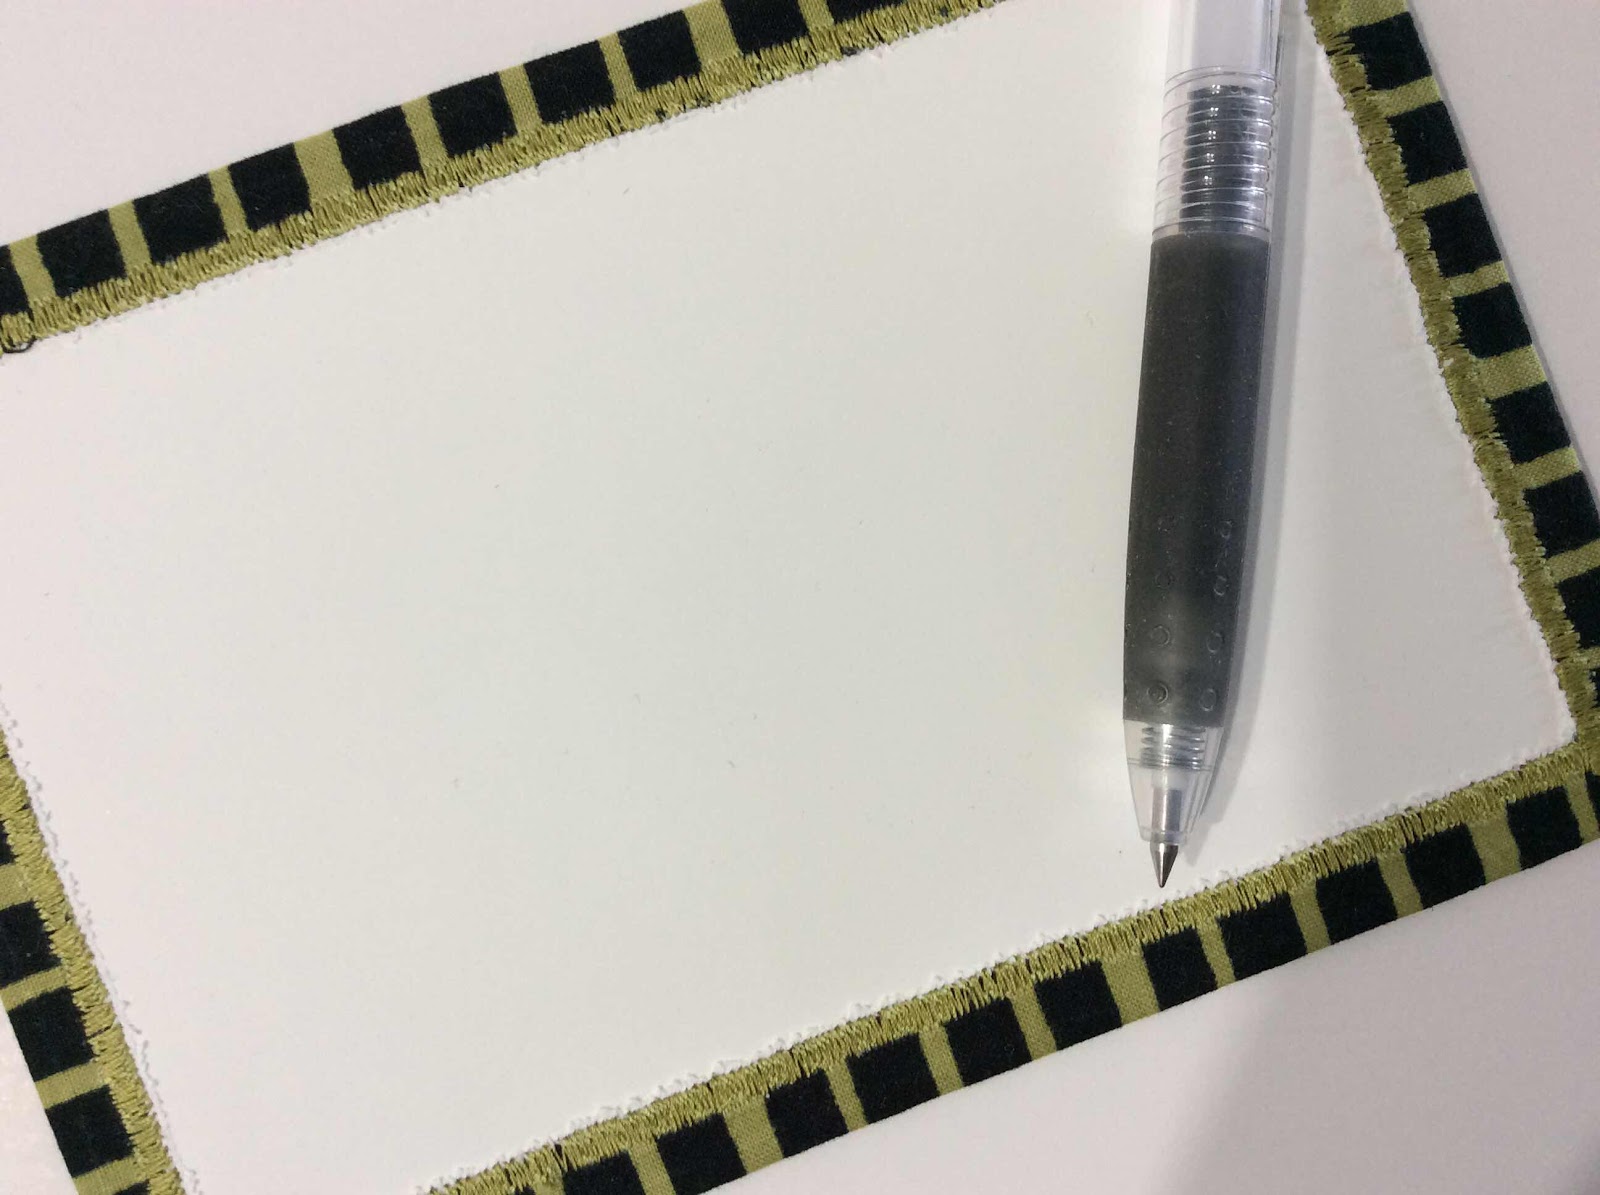
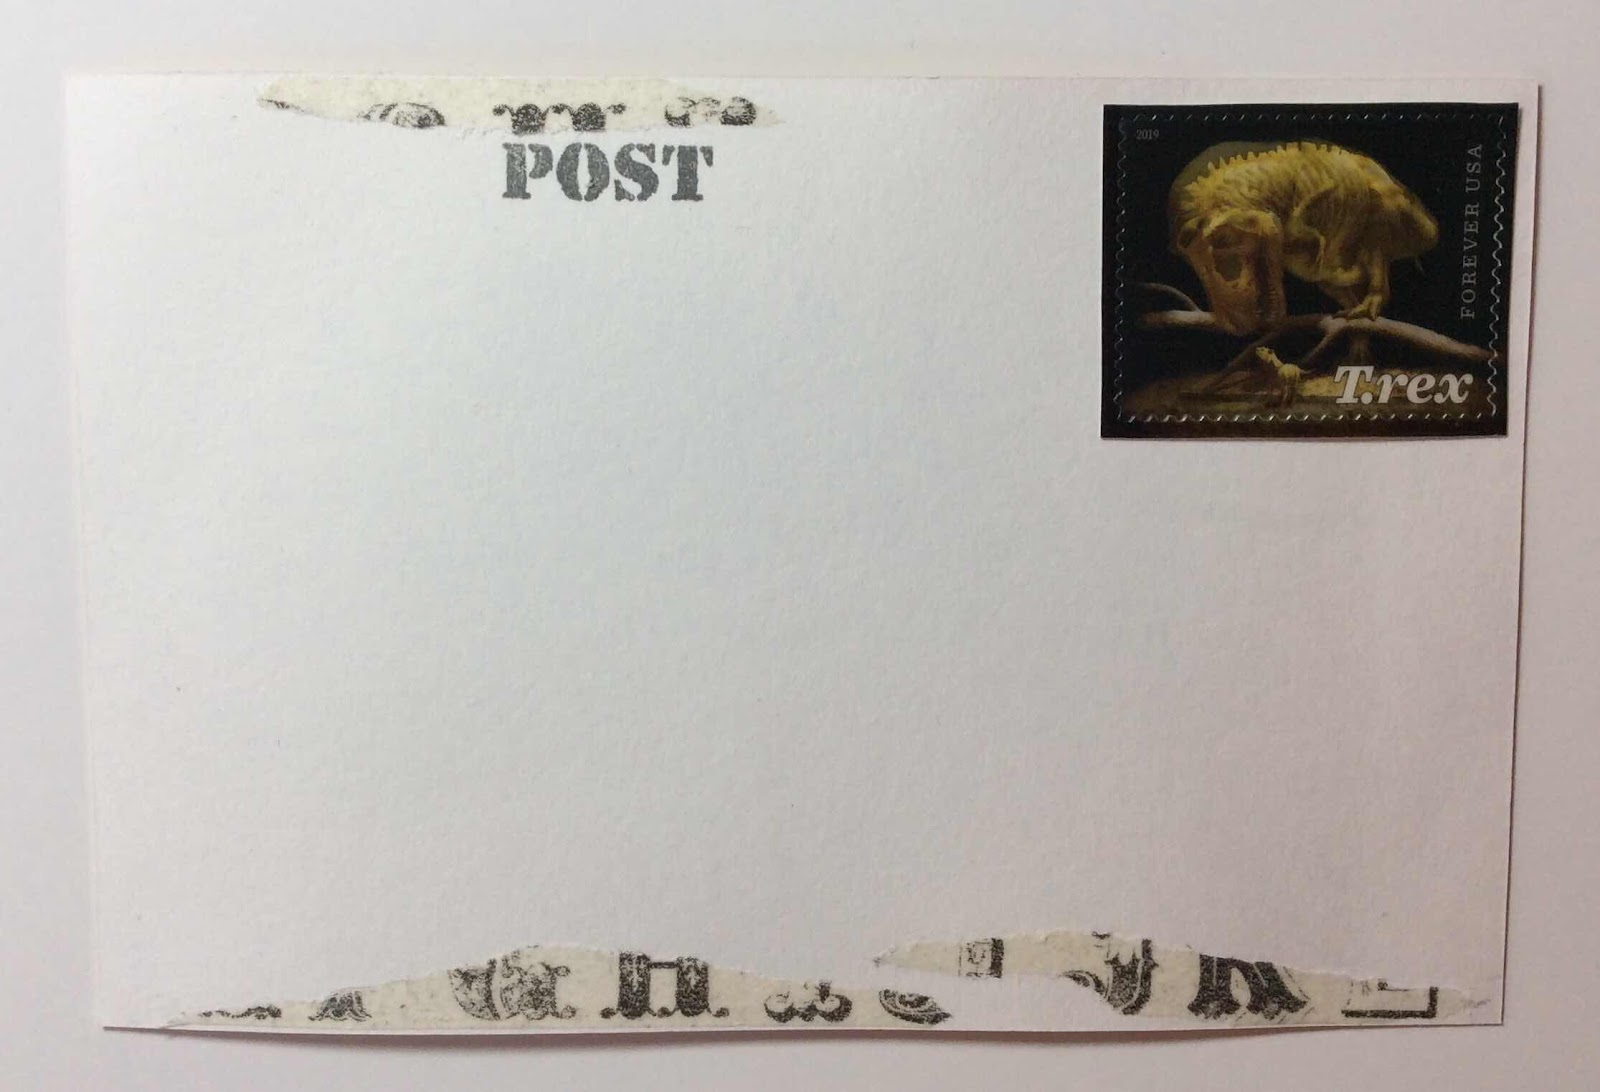
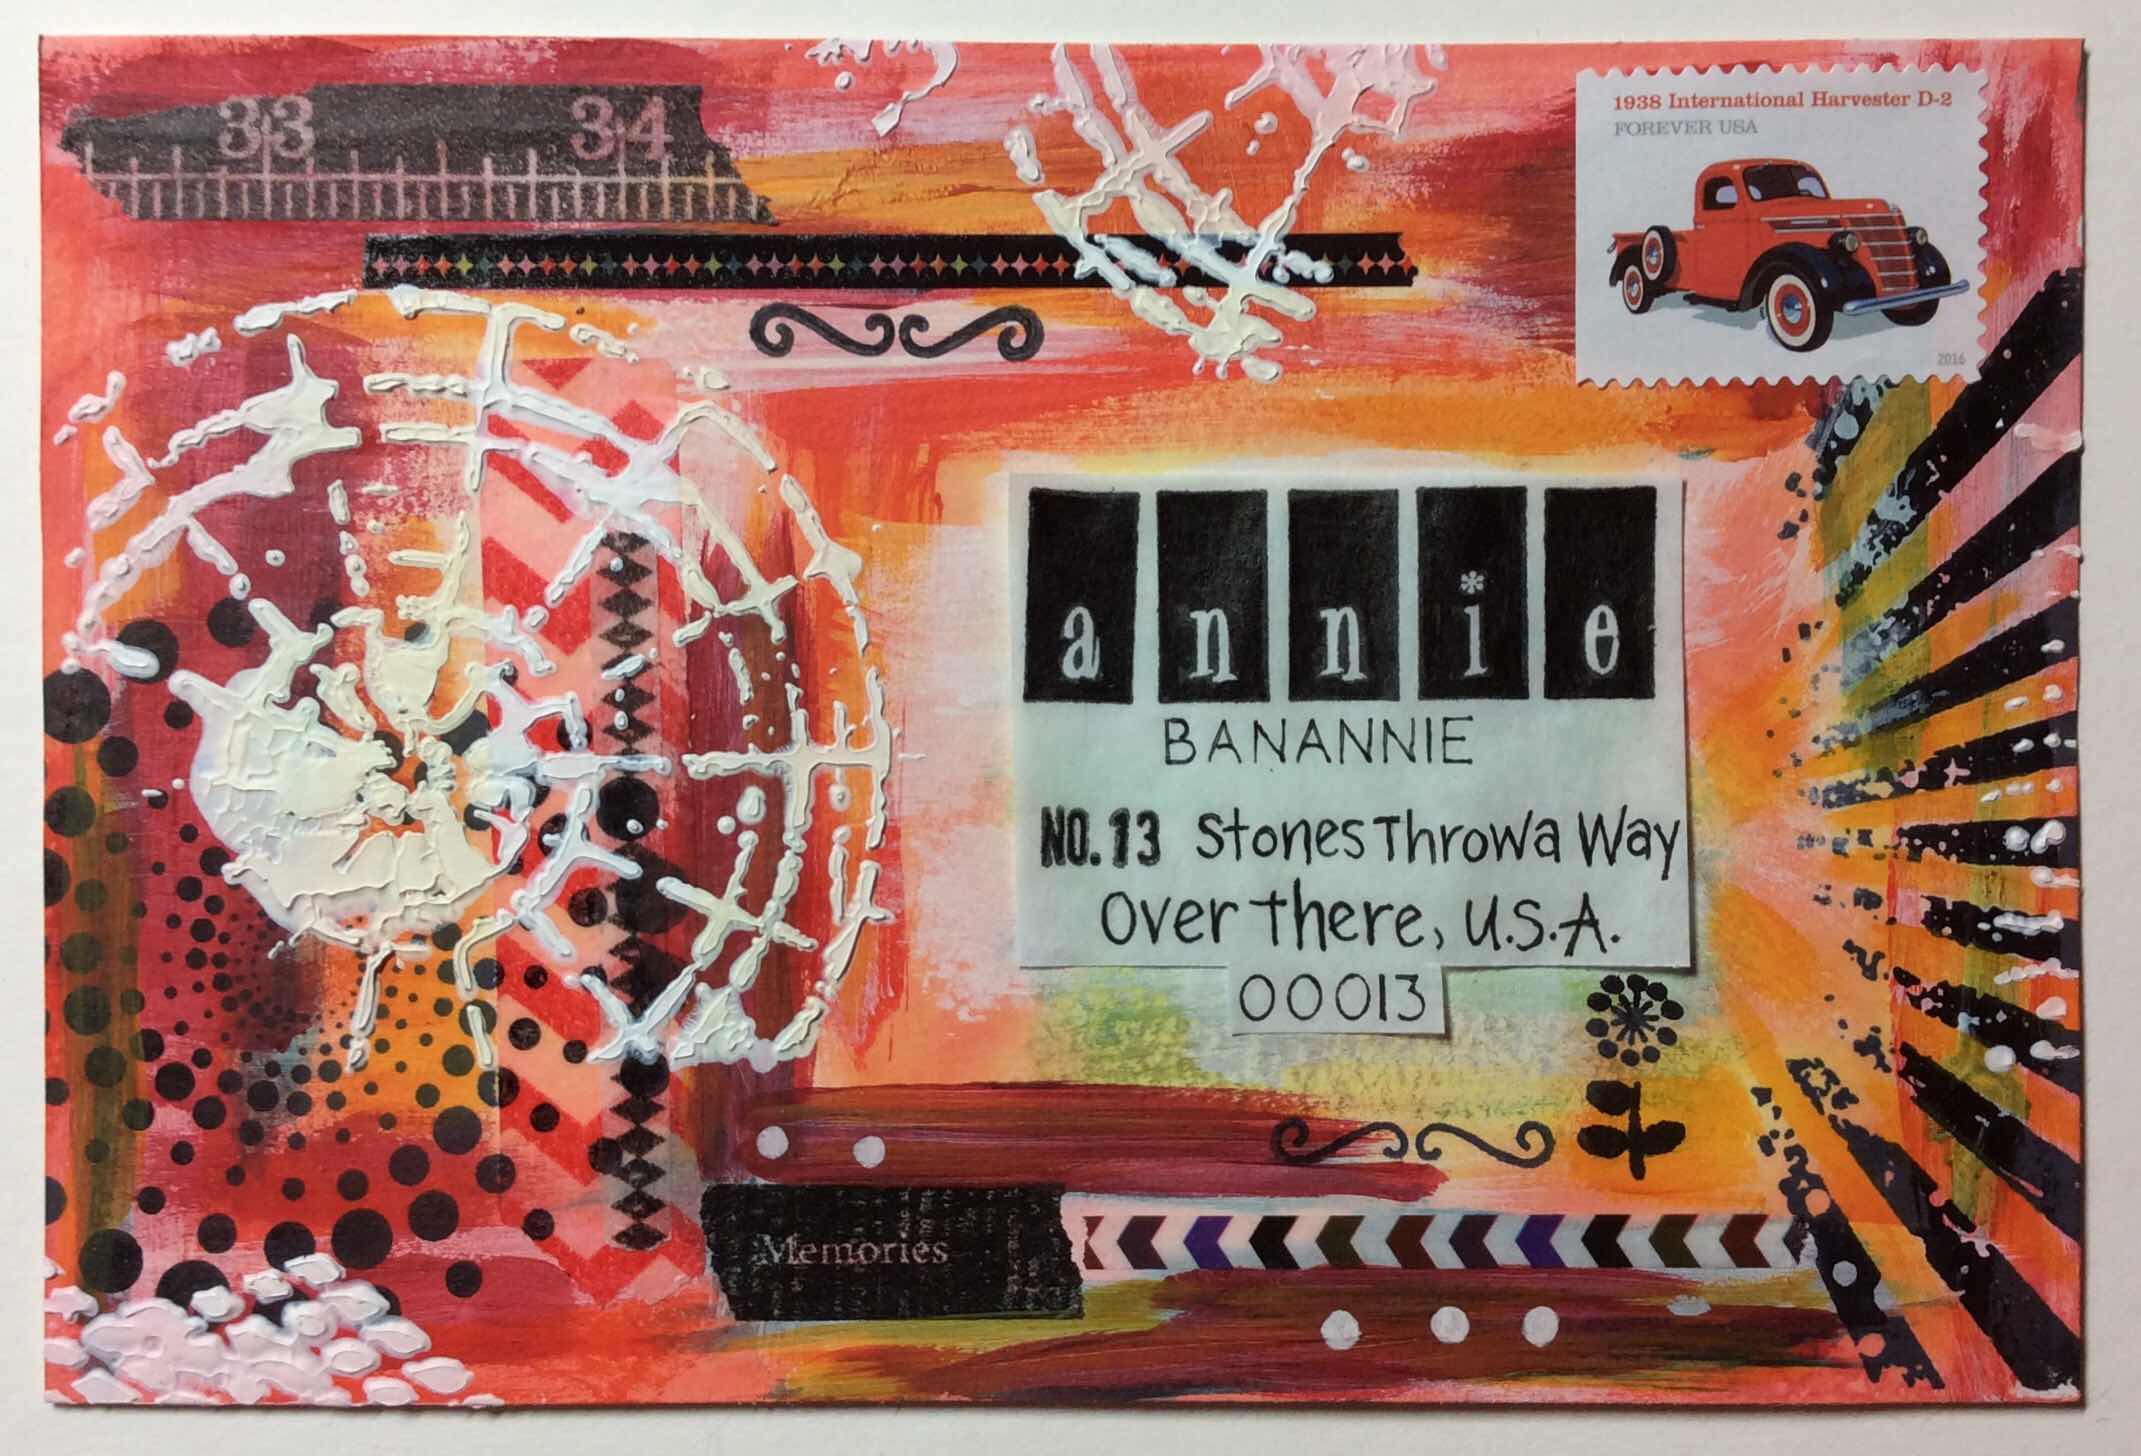
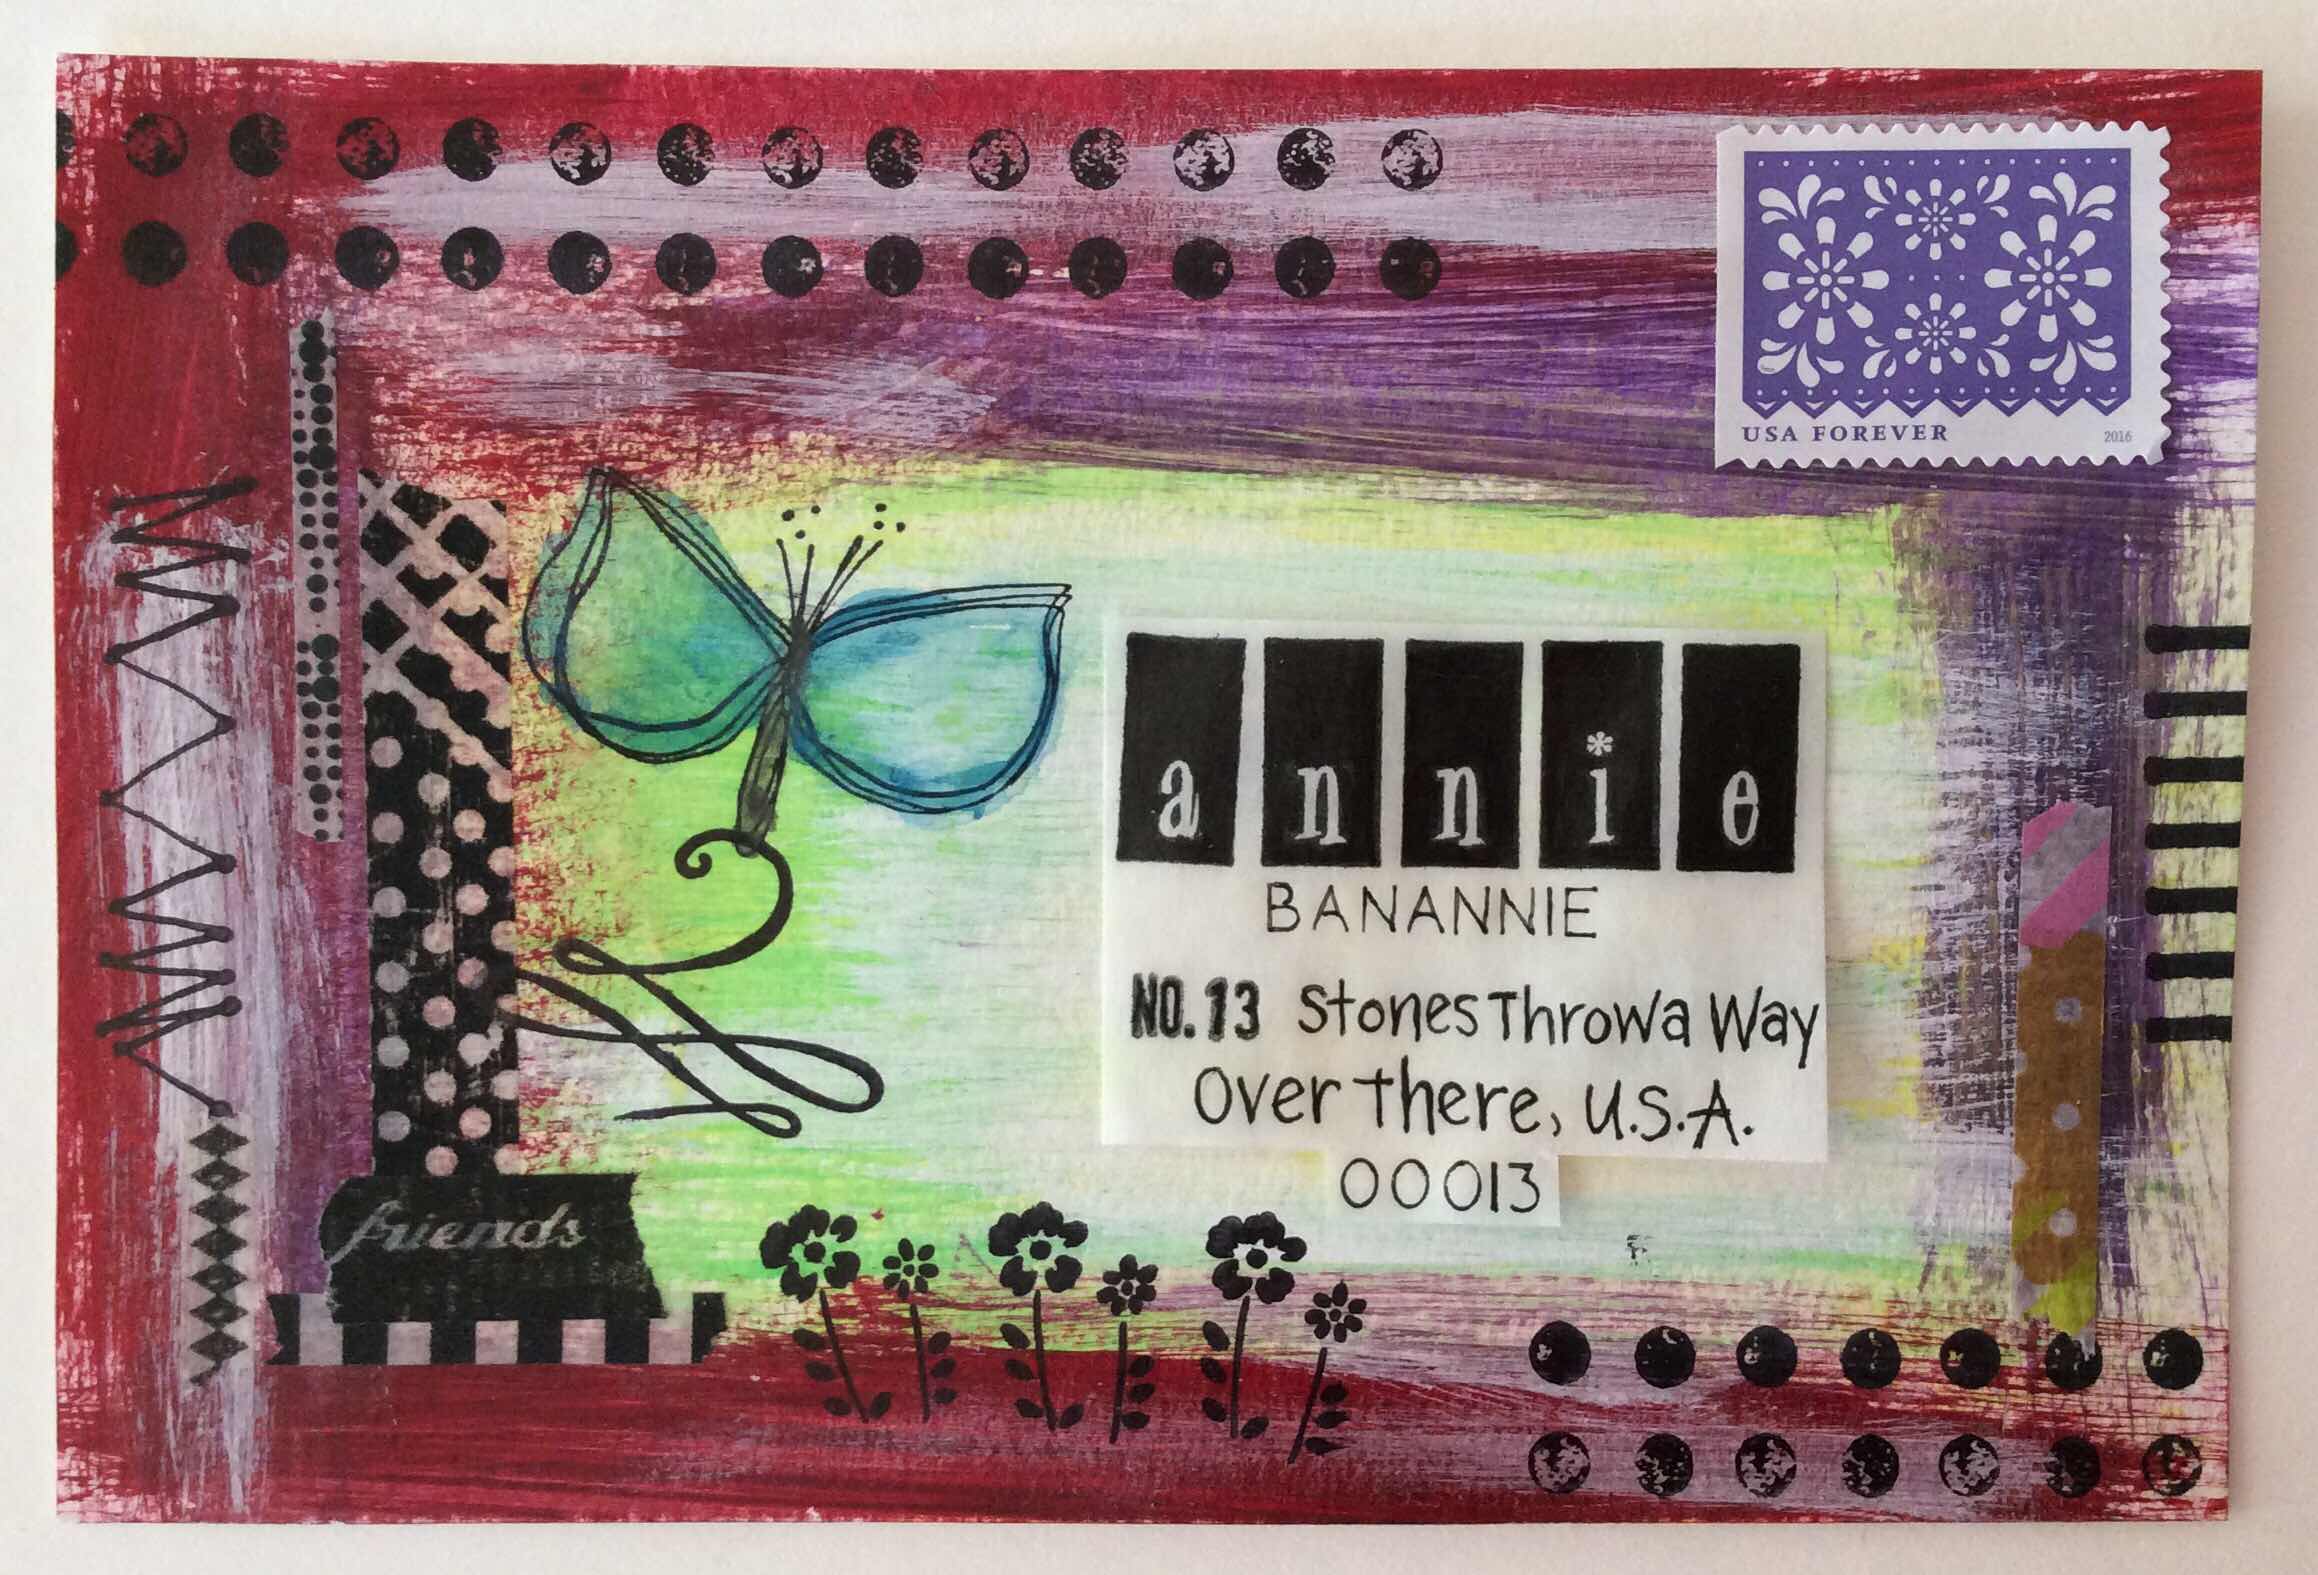
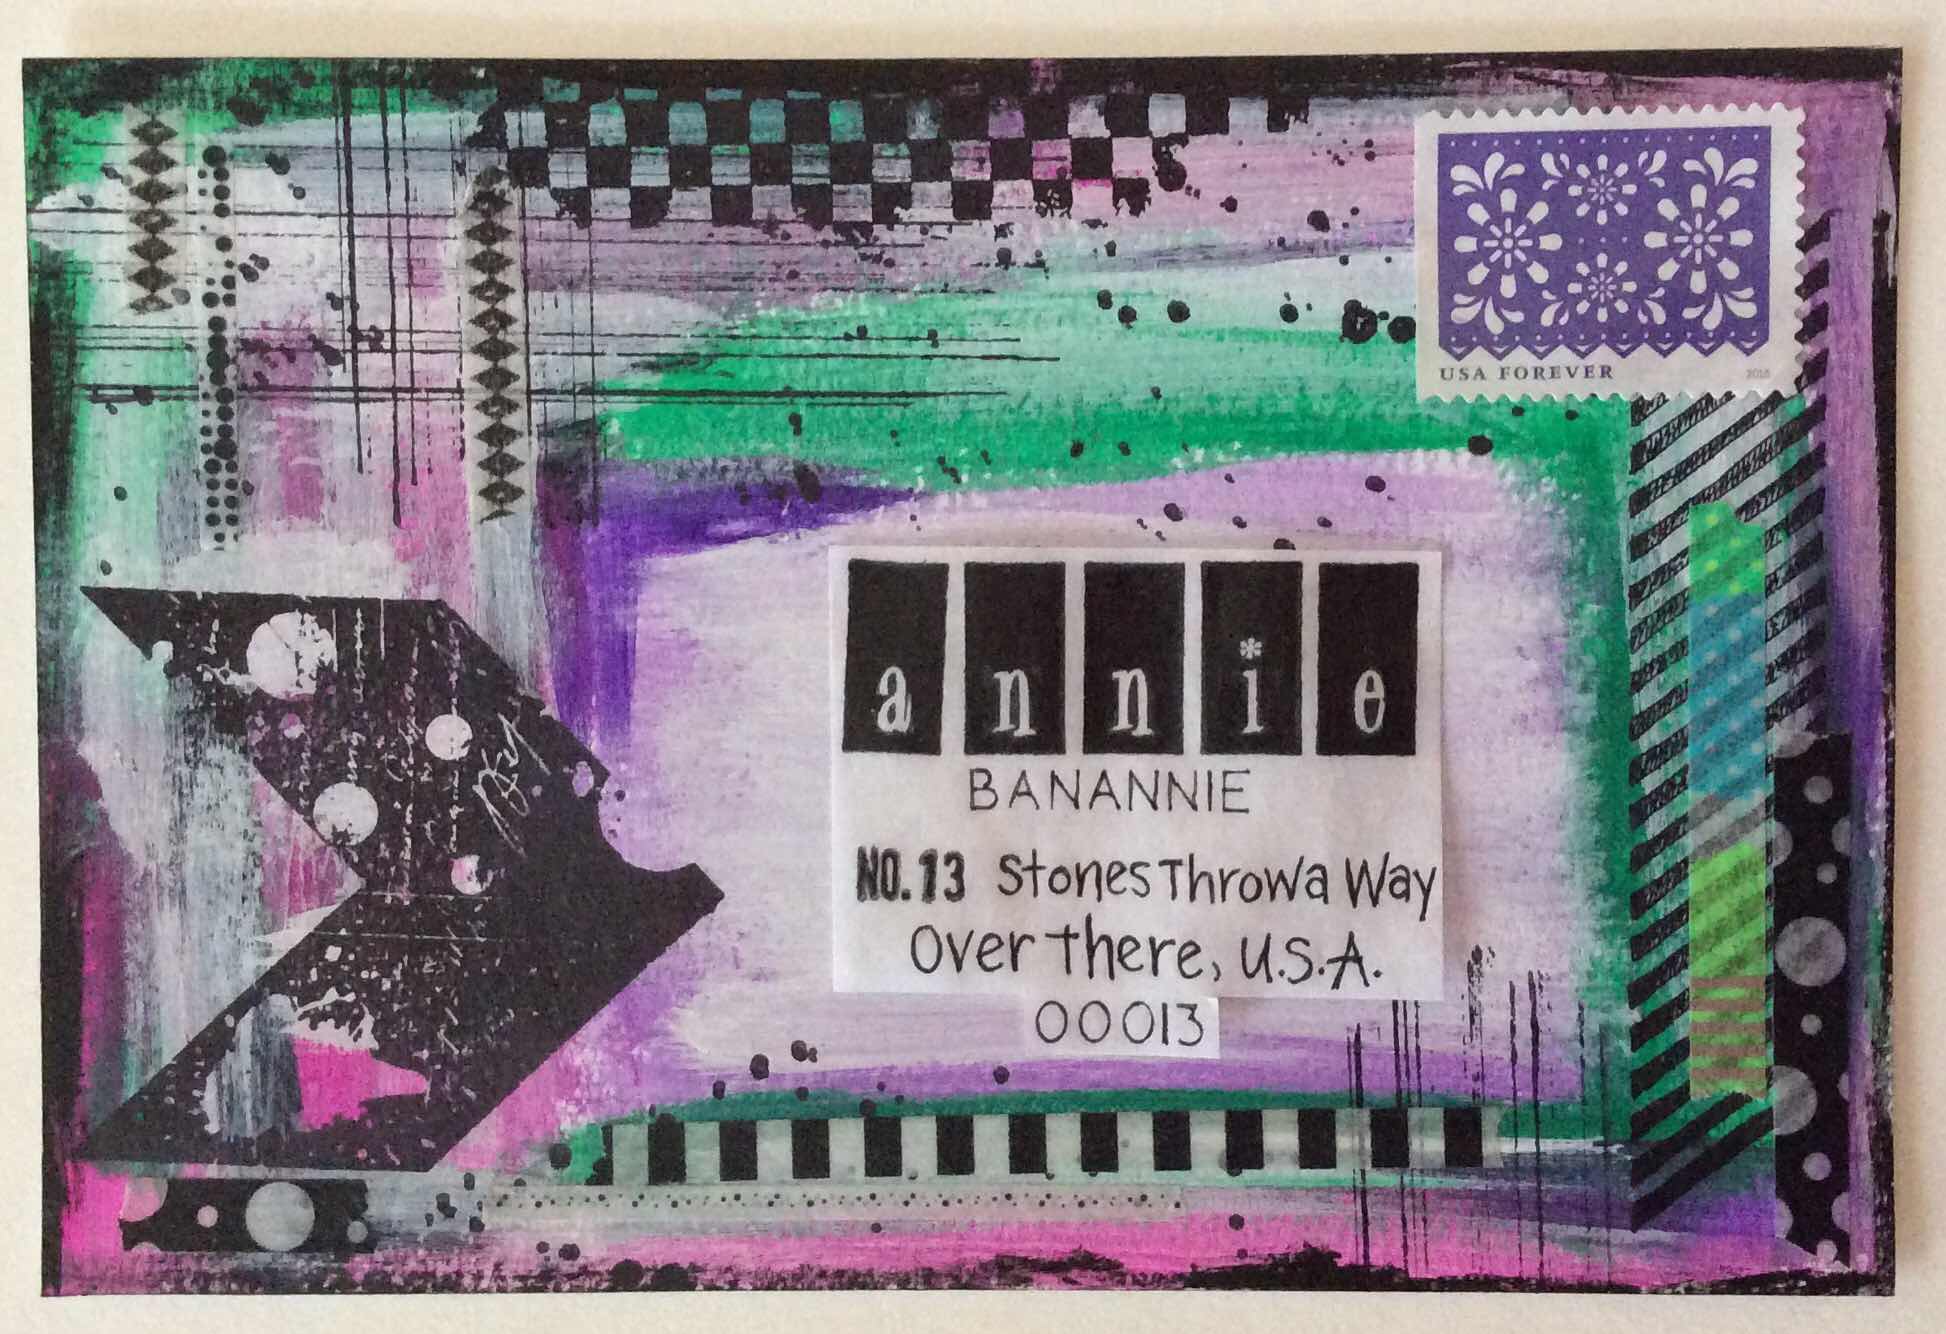
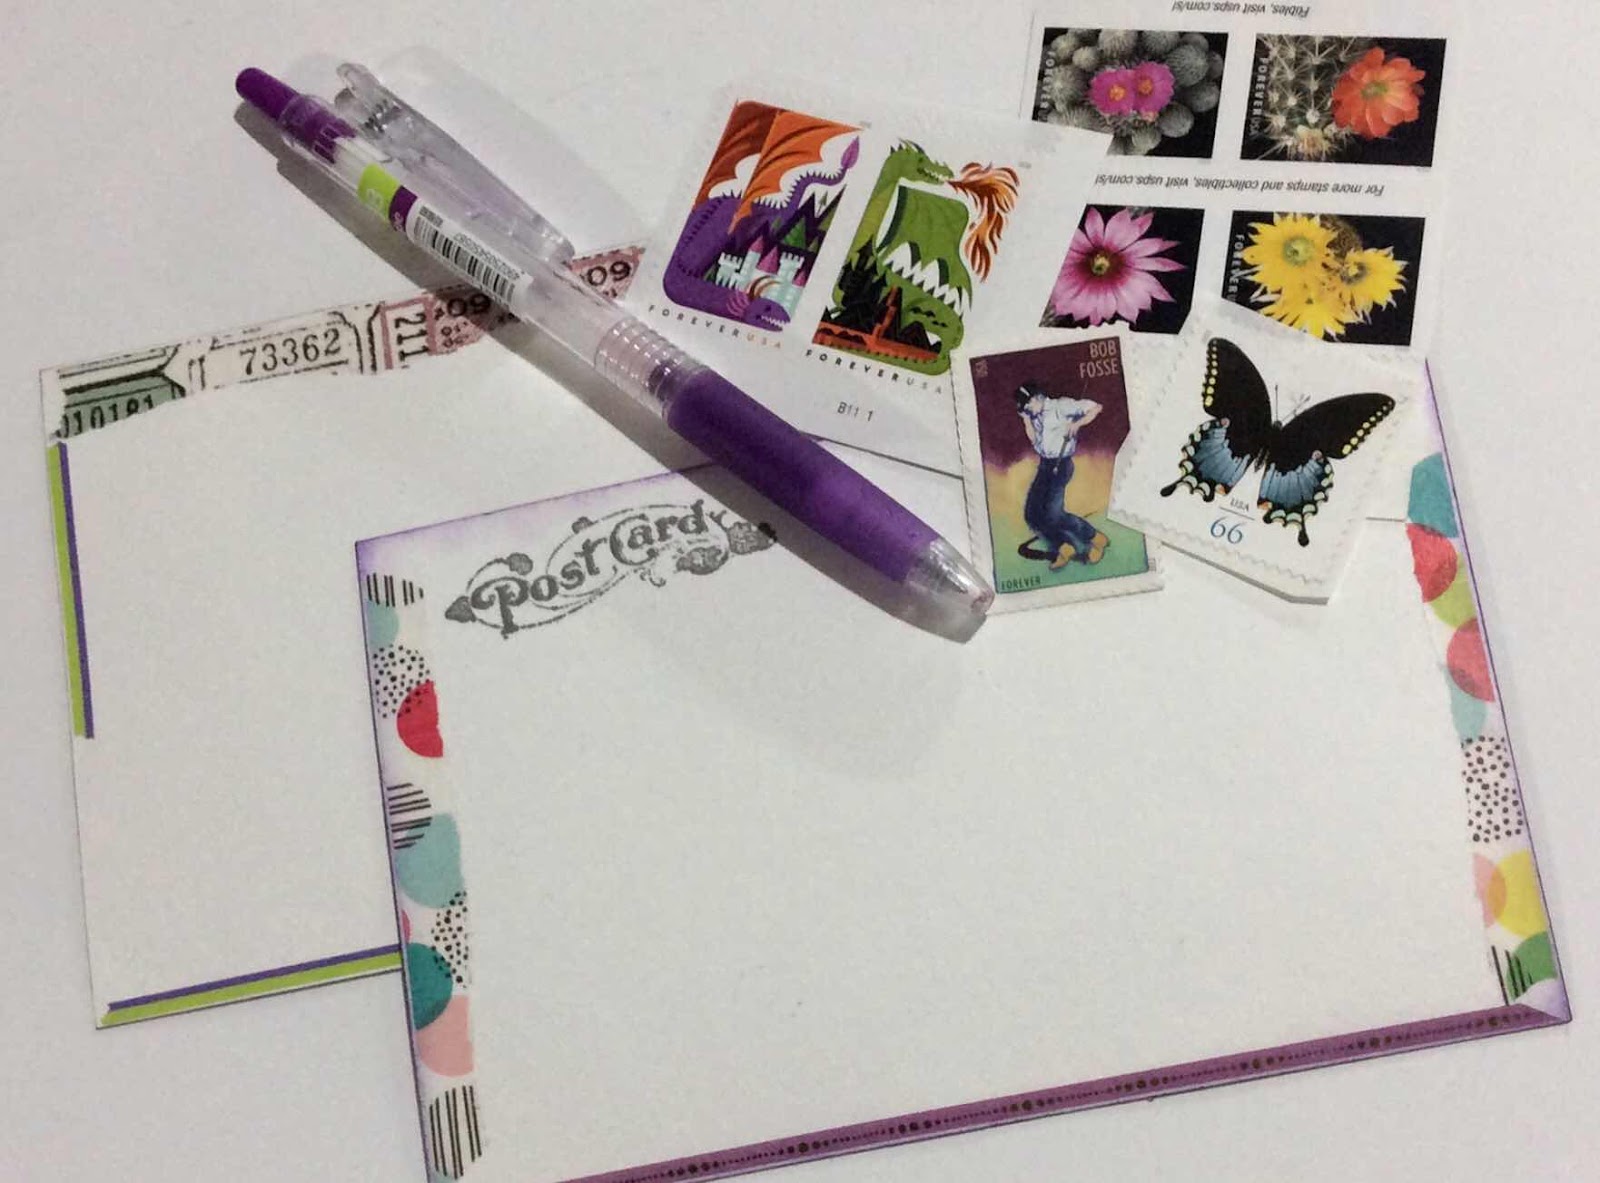
These are the address side of these postcards.


If you would like a chance at finding one of these postcards in your mailbox, let me know which would be your choice in your comment.  I will contact the winners for mailing info.

Happy Mail Day!

Tuesday, March 23, 2021

Salt and Sand Postcards


Welcome to day 3 of the Salt and Sand blog hop.
Many thanks to Carol of Just Let Me Quilt for her hard work organizing this fun blog hop.


When I decided to join in the fun of this blog hop, I wasn’t ready to make another quilt of any size, nor any other sizable project, so what to sew???

Yes, POSTCARDS!
And I will mail them out to 5 of my followers.

When I think of salt and sand, I think of the ocean/sea and the beach.

And the ever present seagulls.
I always complain that I cannot draw.  I did draw the seagull, but practically used up an entire eraser trying to make him look somewhat like a seagull.


Next came to mind a lighthouse.  I couldn’t make the light light up but the lighthouse building glows-in-the-dark.


From there my mind traveled out to sea for a fish or a boat.  What came to mind were those thieving salty sailors of the high seas...Pirates.

The skull and cross bones on the pirate hat glow-in-the-dark.


Can’t have pirates on the high seas without a ship.
This ship has already been in a battle...with me. The eyelets and I did not see eye to eye.  It’s a battle ship...it should show some battle scars...right?   


What’s a pirate or a pirate ship without a pirate parrot.  He keeps his share of the booty close.  Dare not to take his treasure!


What a fun time I had with this challenge theme!

If you’d like to receive one of these postcards in your mail, mention it in your comment.  Tell me which postcard you’d like to receive and your name will go in the drawing for that card.  If you want to get in more than one postcard drawing just mention which ones.  I will contact winners for mailing info.

Check out my fellow bloggers that are sharing their Salt and Sand projects today.

Sunday, February 28, 2021

Bloom Fabric Postcard

The theme this week at Sunday Postcard Art is “Bloom”.

I get so excited when their themes can be worked into a fabric postcard and I have the time to play along.

I am not a Winter girl, so I’m looking forward to Spring and Summer!


Now to fill in the backside and get it in the mail.


Happy Mail Day!

Saturday, March 7, 2020

Writing Inks In Art

I’m experimenting with my writing inks and adding them to an art postcard.


I first made a full sheet masterboard on a mixed media paper just sprayed with Ranger Distress Oxide Spray (mustard seed).  When that was dry I cut a postcard size from the master board.  I put some orange ink on an acrylic platform, spritzed it with water and set the postcard face down on top of the inked acrylic.  Ran my fingers over it then removed it and let it dry.


This ink has gold shimmery something in it.  It settles to the bottom.  I tried showing that here, but I couldn’t find a good way to catch it on camera.

You can see it best near the left side and the bottom edge on the postcard.


I stamped the images with Black Soot Archival Ink and added some washi tapes around the edges.

On the address side, I added torn strips of washi tape.  I have a roll that really just wants to stick to itself.  So it tears off kind of artsy all by itself.


I always glue down the ends of my washi tapes so that they don’t get caught in the postal servicing system.


If you haven’t seen the new T-Rex postage stamps, let me share one here.
They are a lenticular image (I think).


When the stamp is looked at from another angle it changes to the skeletal version.  Pretty fun, huh!


I’m looking forward to more art with my writing inks.

Friday, October 4, 2019

A Bit of Mail Art

I’ve had a swell time making a bit of mail art.

I immediately fell in love with this set of grunge style sewing themed stamps.   This is a #10 business envelope.  The scissors stamp is quite large.  (The stitches under the scissors are from a different set of stamps).


These carrier pigeon stamps are a hoot.  I gave them a line to stand on.  Unfortunately with modern transportation and email, it is the unemployment line.


I’m quite and sufficiently mad at myself with this envelope.  I was working on a couple of envelopes at the same time and I addressed this one incorrectly.  I found a way to correct it, but I did not mail it.  It seemed waaaayyy too tacky to actually mail it.  There’s no hiding the mistake.  Held up to the light reveals the error of my ways.  

I’m sending this postcard to my bicycle riding partner who put up with all my riding plans all spring and summer long.  


I am very lucky that this woman has a great sense of adventure.  All of our rides inadvertently turned into an adventure of some sort.  Loads of fun was had!

And this is how September was for me.


Happy Fall.  It’s the spooktacular month of October.  Creepy good decorations inside and outside are so fun to see.

Thursday, March 22, 2018

Abstract Mail Art

More mail art...my current passion.
(Shared in Sunday Postcard Art)

This one spent 15 minutes in the trash bin.


Let me show you why...

It starts out like this.  I started with trying Distress Oxides Inks.  My first try with those inks. I tried to control those, but they would have none of that control stuff.  Plus they weren’t bright enough for me.  So I went over the inks with acrylic paints.


Not real pretty.  That darker green wasn’t the color I thought it would be.  But I hoped I could improve on it.

Then I go over the top with some white here and there.


Yeah, it’s still pretty awful.  That’s when I stopped taking photos and put it in the trash for a 15 minute time out.  Not really...I threw it out intending to move on.  But I took it out and added some darker red over the awful green, then some bright orange, then some stamping and washi tapes and finally some modeling paste.


And that’s when it turned from trash to mail art.

This next one is done with spray inks.  They’re less predictable than acrylics are but blend on their own better.  This one went out in the mail to encourage a young artist to continue to follow her art.


Happy Mail Day!

Sunday, March 18, 2018

Envelope Postcard

Every week I watch the Sunday Postcard Art themes.  Once in a while they play right into my artistic play that I have happening right at the moment.  It’s what happened for this week.  The theme this week is to make a postcard as an envelope or faux envelope or add an envelope to the postcard, etc.

That is exactly what I have been trying this week.  The front of my postcard is the “envelope” side with the postage and the address.


I saw actual envelopes similar to this on Pinterest and thought to give it a try as a postcard.  I finally made an address thingy to show how my mail art might look with the address.


I was so pleased, I had to give it another try today.  


I really struggle with this sort of thing as I generally DO NOT like the piece with just the paint on it.  It’s all I can do to keep myself from wasting any more of my life on it and toss it to the trash.  But when I start stamping and adding Washi Tape, I fall in love.


Both postcards look the same on the back for now.


I can write a lot more on these postcards than I can when the address is on this side (like a normal postcard).  I’ll decorate this side more when I know where these postcards might be going.  

Thanks so much, Rosie, for this great theme.  Perfect timing so that I can play along.  It’s been quite a long time.

Tuesday, March 6, 2018

From Experiment to Mail Art

Another somewhat successful experiment turned into mail art for a fellow mail artist.  Still lots to learn!  Which means I hope I end up with more mail art.


I’m sharing the back of this one to share a “nonsense letter”. Of course you can’t write much of a letter on a postcard, but you can still write some nonsense.


And add some Washi Tapes.  I get on as much as I can.  I love that tape of envelope fasteners.  Of course this one was put on upside down.  Didn’t notice the writing before I stuck it down permanently.  I put a bit of glue on each end to make sure my tapes don’t interrupt Mr. Postman’s duties.  So there was no pulling it up to turn it around.

Have you seen those fabulous new Bioluminescent Life postage stamps?  Such fun they are to add to mail!

Happy Mail Day!

Tuesday, February 13, 2018

Hearts Mail Art

I love heart art any time of the year.  But February is the best.  This card has a full boat of mixed media and was inspired by Pinterest (as usual).


It has Color Burst, watercolors, acrylic paint, Washi tapes, stitching, embossing, rubber stamping and stenciling.  Posca Pen and Zig Writer for my fake splatters.


The inside needs to be fun too.  I wasn’t real thrilled with how that sentiment worked with the specialty embossing powder, so I jazzed it up with more Washi Tapes.  Finally I have new uses for Washi Tapes.  They collect so fast.  


I made this postcard at the same time with the same techniques and supplies.


A successful experiment for me.


And then there came this postcard.


Again, many of the same techniques with the addition of texture paste and shading with a graphite pencil.  

This paper art stuff is hard.  It does not come naturally or easy to me.  Many of these techniques are out of my comfort zone.  I’m trying to be more brave these days.  Some experiments are filling the trash bin.  So when I have a success, I celebrate with a very happy party feeling inside me.

Happy Valentines Day!

Sunday, July 23, 2017

Twinchie Art

My very first ever Twinchies (2" X 2" art pieces)
I joined in a facebook group Twinchie Swap as I hadn't ever made any and wanted to try my hand at them.  I do have an on-going Inchie project.  A one inch art space is pretty challenging.  Which is why it is still on-going.   A two inch space is much easier.


I started with a Color Burst base cut from my many testing pieces.  I then white embossed a design on each watercolor background.  From there I added punched or die cut pieces also from the Color Burst testing pieces.


This was a really fun project.  It took me a bit to decide how I would mail them.  The Twinchies are placed on this backing card with removeable tape.  My partner can remove them easily, rub her finger over the tape residue and it comes right off.  I love the stuff for temporary positioning.  It leaves no mark behind.  I added a little watercoloring along the edge of the backing card to dress it up some.  I love the effect it created.  So fun when we try out our "what if I do this" ideas and they work!


Of course I had to make an artsy envelope for the Twinchies to travel in.  The harlequin design is done with regular watercolors on a mixed media paper.  The flourish is stamped with Archival Ink and the dots are some black watercolor through a stencil.


I had a blast making this whole swap item!  There are some Twinchie starts set aside here.  I'm toying with an on-going Twinchie project now.  
Like I need another project in progress!

Happy Mail Day! 

Monday, March 6, 2017

Chevron Challenge Mail Art

This envelope is the result of a mutual challenge between myself and Tera of The Crafty Sugar Addict to find new ways to use the large chevron stamp.


The quilter in me saw this possibility when I set the stamp across the room to stare at it.  The stitched address block fell right into place.  That large bird is another new stamp.  He wants to show up in everything these days.


Coloring in the quilt star.


Then coloring around the star. Then some stencil background design.  And drawing stitches around the star outside. 


I color in my bird with foam makeup tools.


I used an alphabet Washi Tape for Tera's name.


You can see Tera's Chevron challenge mail art Here.

Thanks Tera, I'm feeling a lot happier with my chevron stamp now.

Happy Mail Day!